When it comes to mixing drums, the process can often feel like a delicate balancing act.
It’s an art that requires precision and intuition, and without the right knowledge, it’s easy to make mistakes that can leave your drum tracks sounding like trash.
But don’t worry, we’ve got you covered.
We’ll show you all the ways to mix drums like a seasoned professional in no time.
In this step-by-step guide to mixing drums, we will focus on the following key areas.
Each one designed to amplify your skills and take your drum mixing game to the next level, such as:
- Preparation techniques for drum mixing ✓
- Mix foundations & achieving the perfect balance ✓
- Mastering EQ for drum sounds ✓
- Compression techniques for drums ✓
- Unleashing the power of the drum bus ✓
- Advanced drum mixing strategies ✓
- Hip-Hop specific drum mixing ✓
- Final touches for an enhanced drum mix ✓
- Professional tips scattered ALL THROUGHOUT the article ✓
By the end of this guide, you will have a firm understanding of the critical components of drum mixing.
Plus, have the confidence to apply these techniques like a true expert when you’re mixing drums in the future.
So, let’s dive in…
Table of Contents
- Understanding the Drum Kit in the Digital Domain
- Essential Preparation for Mixing Drums
- Starting the Mix: Establishing the Foundation
- Deep Dive into Compression for Drums
- Harnessing the Power of the Drum Bus
- Advanced Mixing Techniques for Drums
- Mixing Drums: A Focus on Hip-Hop
- The Final Polish: Enhancing Your Drum Mix
- Taming the Low-End: Kick Drum & Sub Bass
- BONUS: Breaking Down Mic Types (For Those Recording Live)
- Mixing Drums: Final Thoughts
Understanding the Drum Kit in the Digital Domain
Let’s start by diving into drum kits and how to navigate its creation and manipulation in order for you to produce the optimal drum sound before you start mixing.
-
Creating Your Digital Drum Kit
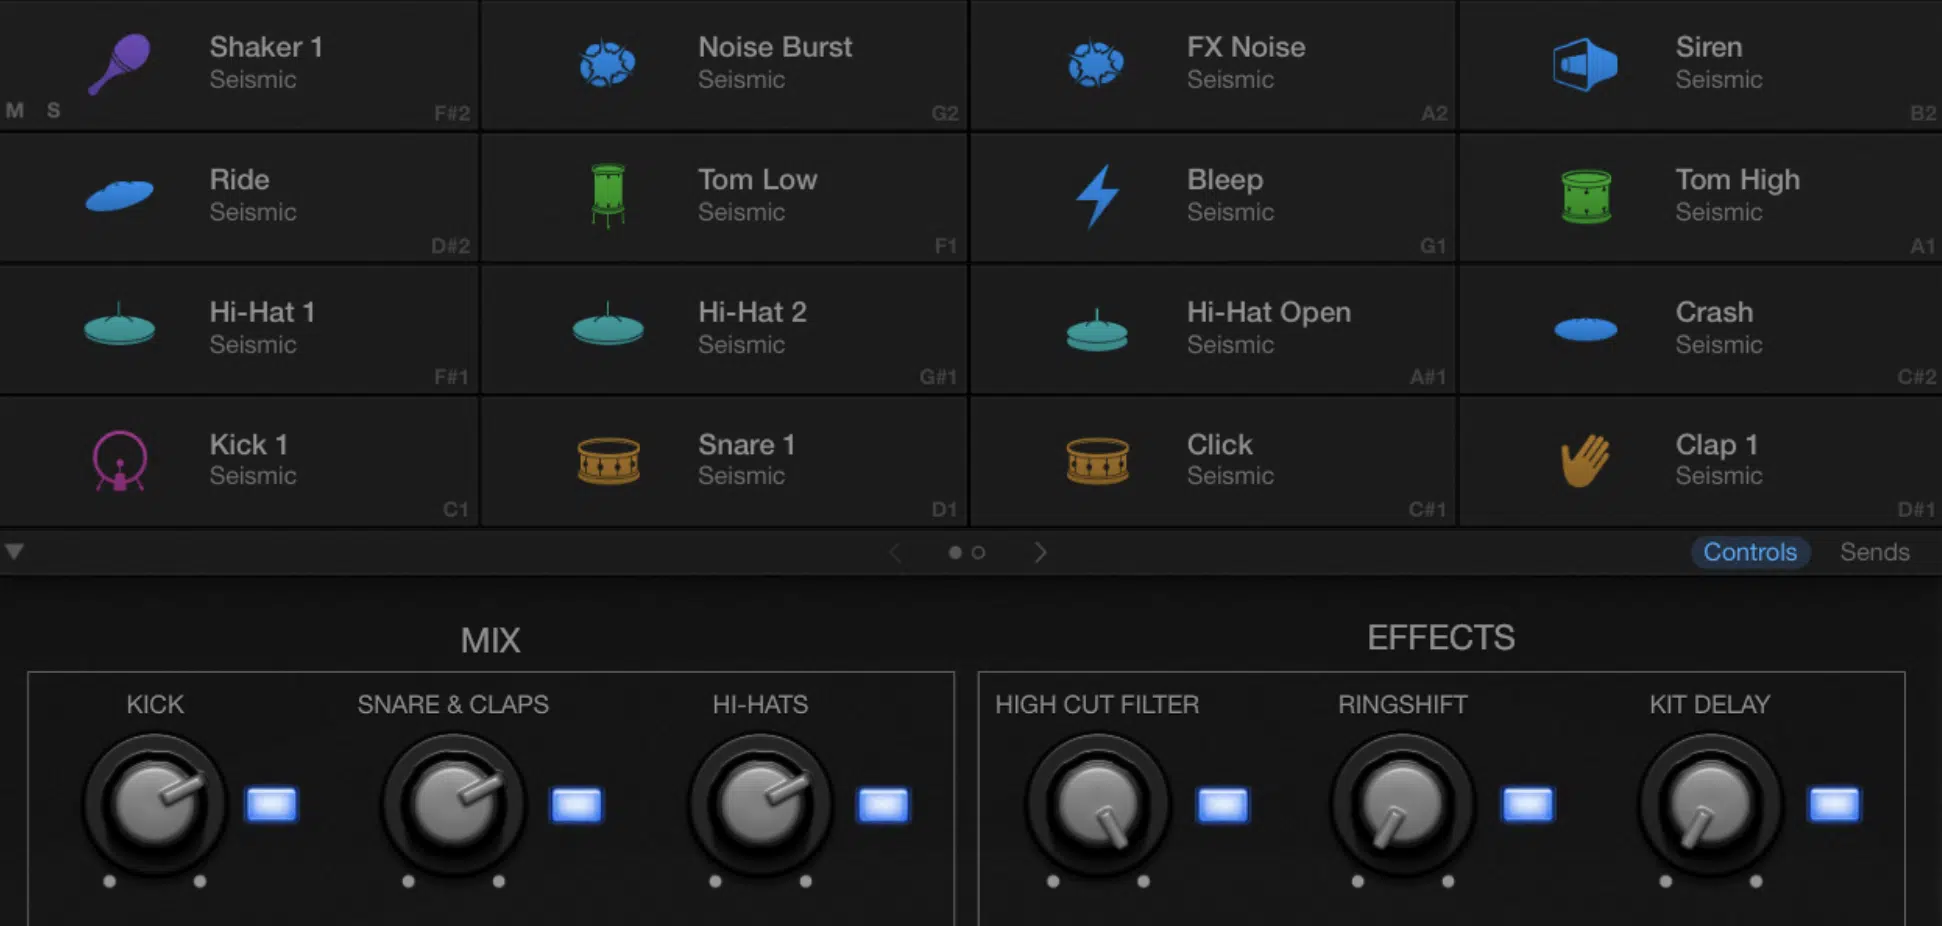
It all starts with creating your digital drum kit.
In the digital world, we have the luxury of access to countless drum samples 一 each offering a unique texture and tone.
Experimenting with these different sounds is the key to creating a drum kit that fits your specific music production style.
But where do you start?…
Well, let’s look at the building blocks of a basic drum kit:
- The kick drum
- Snare drum
- Hi-hats
- Toms
- Cymbals
Each of these contributes to the overall drum mix in its unique way.
For instance, your kick drum is the heartbeat of your song.
It provides the low-frequency punch that listeners can feel in their soul.
In hip-hop (a genre we’re focusing on today), a well-mixed kick drum can make all the difference.
Try layering different kick samples to create a unique and impactful kick drum sound.
NOTE: If you’re looking for the absolute best drum kits of 2023, we’ve got you covered.
-
The Sounds of Different Drums in a Drum Kit
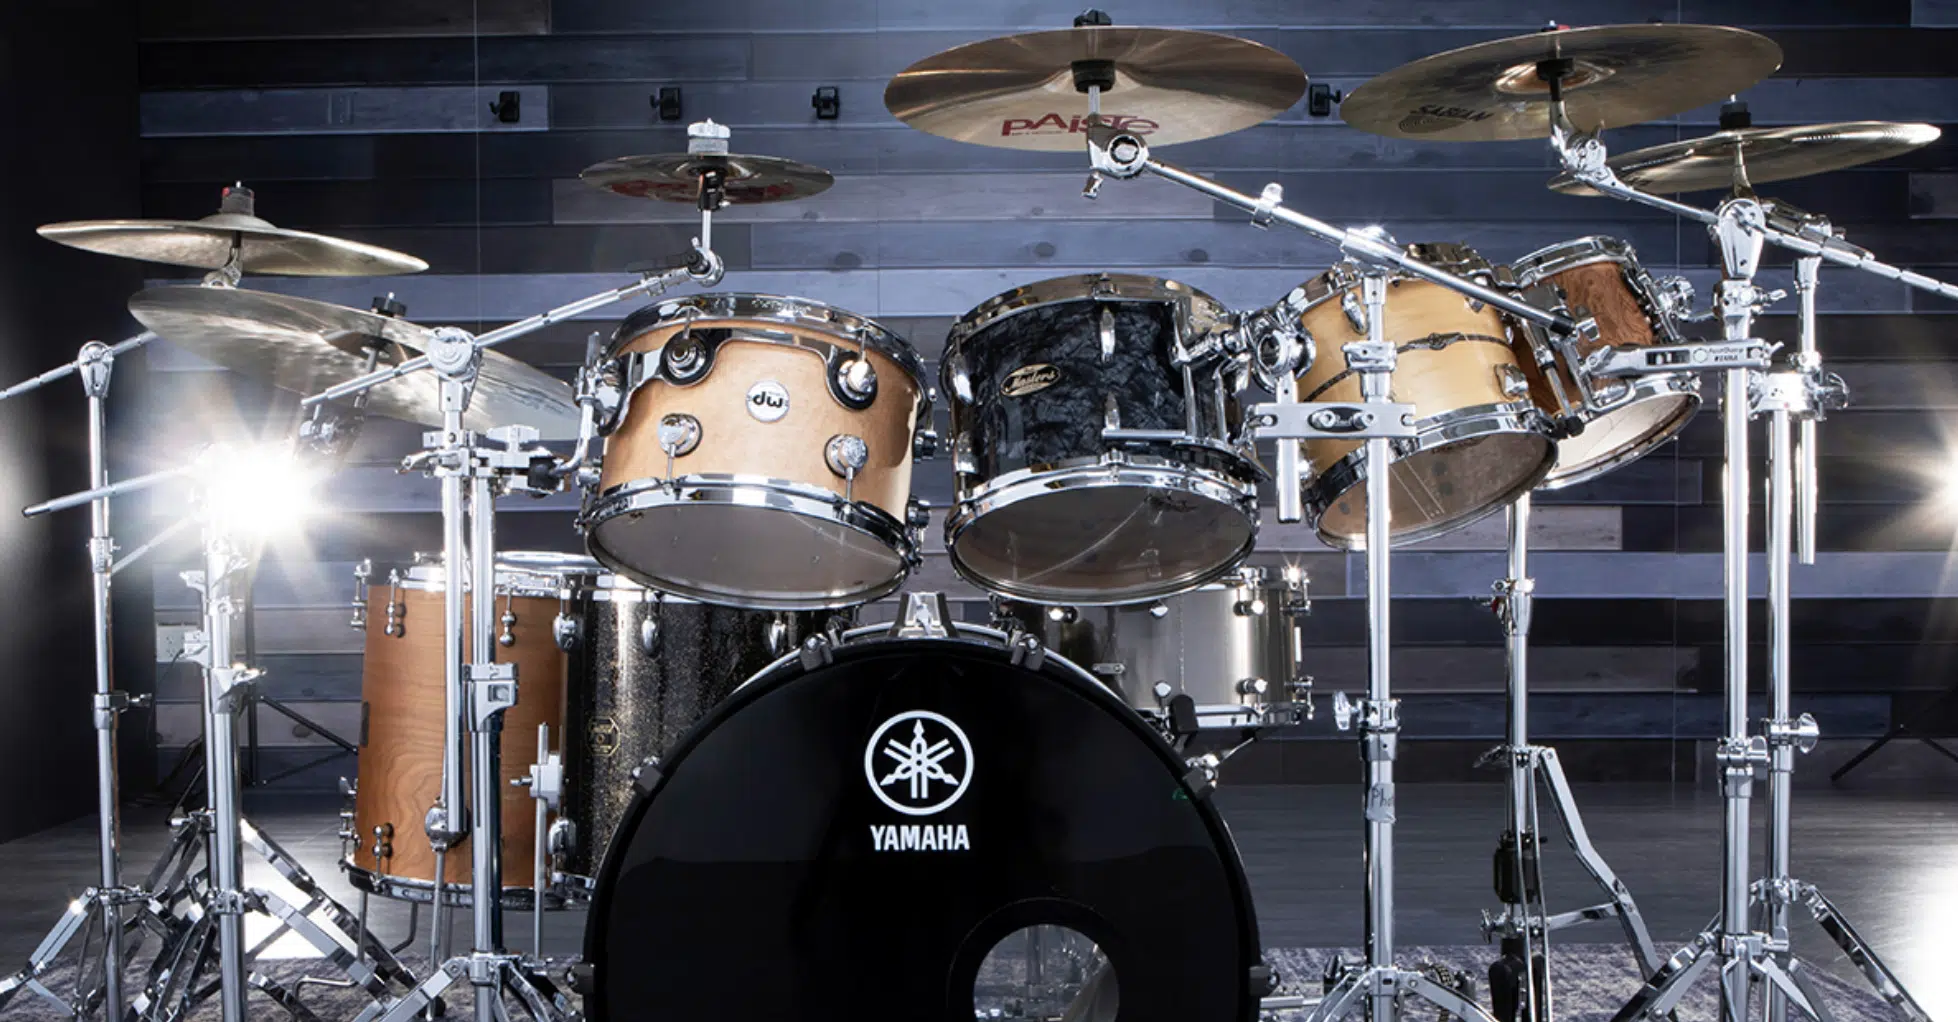
Now that we have our drum kit elements, let’s get familiar with the distinct sounds each drum brings to the mix.
The snare drum 一 Typically plays a vital role in setting the rhythm, giving that essential ‘crack’ on the 2 and 4 beats in most genres.
Hi-hats & cymbals 一 Contribute the higher frequency elements to your drum sound. They can add a rhythmic sizzle or shimmer to your mix, providing that extra detail which can really make your drum tracks stand out.
Toms 一 Provide a more tonal and melodic element to your drum mix, often used in fills and transitions.
Depending on the musical styles, you might choose to use either a round, full-bodied tom sound, or something more pointed and aggressive.
-
Exploring Drum Samples & Programming
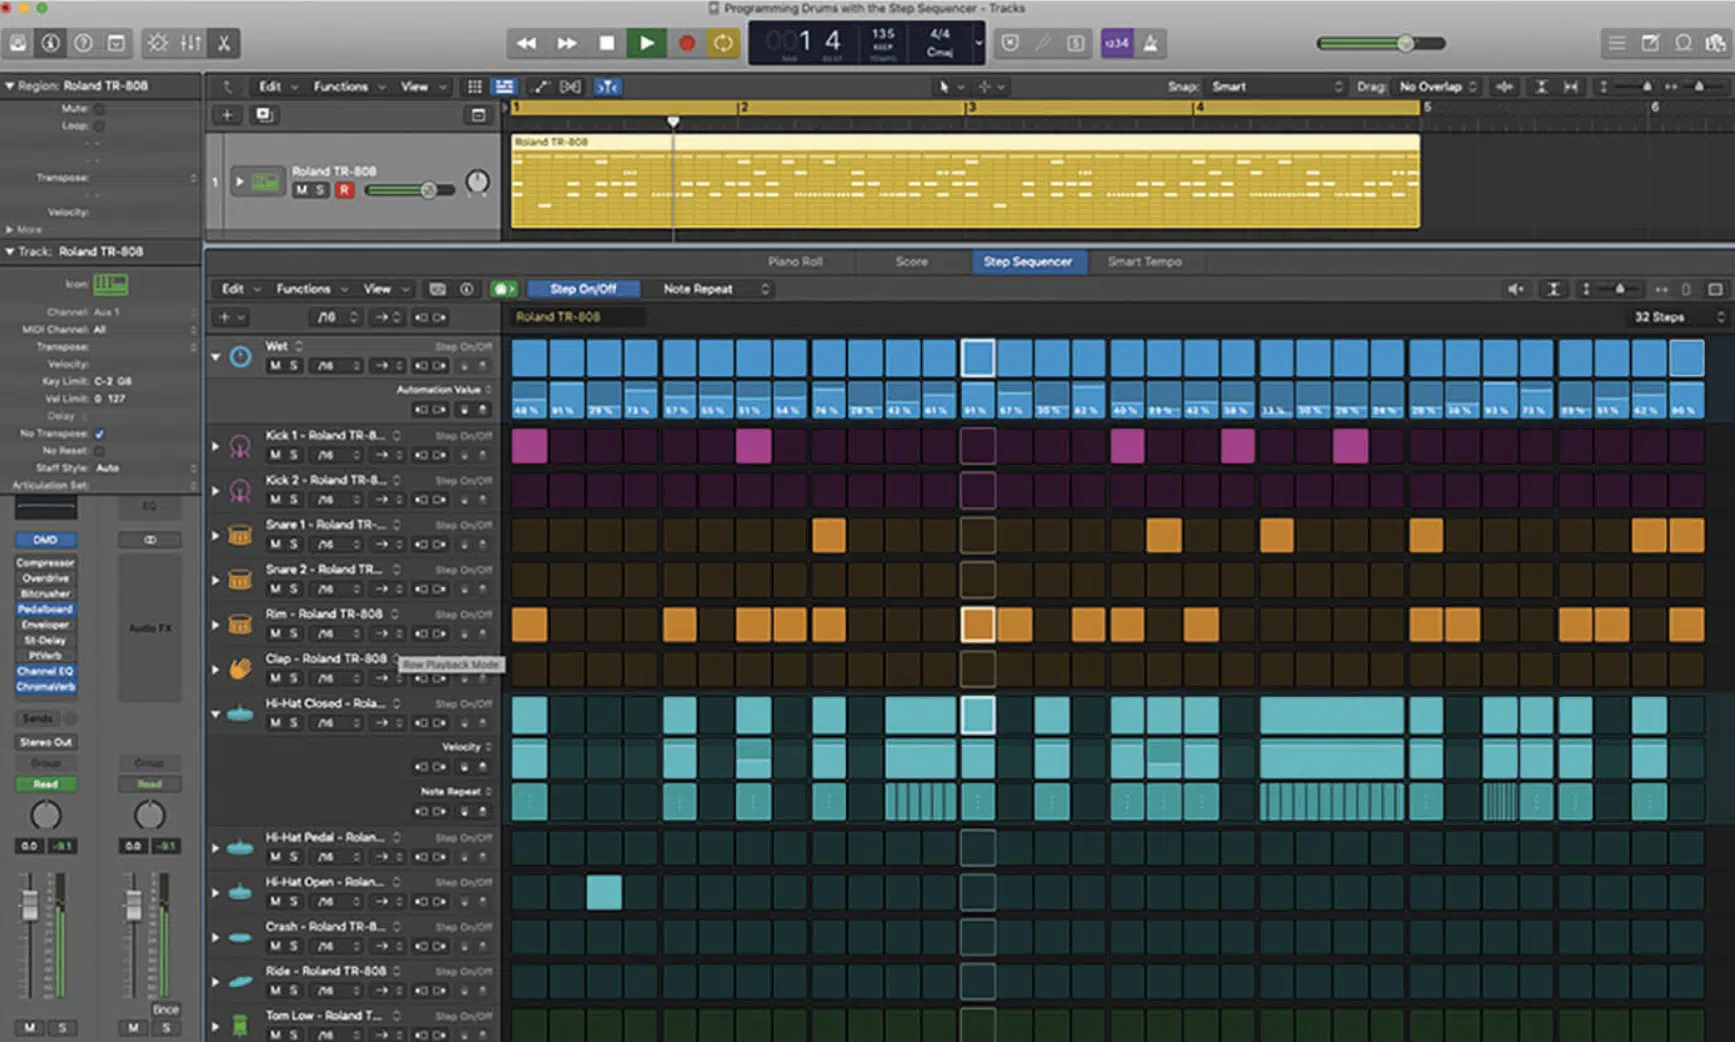
We’ve spoken about the elements of a drum kit, but what about drum samples and programming?
This is where the power of digital music production truly shines.
There are vast libraries of drum samples available 一 each with their unique characteristics.
You might opt for a vintage-sounding kick for that warm, lo-fi vibe, or a sharp, modern snare for a pop production.
The choice of samples can greatly influence the overall drum sound and the feel of your track.
Furthermore, the way you program these samples can create a huge difference.
For example, you can adjust the velocity of each hit to create a more dynamic, human feel, or keep them consistent for a mechanical, electronic vibe.
Essential Preparation for Mixing Drums
With the foundation of drum creation laid down, let’s proceed to the vital stage of mixing drums 一 the preparation process, starting with cleaning up your drum tracks.
-
Cleaning Up Your Drum Tracks
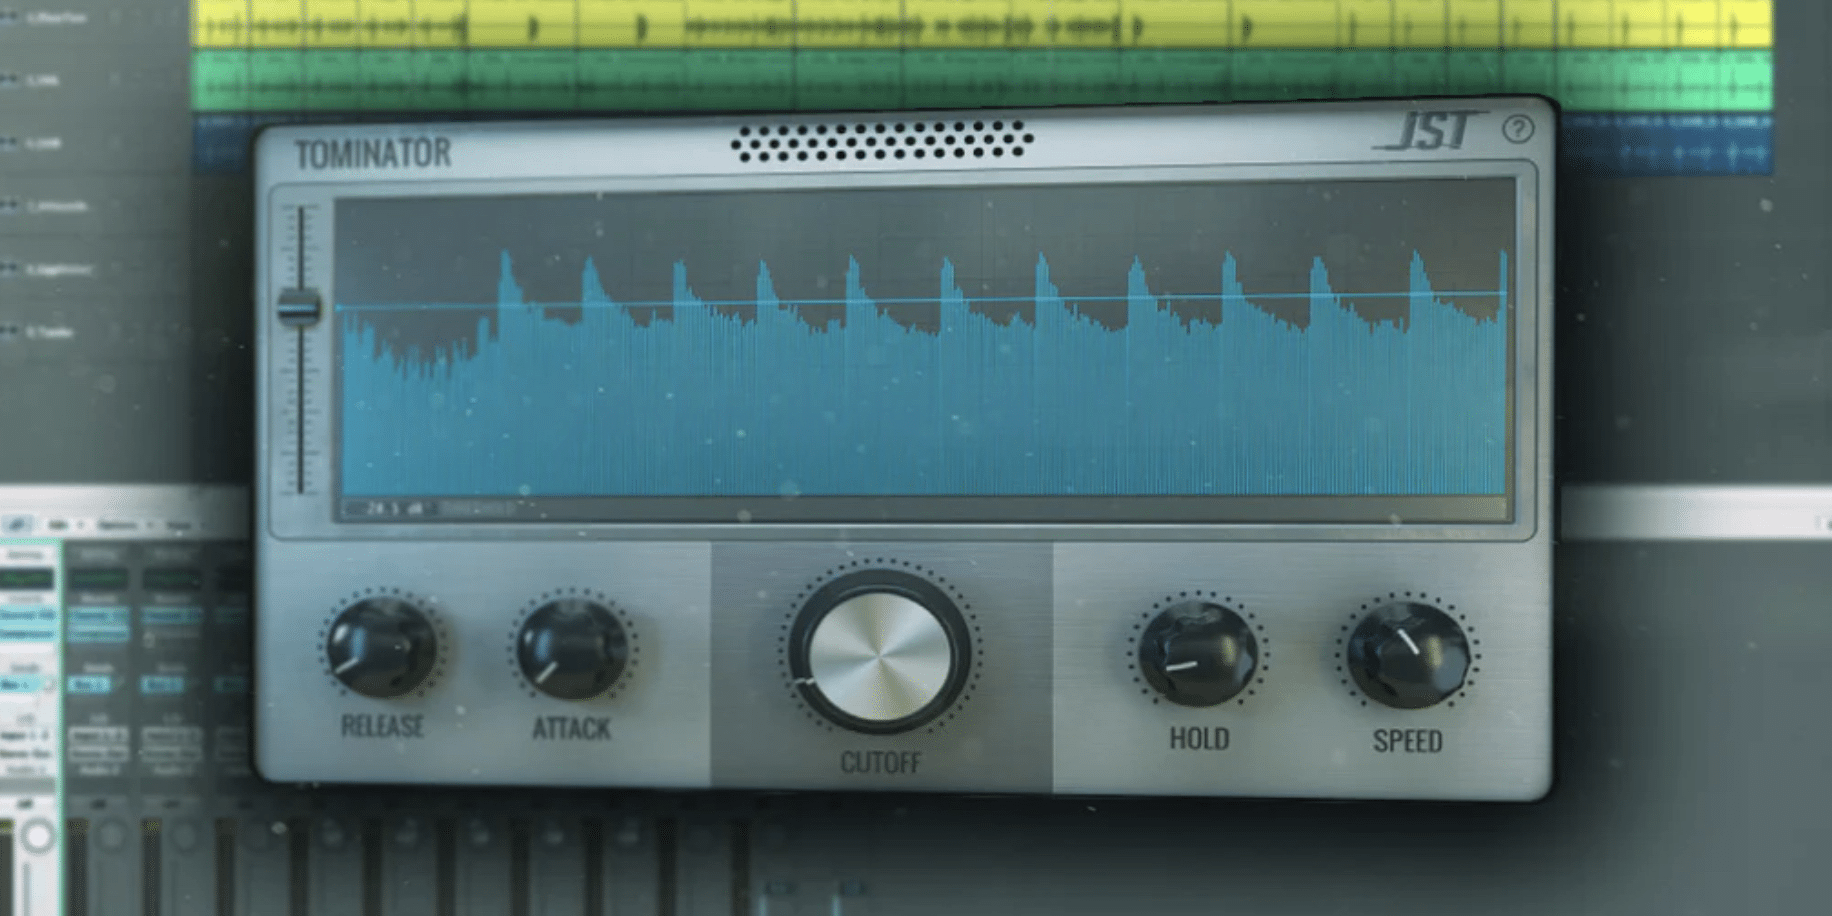
Once you’ve selected and programmed your samples, the next step is to prepare your drum tracks for mixing.
This involves:
- Cleaning up any unwanted noise
- Making sure each drum hit is as clean as possible
The process can involve trimming each drum hit to remove unnecessary silences or noises before and after the actual drum sounds.
Keep an ear out for any rogue frequencies that might interfere with the clarity of your drum mix.
Also, take care of any phase issues that might arise.
Especially when you’re using multiple microphones or layering samples for a single drum, category, or even 2 completely unrelated samples (just to a lesser extent).
This ensures that your drum sounds don’t cancel each other out, but instead, they enhance and reinforce each other.
-
Dealing with Drum Bleed in the Digital Space
Unwanted drum bleed, the sound of other drums and instruments captured by each mic, can be a significant issue in drum recordings.
Yes, even in the digital domain.
The sound of a hi-hat bleeding into a snare mic, for instance, can make it difficult to control and process/mix individual elements in your drum mix.
You can address this in a couple of ways:
First, try using noise gate plugins to remove any sounds below a certain threshold.
Be careful not to set the threshold too high, or you might cut off the initial transient of your drum hits.
Another technique involves using EQ to carve out space for each drum.
For instance, you can use a high-pass filter to remove low frequencies from a snare track to reduce kick drum bleed.
This helps each drum to occupy its own space in the frequency spectrum.
-
Using High-Pass Filters to Clean Up Low End
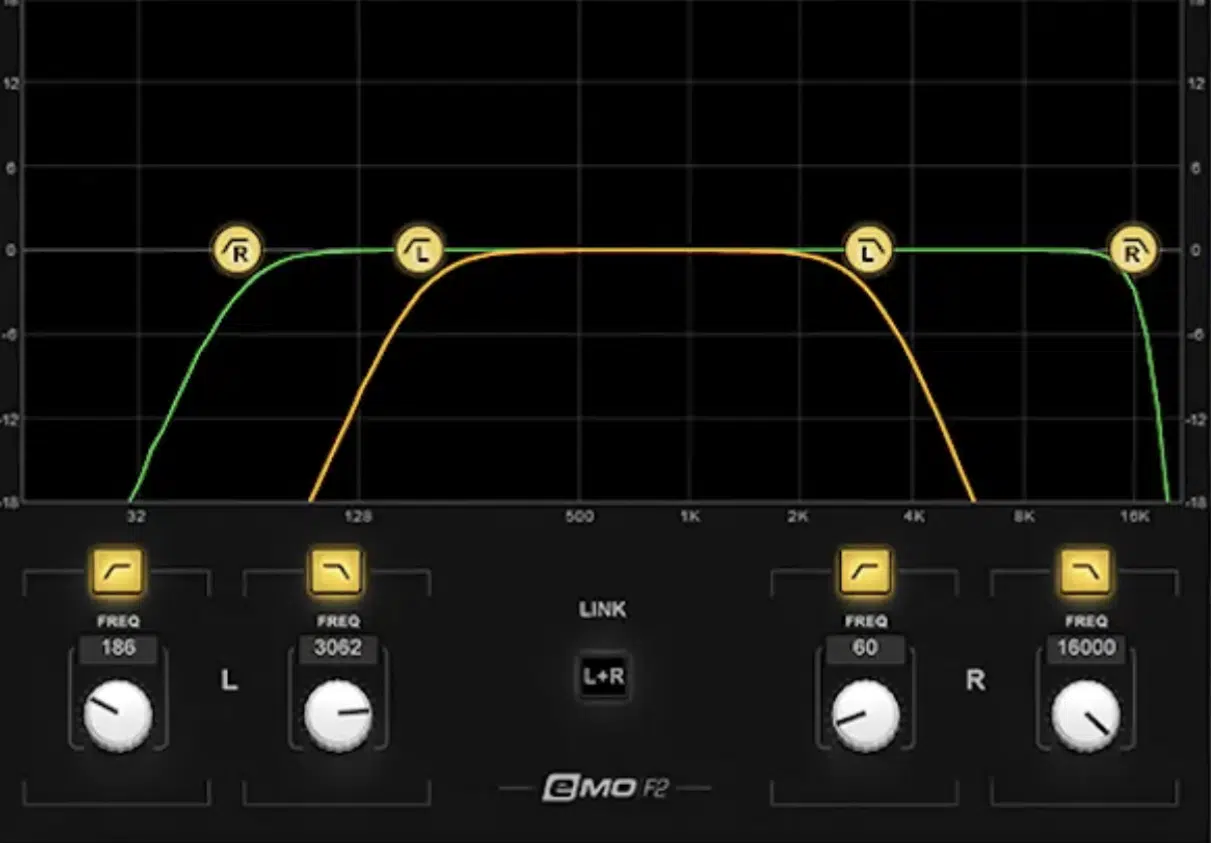
Speaking of high-pass filters, they are indeed your best friend when it comes to cleaning up the low end of your drum mix.
They allow high frequencies to pass through while reducing the low frequencies 一 which helps to control the rumble and muddiness that can accumulate in your mix.
NOTE: Use them carefully on kick drums and floor toms, as these are your low-end instruments, and cutting too much can remove their punchiness.
However, for snares, hi-hats, and cymbals, a high-pass filter can help to remove any unnecessary low frequencies that might clutter your mix.
Set your high-pass filter, then slowly bring up the frequency until you start to hear the drum sound thin out, then back it off a little.
This ensures that you’re removing as much of the unnecessary low end as possible, while preserving the essential character of each drum and enhancing the low-end section you do not want to remove.
PRO TIP: Remember, when it comes to mixing, removing some of the very low-end can actually increase the presence of other other low-end frequencies.
In short, you can thank phase for this, but no need to dive into the specifics, that’s for another article.
Starting the Mix: Establishing the Foundation
Armed with clean and prepared tracks, it’s time to delve into the initial stage of the mix, beginning with a fundamental element.
That being how to balance the levels in your drum mix, especially if you are dabbling with mixing drums as a beginner.
-
Balancing Levels in Your Drum Mix
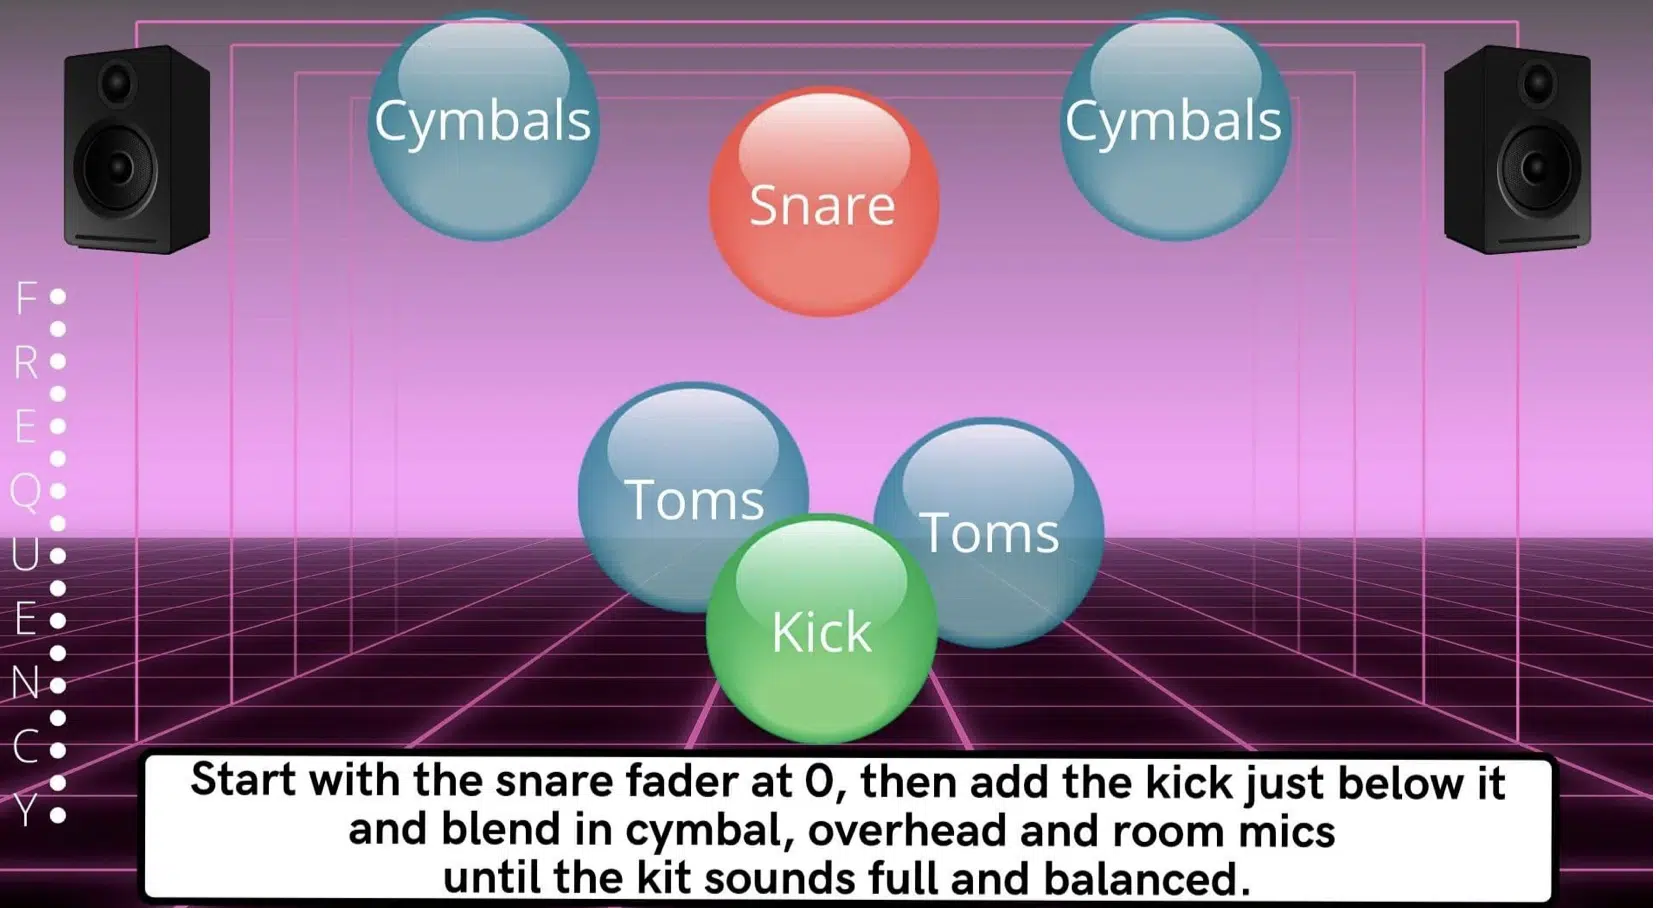
Now that we’ve prepared our drum tracks, it’s time to start the actual mixing process.
The first step in mixing drums (or any other element for that matter) is getting the levels right.
Remember, balance is key 一 each drum plays a role in the overall drum sound and none should overwhelm the others.
Kick and snare are often the loudest elements in a drum mix (and most mixes in general, minus the vocals), which provide the main rhythmic drive.
However, finding the right balance depends heavily on the genre and the vibe you’re going for.
Hip-hop might require more prominent kick and snare, while rock music might benefit from loud, crashing cymbals.
As always, trust your ears, tune in to your inner drum channel, if you will.
-
Creating Space By Panning Drums
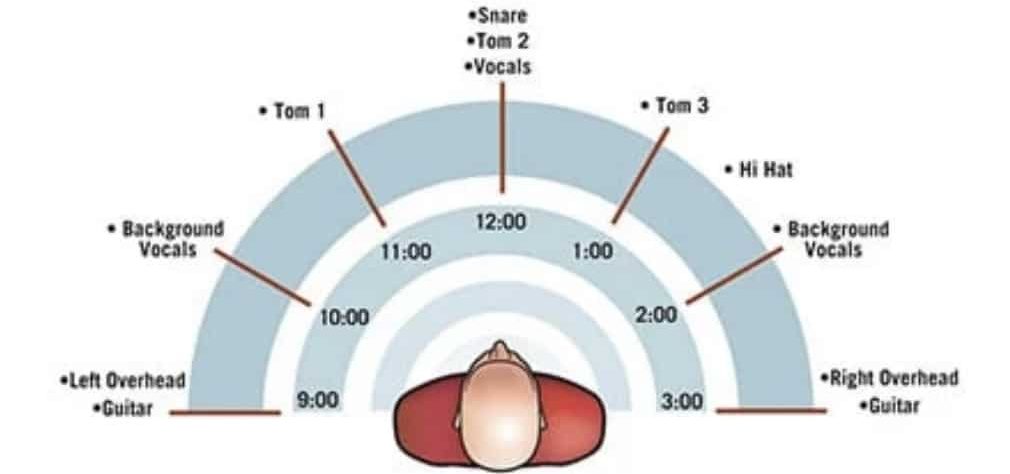
Panning drums can be a great way to create a sense of space and width in your mix.
In a traditional drum set up:
- The kick & snare 一 Usually stay in the center.
- The toms, hi-hats, and cymbals 一 Are spread out across the stereo field.
When mixing drums in a digital domain, we have a choice to stick with a realistic drum pan setup or get creative.
If you’re after a unique stereo image for your drum sound, you might decide to pan certain elements differently.
However, excessively wide panning can lead to a disjointed drum mix.
Use this technique with care and always check your mix in MONO to ensure it translates well on different playback systems.
PRO TIP
If you’re not entirely sure where exactly you should pan certain elements, or are wondering what’s the best method in which to do so 一 just remember nothing is technically ‘wrong’ or ‘right.
’
However, when in doubt, take a look at a standard drum kit and simply use that as guide.
The only thing you’ll need to decide is if you’d rather be the drummer and pan the drums based on that, or flip it.
Flipping it will be the better option if you’d like the pan positions to be based on a traditional drum setup as opposed to the audiences point of view.
-
Using EQ to Shape Your Drum Sound
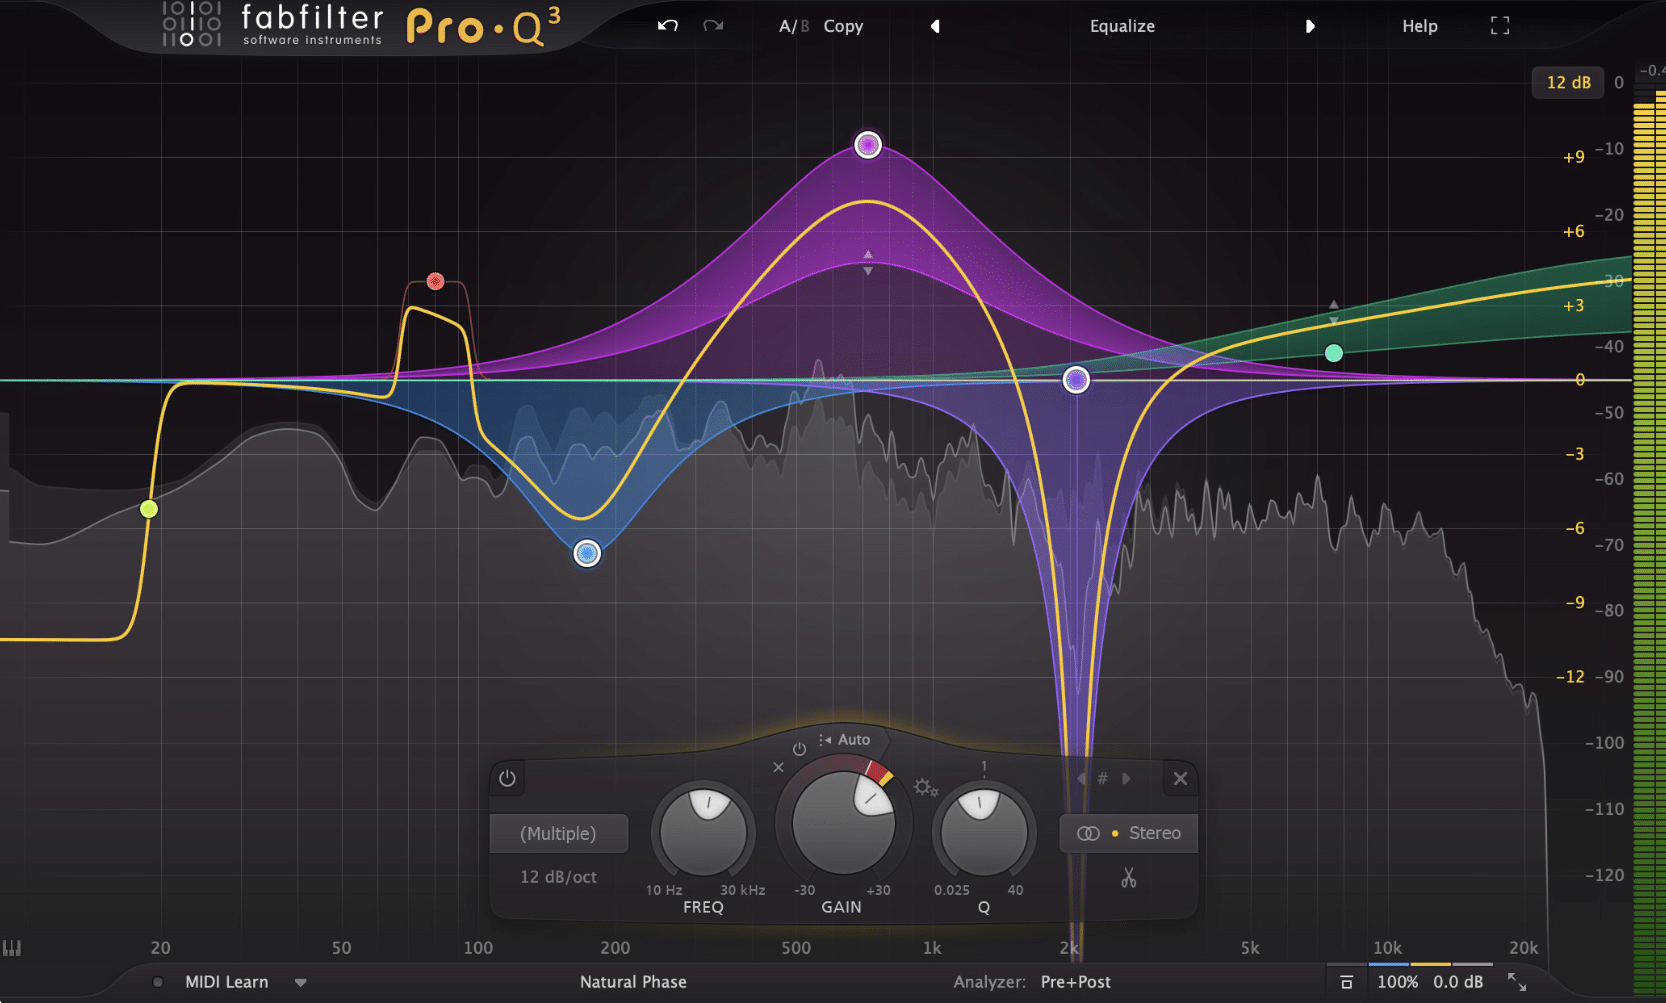
Once your levels and panning are in a good place, you can start to use EQ to shape the sound of your drums.
Equalization is a powerful tool for carving out a space for each drum in the mix.
Remember, every drum has its own fundamental frequency 一 the frequency that defines its pitch.
By identifying and boosting this frequency, you can help each drum stand out in the mix.
Conversely, you can also use EQ to cut problematic frequencies.
- If your drum sound is too boxy 一 Try cutting some mid-range frequencies.
- If your cymbals are too harsh 一 A high-frequency cut can help.
Be cautious with EQ, though.
Extreme boosts can cause a drum to sound unnatural, and too many cuts can leave it sounding thin and lifeless.
The key is to listen carefully and make small, surgical moves to improve your drum mix.
Deep Dive into Compression for Drums
Now that we’ve laid a solid groundwork for our drum mix, let’s plunge into the specifics of drum compression, starting with an understanding of its various settings.
-
Introduction to Compression Settings for Drums
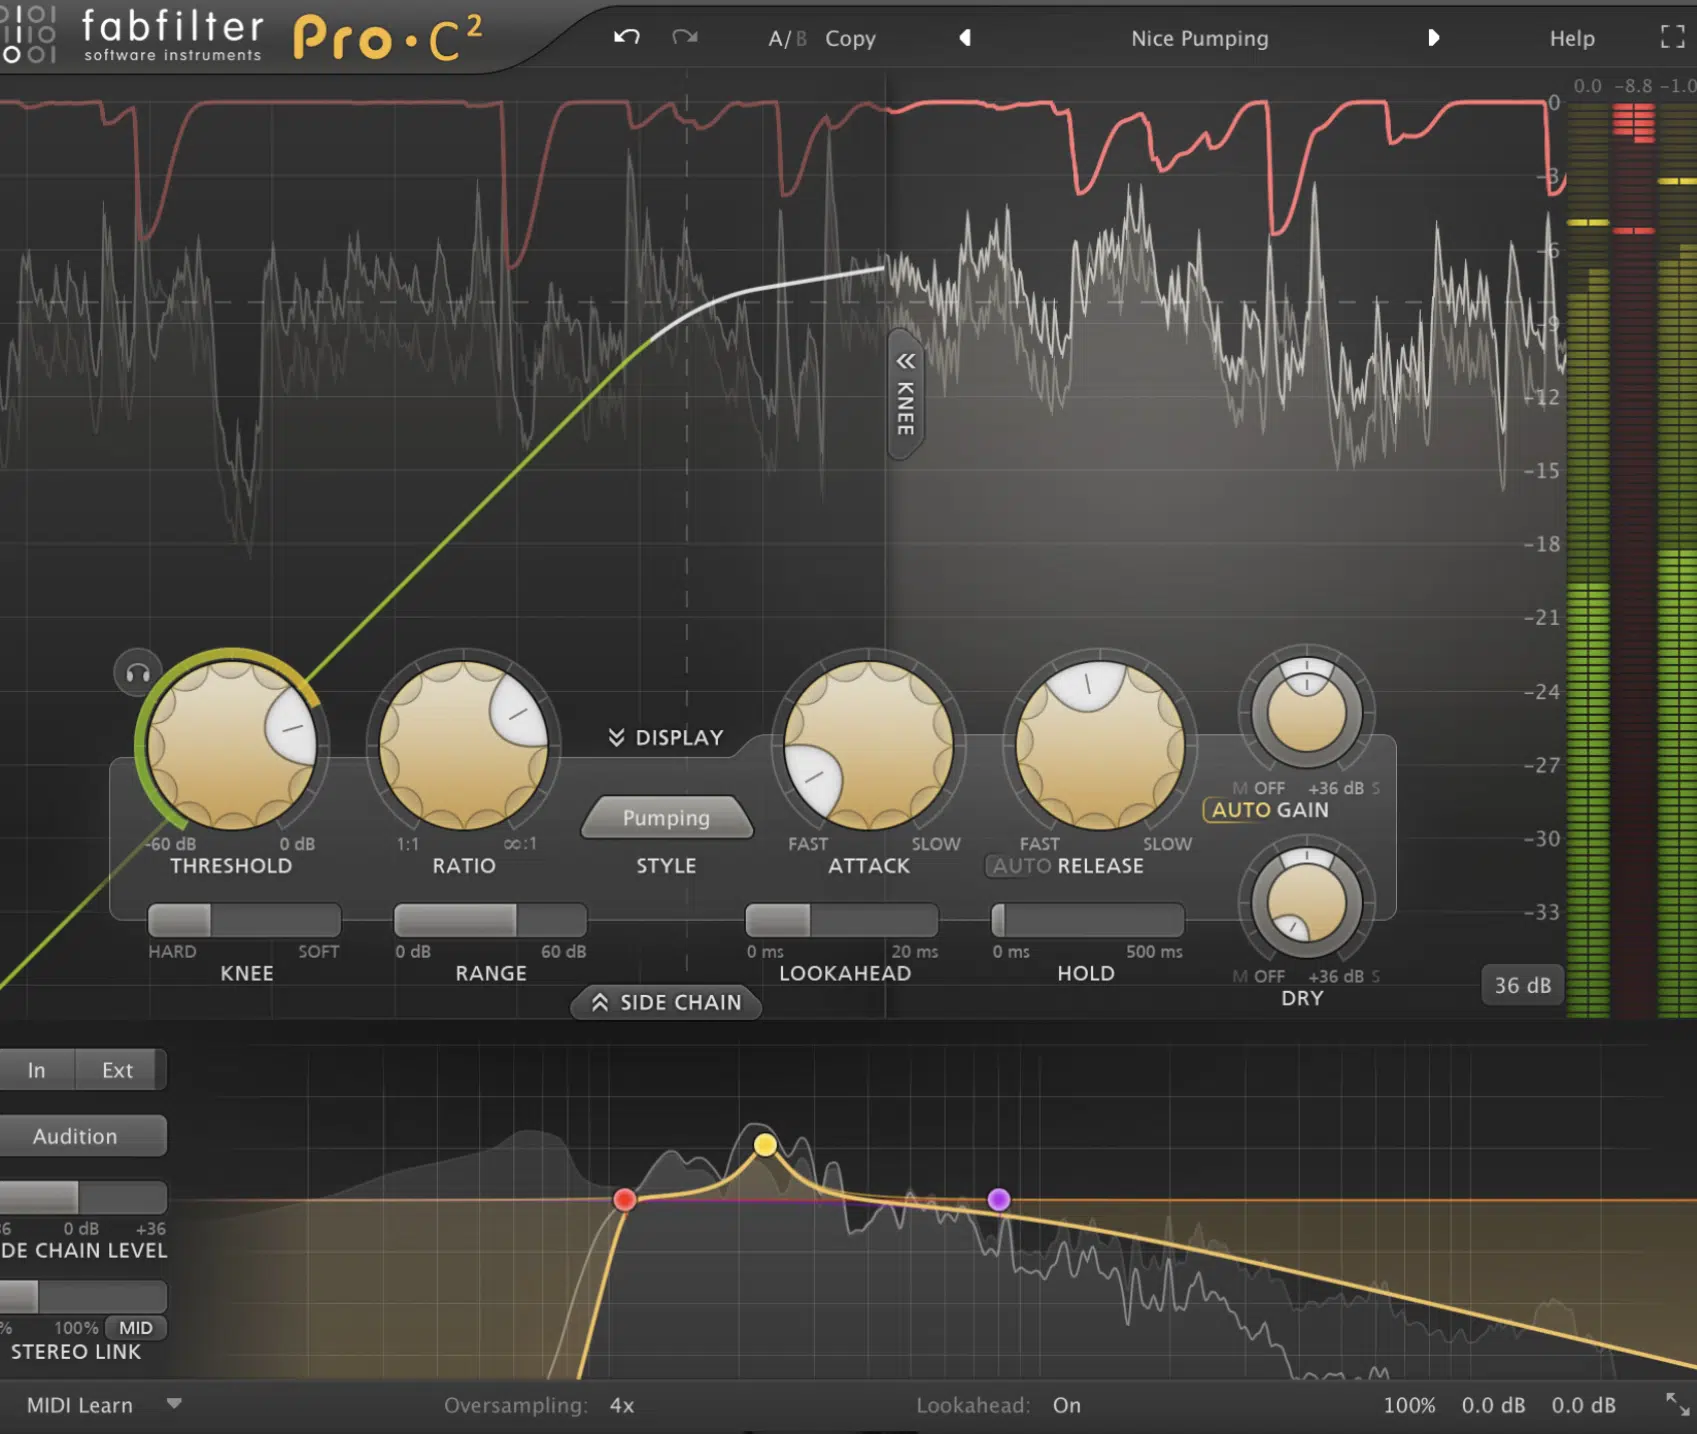
Compression is a crucial tool when mixing drums 一 it helps to control the dynamic range of each drum, ensuring that each hit is consistent in volume.
When setting your compression settings for drums, start with a moderate ratio (around 3:1 is a good starting point).
Then, adjust the threshold so that the compressor is only activating on the loudest hits.
The attack and release settings depend on the drum itself.
- For a snare drum, you might want a fast attack to catch the initial transient, and a fast-t0-medium release to avoid pumping.
- For a kick drum, a slower attack can help to preserve the punchiness of the initial transient, while a quicker one will clamp down on the attack portion (restricting it).
It’s all about finding that perfect balance.
-
Using Parallel Compression for Punchier Drum Sounds
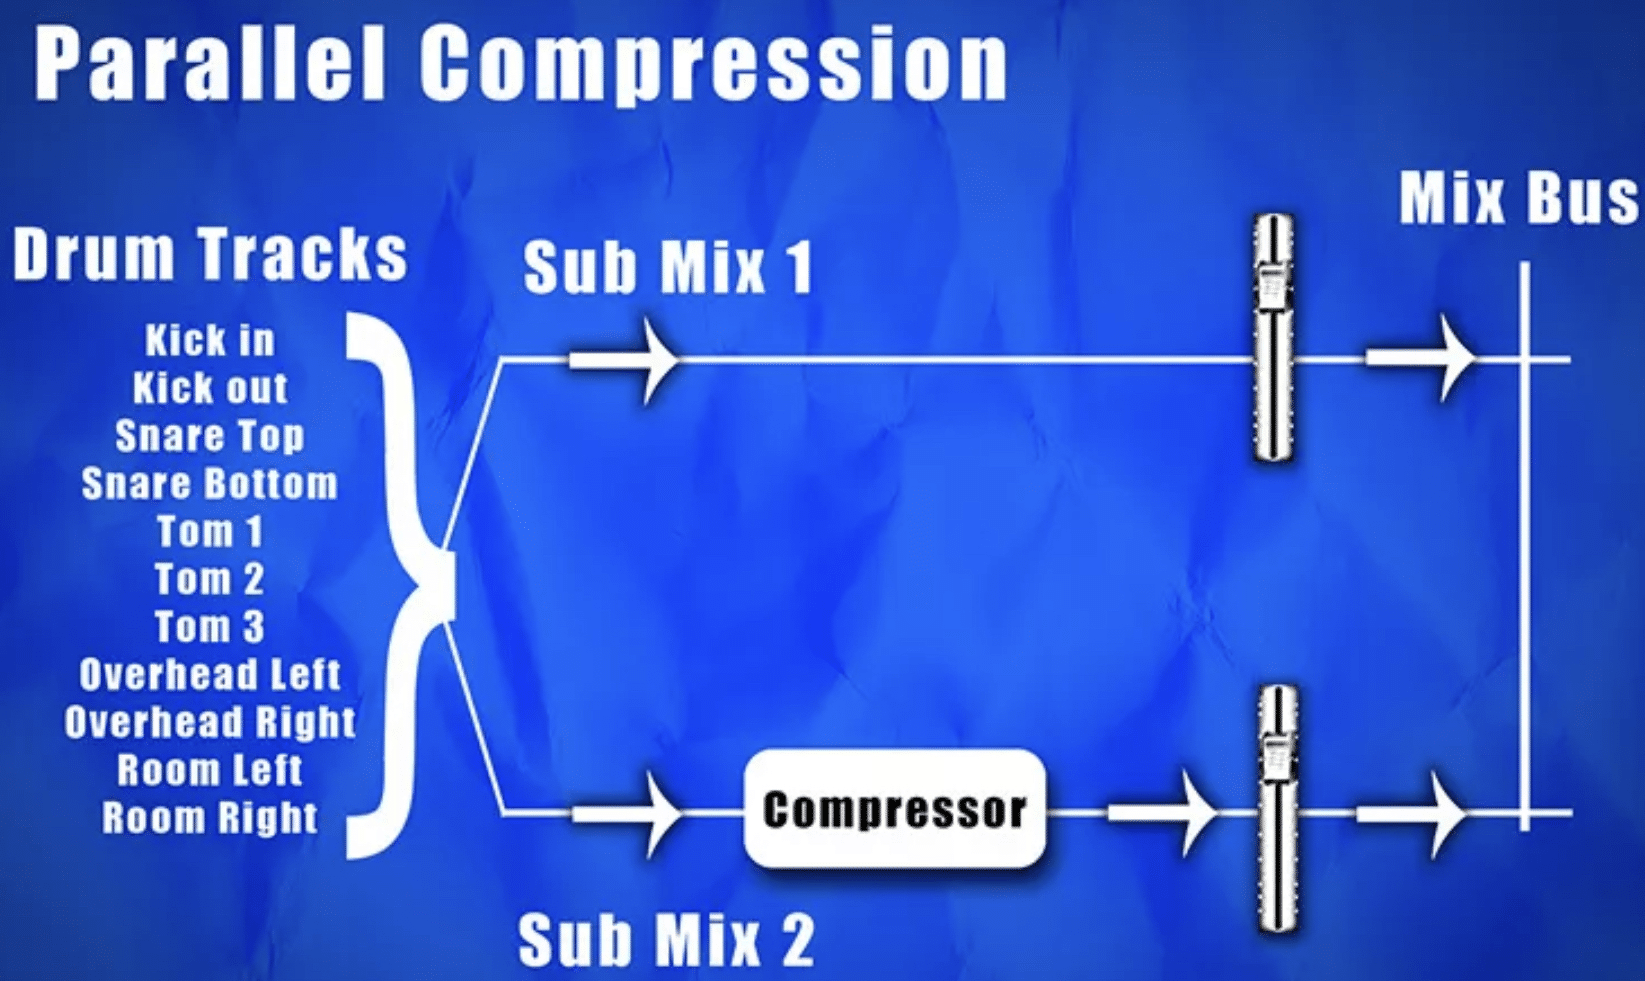
Parallel compression is a fantastic technique for adding punch to your drum mix.
This involves:
- Setting up a heavily compressed version of your drums on a Send/Return/AUX track.
- Blending this with your original, uncompressed drums.
The heavily compressed Send/AUX track can add density and sustain to your drum sounds, while the uncompressed drum tracks maintain their natural dynamics.
The result is a more aggressive sound that can cut through a busy mix.
Again, listen carefully as you blend your compressed and uncompressed drums.
Too much compression can cause your drums to lose their natural dynamics and sound over-processed.
-
Mastering The Noise Gate for Tighter Drum Tracks
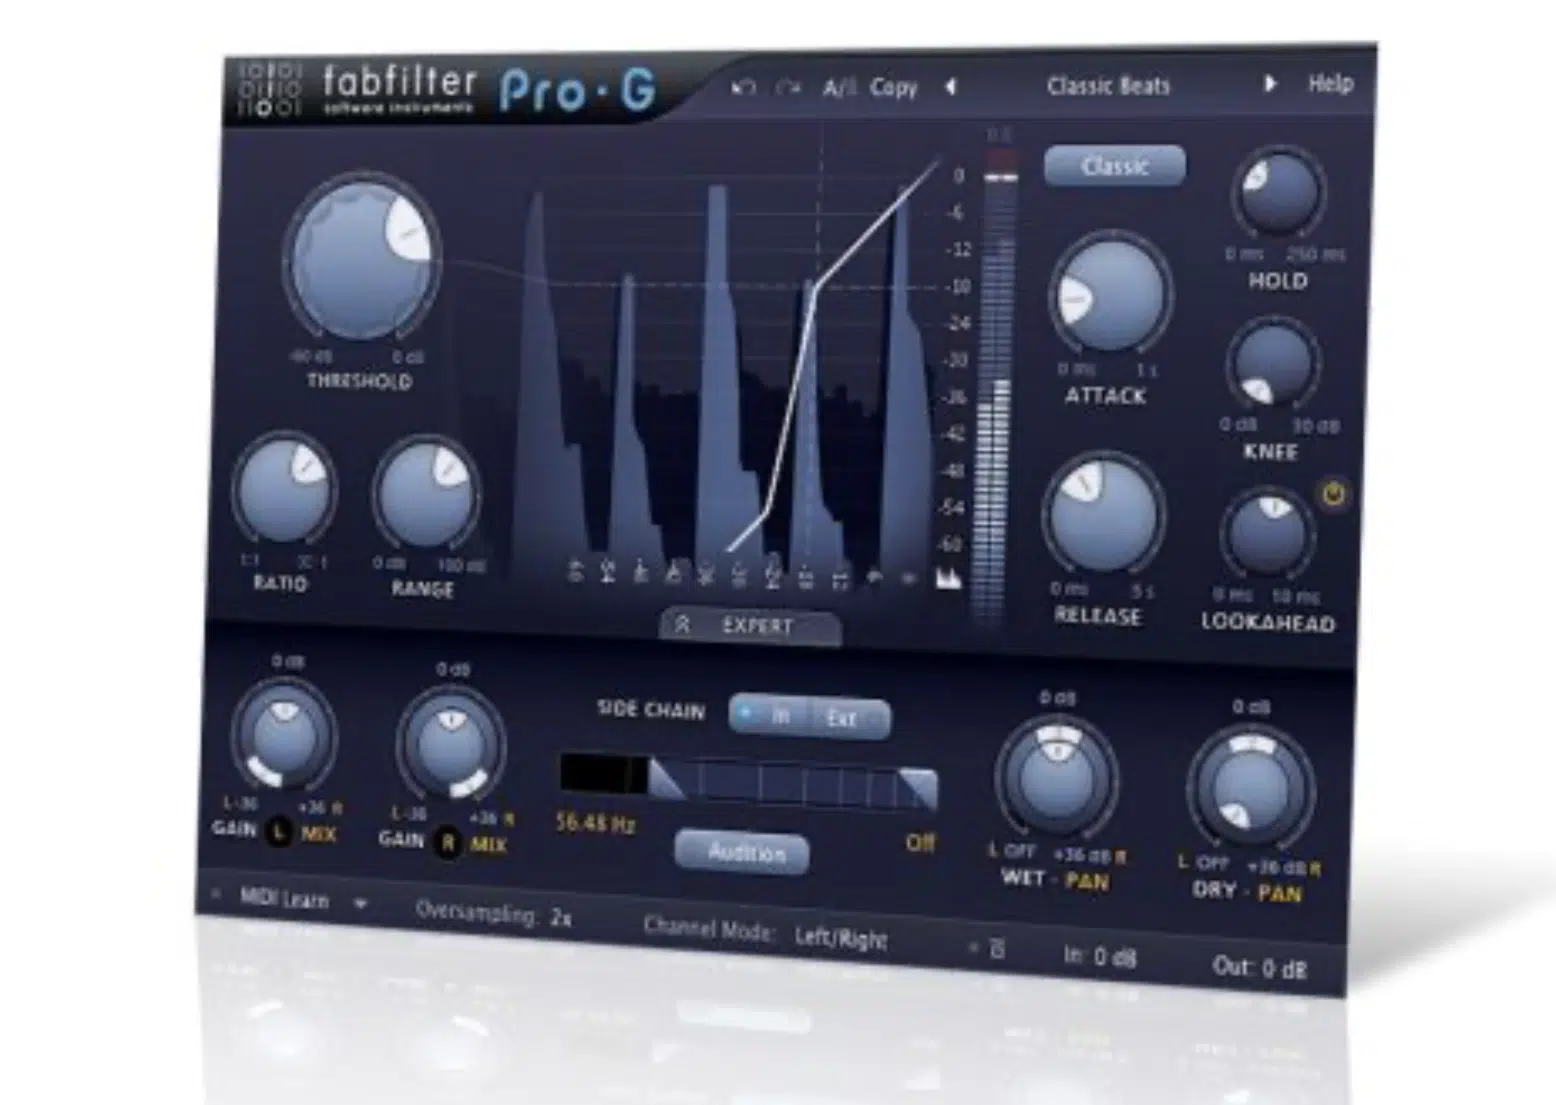
A noise gate can be a valuable tool for tightening up your drum tracks.
It works by reducing the volume of a track when the signal falls below a certain threshold.
For instance, you might use a noise gate on a snare drum track to remove the sound of the hi-hat in between snare hits.
This helps to clean up your drum mix and makes it easier to control each drum individually.
Be careful with the attack, hold, and release settings on your noise gate.
NOTE: If set incorrectly, you can end up chopping off the beginning or end of your drum hits, which can make them sound unnatural.
Harnessing the Power of the Drum Bus
With compression under our belt, let’s move forward to harness the power of the drum bus, beginning with a comprehensive understanding of its role in our mix.
-
Understanding the Role of the Drum Bus

The drum bus is essentially a group channel where all your individual drum tracks are routed.
It allows you to apply processing to your drums as a whole 一 helping to glue them together into a cohesive mix.
For example, you might apply a slight amount of compression to your drum bus to help tie your drum mix together.
Or, you might use EQ on the drum bus to carve out space for other instruments in the mix.
A drum bus can also make it easier to control the overall level of your drums in the mix.
If you find your drums are too loud or too soft, you can adjust the level of the drum bus instead of having to tweak each drum track individually.
PRO TIP
In a mix, you’ll want to add and manipulate the processing of individual hits/drum tracks.
For other processing tasks, you’ll need to apply the processing to the entire (combined) drum signal within just about any mix containing drums.
This is a job meant for the drum bass, as all of this type of processing resides there.
-
Applying Effects on the Drum Bus
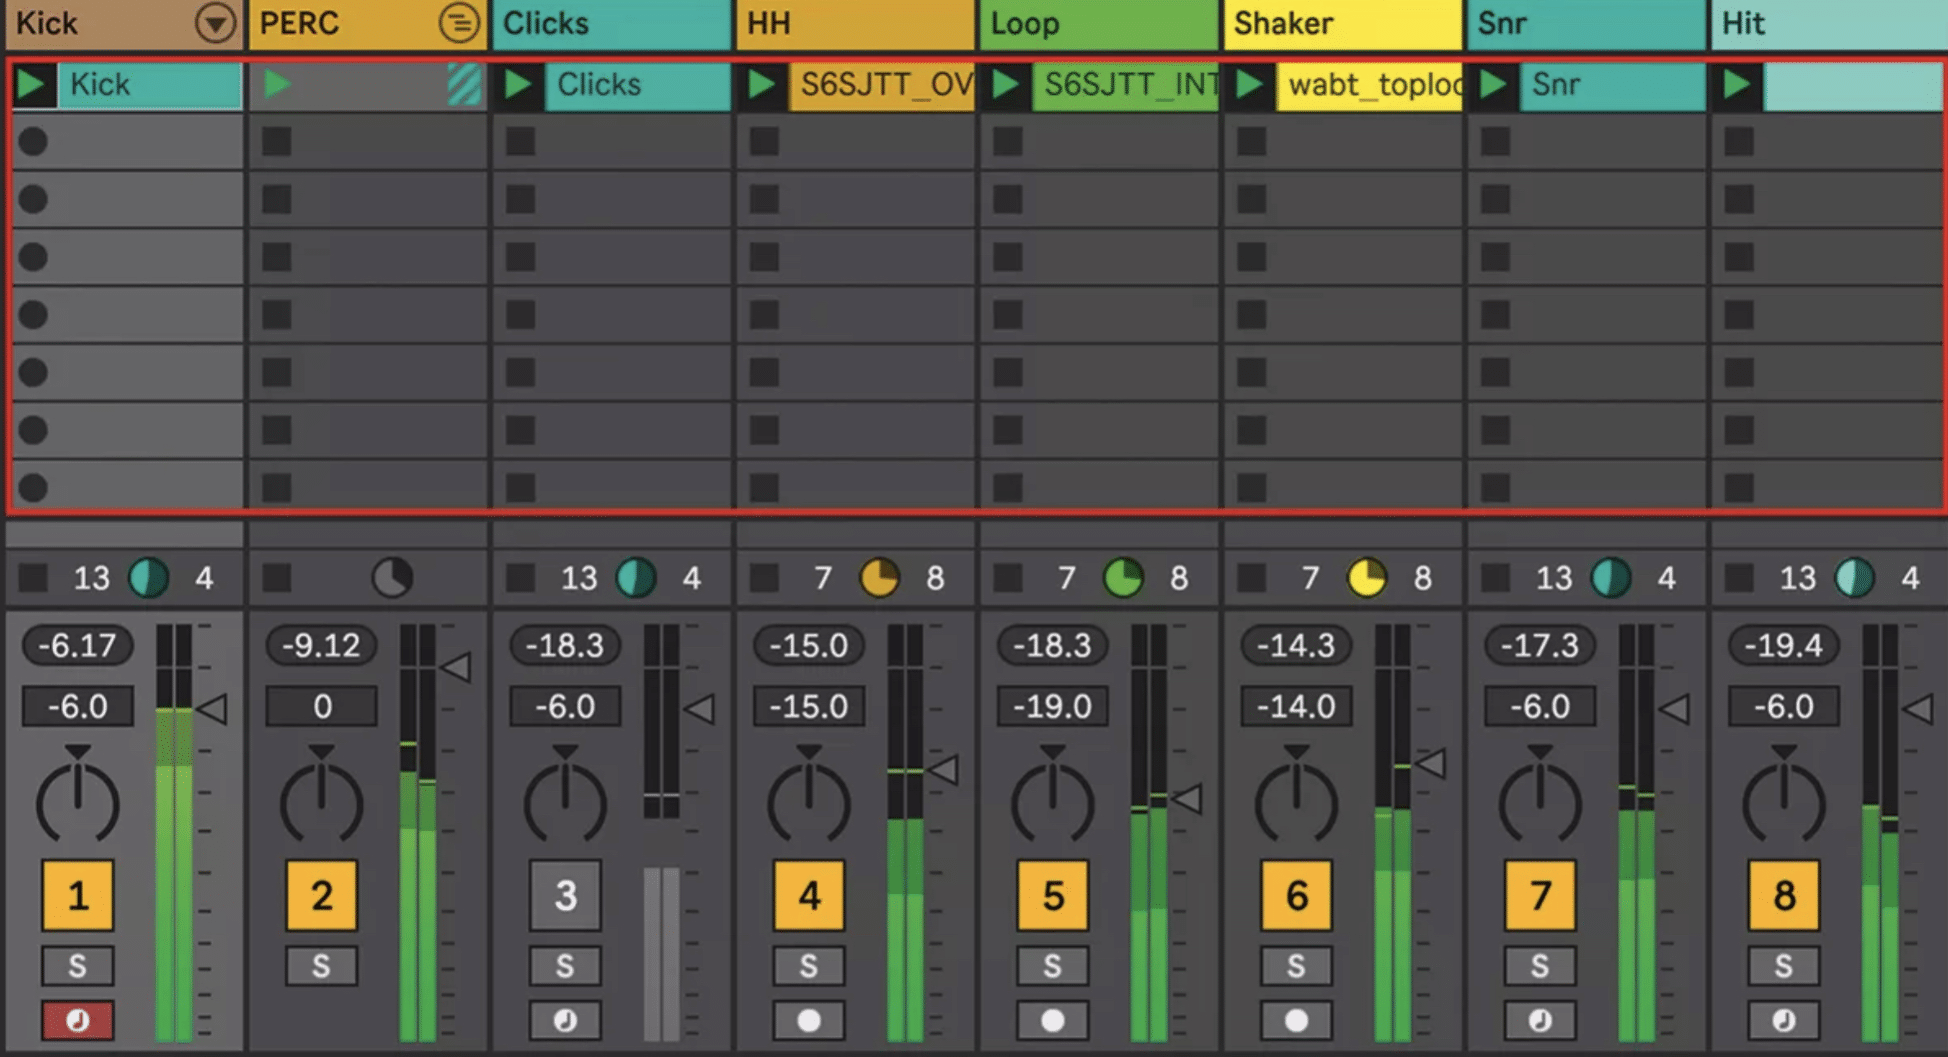
Applying audio effects on the drum bus, instead of individual tracks, can help create a sense of unity and cohesion in your drum mix.
A touch of reverb or delay can give the impression that all of your drums were recorded in the same room.
However, you have to be cautious about overdoing it 一 applying too much reverb or delay can make your drum mix sound washed out and distant.
Always listen in context with the rest of your mix and adjust accordingly.
Bus compression is another powerful tool for glueing your drum mix together.
By applying a gentle compressor with a slow attack and fast release, you can make your drums sound punchier and more cohesive.
-
Routing Techniques for More Control
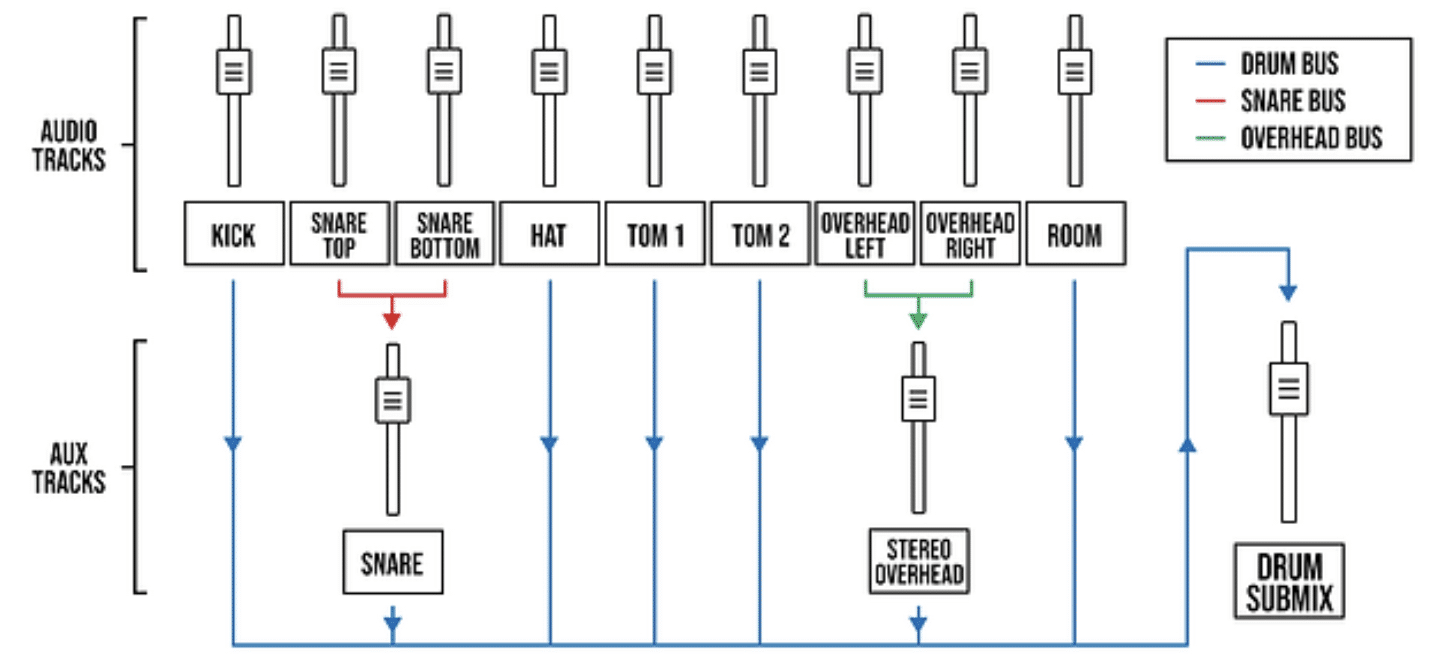
Utilizing different routing techniques can give you even more control over your drum mix.
For example, you could:
A. Route all your drum tracks to individual group channels based on the type of drum (e.g., kick, snare, cymbals).
This will essentially create a drum sub-bus, or multiple busses within your drum bus (based on the drum type).
It comes in handy when working with multiple drum samples of the same type.
B. Route these group channels to the main drum bus.
This allows you to apply processing to each type of drum individually before they hit the main drum bus.
As well as allows for at least 2 layers of possible ‘bus.’
PRO TIP:
If you get super creative, this can even be another way to easily apply parallel processing.
For instance, you could apply different EQ or compression settings to your snare drums compared to your cymbals.
Advanced routing techniques like this require a bit more setup, but they can give you a higher degree of control over your drum mix.
They allow you to create more detailed and intricate mixes.
Advanced Mixing Techniques for Drums
Having harnessed the drum bus, let’s venture into the realm of advanced mixing techniques for drums.
Our first stop will be the use of AUX tracks (for incorporating reverb and delay).
-
Using AUX SEND Tracks for Reverb & Delay
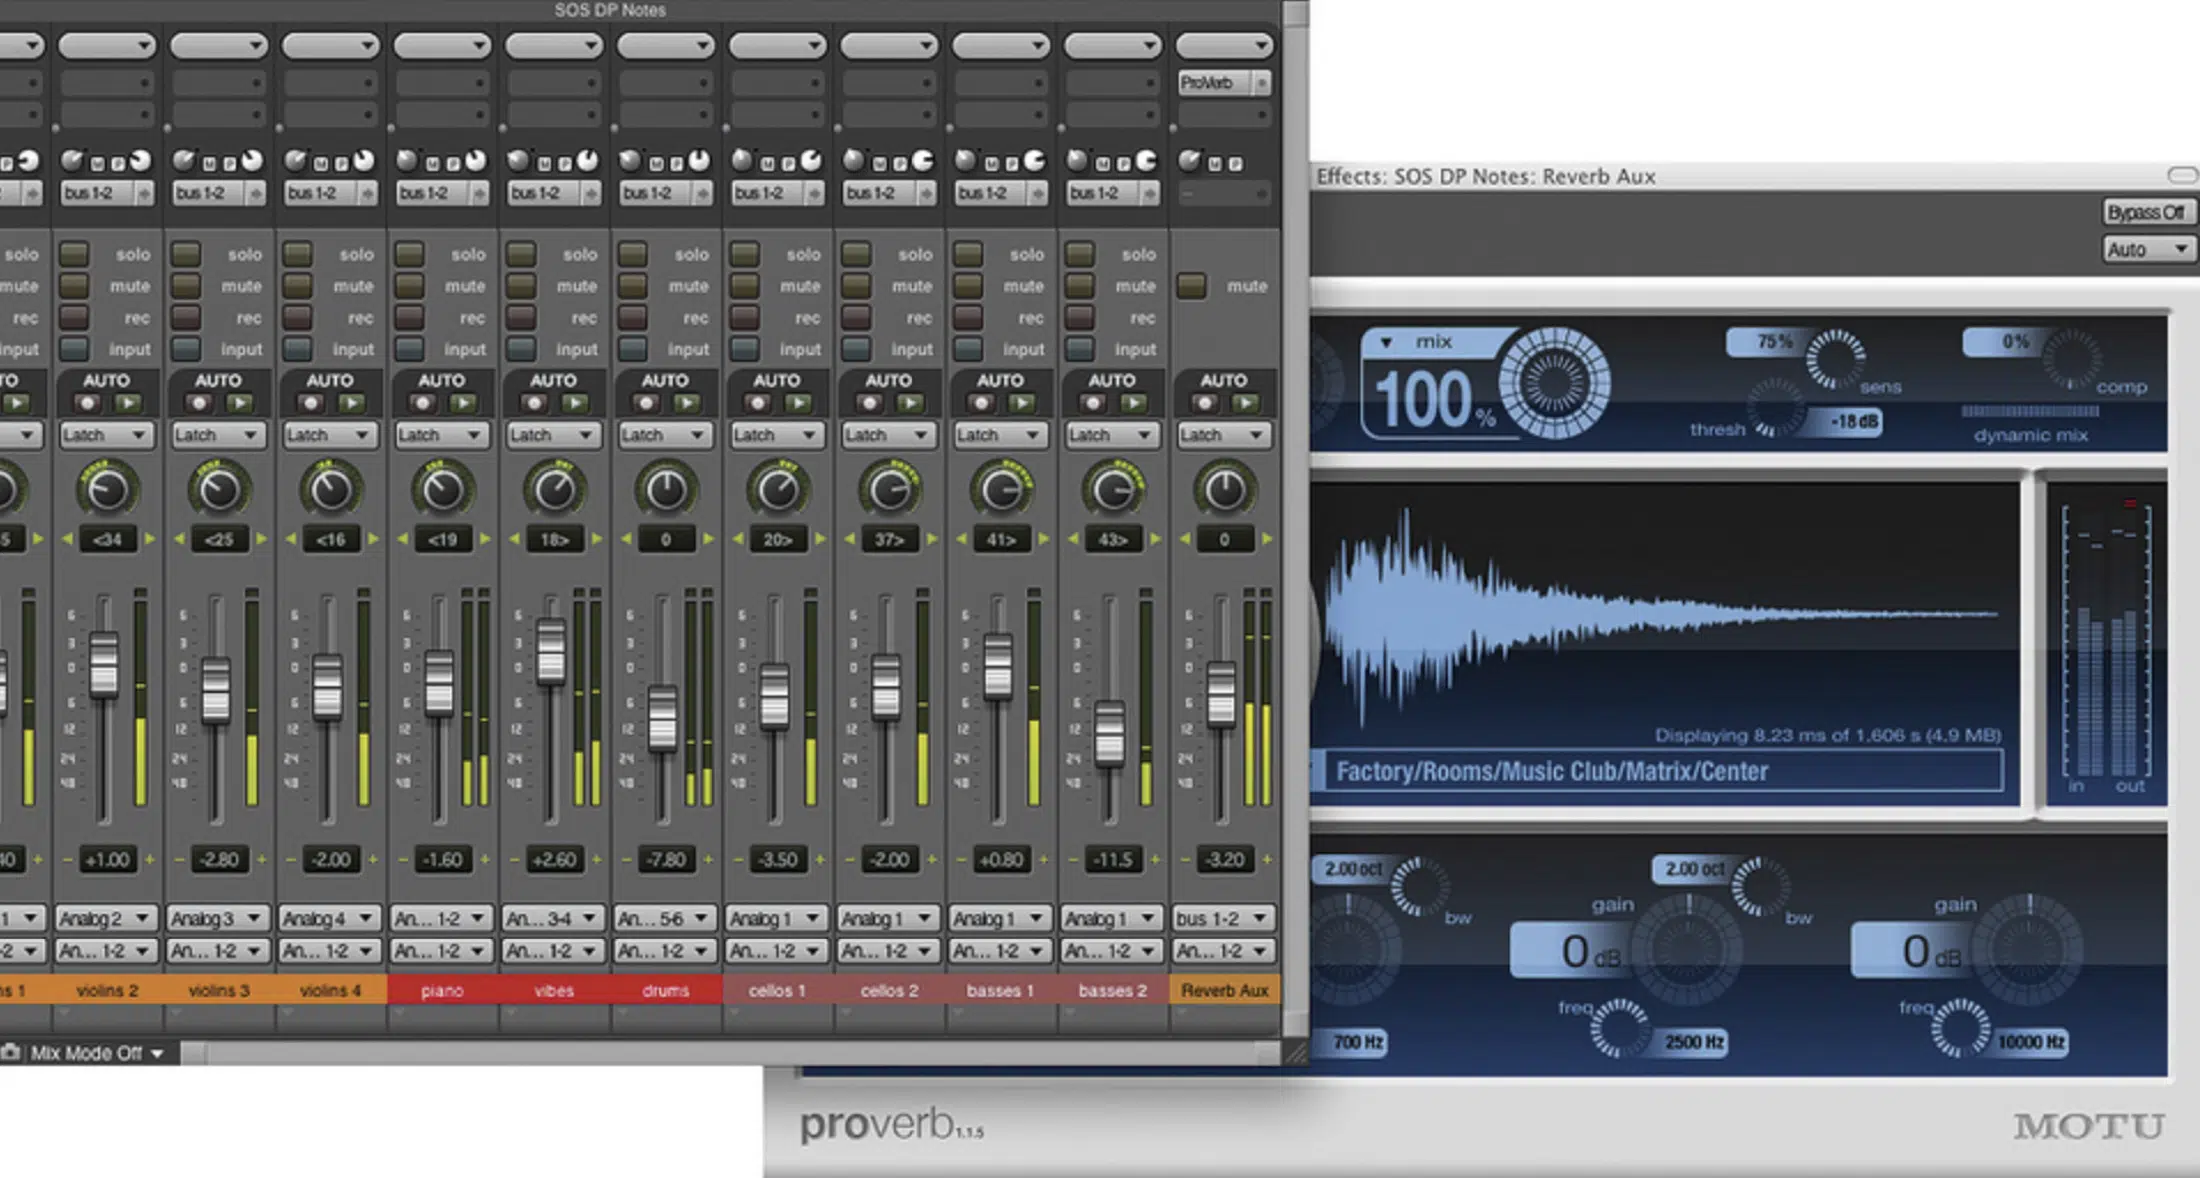
AUX Send/Return tracks can be a great tool for adding reverb and delay to your drum mix.
By sending your drum tracks to an AUX track with a reverb plugin or delay plugin, you can control the amount of effect applied to each drum.
This can help to create a sense of depth and space in your drum mix.
For example, applying more reverb to your snare drum and less to your kick drum can make it sound like the snare is further back in the mix.
Be careful not to overdo it, though 一 too much reverb or delay can make your drum mix sound washed out and unfocused.
Use these effects sparingly, and always listen in context with the rest of your mix.
PRO TIP:
One major benefit to adding effects like reverb and delay in this fashion is the fact that you can include it in the mix without it taking away from the original signal.
Just like in our newest plugin, Zen Master (free!), which uses many layers of parallel processing to work like this type of reverb without the hassle of setting it up.
The other benefit of taking this route (no pun intended) is that you’ll have full control of not just the effect being applied to AUX send, but the ability to process and contain its very own effect chain.
Meaning, you can mix your effect sends to absolute perfection!
Super cool, right?
-
Getting Aggressive: Distortion & Saturation on Drums
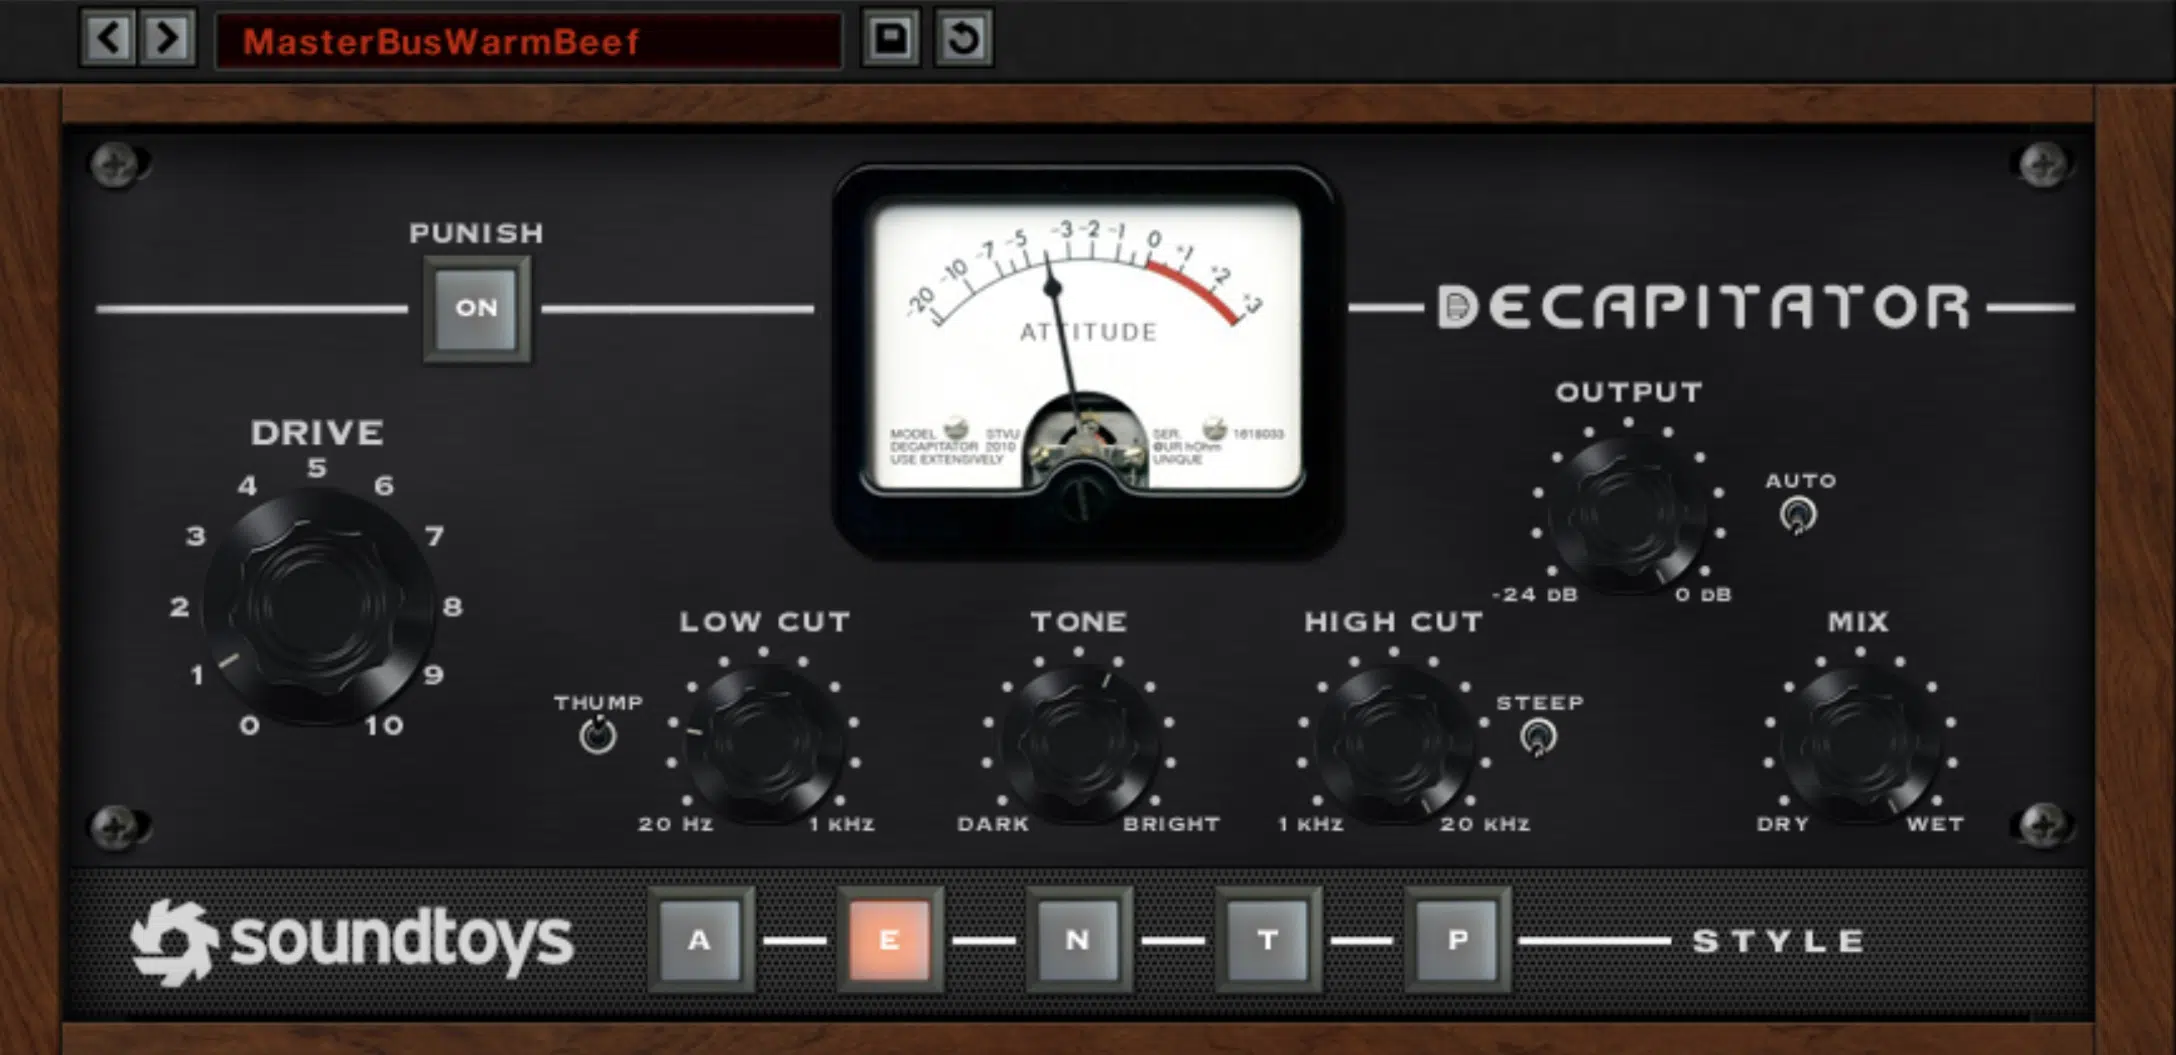
Don’t be afraid to get a bit aggressive with your drum mixing.
Applying distortion or saturation to your drums can add harmonics and grit.
It makes them sound more aggressive and cut through the mix like a steak knife, with ‘bite’ as long as the knives teeth.
No joke..
You could apply a bit of distortion to your snare drum to make it stand out in the mix, or saturate your kick drum to add some low-end warmth.
NOTE: Again, moderation is key; too much distortion or saturation can make your drums sound harsh and unpleasant.
Always listen in context with the rest of your mix, and use these effects to serve the song.
-
Creating Depth: Drum Layering
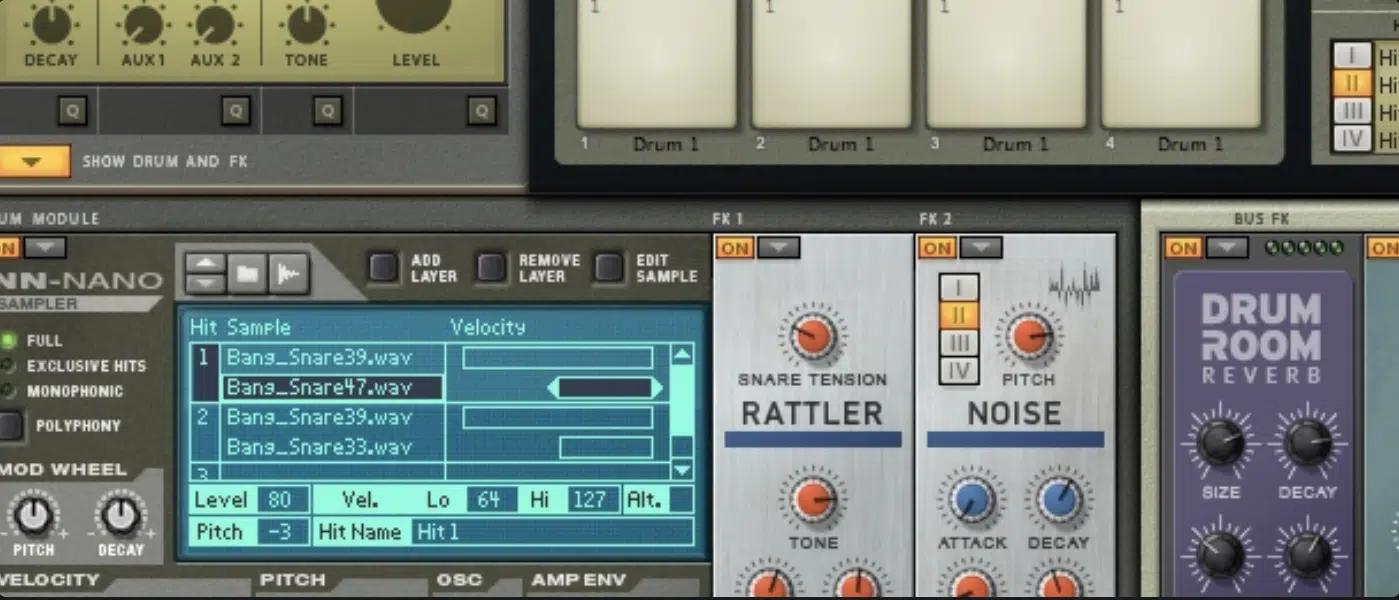
Drum layering is a powerful technique for creating depth and complexity in your drum mix.
This involves layering multiple drum sounds together to create a single, cohesive drum sound, a perfect drum sound if you will.
You could layer a sampled snare drum with a synthesized snare drum to create a unique, hybrid snare sound.
Or, you could layer multiple cymbal samples to create a complex, rich cymbal sound.
Layering can add depth and dimension to your drum sounds.
However, it also requires careful balancing and EQing to ensure the individual layers blend together smoothly.
It’s also important to check for phase issues when layering similar sounds (as these can cause your drums to lose punch and clarity).
Mixing Drums: A Focus on Hip-Hop
Having learned advanced mixing techniques, it’s time we zoom in on a genre-specific approach (hip-hop).
Let’s start with how to create punchy drum sounds that are characteristic of this genre.
-
Making Punchy Drum Sounds for Hip-Hop
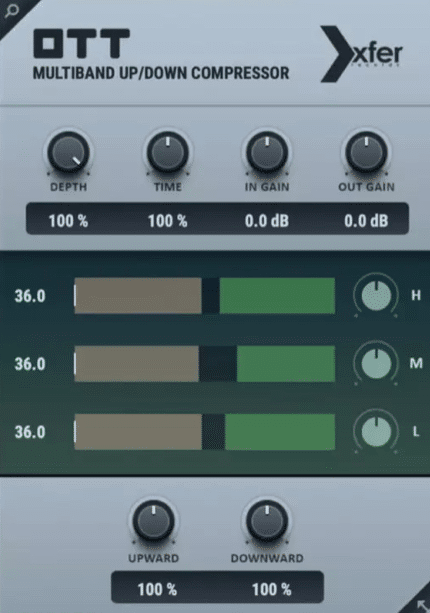
When it comes to hip-hop, the drums often form the backbone of the track and provide the rhythmic drive that propels the song forward.
Therefore, making these drums have a punchier sound is super important.
This can be achieved through a combination of:
- Careful sample selection.
- Precise EQing to highlight the punchy parts of the drum sounds (like the initial transient, the fundamental frequencies and/or the overtones of a kick drum).
- Judicious use of compression to keep the dynamics tight and controlled.
Remember, each hip-hop subgenre has its own unique drum sound.
This is usually defined by the processing, but specific genres can also have ‘exclusive’ drum types.
Generally, these overlaps make the mix a distinguishing factor.
For example, trap music often features tight, fast-rolling hi-hats, hard (synthetic) snares, and booming 808 kicks.
This was originally found in the Rolan TR-808 Drum Machine and Rhythm Sequencer.
It not just defined the overall sound of hip-hop and trap, since it’s birth, but also remained a staple that somehow gains more popularity by the day.
While, on the other hand, old-school hip-hop, techno, or house might favor the sound of classic drum machines (like the Roland TR-909 or TR-303 Machine).
It’s all about knowing what’s popular within that specific genre and making sure you nail it.
-
Importance of Snare Hits in Hip-Hop
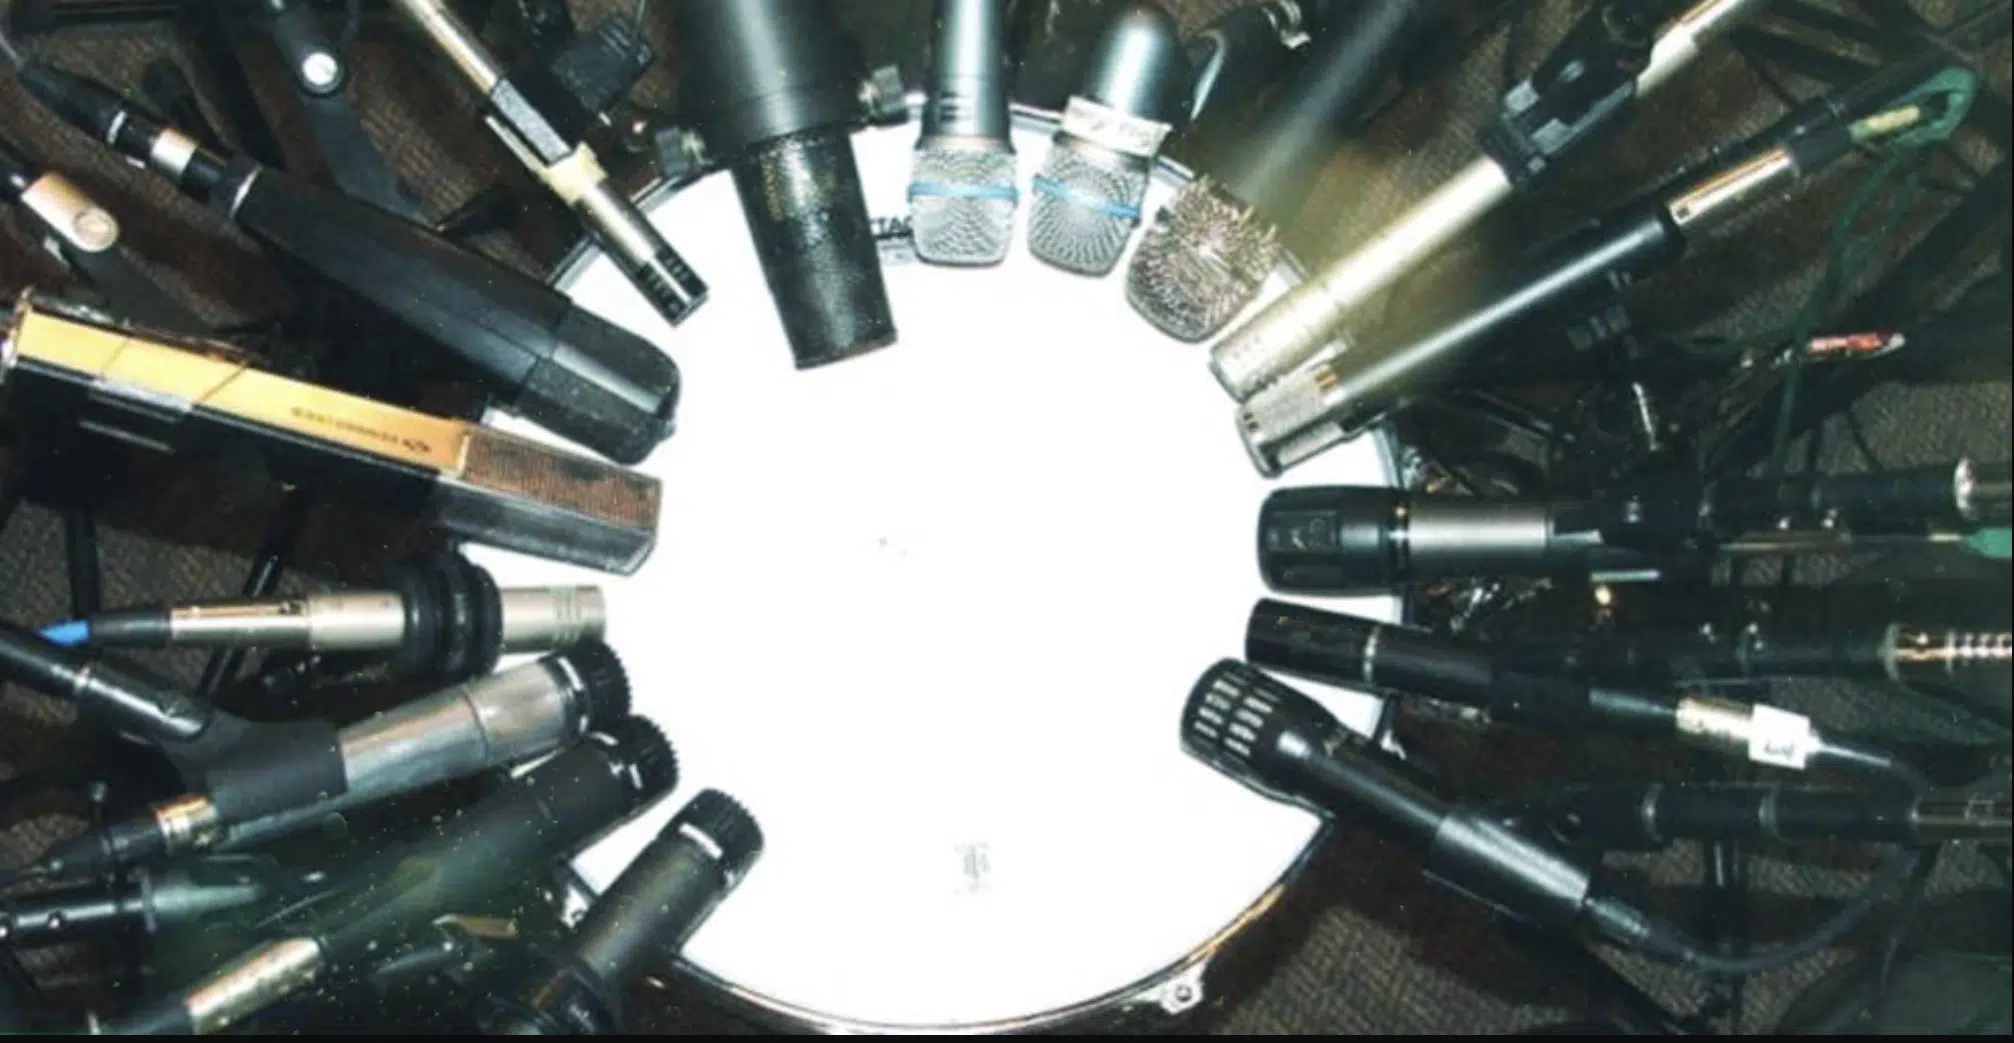
When you’re mixing drums, the snare drum is another essential element in hip-hop production.
A great snare sound can provide a catchy counter-rhythm to the kick drum, adding a sense of groove and bounce to the track.
Snare sounds in hip-hop can vary widely 一 from short, tight sounds to big, booming hits.
The choice of snare sound can significantly influence the vibe of your track, so take the time to select a sound that fits your vision for the entire song.
When mixing your snare, a combination processes can be use to shape the sound and make it fix in your mix, like:
- EQ
- Compression
- Reverb
Don’t forget about the other elements in the track.
Make sure your snare sound complements the vocals, bass, and other instrumental elements.
-
Adding Character with Vintage Drum Machines
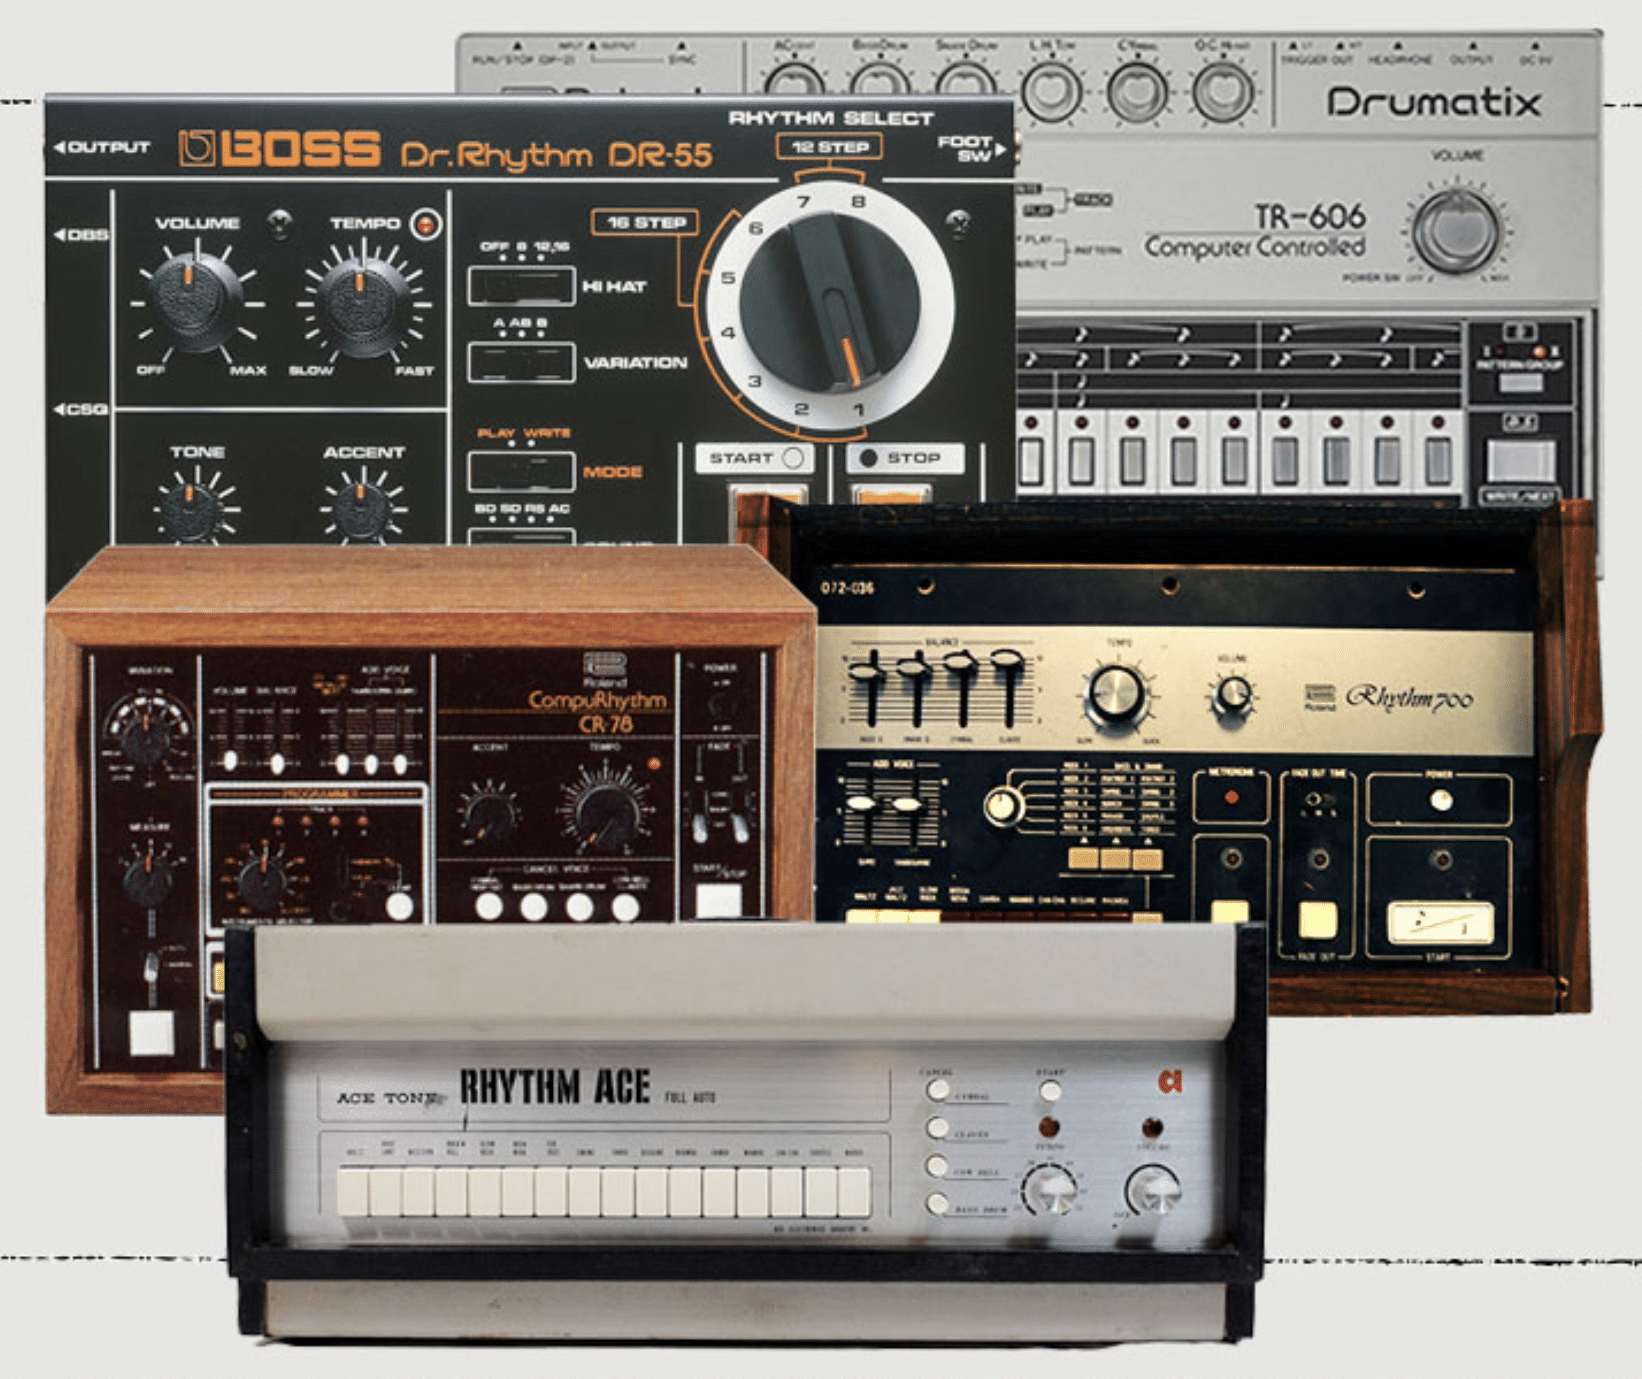
Vintage drum machines, like the Roland TR-303, TR-808 and TR-909, are a staple in many hip-hop tracks.
These machines have a distinctive sound that can add a lot of character to your tracks.
Many modern DAWs and drum plugins include samples from these vintage machines, allowing you to incorporate their unique sound into your productions.
Layering these sounds with modern drum samples can result in a unique blend that captures the best of both worlds.
You can also experiment with processing these vintage drum sounds using EQ, compression, and other effects to further shape and customize their sound.
Just remember, the key is to serve the song 一 make sure your drum sounds contribute to the overall vibe and feel of the track.
PRO TIP:
Don’t forget, when you mix drums, with some analog-modeled processing, you’re able to quickly give any drum track (or sample) a similar vibe.
Yes, even if you’re using more modern drum sounds.
Plus you’ll achieve the ‘weight’ you would get only from an analog drum machine.
The Final Polish: Enhancing Your Drum Mix
Now that we’ve delved into genre-specific techniques, let’s turn our attention to the final touches.
This involves enhancing your drum mix with a focus on creating a dimensional sound, beginning with exploring stereo width and depth.
-
Stereo Width & Depth: Creating a 3D Drum Mix
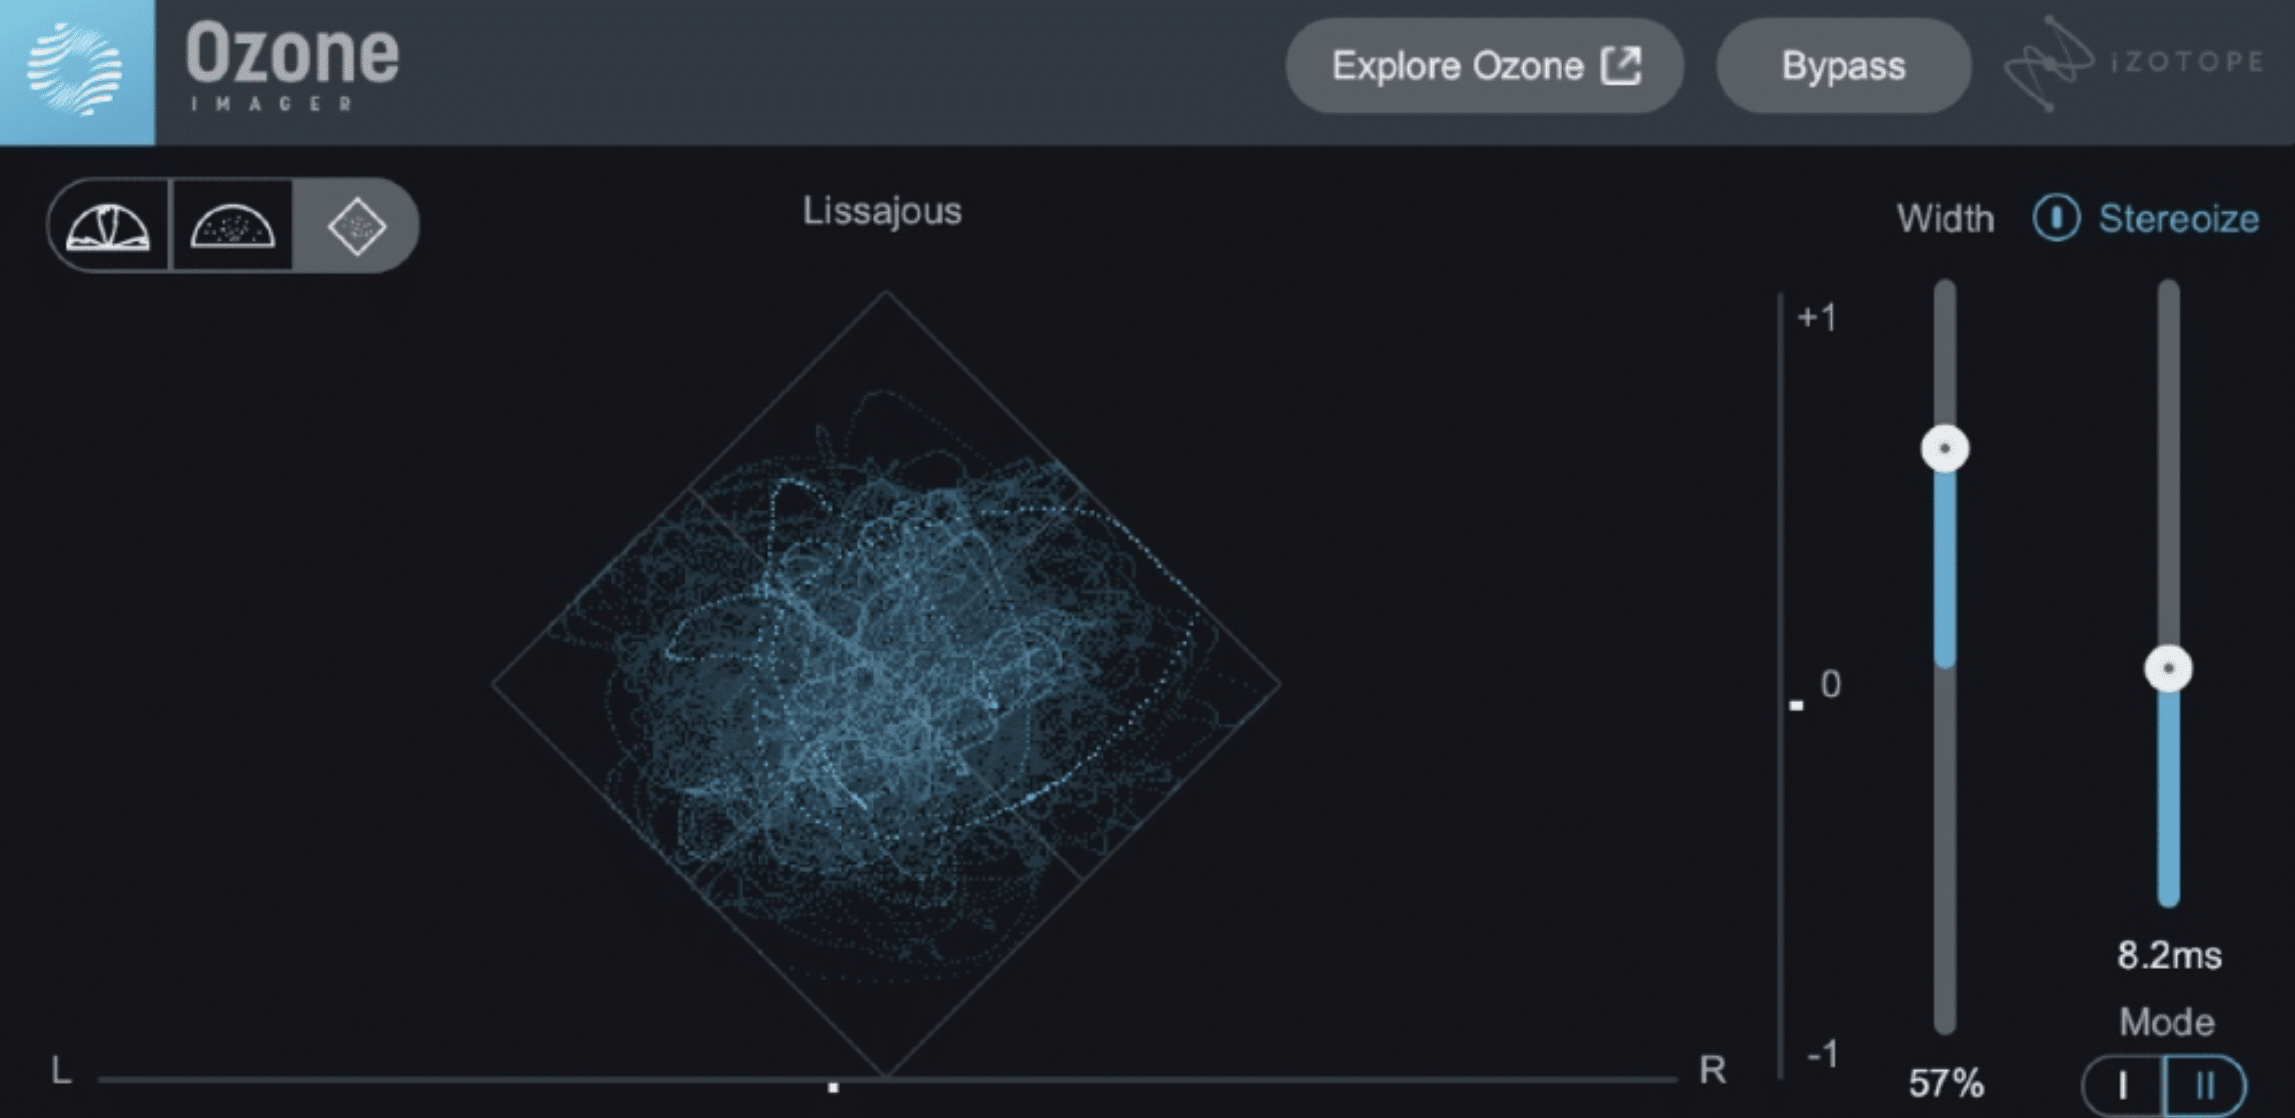
One of the keys to a great drum mix is creating a sense of space and dimension.
This involves panning your drums to create stereo width, and using effects like reverb and delay to create depth.
However, creating a 3D drum mix is about more than just learning to pan drums and add effects.
It also involves:
- Carefully balancing the levels of your drums
- Enhancing the stereo image with a stereo-imaging or width plugin/effect
- Shaping the tone and dynamics of each drum with EQ & compression
A well-balanced, 3D drum mix can help your drums to sound more natural and cohesive, and can make your mix sound more professional and polished.
-
Enhancing Transients for Sharper Drum Hits
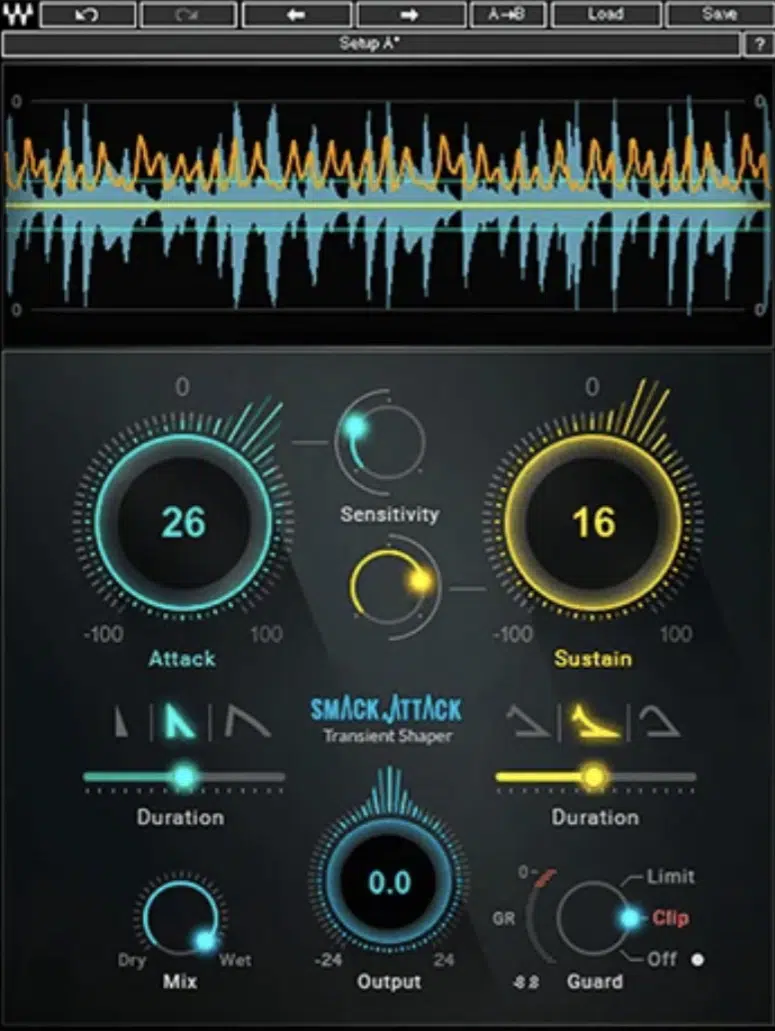
The transient (the initial attack of a drum hit) is crucial for the perceived punchiness and clarity of your drum sound.
By transient shaping tools, carefully set compressors, limiters, or even dynamic EQ’ing you can enhance these transients to make your drum hits sound sharper and more defined.
Transient shapers typically offer control over the attack and sustain of a sound 一 allowing you to sharpen or soften the initial hit and control the decay of the sound.
This can be especially useful on drums like snares and kicks, where the punchiness of the initial hit is crucial.
When enhancing transients, always consider the overall balance of your mix.
Sharper transients will make your drum hits stand out more, but they can also potentially clash with other transient-heavy elements like acoustic guitars or a piano.
On top of that, increasing the transients so they’re bigger, punchier, and harder is far from the best thing for your samples or tracks as a whole.
As always, listen in context and make decisions that serve the song as a whole.
Taming the Low-End: Kick Drum & Sub Bass
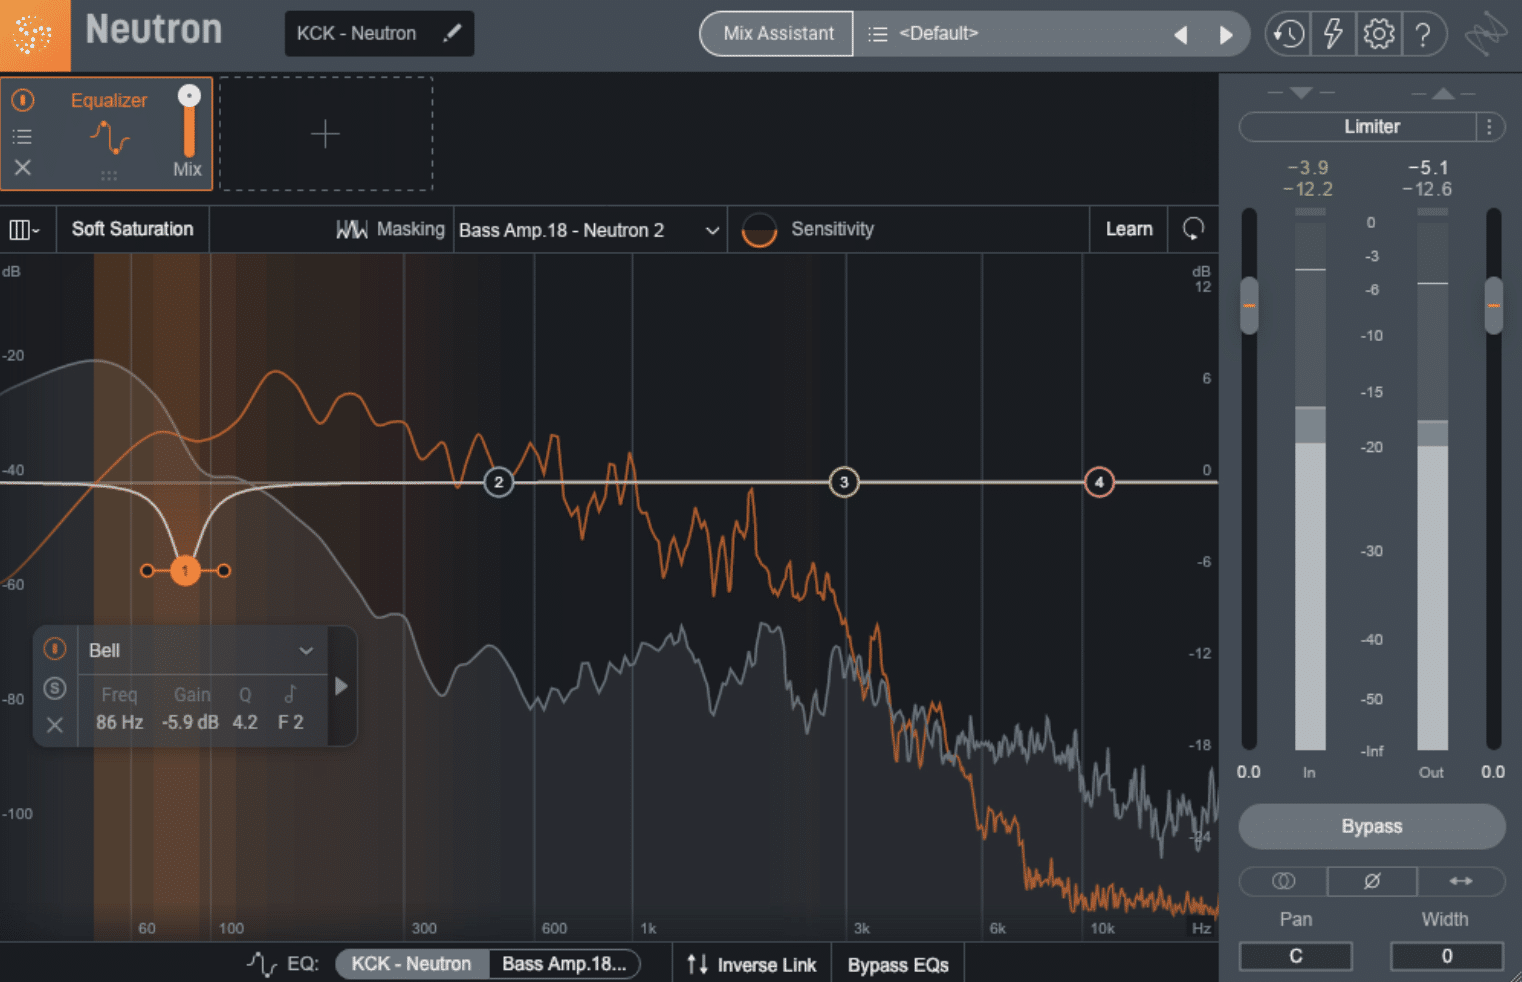
In any drum mix, managing the low end is critical.
The kick drum and sub-bass elements carry a lot of energy, and if not properly controlled, they can easily dominate the mix and make it sound muddy.
EQ is your primary tool for controlling the low end.
High-pass filtering can remove unnecessary low-frequency content from your non-bass elements, leaving more room for your kick and sub-bass to breathe.
On the kick drum itself, careful EQing can help to emphasize its punch without letting it become boomy or overpowering.
Complementary EQ or “EQ carving” is another effective technique for managing low-end elements.
This involves cutting certain frequencies in one track to create space for those same frequencies in another.
For instance, you might carve out some space in your sub-bass to allow the punch of your kick drum to come through more clearly.
Compression can also be used to control the dynamics of your low end 一 helping to ensure that your kick drum and sub-bass sit consistently in the mix.
By setting your compressor to only trigger on the loudest hits, you can maintain the natural dynamics of your kick and sub.
While preventing them from ever becoming too overpowering, mind you.
PRO TIP
Sometimes, for drums, if you’re looking to compress and really hit them hard with dynamic processing, a compressor can always be swapped out and replaced with a limiter.
BONUS: Breaking Down Mic Types (For Those Recording Live)
Even though our focus throughout this guide has been primarily on digital music production, I understand that many of you may also dabble in naturally recorded drums.
So, here’s a quick rundown of some microphone types you’ll want to be aware of when recording drums, like individual drum mics, overhead and room mics.
Let’s figure out how drum set sounds natural.
-
Room Mics
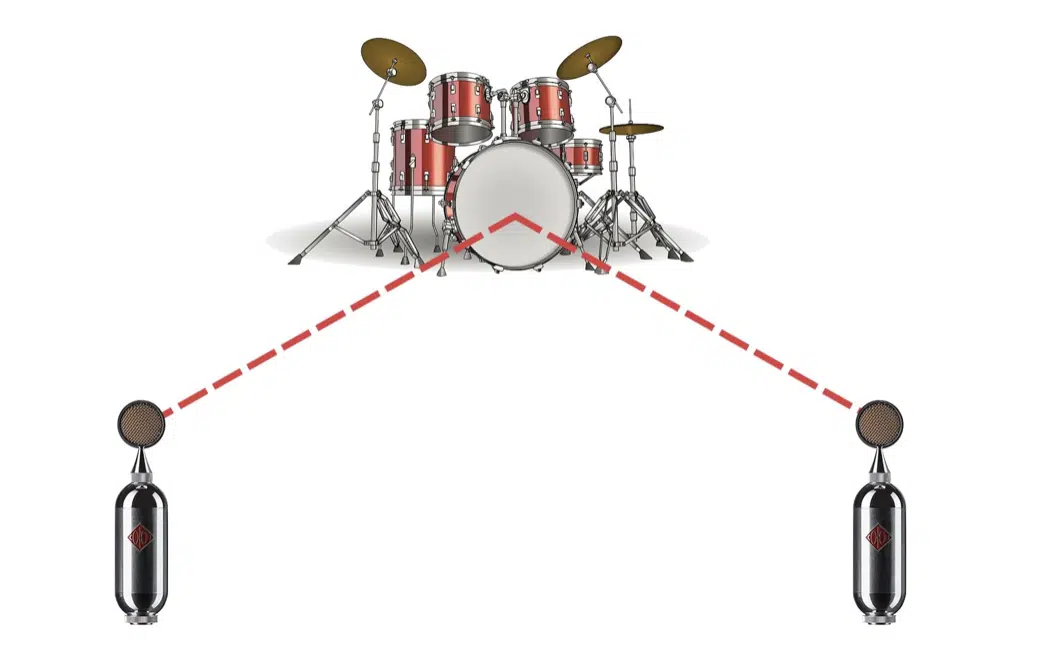
Room mics play a crucial role in capturing the ambience and natural reverberations of the room in which the drums are being recorded.
They are usually placed a considerable distance from the drum kit to pick up the overall sound of the kit within the context of the room’s acoustics.
Experiment with positioning your microphones to capture the best possible mix of direct and reflected sound.
-
Overhead Mics
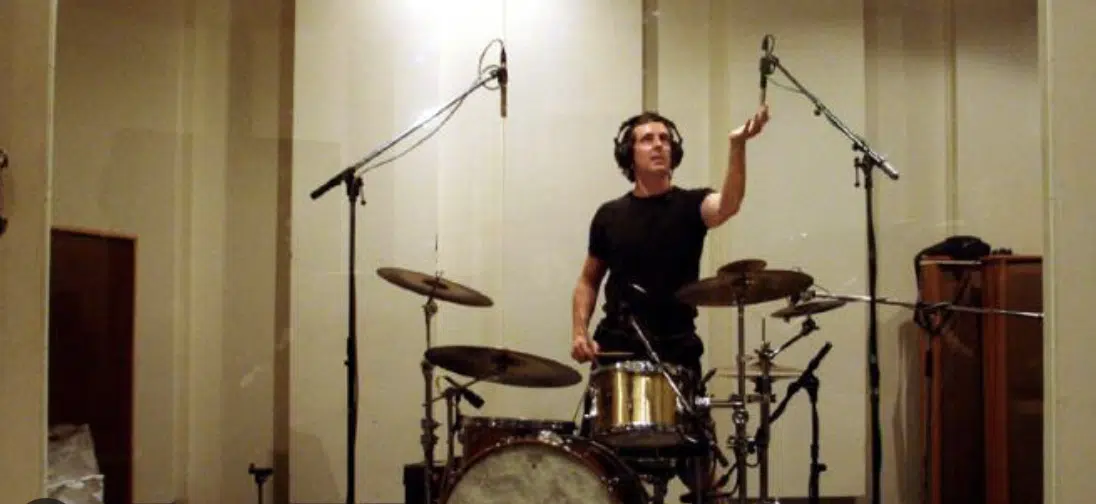
Overhead mics serve as the primary source for cymbal sounds and often capture a balanced image of the entire drum kit from above.
They can be placed in a spaced pair configuration or a coincident pair for stereo imaging.
The right positioning can provide a natural, cohesive mix of the drum set, while allowing for more control in post-production.
-
Drum Mics
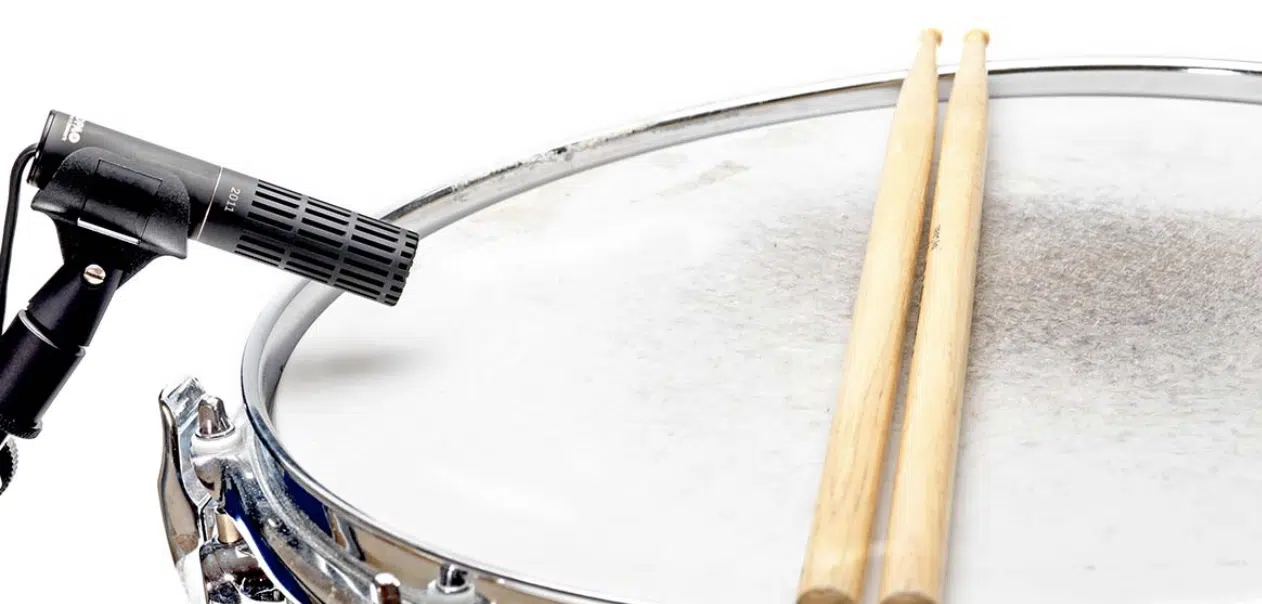
Drum mics (or close mics) are used to capture the sound of individual drums within the kit.
They are usually placed in close proximity to the respective drum or cymbal.
From dynamic mics for the kick and snare to small-diaphragm condensers for the cymbals, the choice of mic and its placement can significantly impact the tonal qualities of each drum hit.
Remember, these are general guidelines and starting points.
The world of mic’ing drums is rich and complex, so don’t be afraid to experiment and find what works best for your specific recording situation.
Mixing Drums: Final Thoughts
There you have it, you’re now equipped with the insider knowledge to mix drums like an absolute pro.
Remember, when it comes to mixing drums, the magic lies in your creativity, how you tweak these techniques, and how you make them your own.
Speaking of creativity, to add an extra layer of uniqueness to your mixes, you should download these outstanding, expertly-crafted, completely free one-shot essentials.
They’re perfect for layering with traditional drum hits, as they’ll allow you to create your very own cutting-edge hybrid drum kits.
It’s a great way to craft a sound that’s uniquely yours and provide an added edge to your music.
You won’t even believe what you’ll be able to create using those unique one-shots and techniques we’ve talked about today.
Remember, keep practicing, keep experimenting, and most importantly, keep the beat alive.
Remember, music production is a journey 一 every mix is a learning experience.
So, go ahead, start mixing drums and show the world how dope your beats can truly be.
Until next time…


Leave a Reply
You must belogged in to post a comment.