Learning how to arrange music, or doing so like an absolute professional can be challenging, even for the most seasoned producers.
The process involves much more than just understanding music theory or having an ear for melody.
It requires the ability to envision the big picture while simultaneously paying attention to the tiny details.
Luckily, we’ve got you covered.
In this guide, we’ll take you on an exploratory journey into the world of music arrangement 一 from start to finish.
Whether you’re a new producer or a seasoned veteran looking to polish your skills, there’s something in here for you to ensure your song feels genuine and well-crafted.
In today’s article, we’ll cover:
- How to arrange music like a pro ✓
- Structuring your song for the maximum emotional impact ✓
- Creating compelling chord progressions that add depth to your music ✓
- Laying down the rhythmic foundation of your song with drums & bass ✓
- Crafting & arranging lead vocals that narrate your story effectively ✓
- Utilizing additional instruments for added appeal ✓
- Perfecting your song structure & dynamics for a balanced song ✓
- The production process: from pre-production to the final recording ✓
- Polishing your track with professional mixing & mastering techniques ✓
Not only that, but we will also delve into some advanced tips and tricks to make sure your full song arrangement stands out from the rest.
Plus, we’ve included specific examples, expert tips & techniques, and insider information to make the process of song arrangement not just easy to grasp, but fun as well.
So, let’s dive in…
Table of Contents
- How To Arrange a Song: Structuring Your Musical Composition
- Sketching the Basic Song Structure: Verses, Choruses & Bridges
- Setting the Tempo & Key
- Crafting the Melodic Backbone: Chord Progressions
- Designing Your Unique Progression
- Laying the Rhythmic Foundation: Drums & Bass
- Crafting & Arranging the Lead Vocal
- Adding Depth To Your Tracks
- Creating Dynamics: Building Tension & Release
- The Music Production Process: From Pre-Production to The Recorded Version
- The Final Polish: Mixing & Mastering Your Musical Composition
- BONUS: 5 Tips To Ensure Your Song Arrangement Is Ideal
- How To Arrange Music: Final Thoughts
How To Arrange a Song: Structuring Your Musical Composition

The first stage in the process of song arrangement is the inception of a musical idea.
This idea is a spark, a small flame that ignites the creative process.
It can come from anywhere 一 a beautiful sunset, a catchy guitar riff, a lyric, a groove, a previously composed musical idea, etc.
I often find these sparks when I’m experimenting with my acoustic guitar or playing around with my music production software.
As music producers, our role is to recognize these sparks and nurture them into flames.
But how do we do that?… Well, the first step is to capture the idea as soon as it comes.
Whether you hum it into your phone or scribble it down on a piece of paper, the aim is to prevent it from vanishing.
In this stage, don’t be afraid to experiment.
Play around with your musical idea and see what masterpieces you can make come to life.
Try it in different keys/tempos, or add a groovy bassline and a counter-melody; the possibilities are truly endless.
The aim is to explore the potential of the idea, to see where it can go.
This is a time for creativity, breaking boundaries, and trying new things.
After all, as music producers, we’re not just technicians, we’re musical magicians.
Sketching the Basic Song Structure: Verses, Choruses & Bridges
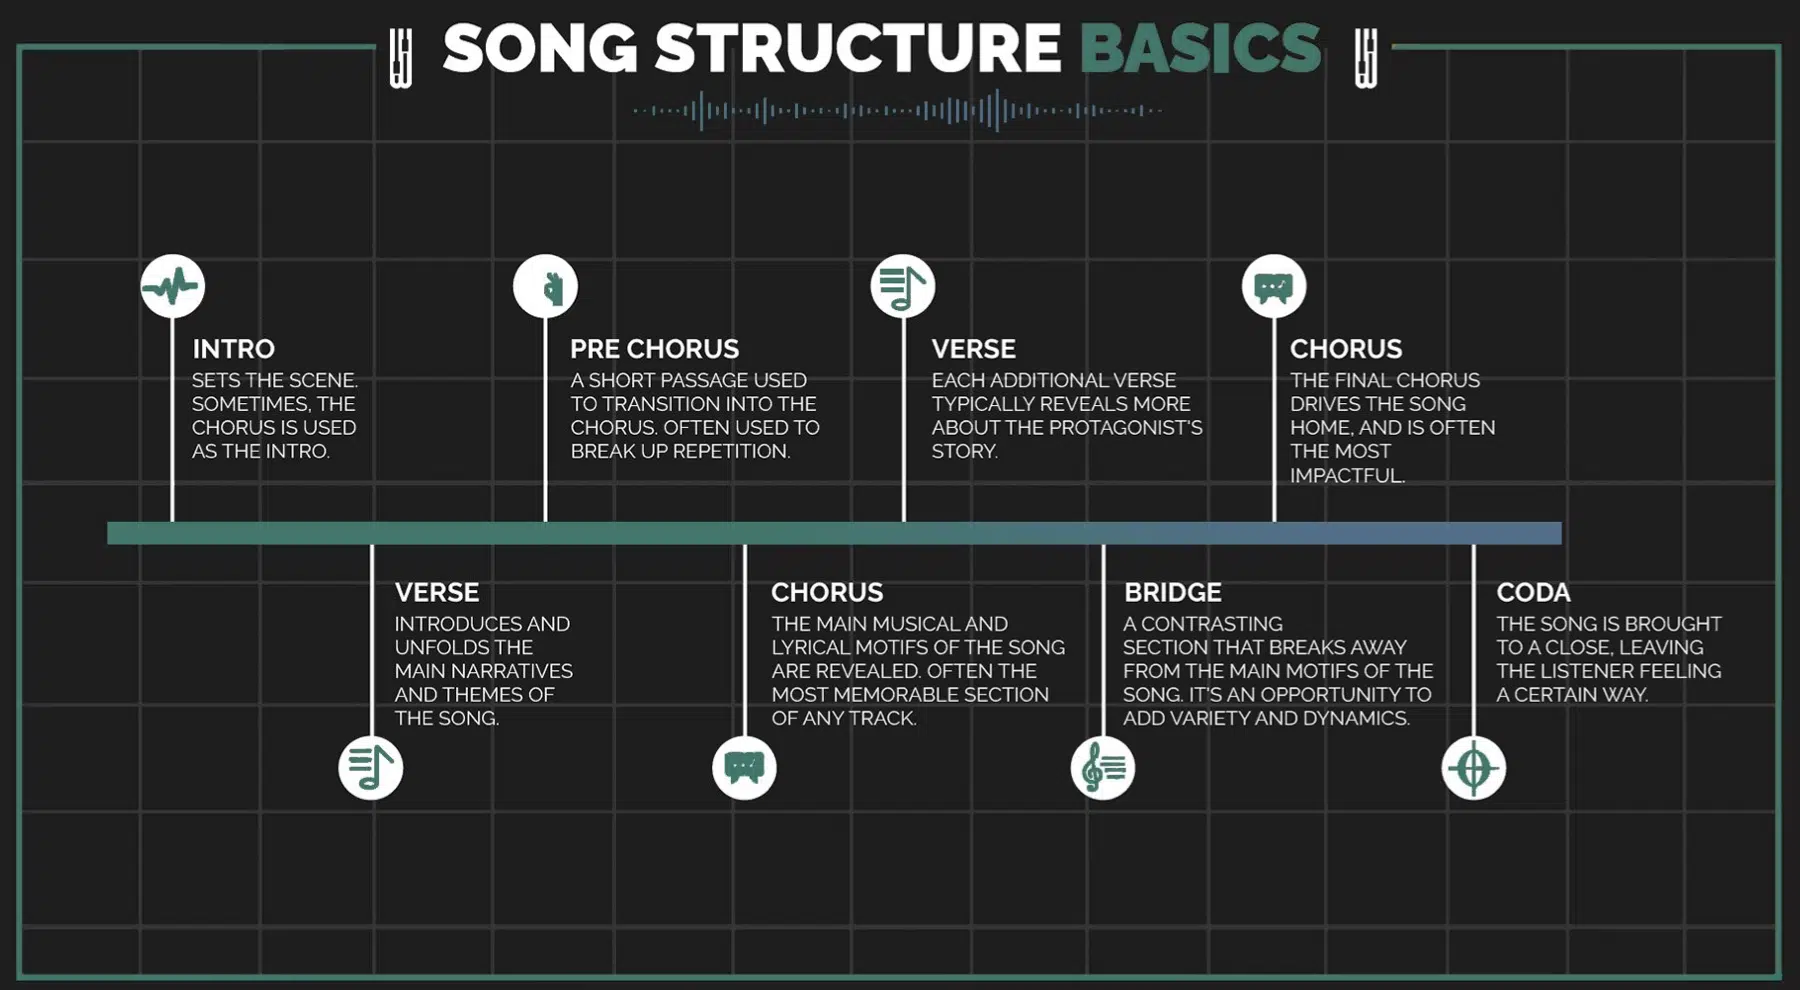
Once we have a mature musical idea, we need to think about how it fits into a song structure.
The structure of a song is like a skeleton 一 it holds everything together.
And the most common song structures usually contain:
- Verses
- Choruses
- Bridges
Let’s discuss each of these elements and their role in the song arrangement.
A. The Verse
The verse is where you tell the story.
It’s usually the first section of the song, and it’s where you’ll introduce the main melody line.
In most songs, the verse carries the bulk of the lyrics and is often melodically simpler than the chorus.
Think of the verse as a journey: it’s leading the listener somewhere.
As a music producer, you need to make sure this journey is engaging and prepares the listener for what’s to come.
B. The Chorus
The chorus is the destination and the catchiest part of the song.
It’s the part that people will remember, sing along to, and (hopefully) get caught in their heads for days.
It’s usually more energetic and melodic than the verse, and it often contains the song’s main theme or hook.
It helps your song encompass that “it factor” that people cling to.
When arranging music, pay special attention to the chorus 一 It’s your chance to make a statement, capture the listener’s attention, and make your song memorable.
C. The Bridge
The bridge serves a special function… It provides contrast and a sense of surprise, breaking the repetition between the verse and chorus.
This is your chance to:
- Introduce a new musical idea
- Change the song’s tempo or key
- Add a solo
The bridge isn’t present in all songs, but when used effectively, it can add depth and complexity to your arrangement.
When sketching your song structure, consider the energy and flow of your song.
A good song is like a roller coaster 一 it has highs and lows, moments of tension and release, and key moments.
The structure of your song should always reflect this.
You might start with a verse to set the scene, move into a high-energy chorus, and return to another verse to develop your story.
Then, even throw in a bridge for a surprise before returning to the chorus for a final, satisfying conclusion.
Whatever you do, make sure it flows well, sounds epic, and will capture your audience’s attention.
Setting the Tempo & Key
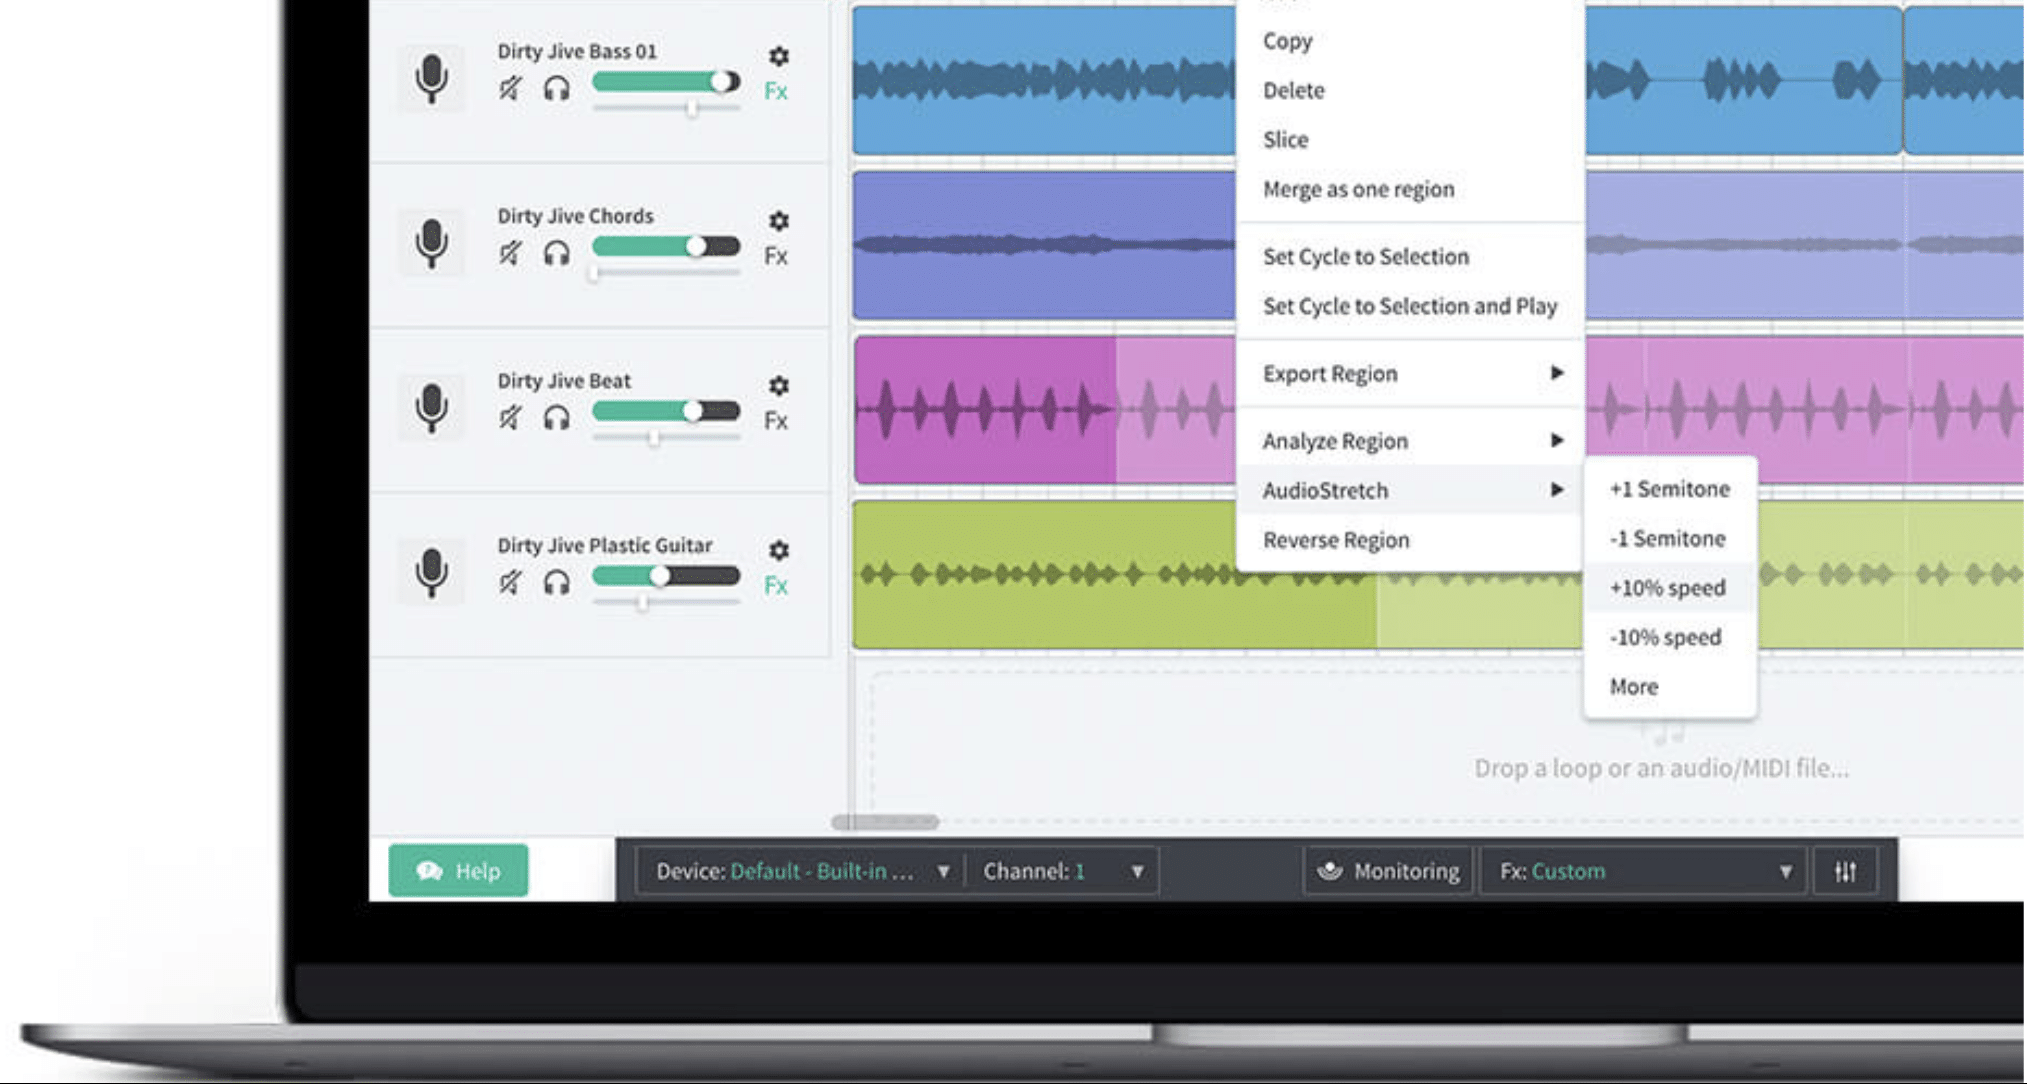
The tempo and key are two fundamental aspects of your song that can dramatically affect its mood and energy.
They set the scene for your musical story, so it’s important to choose them carefully.
The tempo of your song dictates its speed:
- A fast tempo 一 Creates a sense of energy and excitement.
- A slow tempo 一 Evokes emotions of sadness or introspection.
Think about the mood you want to convey with your song, as this will guide your choice of tempo.
NOTE: the tempo isn’t set in stone.
Feel free to experiment and adjust it as your song evolves.
The key of your song determines the pitch of your melody and chords; different keys can evoke different feelings.
- A song in a major key 一 Sounds happy or triumphant
- A song in a minor key 一 Sounds sad or mysterious
When considering the key of your song, think about the singer’s vocal range, the feelings you want to convey, and the other instruments you’ll be using.
Choosing the right tempo and key is like setting the stage for a play.
They establish the basic framework within which your musical story will unfold.
Crafting the Melodic Backbone: Chord Progressions
Music is a language, and chord progressions are its sentences.
These sequences of musical chords provide the harmonic backbone of your song and are vital in creating emotion and movement.
Starting with the basics, a chord progression is created when we play chords in a particular sequence.
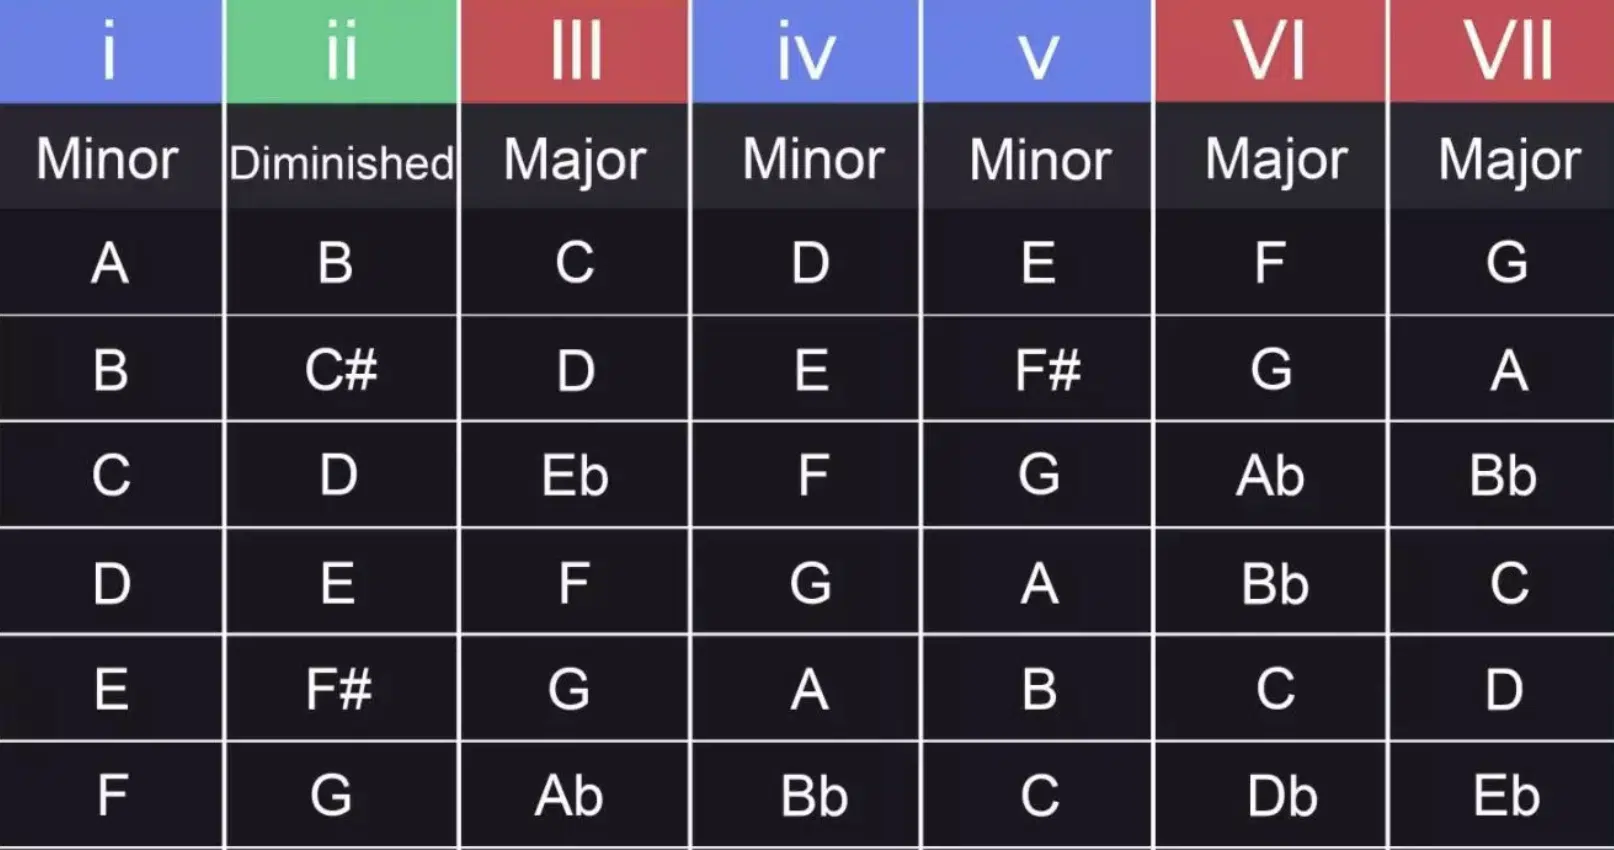
Most Western music is based on diatonic scales, meaning it has seven unique notes (plus the octave), which form the basis for seven unique chords.
These chords are labeled I to VII (or i to vii in a minor scale).
For instance, in the key of C major, we would have: I (C), ii (Dm), iii (Em), IV (F), V (G), vi (Am), vii° (Bdim).
The most common chord progressions in popular music are:
- I-IV-V, ii-V-I
- vi-IV-I-V
These aren’t rules set in stone but more like guiding principles.
For instance, the classic ‘four chords of pop songs’ progression (vi-IV-I-V) 一 used in numerous hit songs like Adele’s “Someone Like You” 一 demonstrates the timeless appeal of these fundamental progressions.
While using these popular progressions can make your song instantly catchy and recognizable, don’t be afraid to experiment.
For instance, try:
- Inverting chords (changing the order of the notes in a chord)
- Adding seventh, ninth, or eleventh chords for a jazzy touch
- Borrowing chords from a parallel key
When it comes to advanced chord progressions, it’s always a good idea to play around and see what you stumble upon.
Designing Your Unique Progression
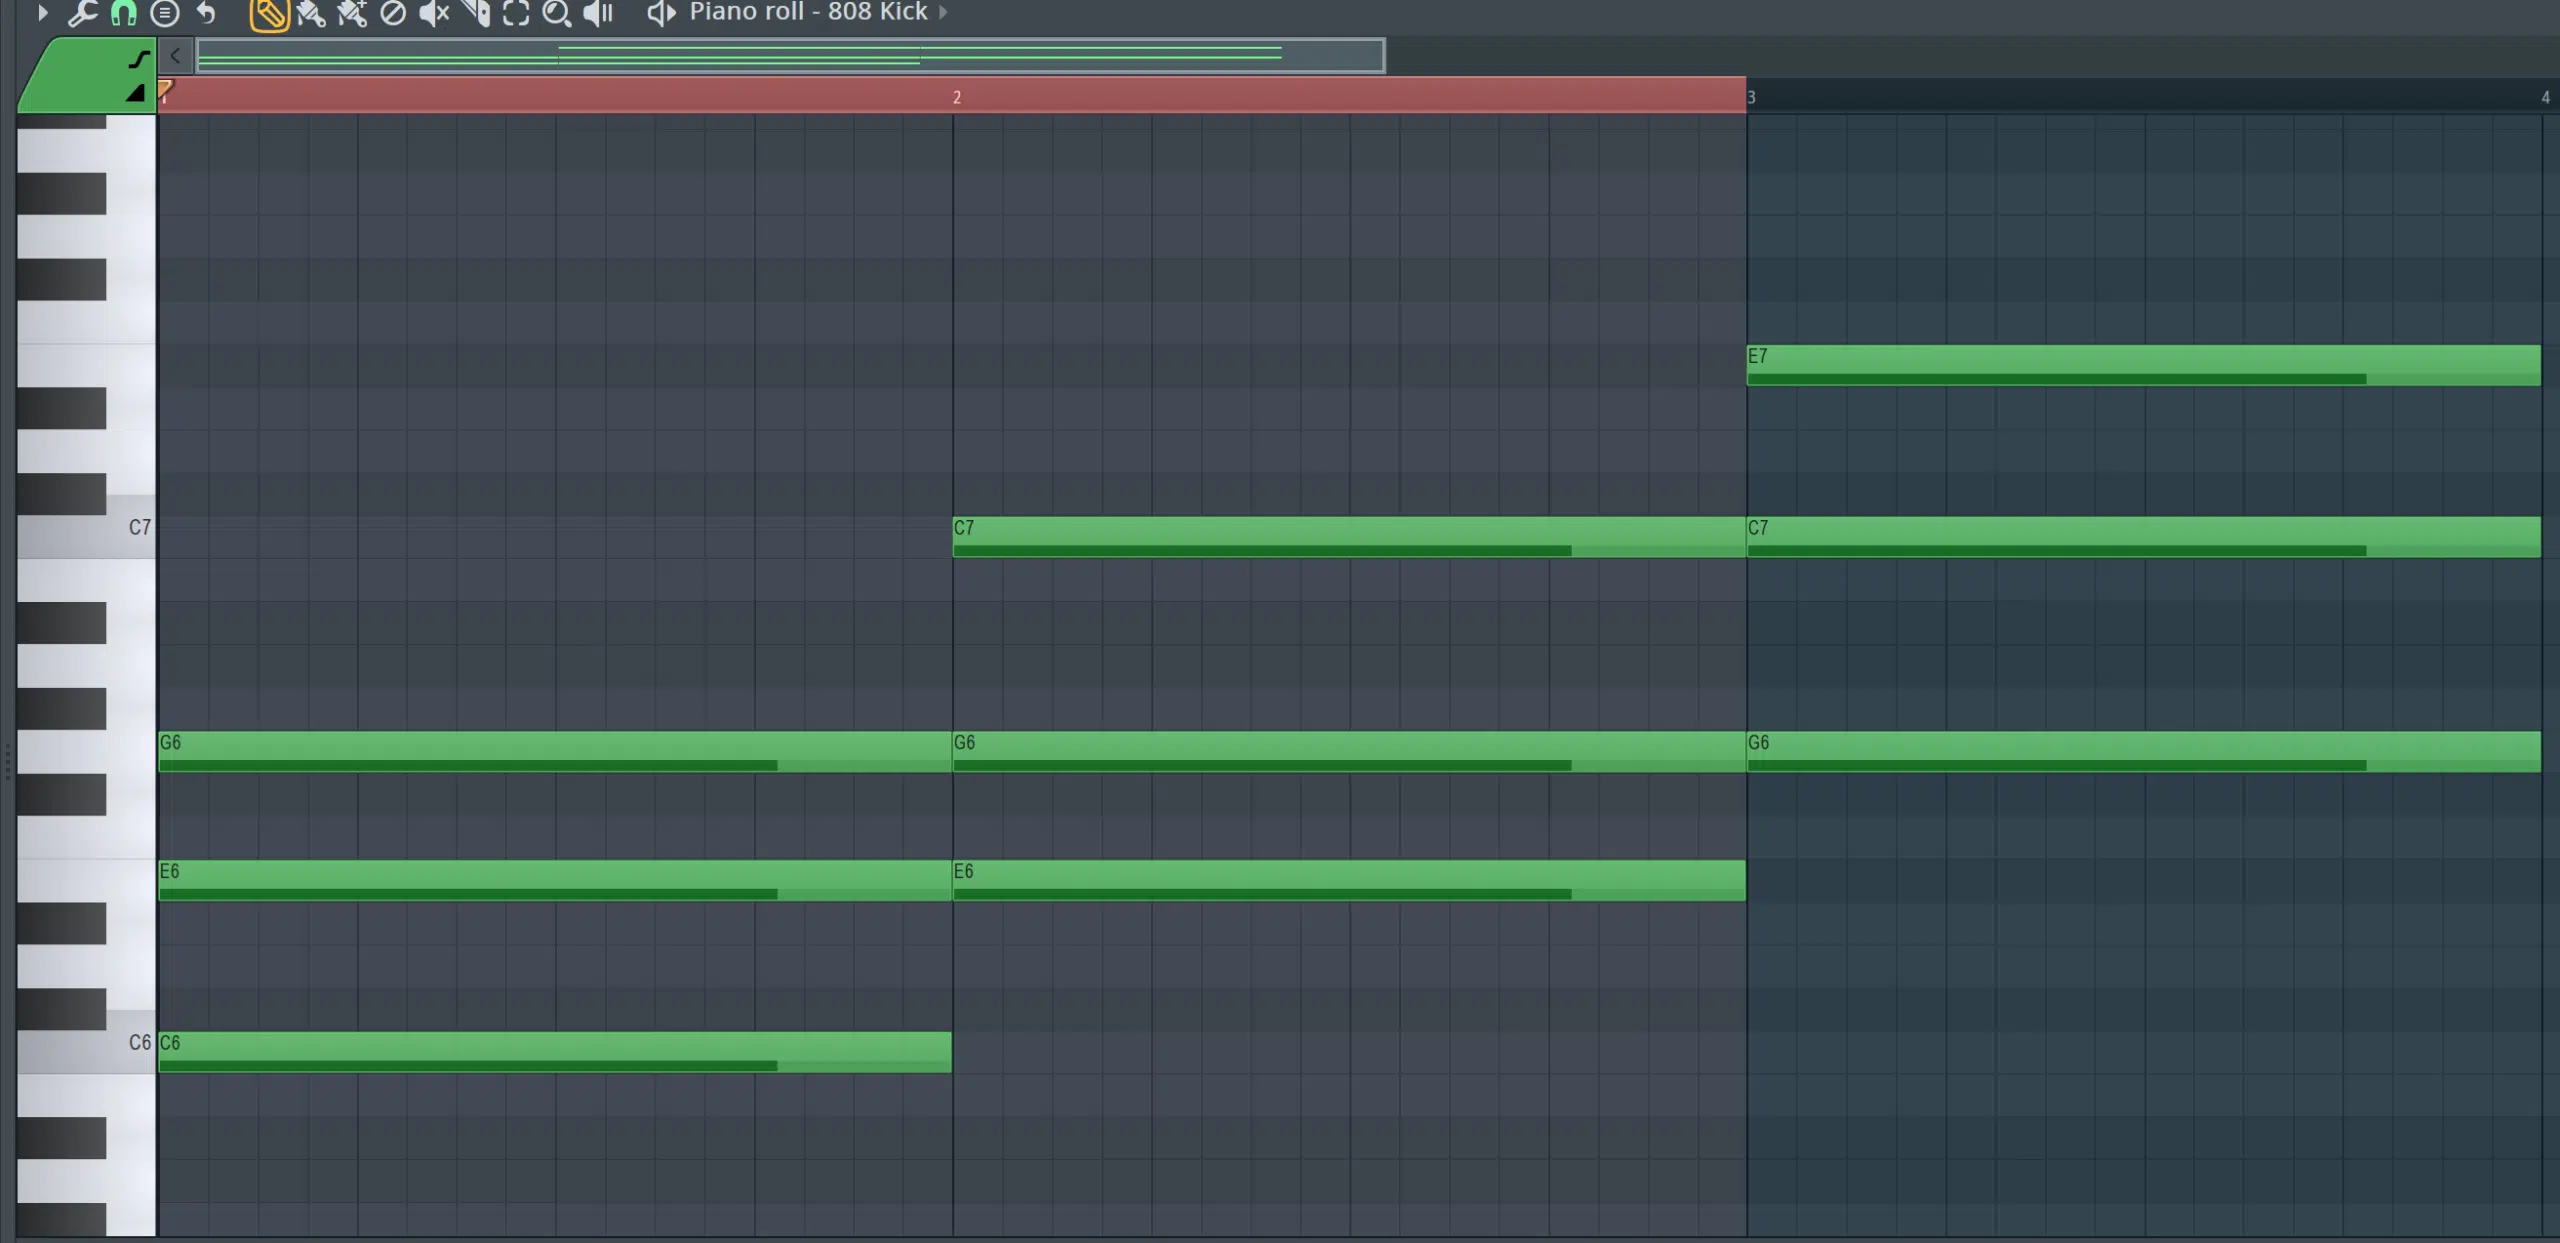
While there are standard chord progressions that many songwriters rely on, it’s crucial to create your unique chord progressions to establish your sound as a music producer.
Start by understanding the emotion you want to evoke.
Different chord progressions, like Major chord progressions and minor chord progressions, can lead to different emotional responses.
For example, the I-IV-V progression generally creates a happy and uplifting vibe.
While a vi-IV-I-V progression, on the other hand, might add a hint of melancholy to your song (it’s all about knowing what you’d like to convey).
One trick is to take a well-known chord progression and modify it, such as:
- Altering the rhythm of the chords
- Changing their order (inverting)
- Adding a surprise chord from outside the key
For example, Radiohead’s “Creep” uses the I-III-IV-iv progression, which is a slight twist on the more standard I-IV-V-iv progression 一 giving the song its distinctive mood.
Finally, don’t overlook the importance of instrumentation and arrangement in shaping the feel of your chord progression.
A certain progression played on an acoustic guitar (or electric guitar) will sound entirely different when played on a synthesizer, MIDI keyboard, or piano.
Experiment with different instrument sounds and voicings to see how they can influence the overall vibe of your chord progression.
As a music producer, it’s almost your job to break the rules and push the boundaries, so never feel confined or limited.
Pro Tip:
When listening to your reference tracks, try to identify the chord progressions.
You’ll probably notice that many of them stick to relatively simple structures, however, take note of how each unique artist makes these structures their own…
Listen for changes in the progression during different sections of the song and pay attention to the rhythm of the chords.
- Are they held for whole bars, or do they change more quickly?
- Is the rhythm of the chord strumming consistent?
- Does it change to highlight certain parts of the song?
These analytics techniques are all tools you can use throughout your entire song arrangement.
Laying the Rhythmic Foundation: Drums & Bass
Now let’s break down my personal favorite section of song arrangements, the drum & bass.
-
Drums: The Heartbeat of Your Song
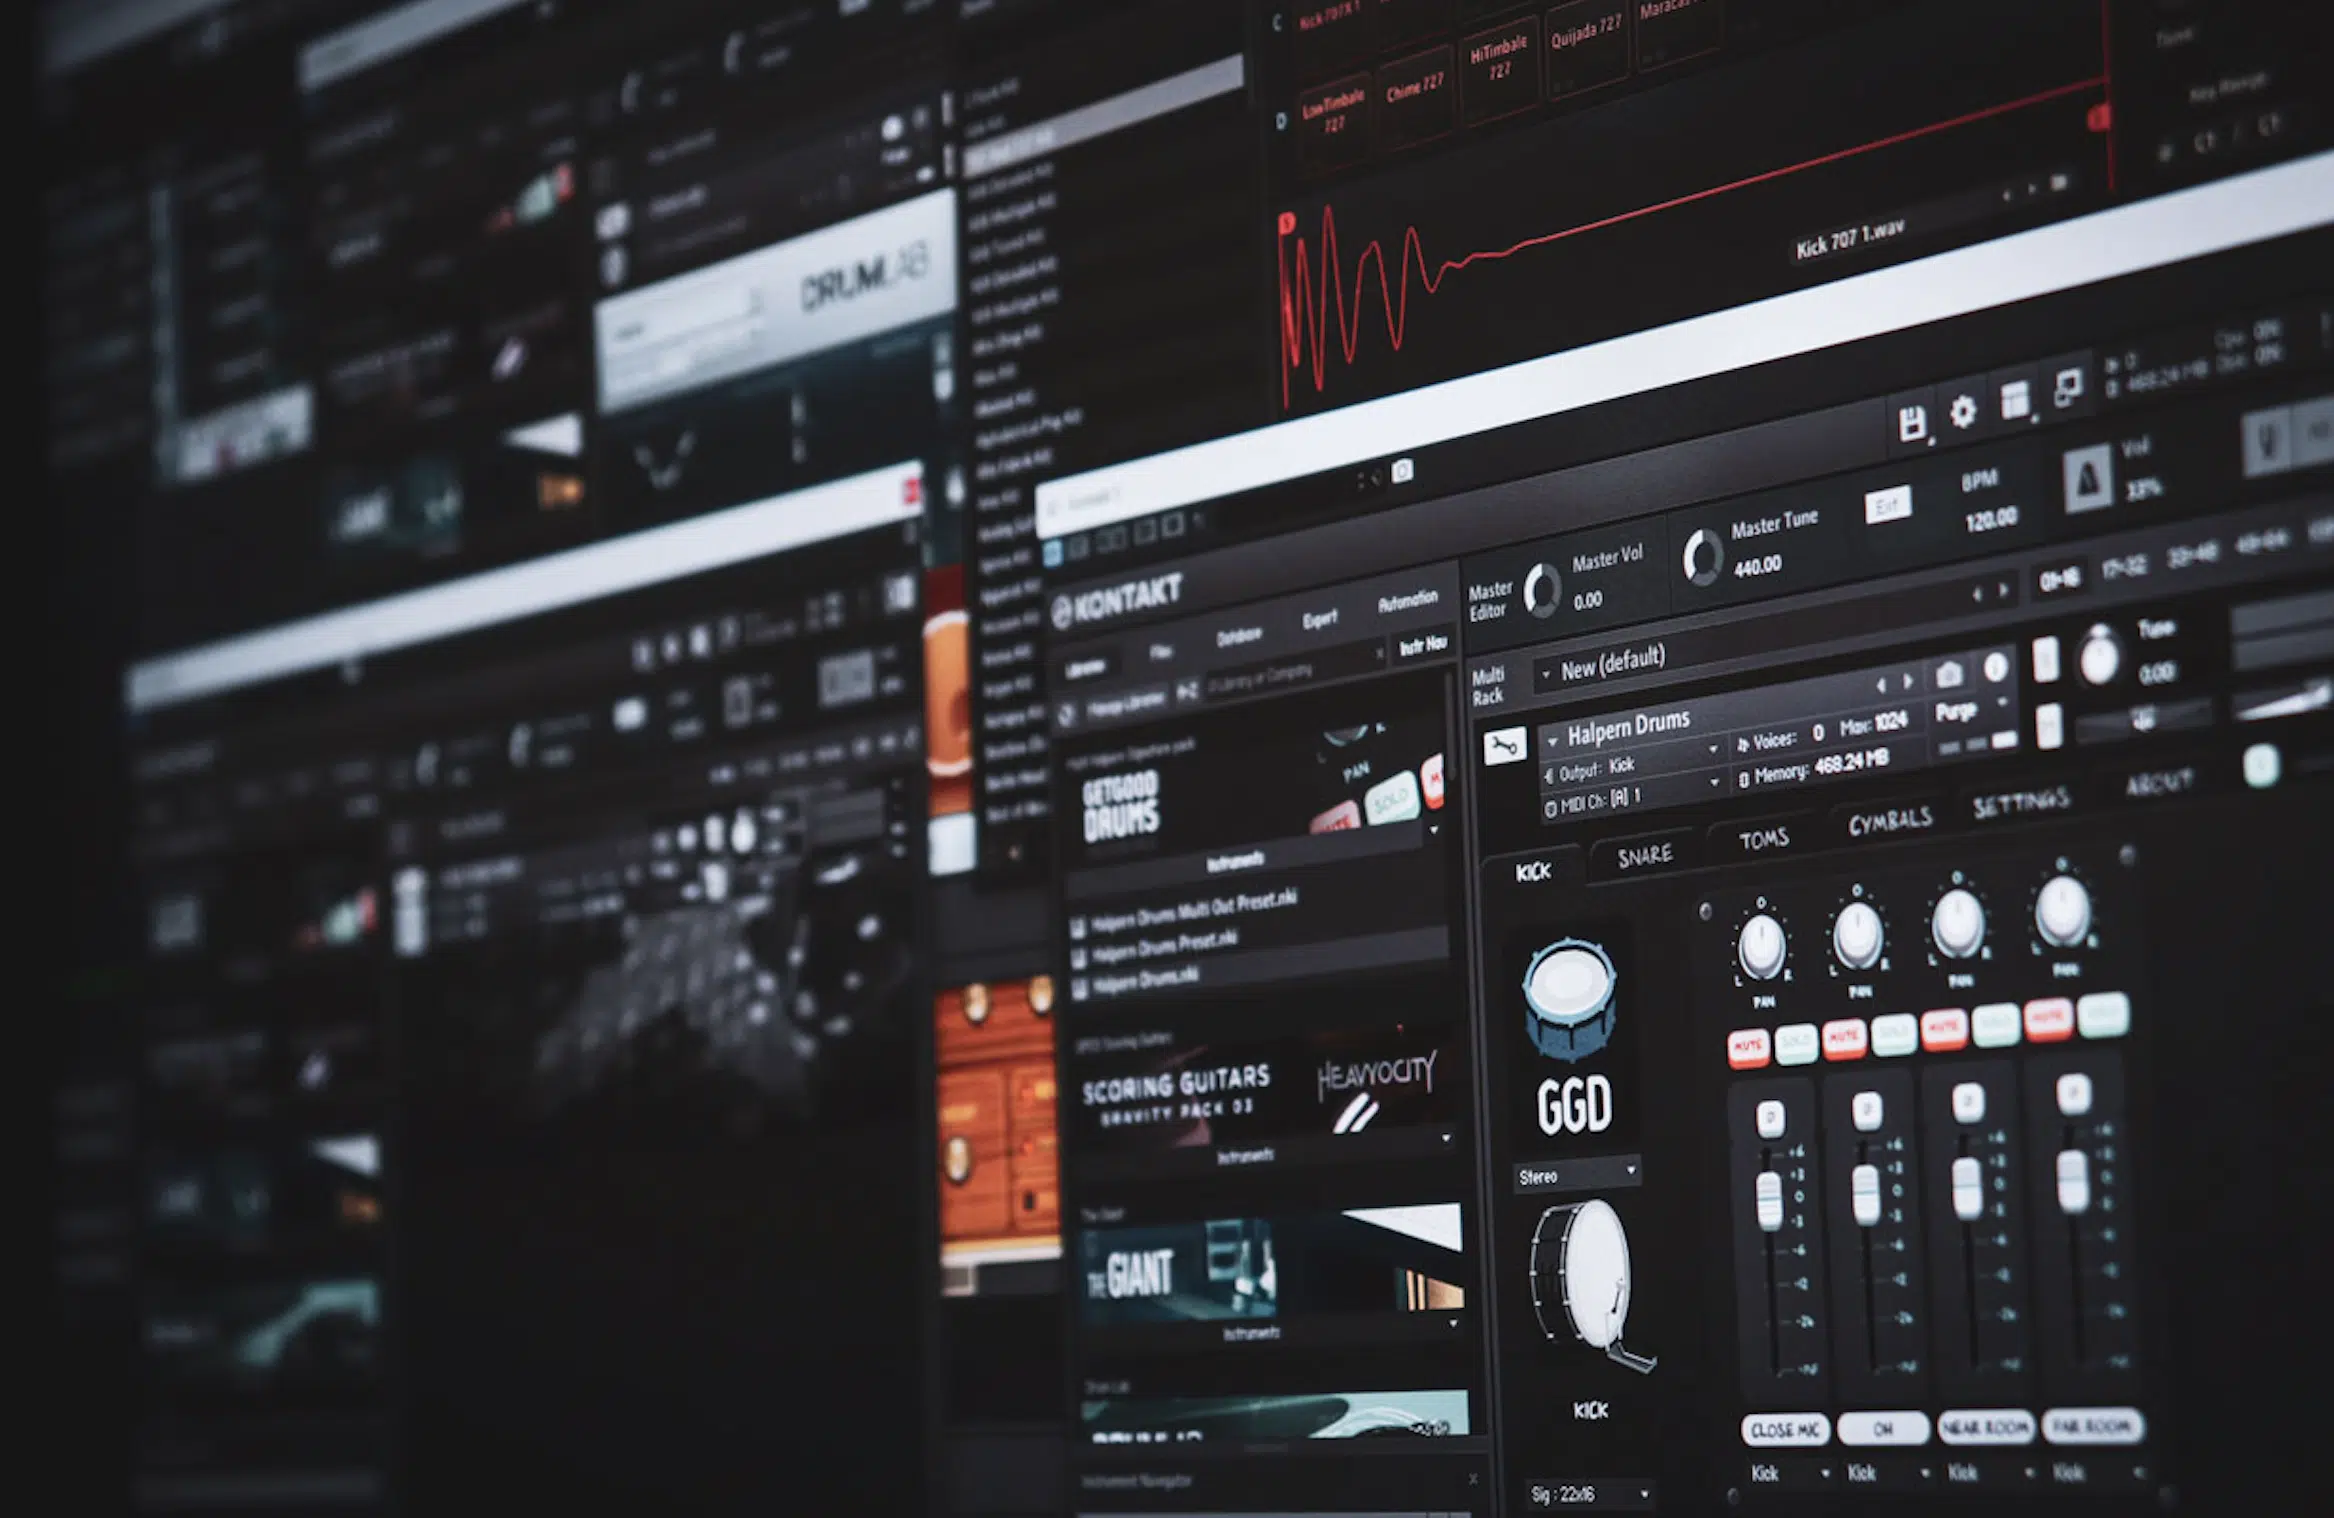
Rhythm is the heartbeat of your song, setting the pace and providing a framework for everything else.
As a music producer, one of my first steps in the arrangement process is laying down a basic drum beat.
If you’re working in a DAW, you might be using programmed drums or live, acoustic drums.
Either can work brilliantly, depending on the feel you’re going for.
- Programmed drums 一 Can give a tight, controlled sound that works well in electronic music.
- Acoustic drums 一 Can provide a more organic feel.
Don’t forget to experiment with different beats.
Try a simple kick-snare pattern, or throw in some highly-desired hi-hats for a more complex rhythm.
Remember, the drum beat isn’t set in stone; it can change and evolve as your song does.
Maybe you start with a simple beat during the verse, then bring in a more complex rhythm for the chorus to lift the energy.
NOTES: Fills and breaks are great ways to spice things up as well.
A well-placed drum fill can signal a transition from one section of the song to another 一 while a drum break can create a moment of tension and anticipation.
Listen to your reference tracks for inspiration on how to use these elements effectively.
-
Enhancing the Groove: Bass Arrangement
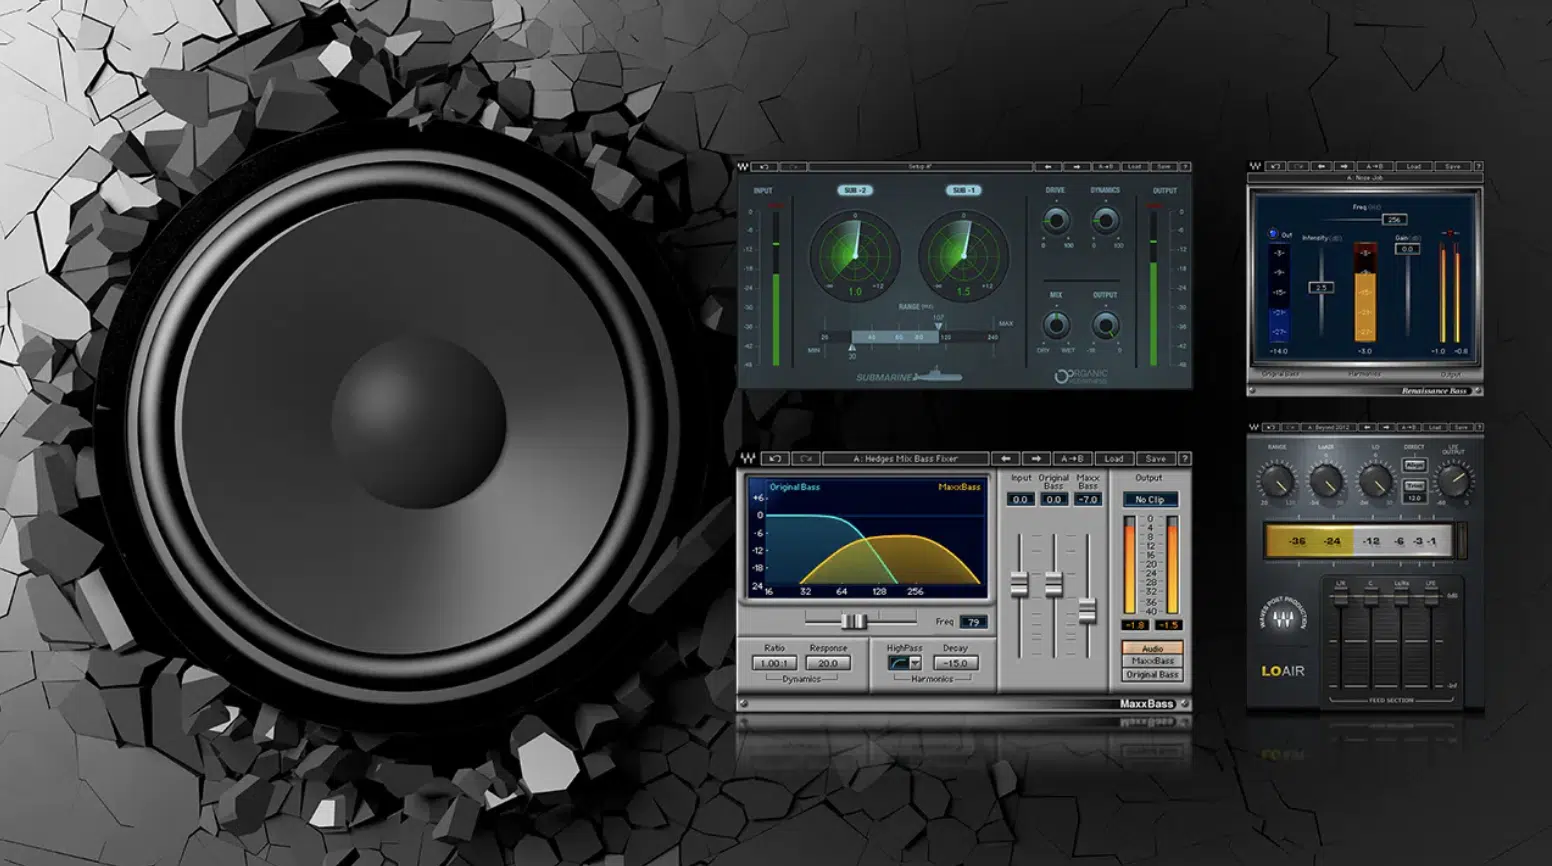
With the drum beat in place, the next step in song arrangement is to add the bass.
The bass playing forms a bridge between the rhythmic and melodic elements of your song 一 reinforcing the drum beat while also adding depth to the chord progression.
When arranging the bass, consider the role you want it to play in your song.
- In some songs: the bass simply follows the root note of each chord, providing a solid foundation.
- In other songs: the bass takes a more active role, playing a counter-melody or adding rhythmic interest with a groovy bassline.
Again, take cues from your reference tracks.
Notice how the bass is arranged and how it interacts with the other elements of your beat.
Is it prominent in the mix, or does it take a more supporting role? Does it stick closely to the chord progression, or does it branch out into more complex patterns? What are the stripped-down arrangements?
These are all questions that can seriously enhance your song arrangement skills in the future.
Remember, the bass isn’t just about the notes you play, but also the tone you use.
A bright, punchy bass tone can cut through the mix and drive the song forward, while a deeper, more mellow tone can add warmth and fullness.
It’s all about personal preferences and the overall vibe you’re trying to convey.
NOTE: pay attention to the balance in the mix. The kick drum and bassline should complement each other, each filling its own sonic space without overpowering the other.
This balance is a crucial part of the mixing engineer’s job, but it starts with the arrangement.
Crafting & Arranging the Lead Vocal

The lead vocal is the central element of most songs, and crafting it right can make or break your song arrangement.
Here, it’s crucial to focus on both the melody and the lyrics.
When it comes to the melody, remember that the best ones are often simple yet catchy.
They stick in the listener’s head and leave them humming long after the song has ended.
Use your piano or acoustic guitar to work out a melody line that flows naturally and complements your unique chord progression flawlessly.
As for the lyrics, they’re your chance to tell a story, convey emotion, and resonate with your listeners whilst singing.
Aim for clarity and authenticity in your lyrics.
Write about what you know, what you feel, and use concrete imagery to bring your words to life.
Lastly, consider the range and tone of your lead vocalist and background vocals.
Write a melody that fits comfortably within their range and brings out the best in their voice.
Side note, if you’re looking to implement unique aspects of vocals, we’ve got you covered with our vocoder article and vocal effects VSTs article.
Adding Depth To Your Tracks
Now that we’ve discussed the fundamentals, let’s discuss adding depth by using additional instruments and techniques.
Identifying & Arranging Complementary Instruments

Adding additional instruments to your arrangement can help to fill out the sonic space and add depth to your song.
This might include:
- Keyboard playing
- Guitars
- Strings
- Brass
- A pad sound
- Other instruments that complement your lead vocal & rhythm section
When arranging these additional instruments, consider their role in the song.
Are they supporting the rhythm, adding harmonic richness, providing a counter melody, or adding color and texture?
This will guide how you write and arrange their unique parts.
For example, a dreamy chord progression on a keyboard could provide a lush backdrop for your lead vocal 一 while a catchy guitar riff could punctuate your rhythm section and provide a hook.
Or an acoustic guitar could add warmth and intimacy to a stripped-down arrangement.
Remember, it’s not just about adding more sounds…
It’s about choosing the right sounds that serve the song and contribute to the overall mood and feel you’re aiming for.
Balancing & Blending Different Instruments

Once you’ve identified your additional instruments and written their parts, the next step is to arrange and balance them within your song.
This is where the art of mixing comes into play.
Each instrument should have its own space in the mix 一 both in terms of frequency range and stereo placement.
Use EQ to carve out a place for each instrument in the frequency spectrum, and panning to place each instrument in the stereo field.
Consider how these additional instruments interact with your vocals, bass, and drums.
They should complement these core elements, not compete with them.
Using these techniques will ensure each instrument sits well in the mix and contributes to a pleasing final recording.
Again, let your reference track guide you, have a light listen before proceeding, and make sure you’ve created a good arrangement.
How are additional instruments balanced and blended in the mix? What techniques are used to give each instrument its own space? Does it sound gritty?
This can provide invaluable insights for your own mixing process.
Reviewing & Refining the Song Arrangement
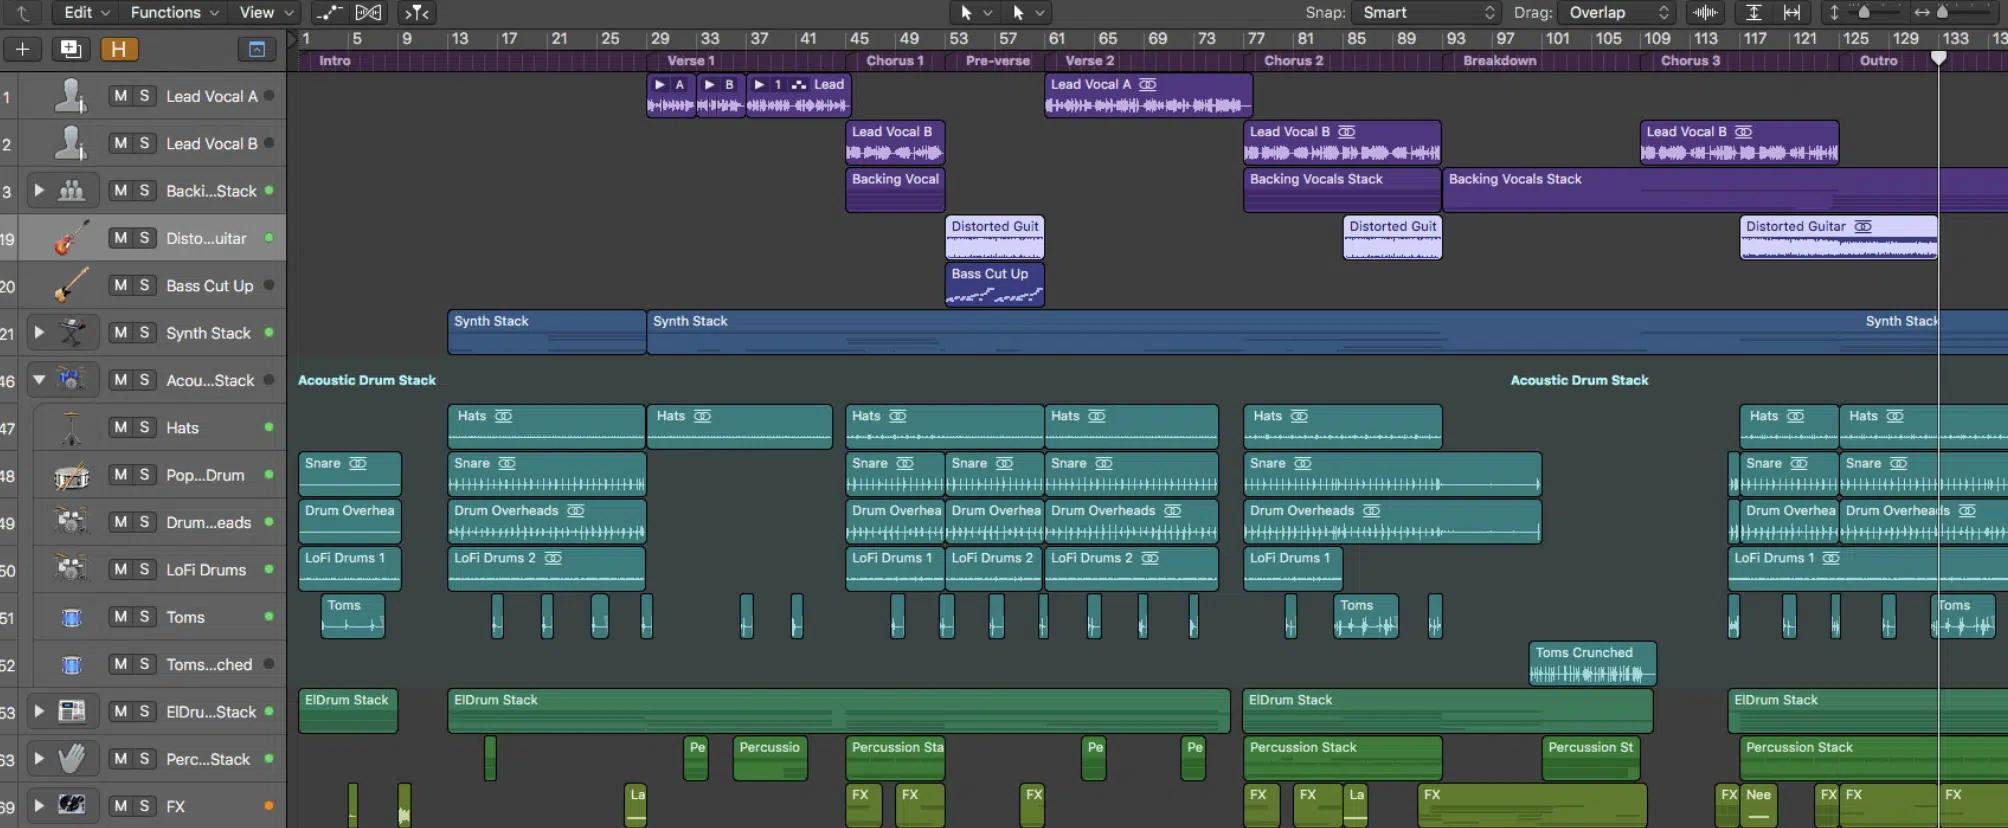
Now that we’ve layered our main melody line, added harmonic instruments, and filled in the arrangement with additional instrumentation, it’s time to review & refine the song arrangement.
This involves looking at the song as a whole and making sure all the different elements function together seamlessly.
One common issue in song arrangement is over-complication.
It’s easy to get carried away by adding more and more elements, but this can often lead to a cluttered and confusing arrangement.
Sometimes, less is more.
A stripped-down arrangement can often be more impactful than a full song filled with numerous instruments.
So, take a step back, listen to your song, and ask yourself:
- Are there parts that feel too busy or cluttered?
- Could some instruments be removed or simplified?
- Could some sections be shortened or extended?
- Could the arrangement be streamlined to better serve the song?
These are all things to consider in this stage of the arrangement process.
Finally, remember to keep the listener’s attention in mind.
Your song arrangement should take the listener on a journey, with enough variety and dynamics to keep them engaged from start to finish.
This leads us to the next aspect of song arrangement: dynamics.
Creating Dynamics: Building Tension & Release
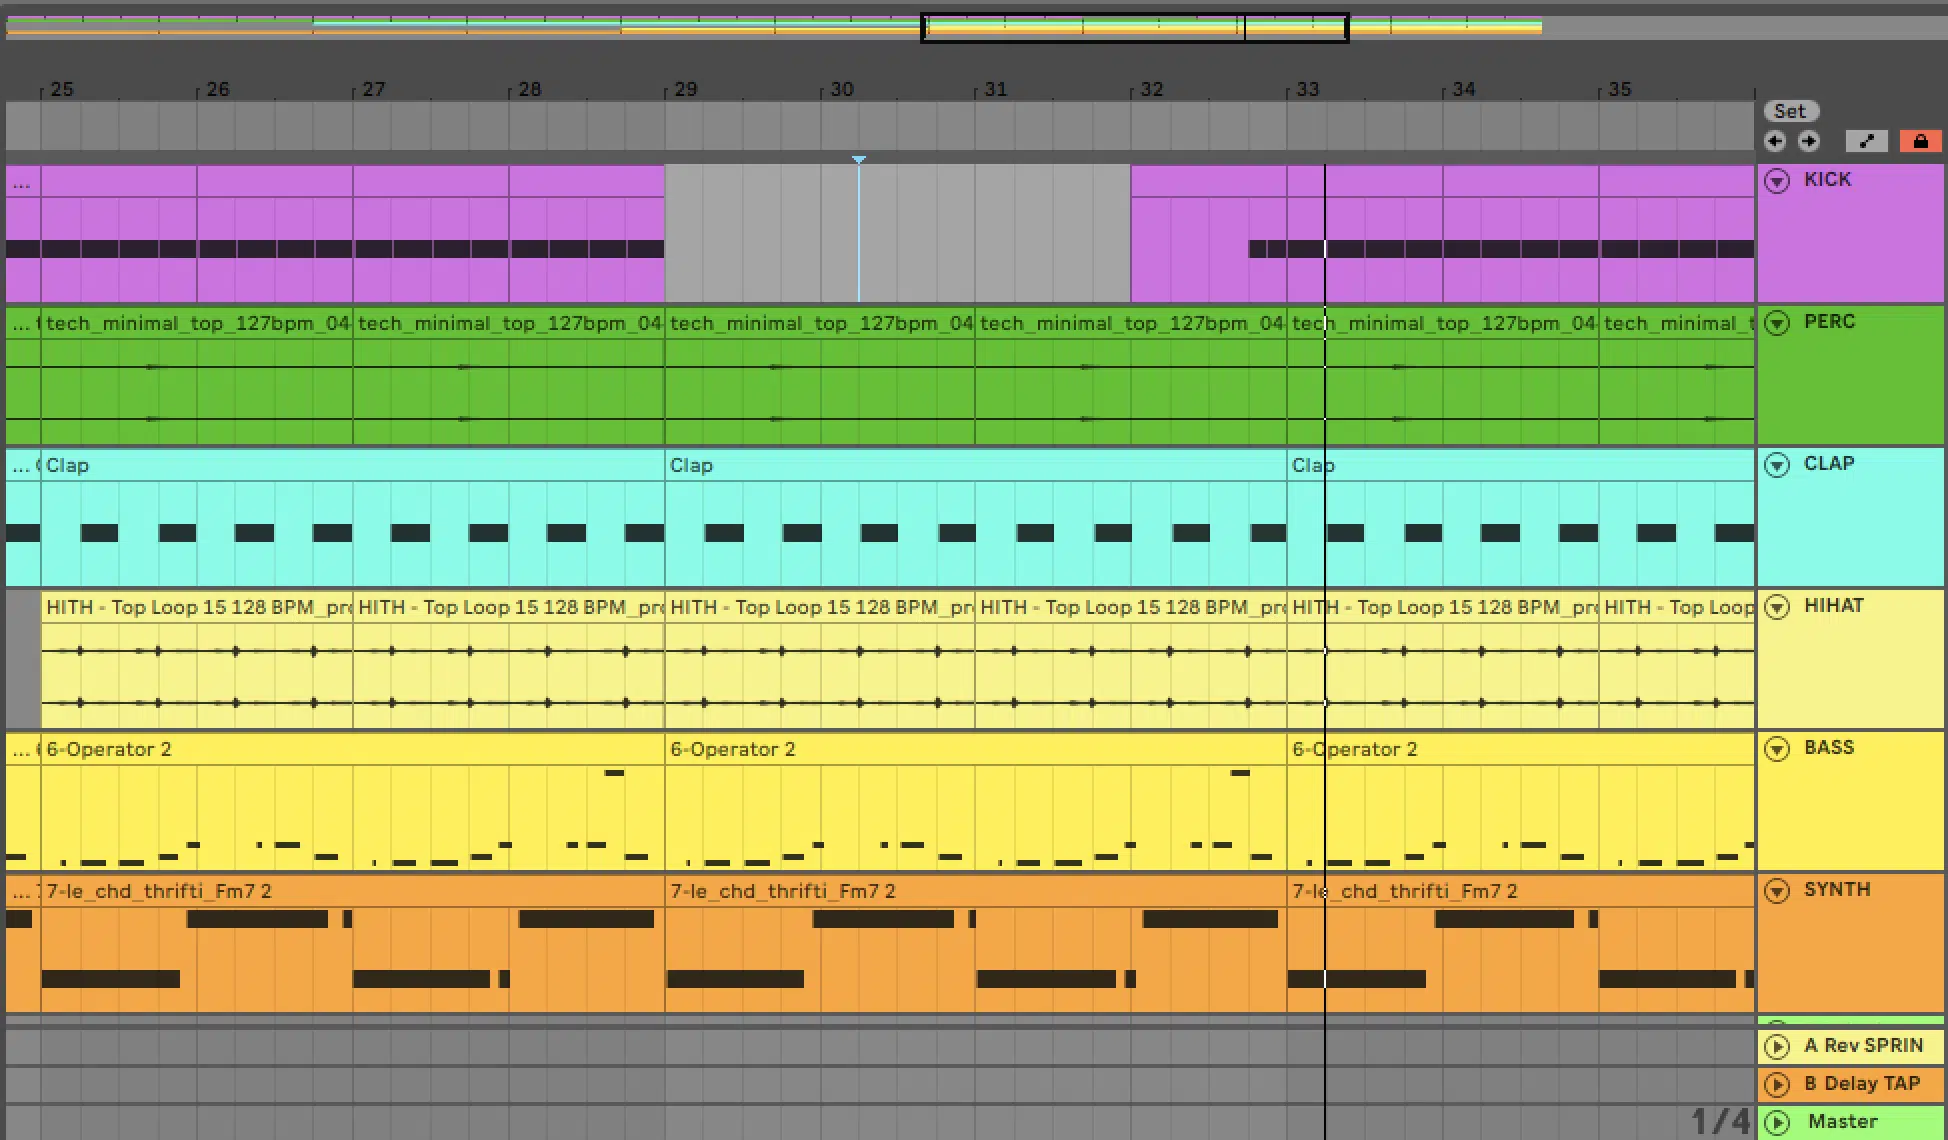
Creating dynamics in your song arrangement involves manipulating the intensity and energy of the music over time.
This can be achieved through various means, such as:
- Adding or removing instruments
- Changing the volume or intensity of the performance
- Altering the chord progression or rhythm
The key here is contrast, contrast, contrast.
You want to create highs and lows in your music (moments of tension & release) to keep the listener engaged.
This could involve starting with a sparse arrangement in the verse, then building to a full, energetic chorus.
Or it could involve a quiet, intimate bridge followed by a powerful final chorus.
Again, your reference tracks can provide invaluable insights here.
Consider how your favorite songs build intensity and create dynamics, or if they use sudden changes/gradual builds.
Do they use volume, instrumentation, or musical changes to create contrast?
Use the answers to these questions as inspiration for your own unique song arrangement.
Remember, dynamics aren’t just about loud and soft 一 they’re about creating an emotional journey for the listener.
So think about how you can use dynamics to convey the emotion and story of your nice song.
Don’t be afraid to experiment and try different things.
Remember, there’s no one “right” or “wrong” way to arrange a song.
What matters is that it serves the song and connects with the listener; so, be bold, be creative, and trust your instincts.
The Music Production Process: From Pre-Production to The Recorded Version

As we near the final stages of arranging our song, it’s essential to start planning for the recording process.
This stage involves deciding which parts will be played live, what can be programmed, the type of sounds you want to capture, and so forth.
For instance:
- Are you going to use acoustic drums or programmed drums for the rhythm section?
- Will the bass be a groovy bassline played on an actual bass guitar, or is a synthesized bass more suitable for your song?
- How many mic channels will you need for recording the instruments and vocals?
These are decisions that will significantly impact the final recording, so spend ample time thinking about them.
You may decide to record some instruments (like the acoustic guitar or lead vocal) using just a MONO microphone.
Whilst others, like the drums or harmonic instruments, might require multiple mic channels.
The decisions you make here should be guided by the sonic characteristics you want your completed song to have.
Remember to keep your reference tracks in mind during this phase as well.
They can offer invaluable guidance about which instruments and sounds might work best for your song.
Capturing the Song: The Recording Session

Now we’re onto the actual recording process.
This is where all the hard work you’ve put into your song arrangements really starts to come alive.
It’s an exciting time, but it can also be a bit nerve-racking, especially if you’re new to the production process.
But don’t worry, we’ve all been there, and produced supreme tracks in the end.
One of the key things to remember is to capture a performance, not just a recording.
Even if you’re working in a digital environment, your goal should be to capture the energy and emotion of the performers playing the song, rather than just the sounds they’re producing.
This can be the difference between a good song and a legendary one.
In terms of practicalities, this stage of the process is where you decide on:
- How many mic channels will be used for each instrument
- Positioning of those mics
- The general setting for each instrument or vocal take
It’s where your song begins to take shape, so make sure to approach it with patience and careful consideration.
Don’t be afraid to experiment with different sounds and placements.
Often, the best-recorded songs are the ones where the producer wasn’t afraid to try something a little different.
So, keep your reference tracks in mind, but also leave room for your unique musical touch.
The Final Polish: Mixing & Mastering Your Musical Composition
After you’ve arranged your song to perfection, it’s time for the final polishing: mixing and mastering.
-
Mixing
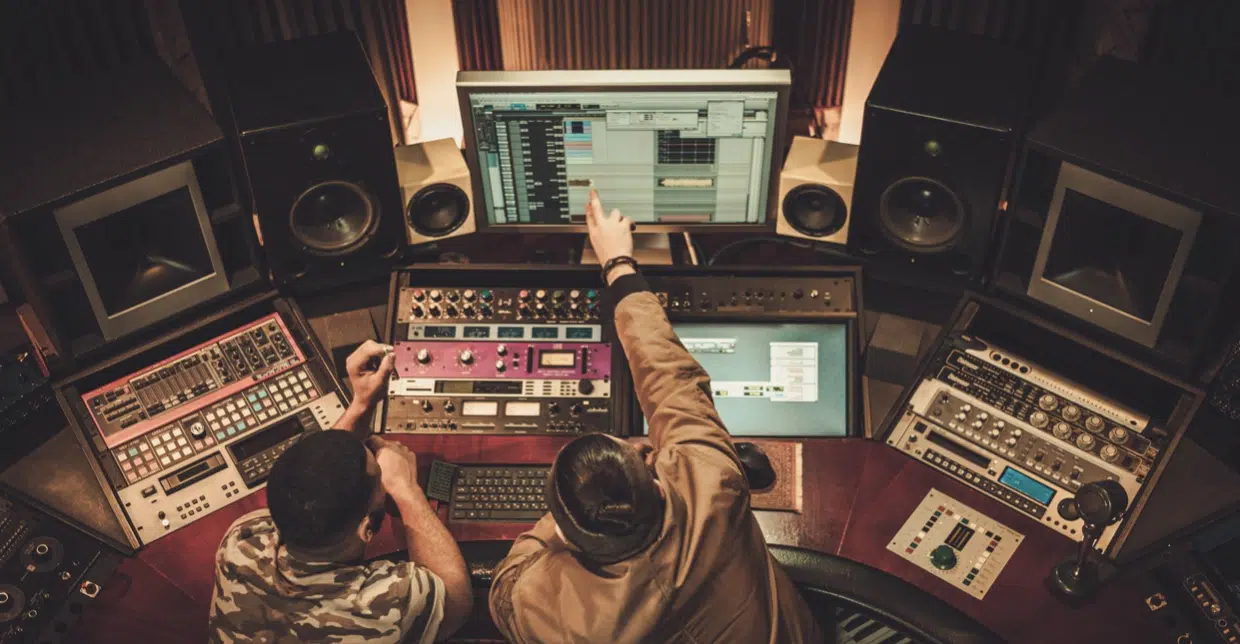
As the saying goes, “The mix engineer’s job is to make a good song sound great.”
The mixing stage is where all the different elements you’ve worked on 一 lead vocals, acoustic guitars, drum tracks, bass, dreamy chord progressions, etc. 一 get blended into one harmonious piece.
Think of the mixing process as the stage where you paint the sonic picture of your song.
It’s where you place each element within the stereo field, deciding what gets the spotlight and what takes a backseat.
The mixing stage is where you:
- Finalize the volume levels
- Pan settings
- Apply different effects
- Tweak the EQ
- Make sure your track is ready for the mastering stage
This way, every element has its own space and complements the other elements perfectly.
NOTE: Remember to keep the song’s tempo in mind when doing the final mix.
The speed of the song can often affect how we perceive its energy, and thus, how we mix it.
A slow, emotional ballad may require a more intimate, close mix 一 while a fast, energetic pop-country song might benefit from a wider, more expansive mix.
One more thing…
Don’t forget about your reference tracks during this stage (yes, I’m saying it again).
They can provide you with an invaluable guideline for how a professionally mixed track should sound like.
-
Mastering
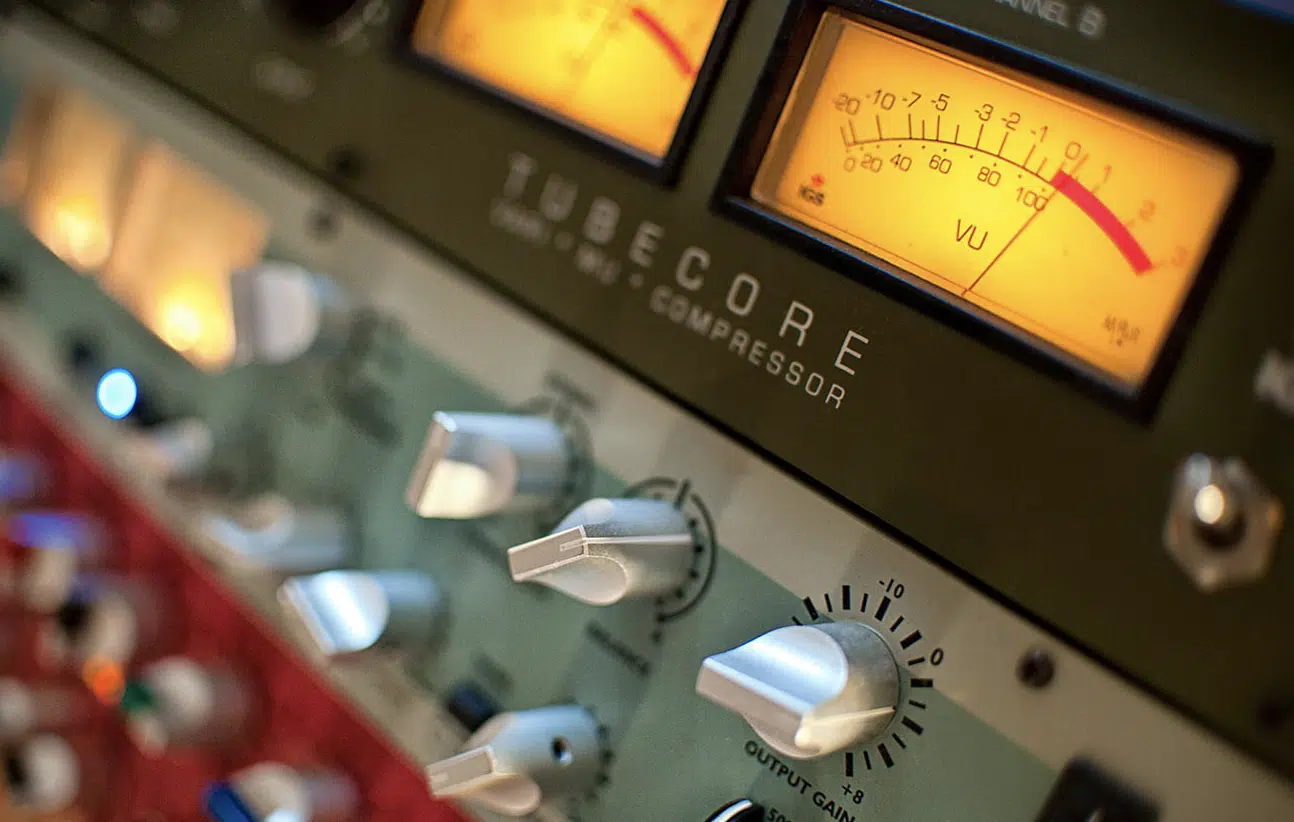
If mixing is about balancing the different elements of a song, then mastering is about ensuring that the song sounds the best it can across all playback systems.
It’s all about:
- Giving the song that final polish
- Making it loud and clear enough to compete with other professionally released tracks
- Ensuring it’s up to industry standards (and your own as well)
Mastering involves subtle adjustments to the EQ, compression, and limiting to improve the overall sound of the completed song.
It’s about enhancing what’s already there, not fixing problems, which is why a good mix is crucial.
After all, you can’t polish a bad song into a good one in the mastering stage.
The mastering stage is also when you finalize the song’s tempo.
For example, you may choose to adjust it slightly to ensure the final recording plays back smoothly on all devices.
However, this adjustment is often so small, it’s usually imperceptible to the listener.
As always, use your reference tracks for comparison.
Mastering is a subtle art, just ask any mastering engineer, and using reference tracks can help you make informed decisions about the overall tone and loudness of your final mix.
BONUS: 5 Tips To Ensure Your Song Arrangement Is Ideal
Creating an ideal song arrangement isn’t only about putting together the basic elements.
There are numerous advanced techniques and tips that can help take your arrangement from good to great.
Here are five tips that can make a world of difference.
1. Be Conscious of the Frequency Spectrum
When you arrange a song, it’s crucial to know that instrument occupies a particular space in the frequency spectrum.
When arranging your song, make sure that no two instruments are clashing in the same frequency range.
For example, if your bass and kick drum are both heavy in the lower frequencies, they might muddy each other out.
Use EQ to carve out a unique space for each instrument and create a clear, balanced mix.
2. The Art of Silence
Music isn’t just about sound; it’s also about the absence of sound.
Silence can create suspense, emphasize a beat, or simply give the listener a moment to breathe.
So don’t feel the need to fill every second with sound.
Strategic use of silence can make your arrangement more dynamic and impactful.
3. Keep Your Listeners Engaged
Repetition makes your song catchy, but too much of it can bore your listeners.
To keep them engaged, introduce subtle changes and variations throughout your song.
This could be as simple as adding an extra hi-hat hit in the second verse or changing the rhythm of the bassline in the final chorus.
When you arrange a song, make sure it’s as intriguing as possible.
4. Pay Attention to Dynamics To Make Your Song Special
Dynamics are the variations in loudness between different parts of your nice song.
It’s what makes the chorus feel like a big release after a softer verse or a bridge that builds tension leading back into the final chorus.
Be mindful of the dynamics in your song, and use them to create a journey for your listeners.
5. Remember, Less is Often More
In the era of digital music production, and when it comes to how to arrange music, it’s tempting to layer dozens of tracks and sounds.
But often, the most memorable songs are the ones that keep things simple.
Each element in your song should serve a purpose… if it doesn’t, consider removing it.
A cleaner arrangement will allow the key elements of your song (like the melody and lyrics) to shine.
It helps to make sure the song feels genuine and authentic.
Above all, remember that arranging music is a creative process; these tips are guidelines, not rules.
Feel free to experiment and find what works best for your unique music.
After all, every song is special, and it’s arrangement should be as well.
How To Arrange Music: Final Thoughts
From sparking that initial musical idea, to the final touches in the mastering process, you know how the knowledge to arrange your music like an absolute pro.
But remember, like any skill, song arrangement too needs constant practice and real-world application.
Use the knowledge you’ve gained here, apply it in your music production process, and see your songs evolve from good to great.
Now, it’s time for a practical next step: implementing what you’ve learned.
The world of digital music production is filled with countless tools and resources that can help you on this path.
And speaking of resources, I have something that could provide an extraordinary boost to your journey…
These professionally crafted, expertly arranged, and completely free beatmaker template essentials.
This pack is an invaluable resource if you’re looking to perfect your song arrangements in a major way.
It offers a deep dive into how professional, successful beats and songs are arranged, layer by layer, sound by sound.
It’s like getting a guided tour through the architecture of a hit song, complete with insights into the decisions that make them so irresistible to listeners.
You’ll have the chance to study the construction of hit songs, observe the placement of each element, and understand the reasoning behind every choice.
This pack provides precisely that.
It’s not just a peek behind the curtain 一 it’s an invitation into the control room of some of the world’s most successful beatmakers.
You can use these templates as a starting point for your own songs.
Explore, tweak, and add your personal touch to these templates, and who knows, your next production might just be the hit you’ve always dreamt of.
Until next time…



Leave a Reply
You must belogged in to post a comment.