MIDI controllers are game-changers in the world of music production that can seriously streamline your workflow and help bring your ideas to life.
Plus, with the right setup, you’re able to control your DAW, trigger samples, and manipulate sounds like a professional.
As a producer, MIDI controllers are really the backbone of your creative process.
That’s why we’re breaking down everything you need to know about MIDI controllers, like:
- What MIDI controllers are and how they work ✓
- Customizing settings for optimal performance ✓
- Adjusting velocity sensitivity ✓
- Setting up custom mappings ✓
- Utilizing MIDI Learn functionality ✓
- The difference between MIDI controllers & MIDI keyboards ✓
- Advanced techniques like layering sounds & using aftertouch ✓
- How to maximize your setup with multiple controllers ✓
- Leveraging external hardware MIDI devices ✓
- Exploring creative MIDI FX plugins ✓
- Pro tips for getting the most out of your controller ✓
After this article, you’ll know everything about MIDI controllers so you can easily create more dynamic and professional-sounding tracks.
Plus, make sure your setup is tweaked to your unique workflow and always optimized for efficiency.
This way, your tracks will always sound polished, and you’ll never have to worry about missing out on the creative possibilities your MIDI controller offers.
So, let’s dive in…
Table of Contents
What are MIDI Controllers? Breaking it Down
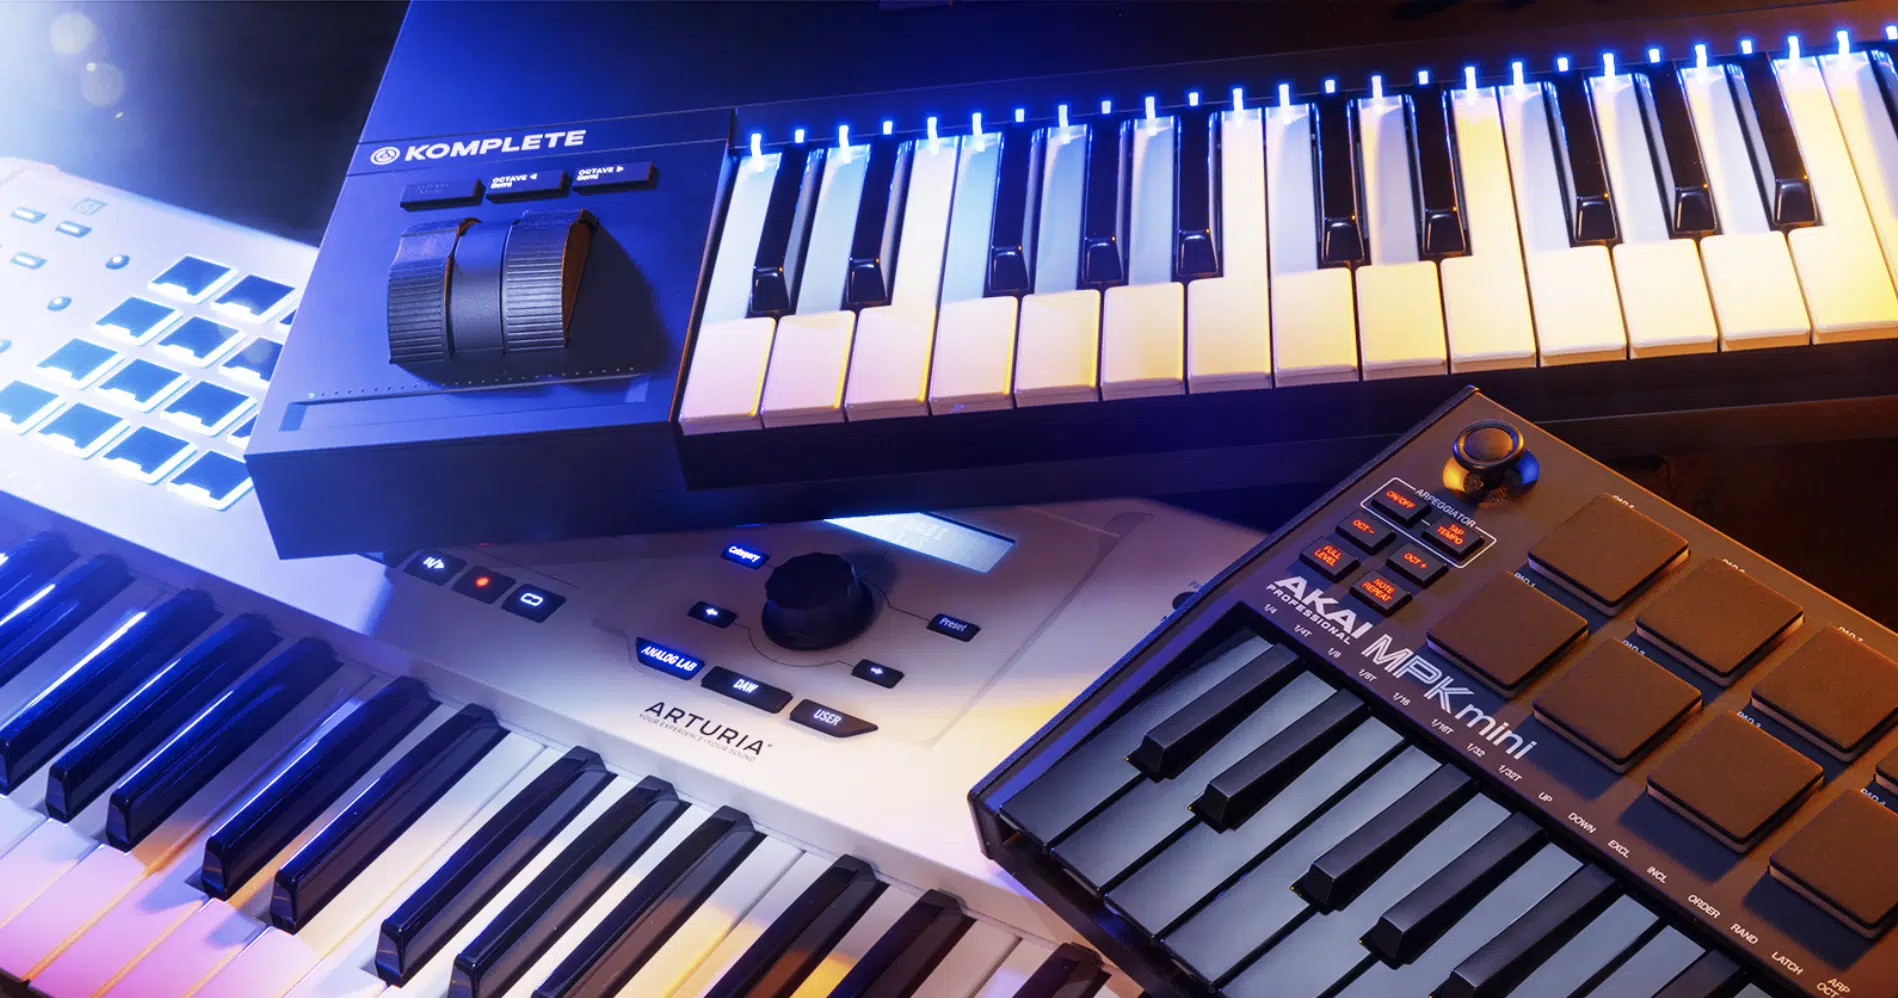
As producers, MIDI controllers are super beneficial, allowing you to interact with your music software using physical inputs like keys, pads, knobs, sliders, and faders.
These devices don’t produce sound on their own 一 instead, they send MIDI data to your DAW or sound modules, letting you:
- Trigger notes
- Adjust parameters
- Control various aspects of your music
For example, a MIDI keyboard (the most common type) lets you play virtual instruments like pianos or synths, while a pad controller is perfect for triggering drum sounds or samples.
Wind controllers are another type, designed to emulate traditional instruments of the wind variety that can transmit MIDI data based on breath pressure and finger positions.
Yes a wind controller is a much less common type than all the rest, but it’s super cool so I thought I’d mention it.
Moving along, understanding how these devices work with your DAW through the MIDI protocol ensures smooth integration and more precise control over your music.
By using MIDI controllers, you can basically create more expressive and dynamic performances, whether in the studio or on stage.
Don’t worry, we’ll break everything down throughout the article so you really get the full picture and can master MIDI controllers in no time.
Customizing MIDI Controller Settings for Better Performance
Customizing your MIDI controller settings is essential for optimizing performance. These adjustments will allow you to tweak the device to match your unique workflow.
-
Adjusting Velocity Sensitivity
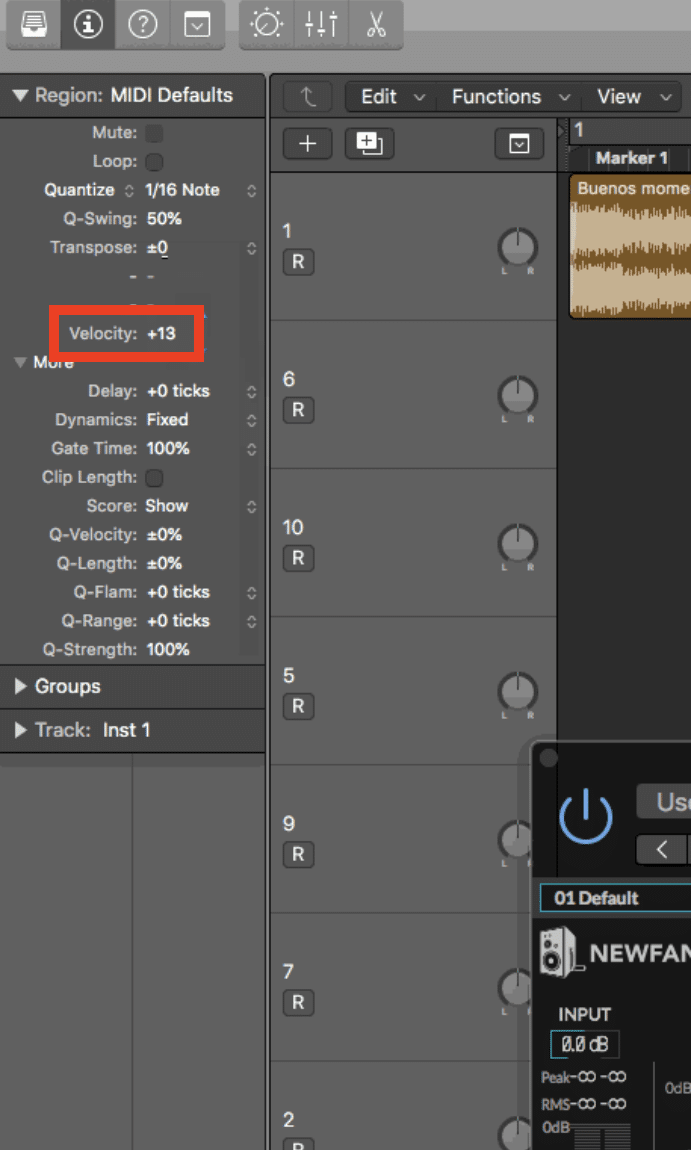
Velocity sensitivity is a main feature on MIDI controllers, especially MIDI keyboards, that determines how the device responds to the speed and force with which you press the keys or pads.
By adjusting this setting, you can make your MIDI controller more or less sensitive to your playing dynamics.
It helps you control the expressiveness of your music better.
For example, if you’re working with a sound module that triggers softer sounds when keys are played lightly, you might want to increase the velocity sensitivity.
This will help you capture more nuanced performances.
On the flip side, reducing sensitivity might be useful when you need consistent velocity across your tracks (especially in genres like EDM where razor precision is key).
Customizing this feature on your MIDI keyboard controller can impact how your music translates from the device to your DAW in a major way.
It ensures that every note and pad hit is captured just like you wanted.
To adjust this setting, you typically need to access the controller’s software editor or use the onboard controls if available.
For example, in many MIDI keyboard controllers, you can access the velocity sensitivity settings through a dedicated button or menu.
You can choose between different velocity curves (linear, logarithmic, or exponential) to match your playing style.
- A linear curve will provide a direct correlation between how hard you press the keys and the volume or intensity of the sound produced.
- A logarithmic curve will make soft touches even softer and hard presses more intense.
- An exponential curve can make even gentle presses sound louder.
Some MIDI controllers also allow you to set a fixed velocity, where every note plays at the same intensity regardless of how hard you press, which can be useful in certain electronic music genres where consistency is key.
Experimenting with these settings will help you find the right velocity response that matches your unique playing style.
-
Setting Up Custom Mappings
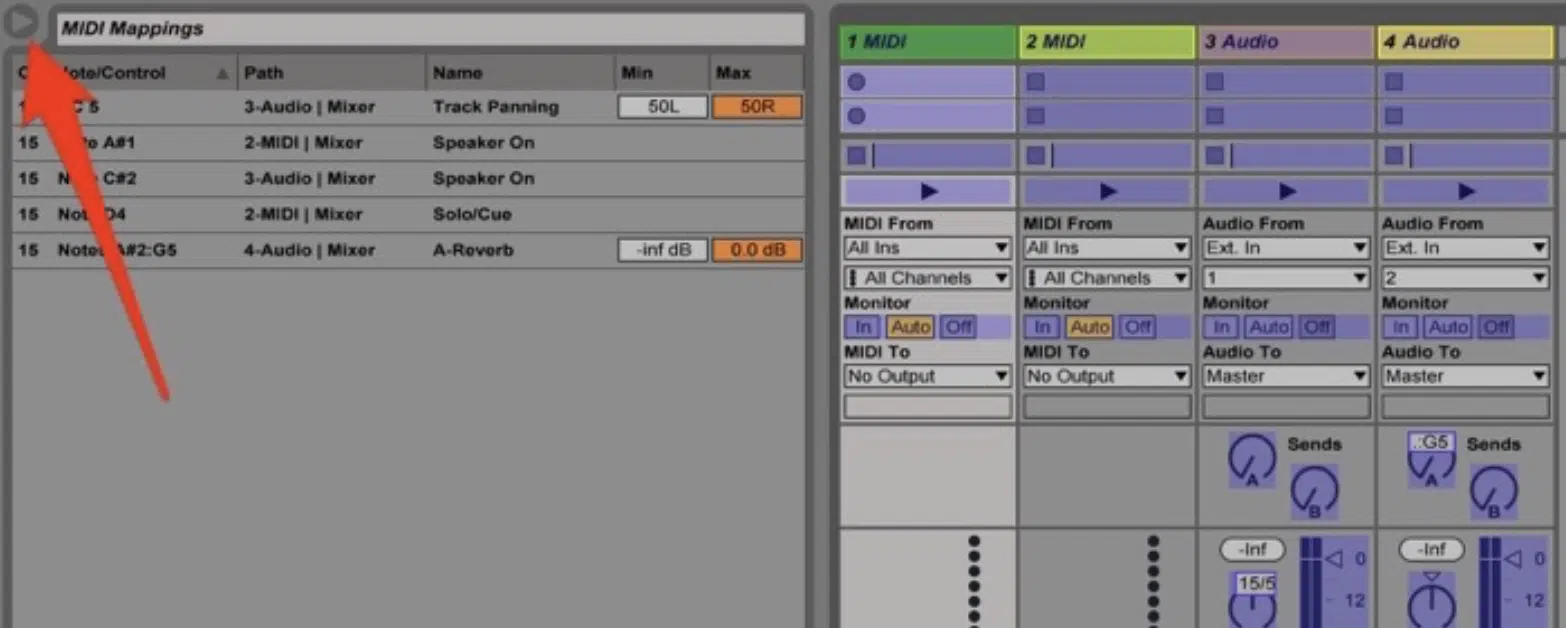
Custom mappings allow you to assign specific controls on your MIDI controller to parameters within your DAW or music software.
It gives you direct control over your sound.
For example, you can map a knob on your MIDI controller to control the cutoff frequency of a synth filter in Ableton Live, or assign a fader to adjust the volume of a specific track.
Really whatever you feel like routing can be done, which is awesome.
This feature is super useful when you want to streamline your workflow because it lets you quickly access and manipulate essential functions.
All without having to rely on your mouse.
Setting up custom mappings also helps you tweak your MIDI controller to your unique production style 一 making it an invaluable tool in your creative process.
Whether you’re using a compact MIDI keyboard or a more advanced MIDI keyboard controller, custom mappings can enhance your skills and creativity in the studio.
Side note, if you want to discover the sickest, most popular MIDI controllers & MIDI keyboards in the game, we’ve got you covered.
-
MIDI Learn Functionality
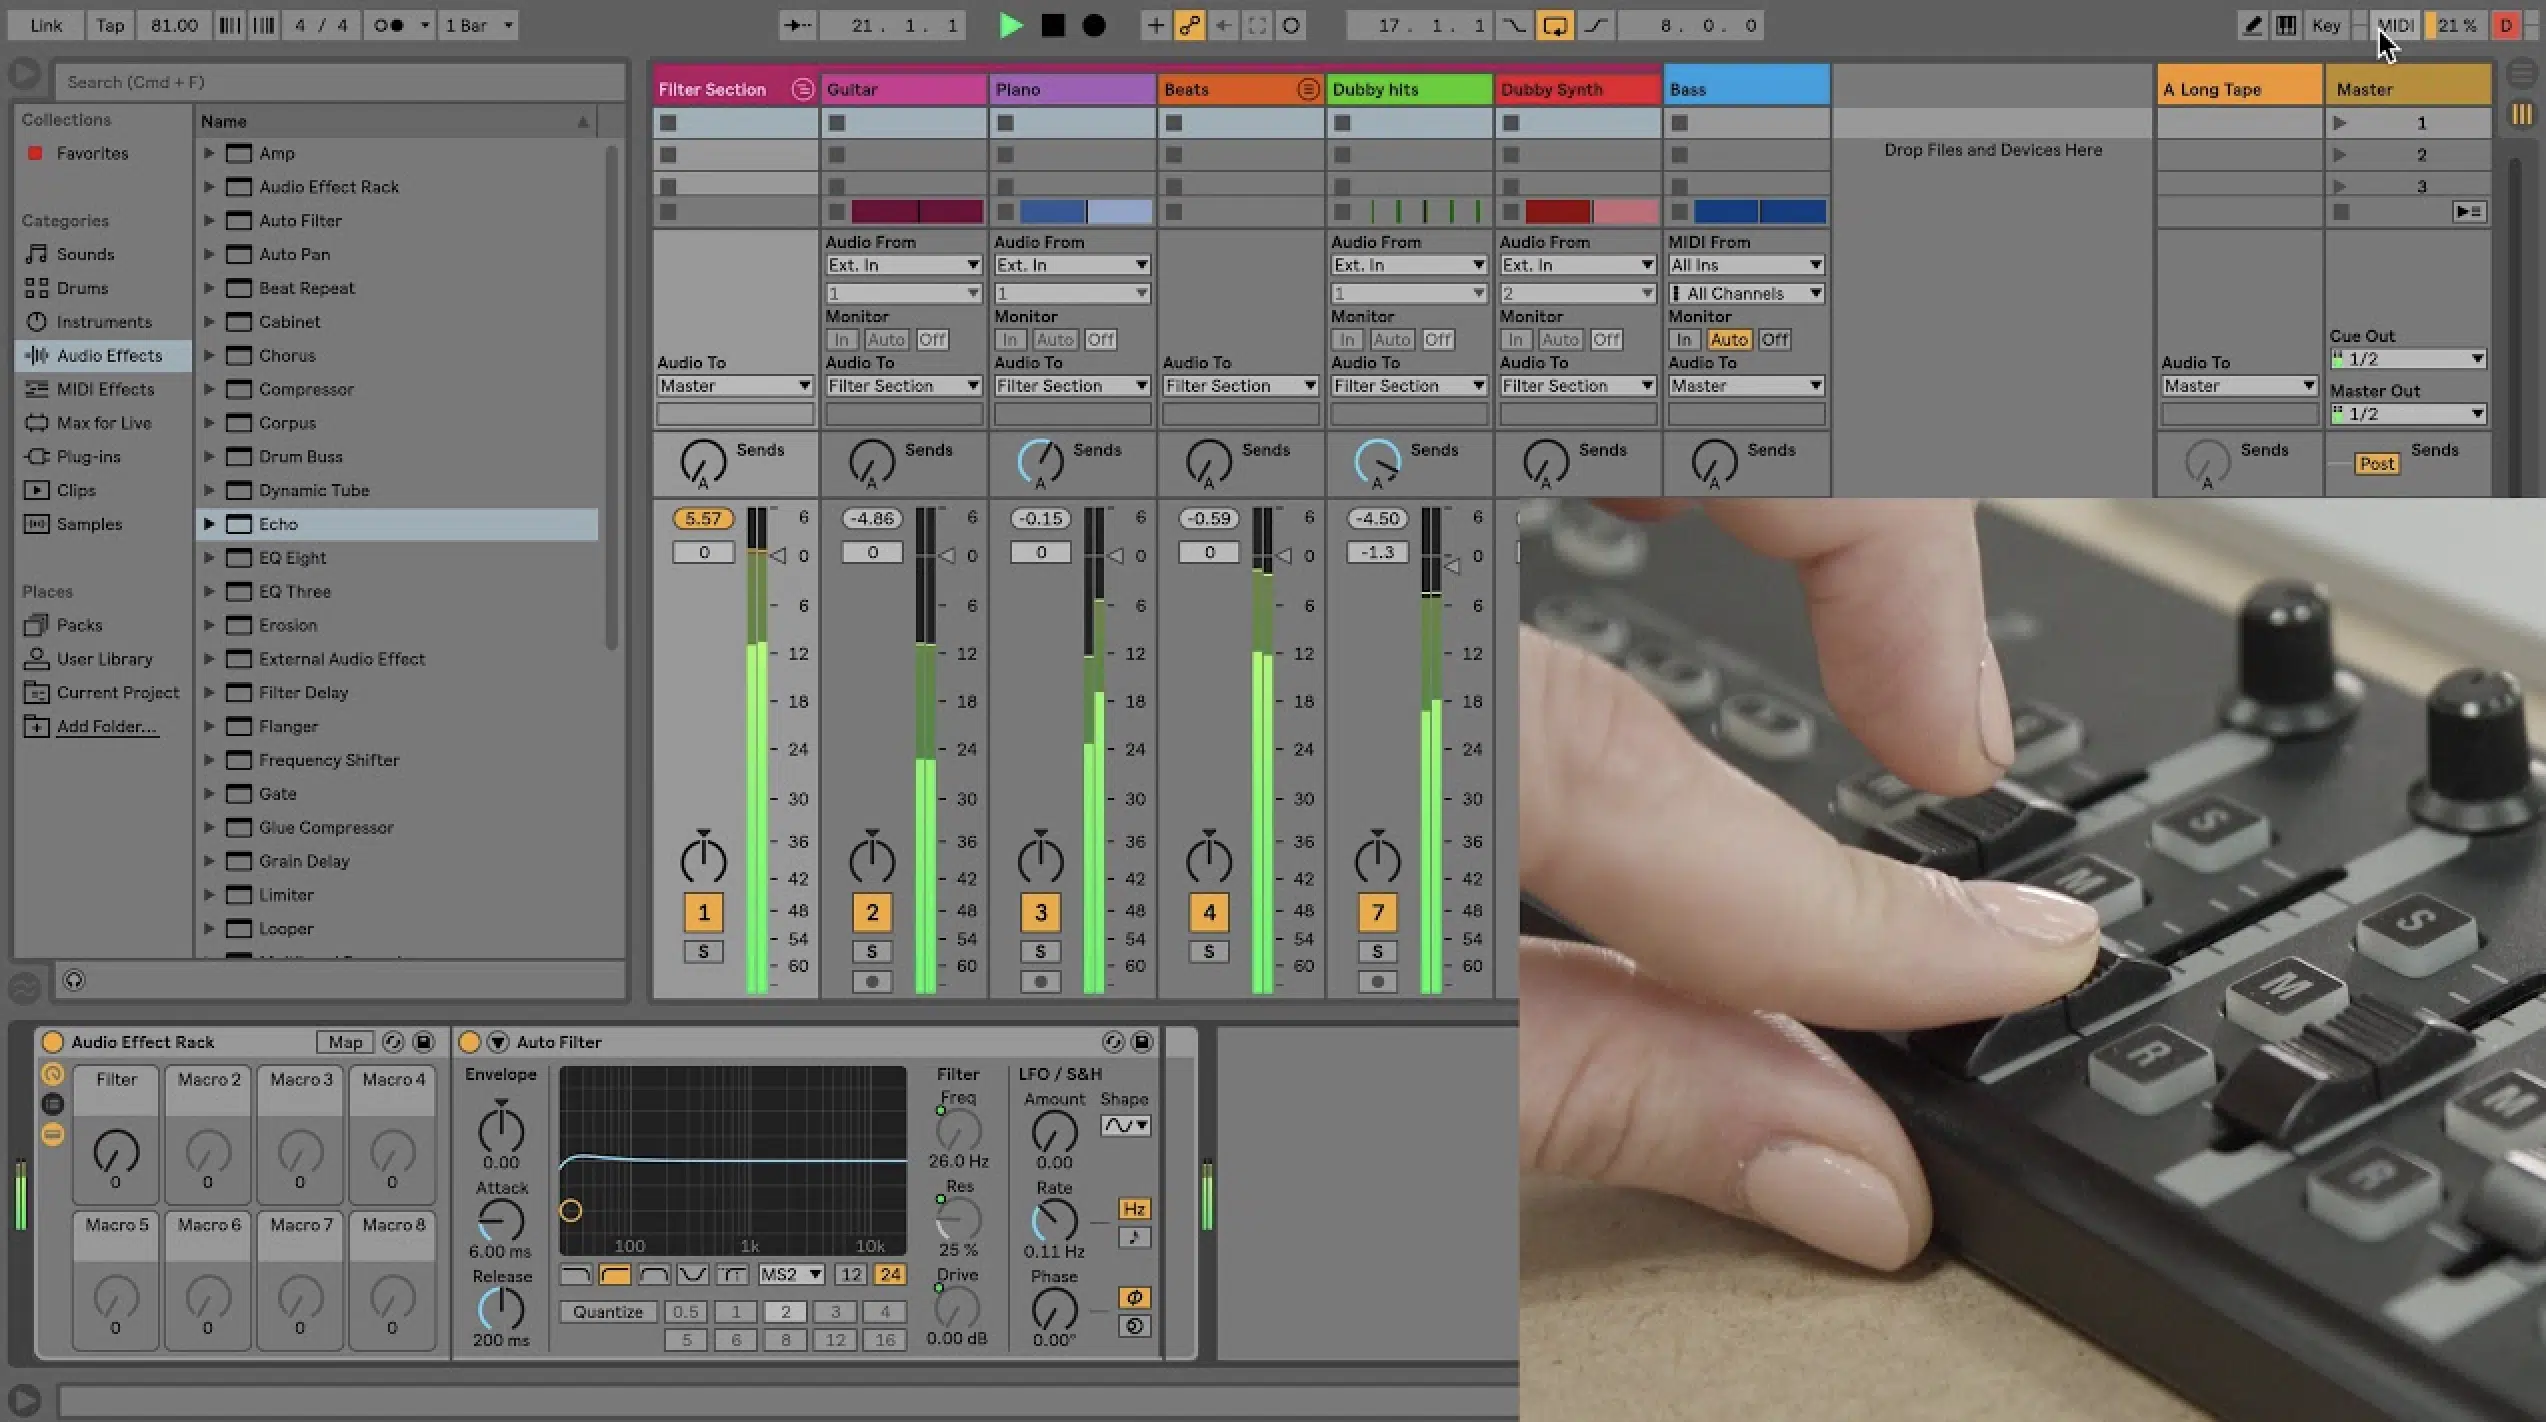
The MIDI Learn functionality is a powerful feature that allows you to quickly assign controls on your MIDI controller to different parameters in your music software with just a few clicks.
Let’s say you’re producing in Ableton Live and you activate MIDI Learn mode…
You can simply move a knob or press a pad on your MIDI controller to automatically link it to a specific parameter, such as:
- Reverb depth
- Track volume
- Filter control
- Pan control
This makes it incredibly easy to customize your workflow and makes sure that your MIDI controller is perfectly integrated with your DAW.
For example, you can quickly map a fader to control the overall mix level or assign a pad to trigger specific sound effects 一 making it easier to shape your tracks in real-time.
Whether you’re using a compact pad controller or a full-size MIDI keyboard, this feature can save you time and enhance your control over the creative process.
When you use MIDI Learn, your controller basically becomes an extension of your creativity so you can produce music exactly the way you want.
Which is, of course, going to equal more time knocking out beats and less time being frustrated or figuring things out.
Top MIDI Controller Techniques
Mastering advanced techniques on your MIDI controller can open up a whole new world of creative possibilities in your music production journey. These methods go beyond basic control so you can manipulate sounds and instruments in ways that can elevate your tracks to a professional level. So, let’s break it down.
-
Layering Sounds and Instruments
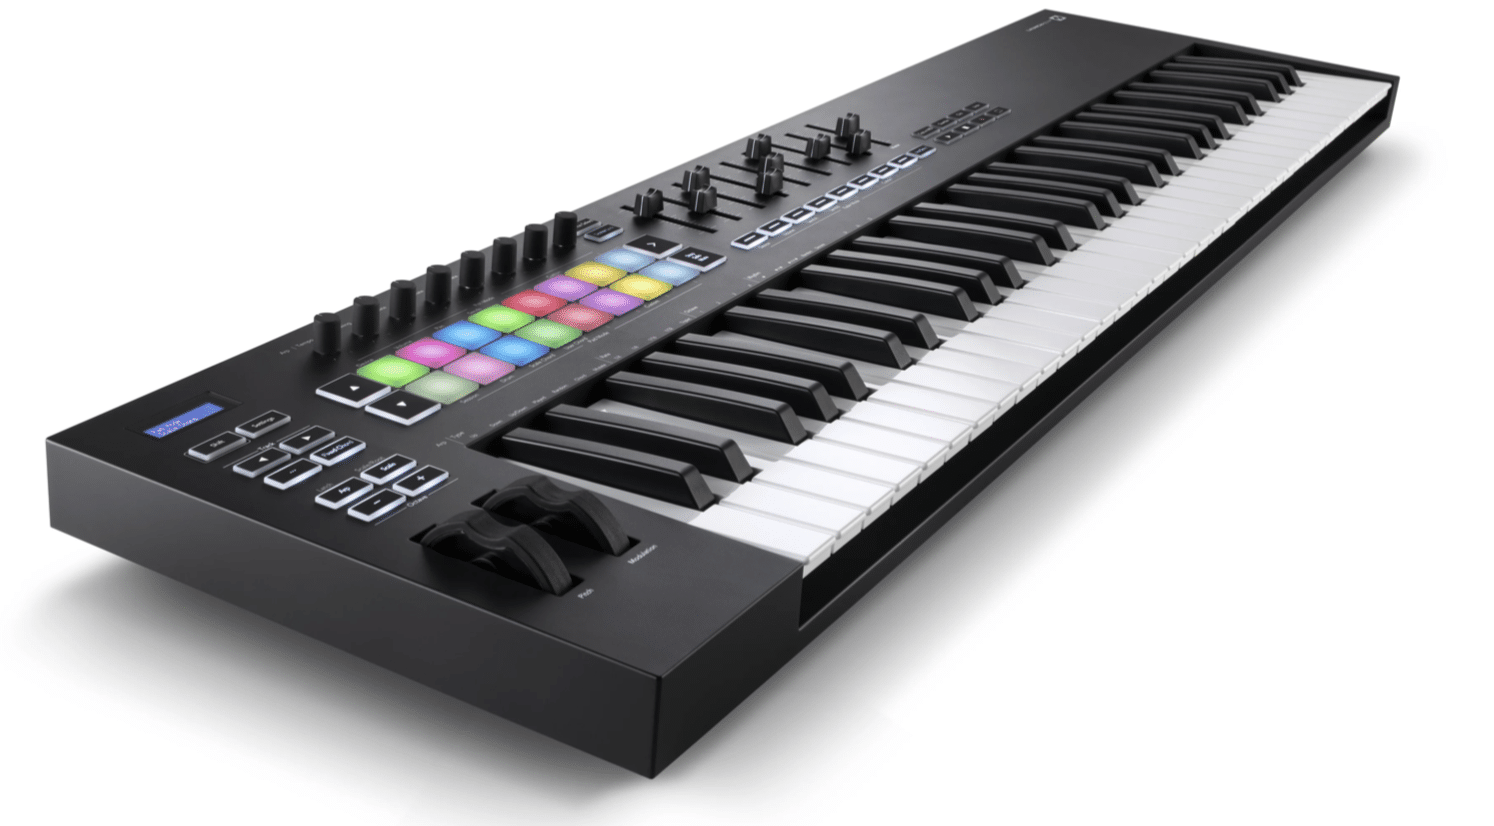
Layering sounds and instruments is a powerful technique that can add even more depth and complexity to your music.
Using a MIDI controller, you can easily assign multiple sounds to a single key or pad which lets you trigger multiple instruments at the same time.
For example, you might layer a bass sound with a synth pad for a harder, more full-bodied tone that really fills out your mix.
This technique is super effective when used with a MIDI keyboard controller, where you can spread different layers across the keys 一 assigning a piano sound to the lower range and a string ensemble to the higher range.
By adjusting the velocity sensitivity of your MIDI keyboard, you can also control which layers are triggered based on how hard you press the keys.
Which, you guessed it, adds even more dynamic expression to your music.
Whether you’re producing electronic music or scoring for film, layering with your MIDI controller is an essential skill for creating complex and engaging tracks.
-
Creating Expressive Performances with Aftertouch
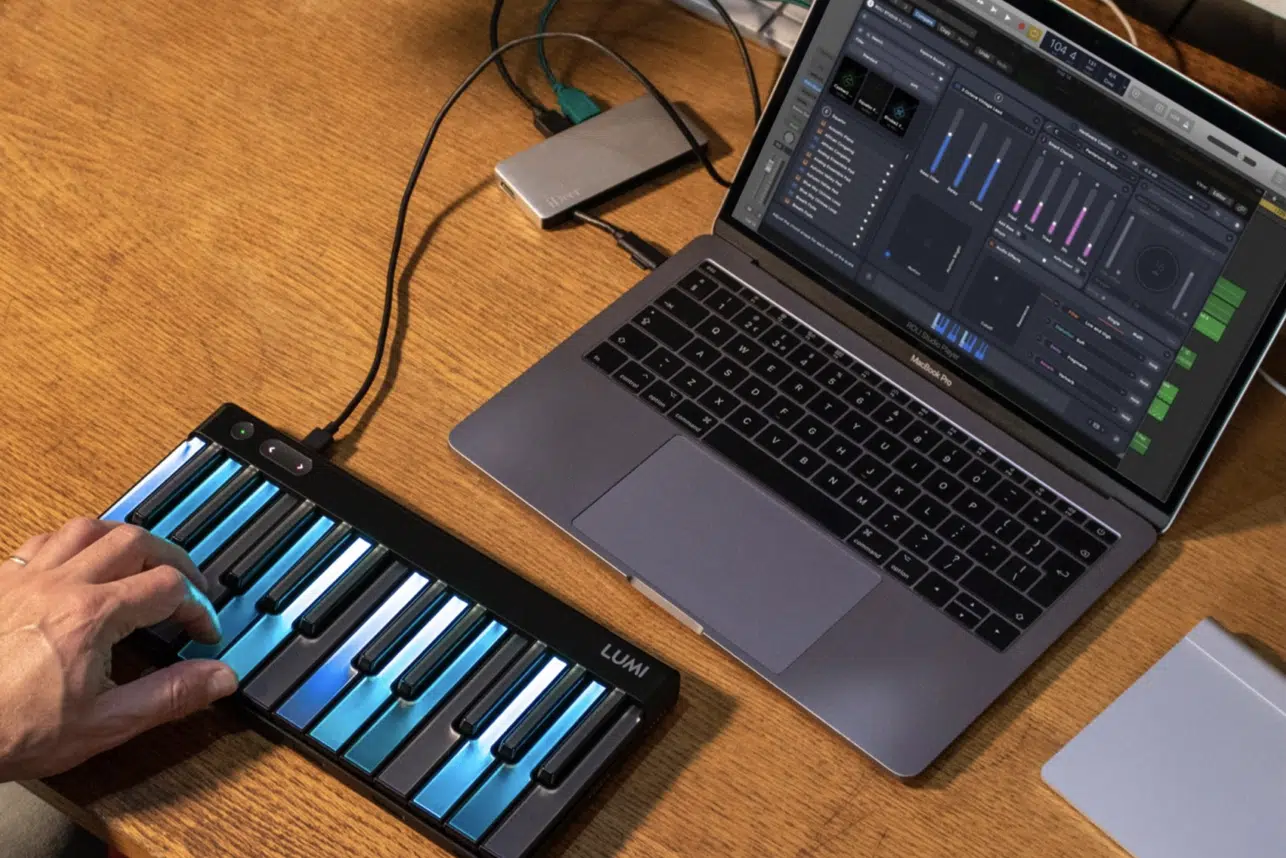
Aftertouch is a key feature found on many MIDI keyboards and MIDI keyboard controllers, and one of my personal favorite inclusions.
It allows you to add expression to your playing by applying pressure to the keys after they’ve been pressed.
This can be used to control parameters such as:
- Vibrato
- Volume
- Modulation
For example, by applying aftertouch on a MIDI keyboard, you can increase the intensity of a string sound as you hold down a chord…
This will mimic the natural ‘swell’ of an orchestral section, which will give your listeners a more immersive experience.
NOTE: This technique is especially valuable in live performances, where you want to inject a human element into your music, but it’s great all the time.
Aftertouch can also be assigned to control effects in your DAW, such as reverb or delay 一 allowing you to manipulate these effects in real-time as you play.
Bottom line, using aftertouch on your MIDI controller can transform a simple performance into an expressive masterpiece and make your music really stand out.
-
MIDI Arpeggiators and Sequencers
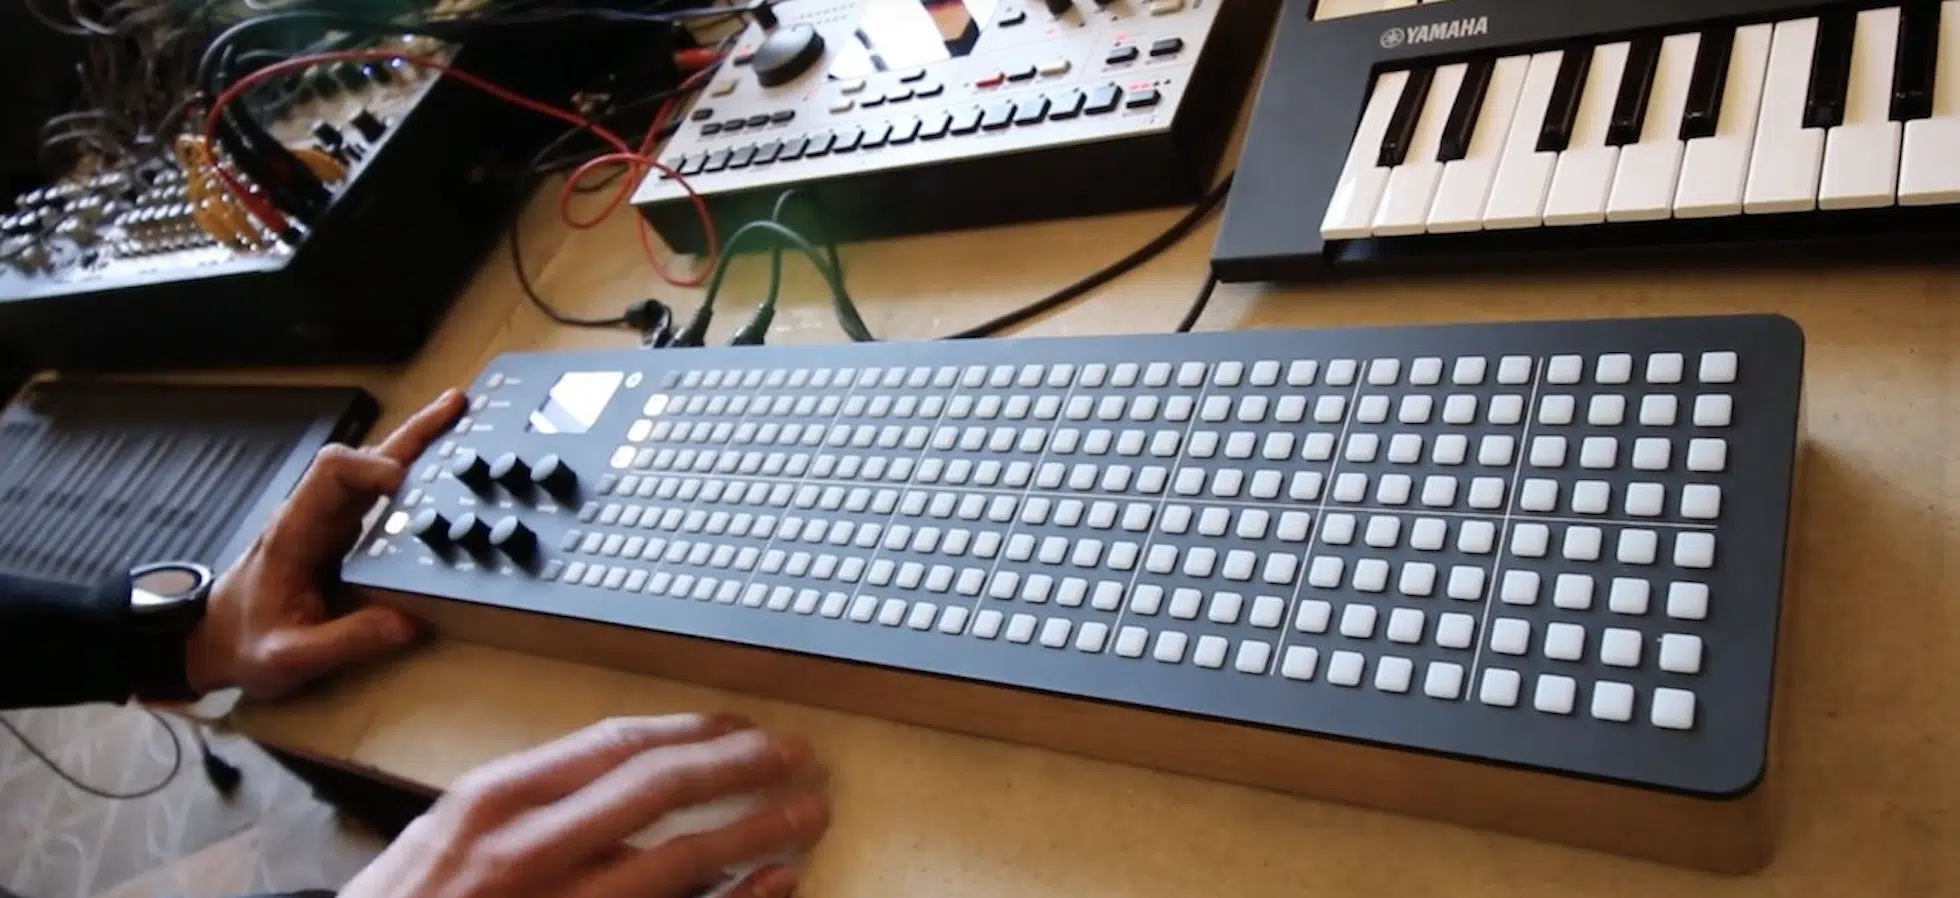
MIDI arpeggiators and sequencers are powerful tools built into many MIDI controllers, allowing you to create complex rhythmic patterns and melodic sequences with ease.
An arpeggiator takes the notes you play on your MIDI keyboard and automatically cycles through them in a set pattern 一 adding motion and rhythm to your chords or melodies.
For example, you can hold down a chord on your MIDI keyboard controller and have the arpeggiator rapidly cycle through the trigger notes.
This will create an intricate pattern that would be extremely difficult to play manually.
Sequencers, on the other hand, allow you to program a series of notes or rhythms that your MIDI controller will play back in order.
They’re super useful for creating basslines, drum patterns, or evolving melodies.
5 Pro Tips for Maximizing MIDI Controller Potential
To really master MIDI controllers, you have to dive into more advanced techniques and creative strategies. The following pro tips will help you get the most out of your device and make you feel more connected (no pun intended), so let’s get into it.
#1. Custom Templates for Different Projects
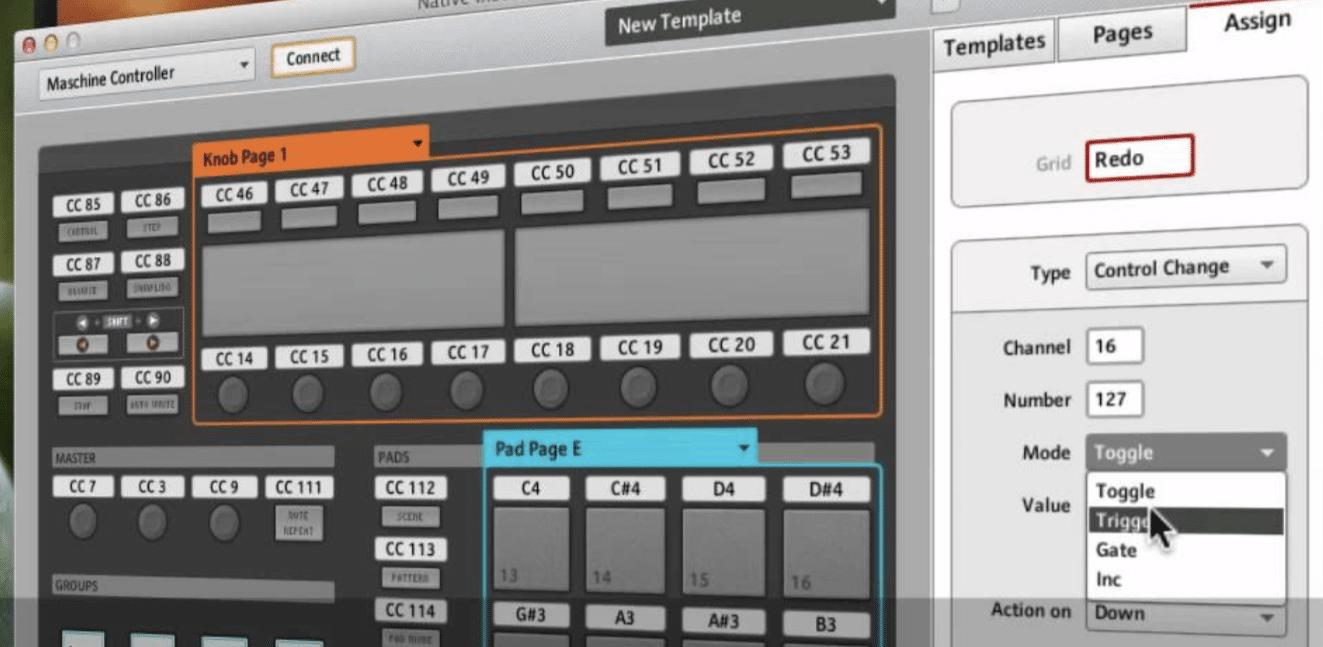
Creating custom templates for your MIDI controller can save you a boatload of time and streamline your workflow, especially if you work on different types of projects.
If you regularly switch between producing electronic music and recording live instruments, setting up separate templates in your DAW allows you to instantly load the necessary mappings, sounds, and parameters with just a few clicks.
For example, a typical template for electronic music might include mappings for:
While a template for live recording, on the other hand, might focus on volume controls, reverb sends, and transport functions.
It’ll ensure that your MIDI controller is always configured for optimal performance, regardless of the project you’re working on or genre, etc.
By creating and saving these templates, you can maintain a consistent workflow 一 freeing up more time to focus on creativity rather than setup.
#2. Using MIDI Controllers for Automation
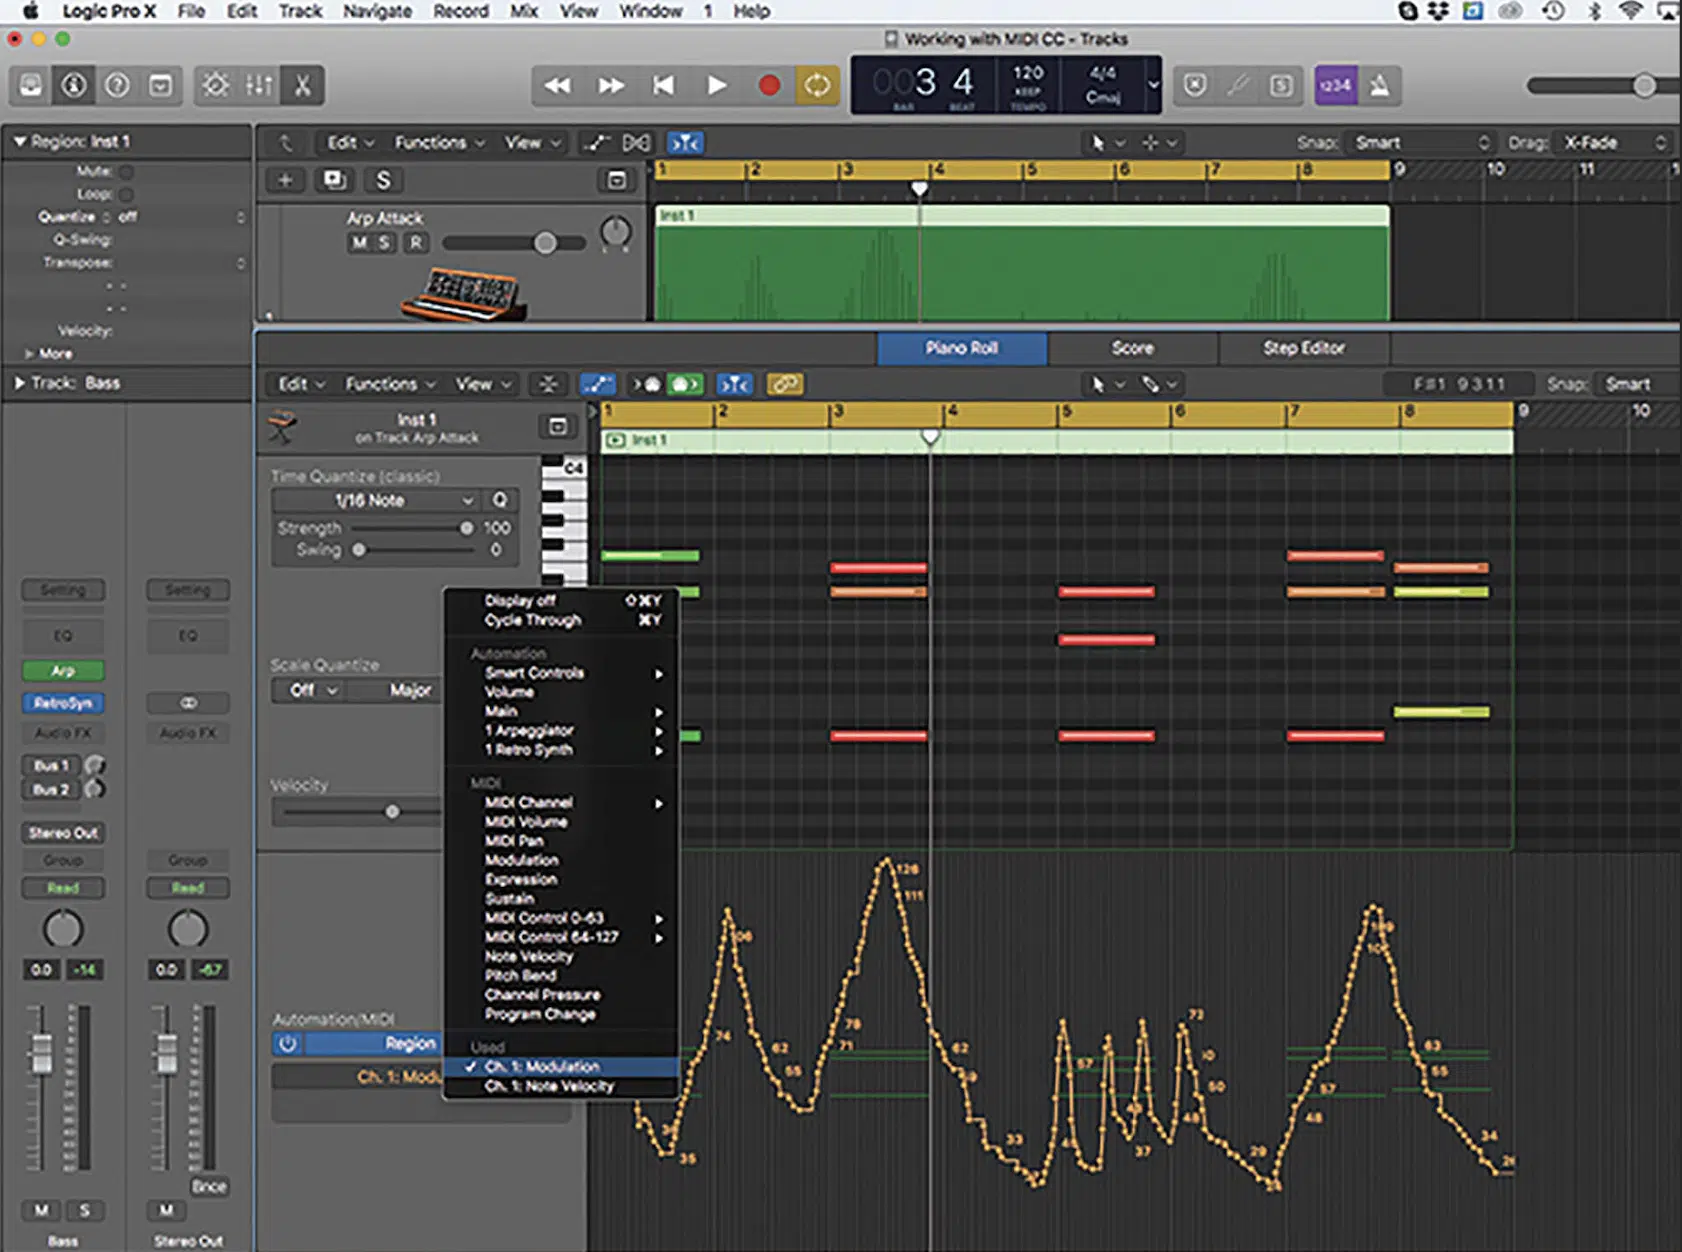
Using your MIDI controller for automation is a game-changer when it comes to adding movement and dynamics to your tracks.
Instead of manually drawing automation curves with your mouse, you can use the faders, knobs, or pads on your MIDI controller to record automation in real-time.
For instance, you might use a fader on your MIDI keyboard controller to gradually increase the reverb on a vocal track during a chorus, or twist a knob to automate a filter sweep on a synth.
This hands-on approach not only makes the automation process faster but also allows for more organic, human-like adjustments that can breathe life into your music.
And remember, it’s all about getting creative and thinking outside of the box (this is true for any part of the music production process).
#3. Use Multiple MIDI Controllers Simultaneously
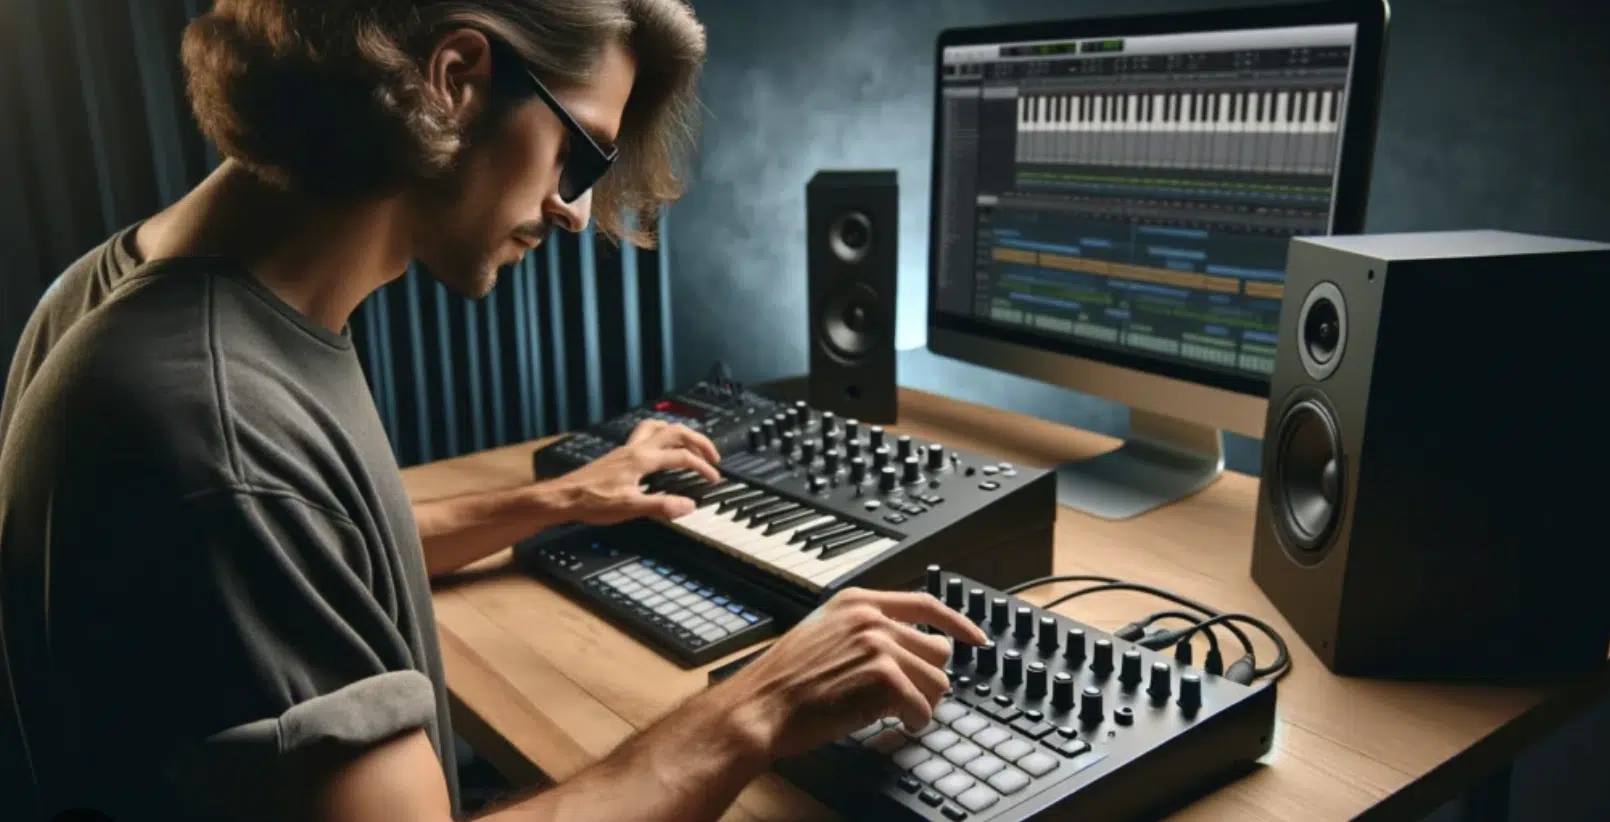
Using multiple MIDI controllers at the same time can expand your creative possibilities, allowing you to control different sections of your music production setup at once.
For example, you could use a MIDI keyboard controller to play melodies and chords while simultaneously using a pad controller to trigger drum samples or sound FX.
I bet you’re imagining all the creative possibilities as we speak, am I right?
This multi-controller setup can be especially beneficial in live performances, where you need to flawlessly:
- Switch between instruments
- Control effects
- Trigger loops
By integrating multiple controllers into your workflow, you can assign different tasks to each device, such as using one to control the main parameters of your tracks and another to tweak finer details like modulation or pitch bends.
It won’t only enhance your control over the music but also allows you to create more complex and dynamic performances.
Especially ones that would be difficult (or completely impossible) to achieve without multiple MIDI controllers.
#4. Leverage External MIDI Devices
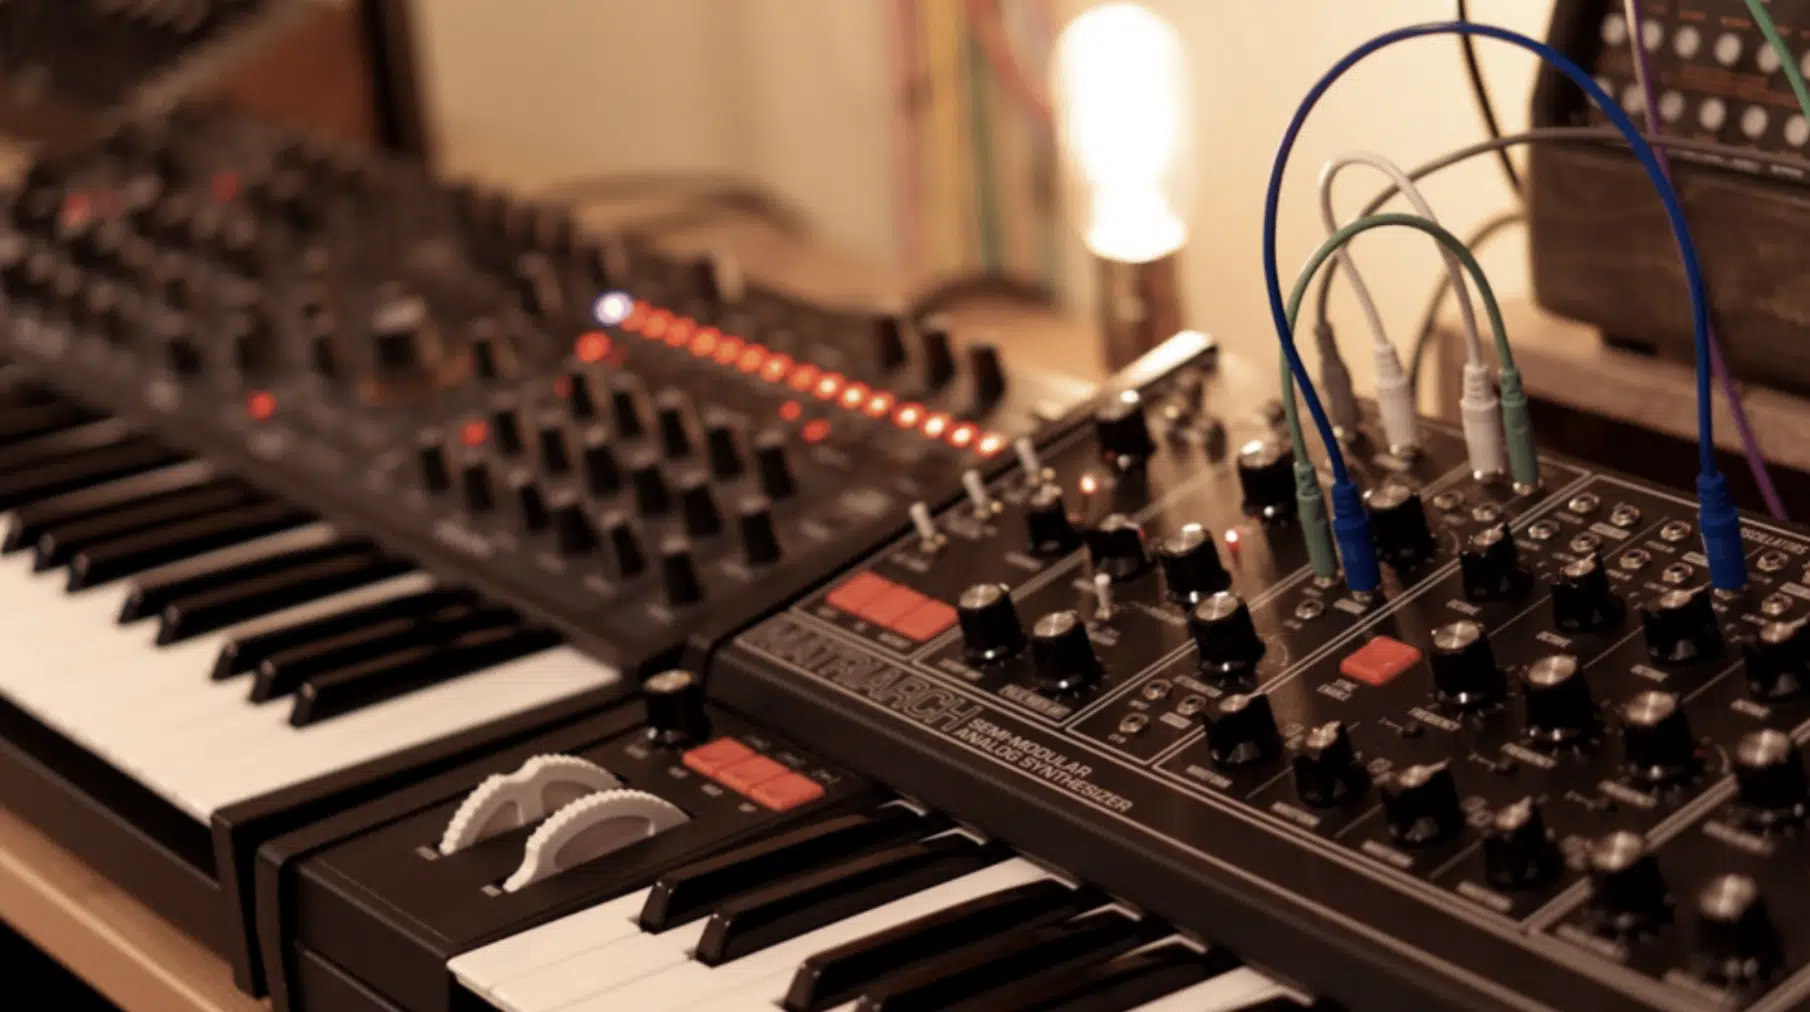
Using external hardware MIDI devices alongside your MIDI controller can take your music production to the next level by adding some epic/unique sounds and capabilities that software alone may not offer.
For example, connecting a hardware synth to your MIDI controller allows you to trigger and manipulate the sounds directly from your keyboard.
It provides a more tactile experience that many producers, musicians, and live performers find more inspiring than using virtual instruments alone.
Also, integrating hardware sound modules with your MIDI controller enables you to access a much wider range of sounds 一 from vintage analog tones to modern digital patches.
All while maintaining the control and flexibility that MIDI provides, which is great.
For producers/musicians who prefer the warmth and character of hardware devices but still want that digital precision, this is absolutely perfect.
And believe me, once you really get into it, it will totally change your game.
#5. Explore Creative MIDI FX Plugins
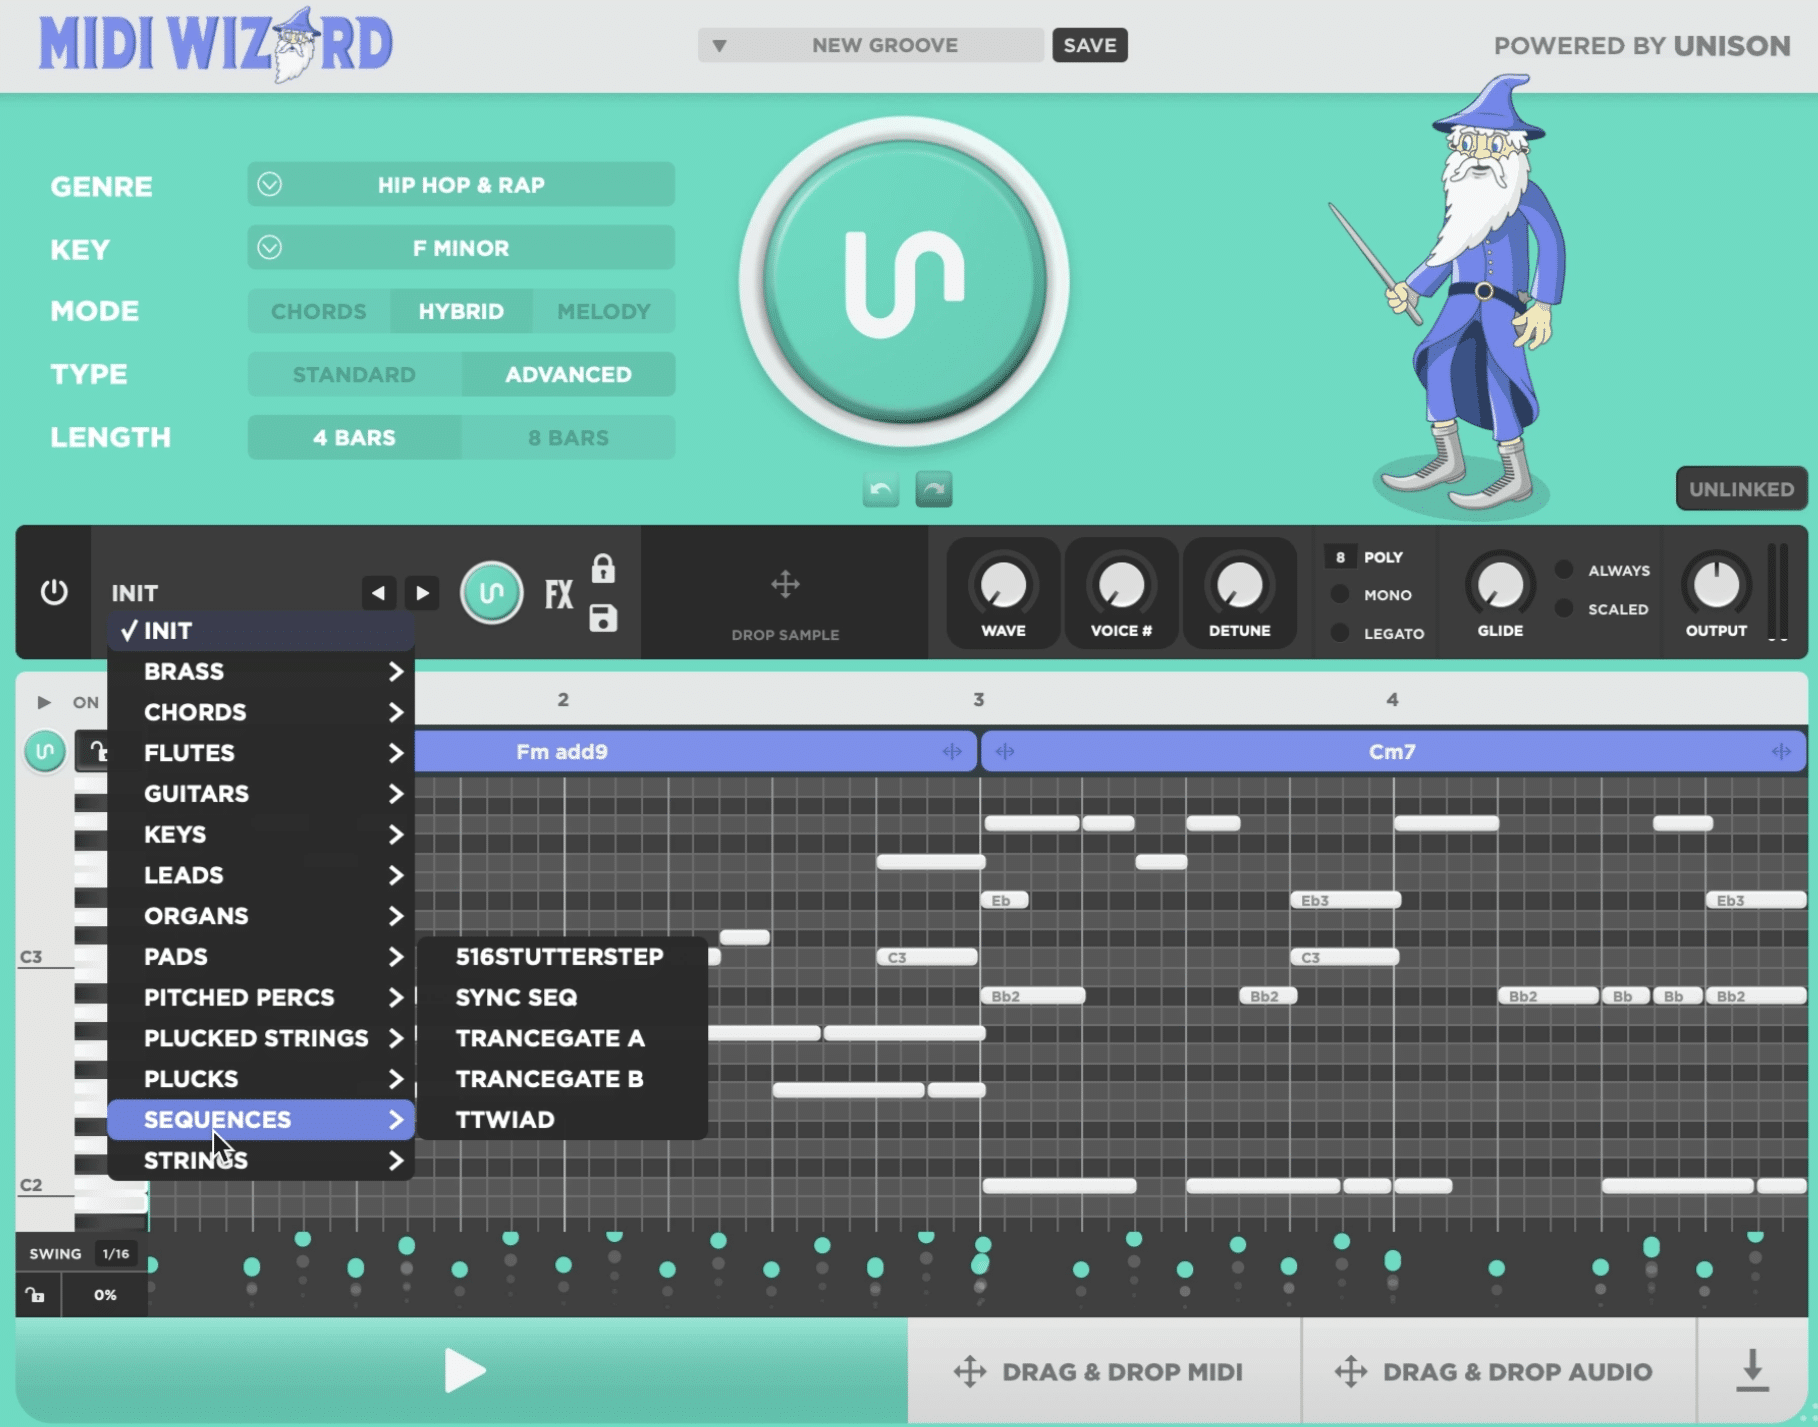
Exploring creative MIDI FX plugins like MIDI Wizard can help you manipulate MIDI data in ways that go beyond simple note triggering.
These plugins can be used to:
- Generate complex arpeggios
- Randomize note patterns
- Even apply generative algorithms to your MIDI sequences
It will add yet another element of unpredictability to your music.
For example, you could use a MIDI FX plugin to automatically add harmonies to a melody you’re playing on your MIDI keyboard controller.
Or, to create evolving rhythmic patterns that keep your tracks intriguing and dynamic.
By experimenting with these plugins (which there are an endless range of), you can transform a basic MIDI sequence into a full-blown masterpiece, all within your DAW, like Ableton Live, FL Studio, Cubase, Etc.
MIDI Controllers: Final Thoughts
MIDI controllers, as you now know, are incredibly versatile and can seriously enhance your music production workflow as a whole.
They can help you trigger sounds, control effects, and automate processes, all while giving you hands-on control over your DAW.
Plus, with features like customizable mappings and MIDI Learn, you’re able to fine-tune your setup and produce tracks like a professional.
All without needing to rely on your mouse, which is awesome.
There are endless possibilities you can explore with MIDI controllers to bring your creative vision to life.
If you’re looking to take your music to the next level, there are epic free MIDI packs that have been breaking the internet lately and will perfectly complement your MIDI setup.
Whether you need chord progressions, drum patterns, or inspiring melodies, all of these free MIDI packs like MIDI chord progressions or Essential MIDI Drum Kits are perfect.
They’ll provide you with high-quality, royalty-free MIDI files that are easy to integrate into any project and were created by top producers and sound designers.
They’re all drag-and-drop ready, and ideal for any genre 一 making them an invaluable resource for any producer looking to stand out and blow the competition away.
Remember, always keep experimenting with different setups and techniques, and always look for ways to enhance your workflow.
This way, your tracks will consistently shine, and you’ll never have to worry about missing out on the creative potential your MIDI controllers offer.
Until next time…


Leave a Reply
You must belogged in to post a comment.