Digital distortion and harmonic saturation are two very different effects, but they get confused or lumped together as the same thing a lot.
As producers, knowing the differences between them and when to use each unique one can bring your production skills to the next level, which is what you should always aim for.
You’ll be able to enhance your tracks, add some serious character to all your sounds, and make your mixes seem super polished.
Plus, you’ll know exactly how to tweak each effect the right way.
That’s exactly why I’m breaking down everything you need to know about digital distortion vs harmonic saturation, like:
- What digital distortion and harmonic saturation really are ✓
- How they shape your frequency spectrum differently ✓
- Clipping and harmonic generation ✓
- Using tape saturation and tube saturation in your tracks ✓
- Ways to use bit depth distortion for lo-fi vibes ✓
- How to apply distortion and harmonic saturation ✓
- Boosting your mixes with parallel distortion & saturation ✓
- Expert tips for using distortion plugins to enhance your sound ✓
- Advanced tricks/techniques about each distortion type ✓
- Avoiding aliasing & other unwanted artifacts in the digital domain ✓
- Much more about digital distortion vs harmonic saturation ✓
By understanding the differences between digital distortion and harmonic saturation, you’ll be able to knock out different sounds that can blow minds.
Plus, you’ll know exactly how to add warmth, texture, and clarity when you want.
This way, your tracks will always sound on point 一 and you’ll be running your sessions like a boss, which is always great.
Table of Contents
Digital Distortion vs Harmonic Saturation: Breaking it Down
Digital distortion and harmonic saturation are both very powerful in the music production world, each in its own unique way. But understanding their differences and knowing when to use each is what puts you ahead. So, to kick things off, let’s dive into the specifics of digital distortion vs harmonic saturation and break it all down.
-
Understanding Distortion (Digital)
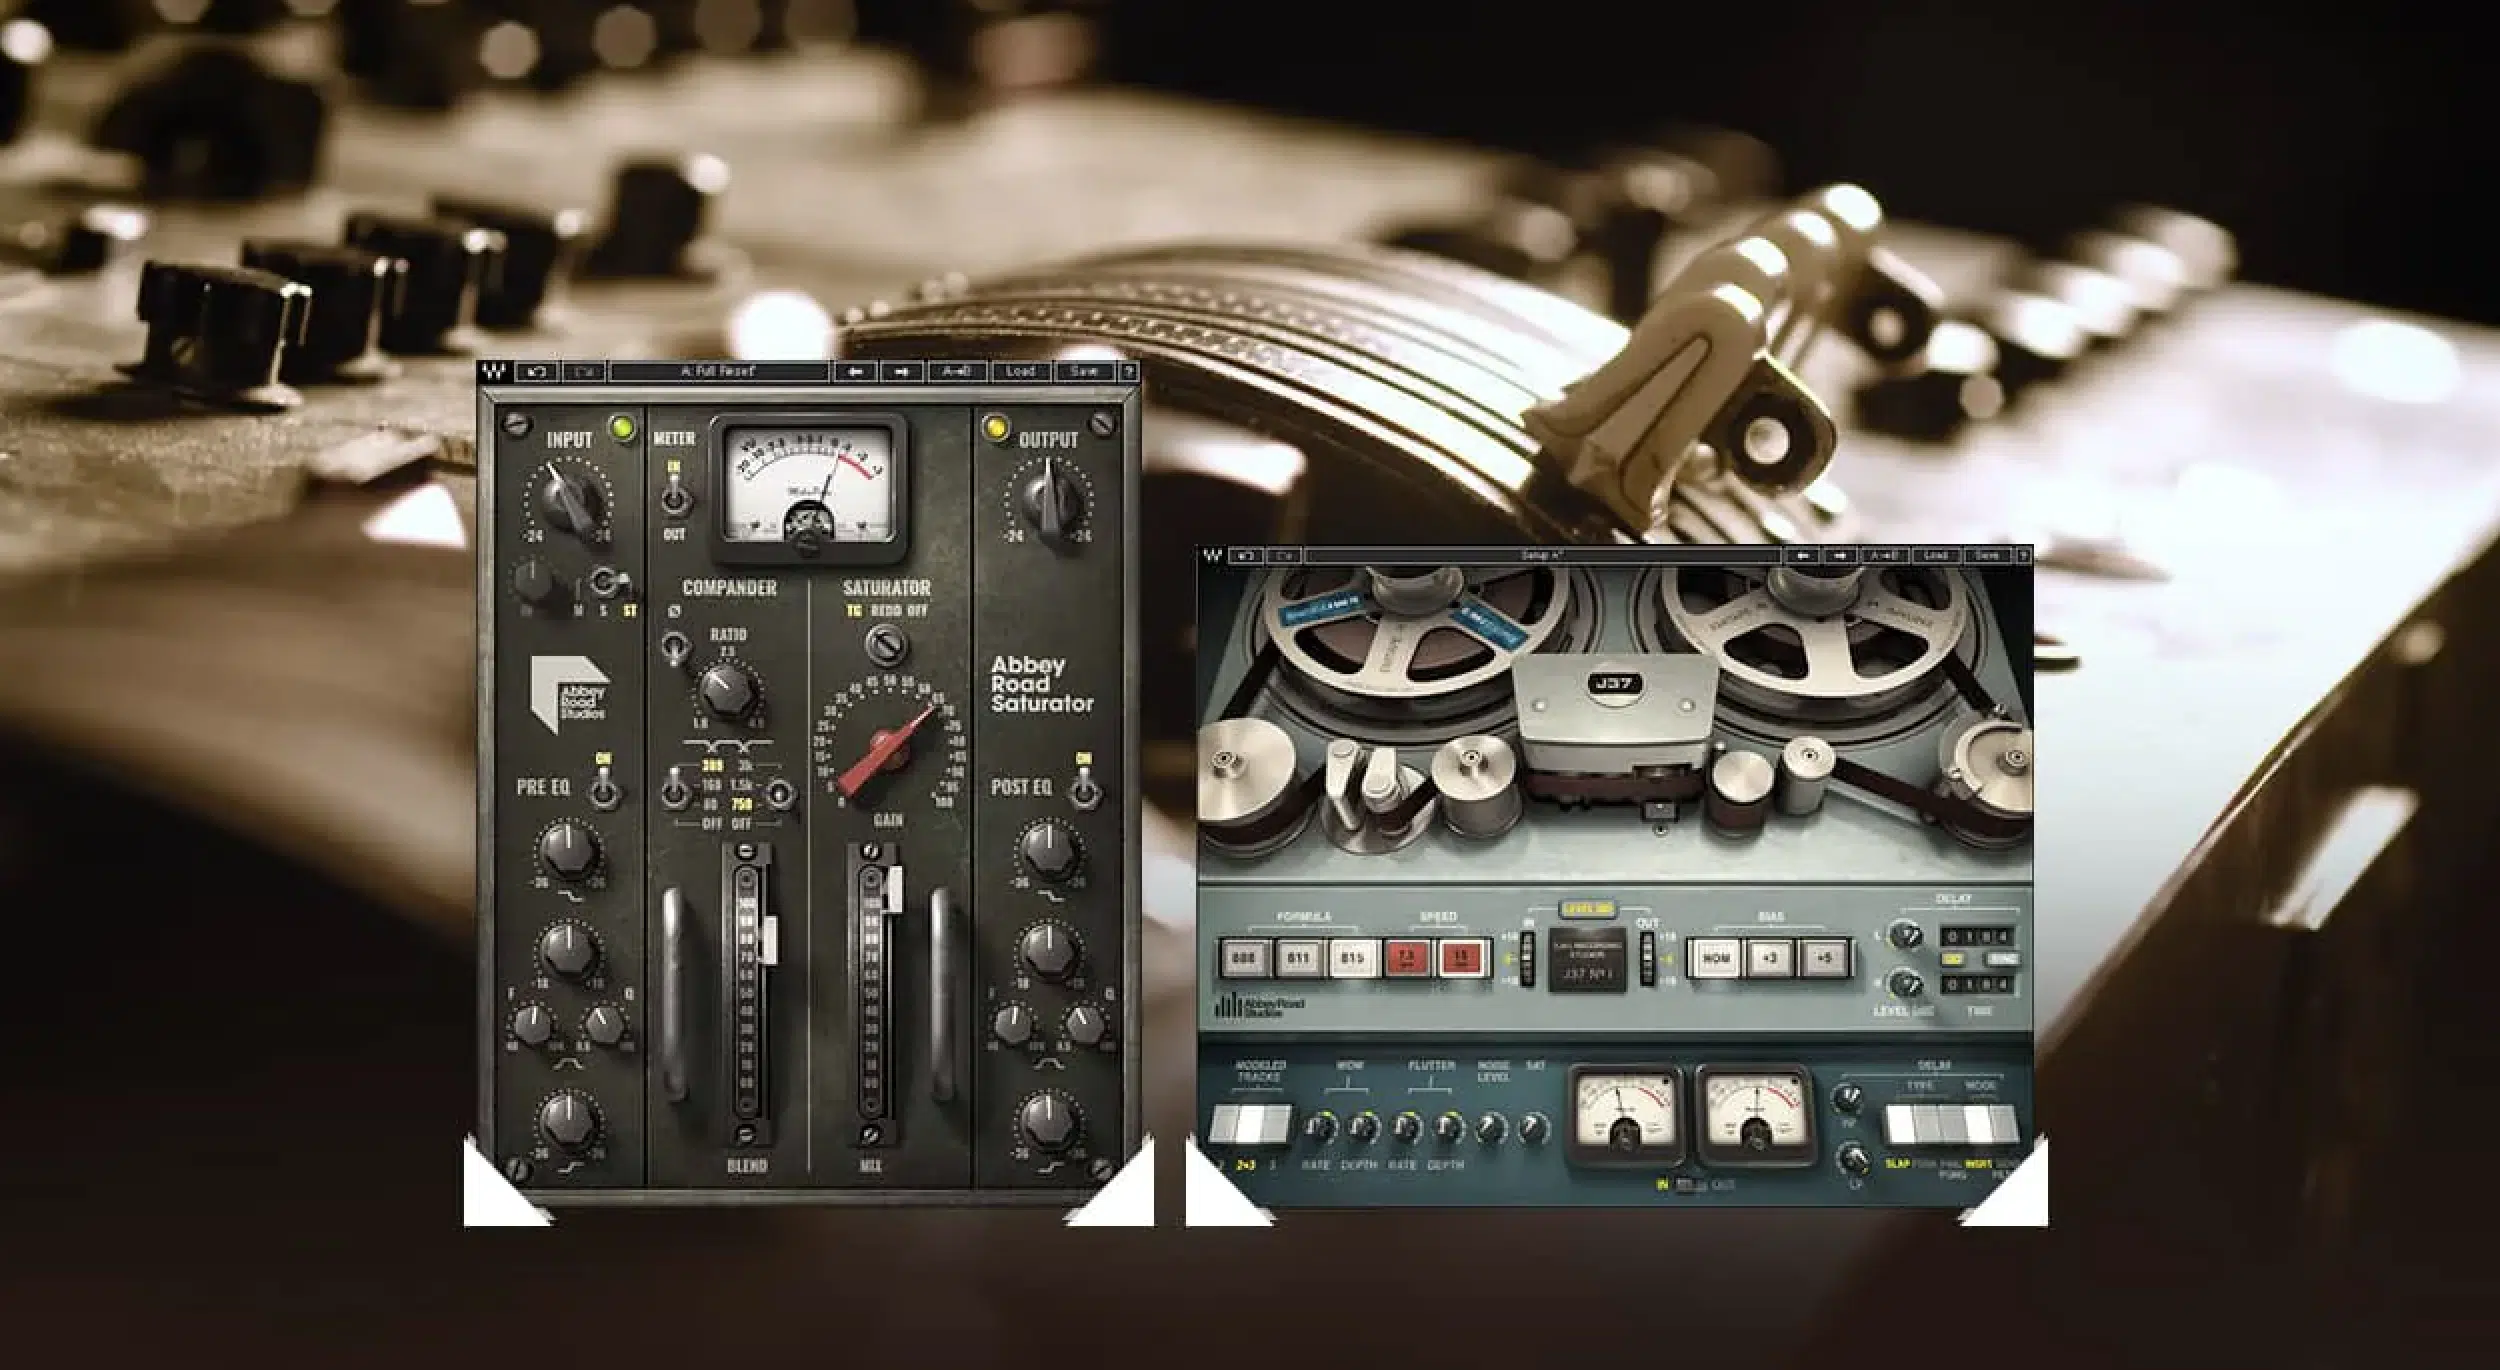
Digital distortion occurs when an incoming signal exceeds the maximum capacity of the digital domain 一 resulting in harsh, clipped waveforms.
This happens when you push your signal levels too high within your DAW, which creates a sound that’s sharp and aggressive.
For example, driving a sine wave into digital clipping transforms it into a square wave form, introducing harmonics that weren’t present in the original signal.
While this can be an undesirable effect in some contexts, digital distortion is widely used creatively (especially in genres like electronic and experimental music).
To control it, I recommend using distortion plugins like FabFilter Saturn 2 or Soundtoys Decapitator, or whatever vibes best with your style.
These let you adjust parameters such as drive and mix levels so you have razor-sharp control over just how much distortion you’re adding.
The most common form lately is bit depth distortion, which is a subset of digital distortion, to create lo-fi audio effects.
By reducing the bit depth of an audio file, you introduce artifacts that add a gritty, vintage vibe to your tracks that really stand out.
However, excessive digital distortion can lead to unwanted artifacts like aliasing (especially if oversampling isn’t enabled).
Just make sure to always check whether your plugin supports oversampling to maintain sound quality because otherwise things can get super messy.
For even cleaner results, try blending the distorted signal with the original signal using parallel processing (which we’ll talk about in a minute).
This helps you retain the clarity of the unprocessed track while incorporating the desired texture from the distorted one, which is what you always want.
-
What is Harmonic Saturation?
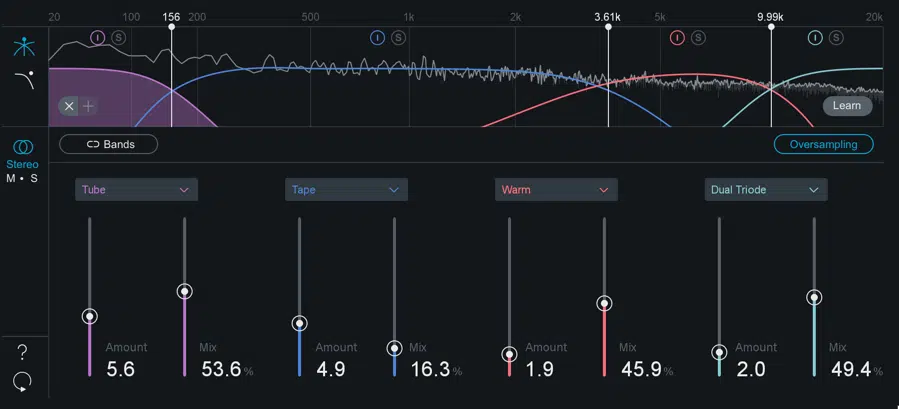
Harmonic saturation, on the other hand, occurs when audio is processed in a way that adds new harmonic frequencies to hype up the harmonic content of the incoming signal.
Unlike digital distortion (which tends to sound sharp and harsh), harmonic saturation introduces a sense of warmth and fullness.
Tape saturation and tube saturation are two common forms of harmonic saturation.
For example, tape machines use magnetic particles to create subtle, natural compression and harmonic distortion.
It mimics the sound of analog warmth from analog hardware/analog equipment (which I personally love, and you probably do too).
On the flip side, tube saturation sounds are created by overdriving vacuum tubes, which gives you some sick harmonic textures with an edge.
I find harmonic saturation most useful on vocals and basslines:
- For vocals, it adds clarity and presence without making them sound harsh.
- For basslines, it can enhance the low-end while maintaining definition across the frequency spectrum.
Distortion plugins like UAD Studer A800 for tape saturation or Waves J37 can emulate these audio effects without needing bulky analog equipment, so check those out.
I usually set the saturation level just below the point of noticeable distortion for a subtle, polished effect that’s not too overwhelming.
You should also understand how harmonic saturation occurs within different distortion devices…
For example, tube amps excel at producing even-order harmonics, which our ears perceive as smooth and musical.
This contrasts with odd-order harmonics from transistor-based saturation, which can sound more aggressive.
NOTE: Using soft knee compression alongside saturation can create smoother transitions between dynamic peaks, preventing the signal from becoming overly harsh.
When applying saturation, the one piece of advice that I would give to you is always monitor your output level to avoid unwanted clipping.
-
Pro Tip: How They Affect Sound Quality
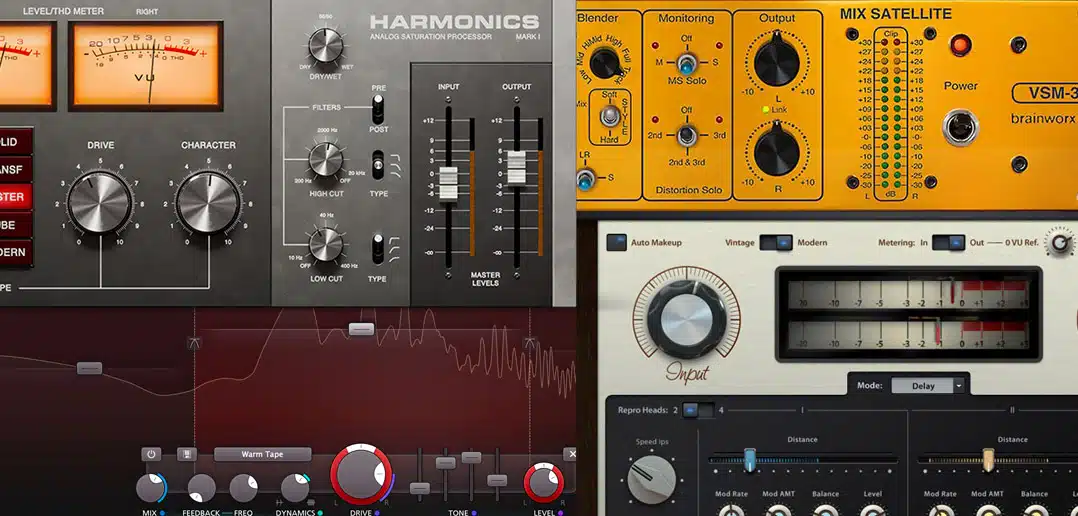
When comparing digital distortion vs harmonic saturation, it’s also important to understand how they shape the audio signal.
Digital distortion is abrupt, creating sharp edges in the waveform and introducing aliasing in the digital processing chain.
It’s perfect for aggressive genres but can ruin a mix if overused.
Harmonic saturation gently enhances the dynamic range by adding harmonics that can really bring the sound to the next level.
This is why producers like us usually turn to analog saturation for adding depth and analog warmth to basic digital processing.
For example, when I’m working on drums, I use digital distortion to add punch to kicks and snares, while I rely on tube distortion/tape machines for subtle glue on my mix bus.
The key is balance…
So, use digital distortion when you want to add bite or aggression, but switch to harmonic saturation when you’re aiming for smooth, musical distortion.
Bottom line, each one has its place, and knowing when to use each will elevate your music production skills.
Don’t worry, we’ll break it all down in detail throughout the article so you get a much better understanding and can master it quickly.
-
Clipping: Explained
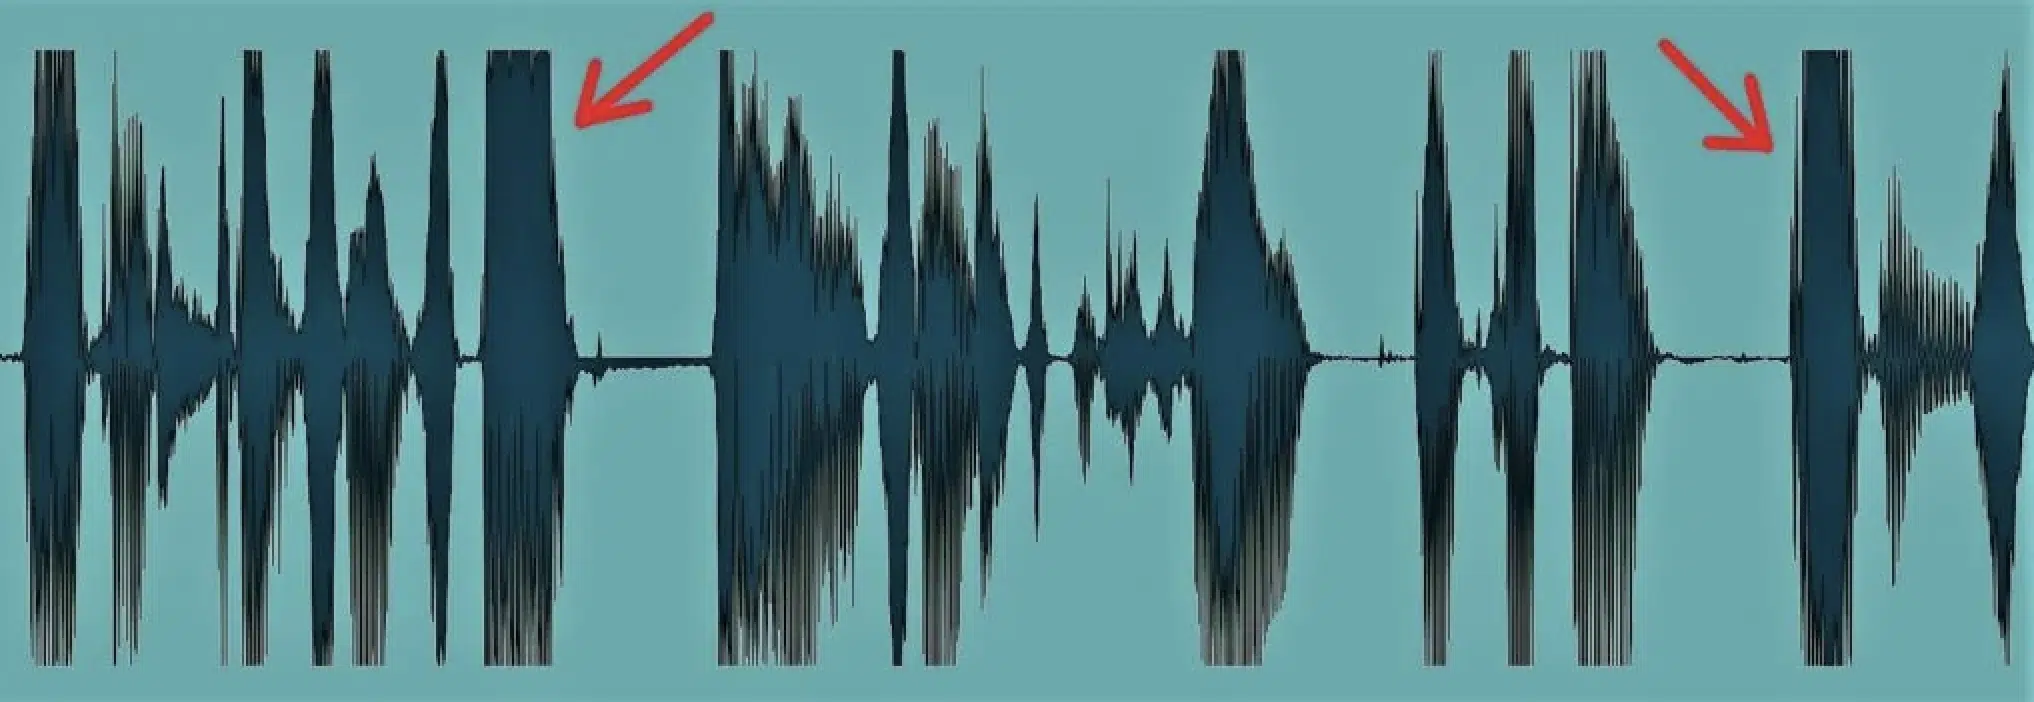
Clipping, as we said, occurs when an incoming signal exceeds the maximum amplitude limit of a system, making the wave form being “cut off” at the top and bottom.
This creates a squared wave shape 一 introducing additional harmonic frequencies not present in the original signal.
There are two primary types of clipping: hard clipping and soft clipping.
- Hard clipping generates a more aggressive, edgy sound as the waveform abruptly hits the amplitude ceiling.
- Soft clipping applies a gentler curve, creating smoother harmonic transitions.
For example, pushing a kick drum through hard clipping might emphasize its transient, making it punch through a mix.
While soft clipping on a vocal, on the other hand, can add a subtle sense of compression and harmonic enhancement.
To control the effect, simply reduce the gain of the signal before clipping, or use a limiter to manage peaks.
And I said it once, I’ll say it again: pay attention to the frequency spectrum of the clipped signal because too much clipping equals harsh, high-frequency artifacts.
Also, using an EQ post-clipping can help tame these frequencies and retain balance in your mix, so definitely play around with that.
NOTE: To do so, use a parametric EQ to gently cut harsh frequencies, usually in the 3–8 kHz range, with a narrow Q setting to target problem areas.
If clipping causes low-end muddiness, simply apply a high-pass filter around 50 Hz to clean up the sub-bass and keep your mix balanced.
In the digital domain, oversampling can cause aliasing (a common issue with digital clipping) by spreading high-frequency content more evenly across the spectrum.
Without oversampling, aliasing can result in unwanted tonal distortion that muddies your track.
To experiment with clipping, adjust the input gain until the signal starts to distort, then dial it back slightly to find the sweet spot.
Always check the output level to avoid overloading the next stage in your signal chain.
-
Harmonic Generation
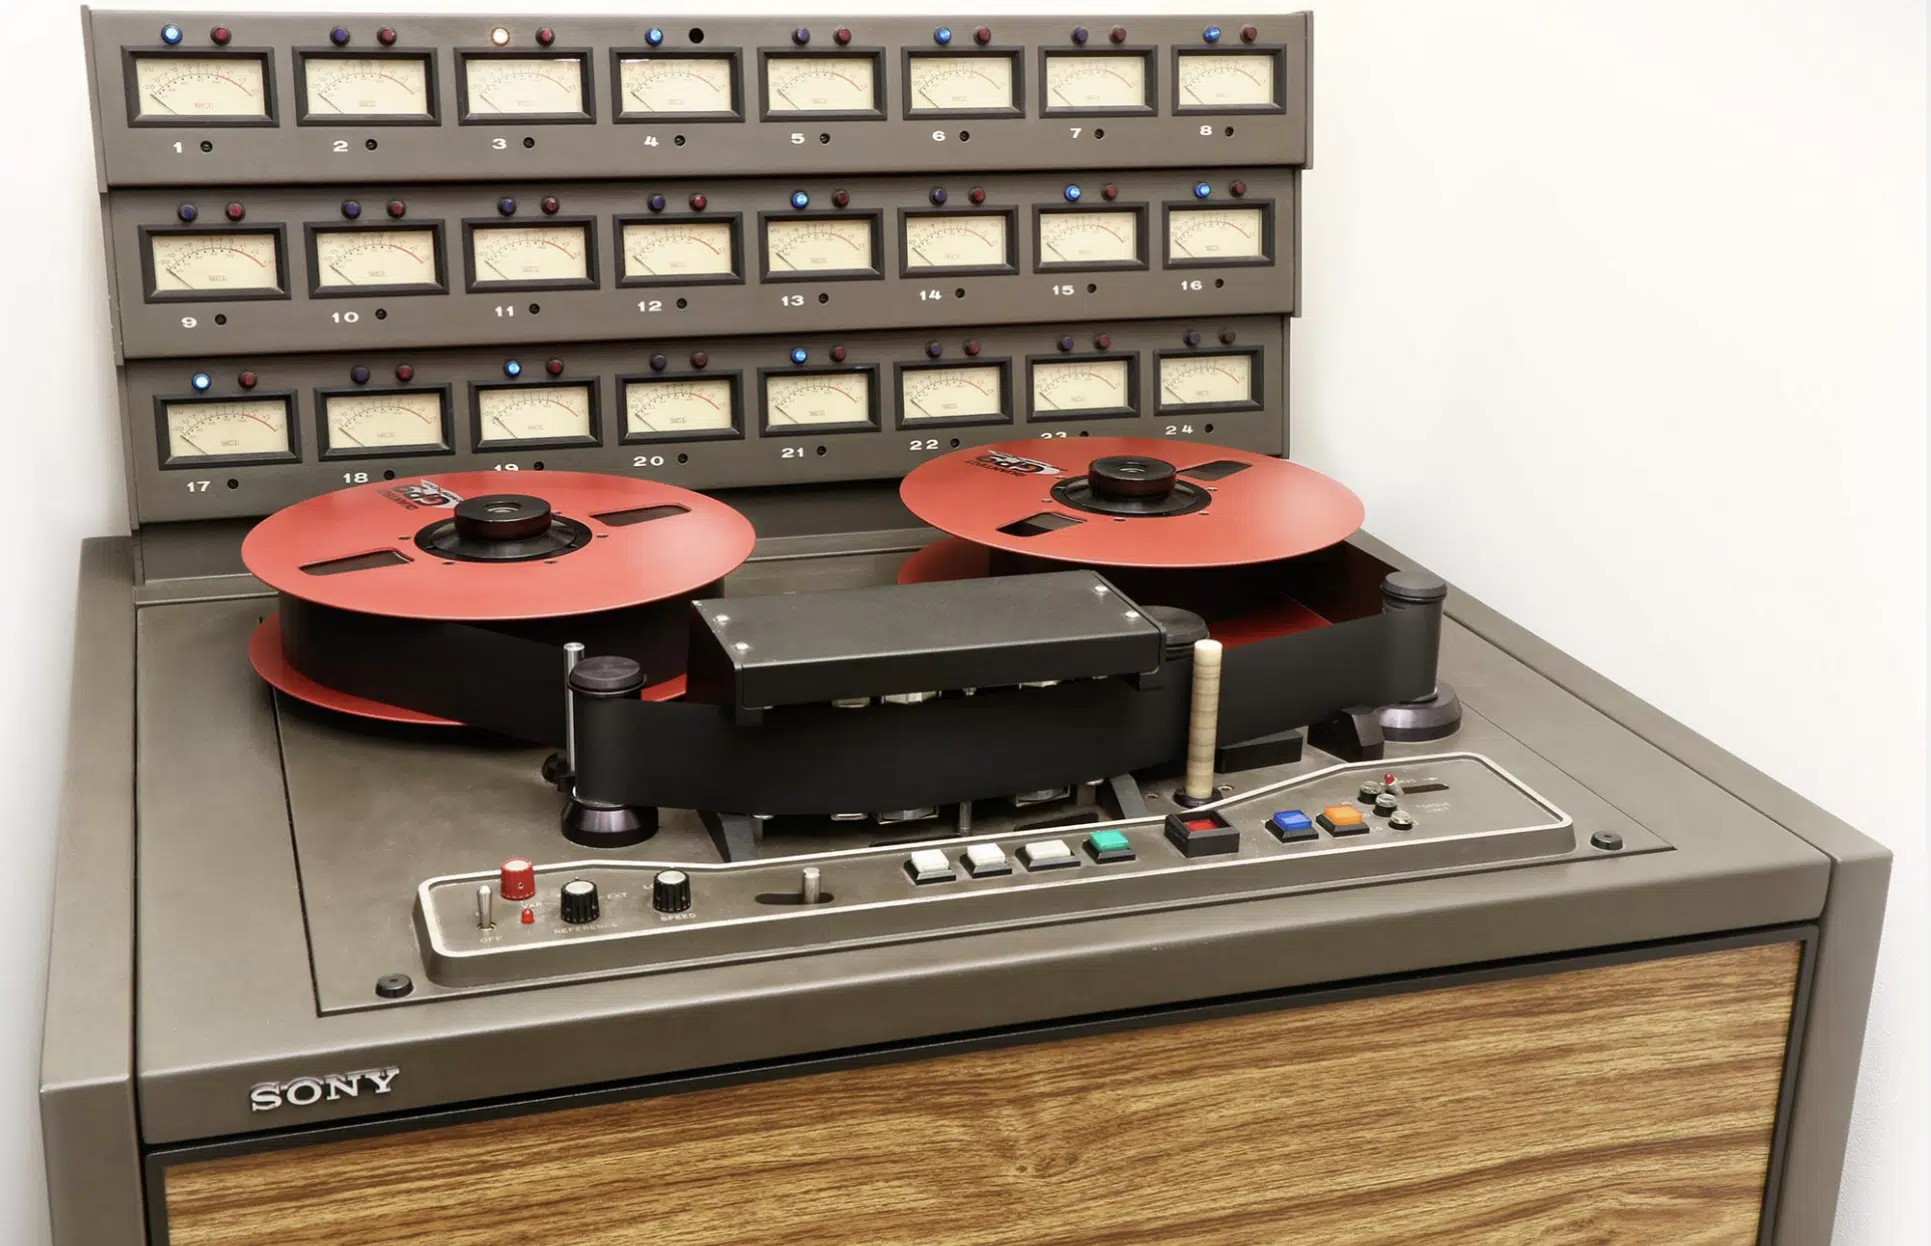
Harmonic generation is the process where new harmonic frequencies are introduced into an audio signal (enhancing its harmonic content).
This happens when a signal flow passes through nonlinear systems like:
- Tube amps
- Tape machines
- Transistor circuits
For example, when a pure sine wave is processed through a tube amp, even-order harmonics are generated 一 giving you a warm texture.
Transistor-based systems typically produce odd-order harmonics, which can sound more aggressive or metallic.
The intensity of harmonic generation depends on the input signal’s level and the system’s threshold, of course.
Driving the signal harder increases the harmonic complexity, but excessive processing can result in unwanted distortion.
A great example is adding harmonic saturation to a bassline…
By carefully driving the signal, you can add overtones that make the bass more audible on smaller speakers without increasing its level.
When applying harmonic generation, you always have to consider the frequency spectrum of the sound.
Subtle saturation on midrange instruments like guitars can create fullness, while heavy harmonic processing on high frequencies can add harshness.
Nonlinear systems like tube saturation also introduce intermodulation distortion; when multiple frequencies interact to create additional harmonics.
Just remember to adjust the threshold and drive levels of your processing tool and you’ll be absolutely fine.
NOTE: A good rule of thumb is to process until you hear a noticeable enhancement, then pull back slightly for a more balanced effect.
-
Dynamic Range and Loudness Considerations
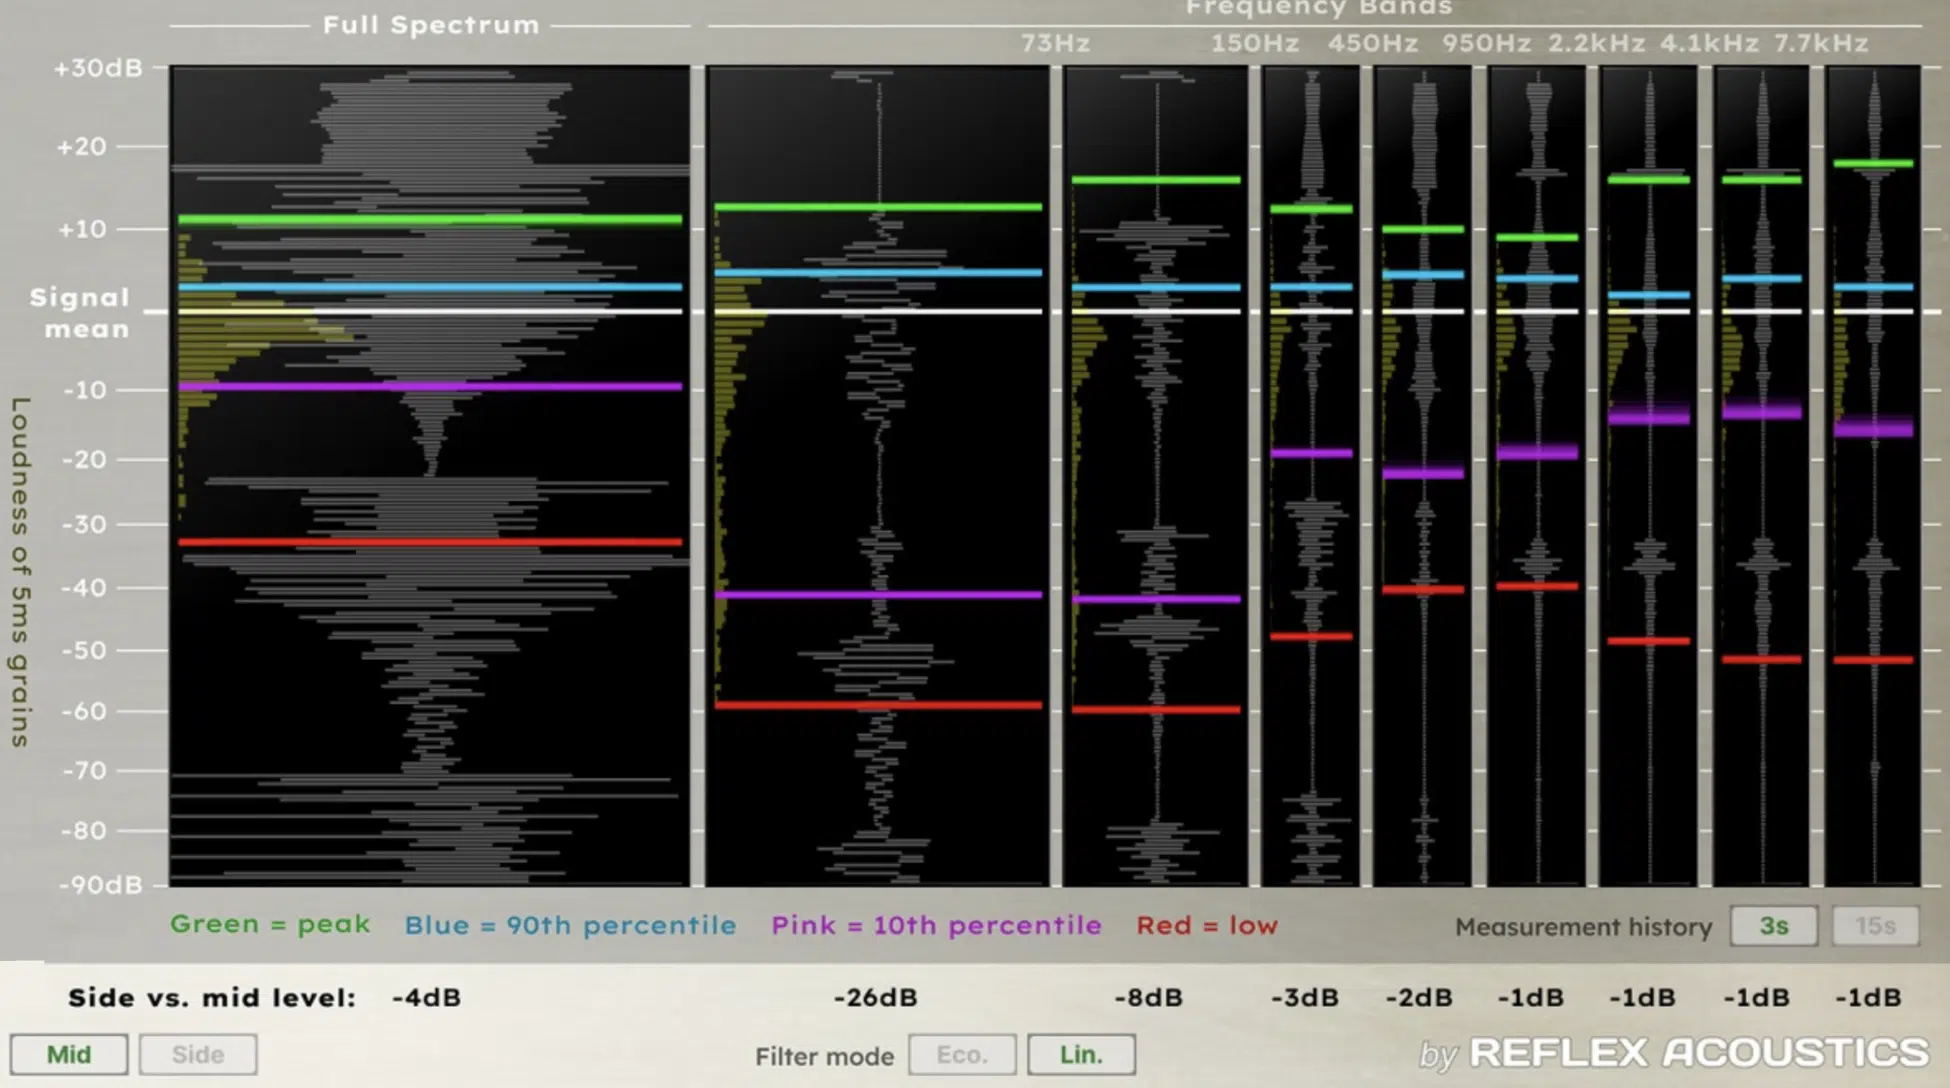
Dynamic range refers to the difference between the quietest and loudest parts of a signal, very simple and straightforward.
Both distortion and saturation reduce dynamic range, compressing transients while enhancing perceived loudness.
For example, applying soft knee compression alongside harmonic saturation can smooth out peaks so your track remains balanced without losing any impact.
This is super effective on drum busses, where subtle saturation can glue the elements together while taming excessive dynamics.
The bit depth of your session also affects how distortion impacts the sound.
Lowering the bit depth reduces the resolution of the audio, making quantization noise more audible and introducing artifacts commonly associated with bit depth distortion.
When using digital distortion, make sure that your bit depth is set high enough to maintain resolution in quieter parts of the signal.
At least 24-bit resolution is recommended for most music production tasks/streaming services to avoid unnecessary degradation.
Saturation plays a dual role in managing dynamic range and loudness.
By adding harmonics, it increases the density of the frequency spectrum, making the track feel louder without peaking higher.
This is why saturation is usually applied during mastering to achieve commercial loudness levels.
Make sure to monitor your output level whenever you’re applying saturation/distortion because you want the same perceived loudness before and after processing.
This way, you can successfully avoid overloading your mix bus.
NOTE: To find the right balance, start with light processing and gradually increase the input gain until the effect becomes noticeable and how you want it.
This will make sure you’re enhancing the track’s loudness and tonal quality without sacrificing its dynamic range/integrity.
Types of Digital Distortion
When working with digital distortion vs harmonic saturation, understanding the different types of digital distortion is everything. All of them can shape the tone, texture, and dynamics of your tracks. So, now let’s break down the most commonly used types of digital distortion.
-
Overdrive Distortion
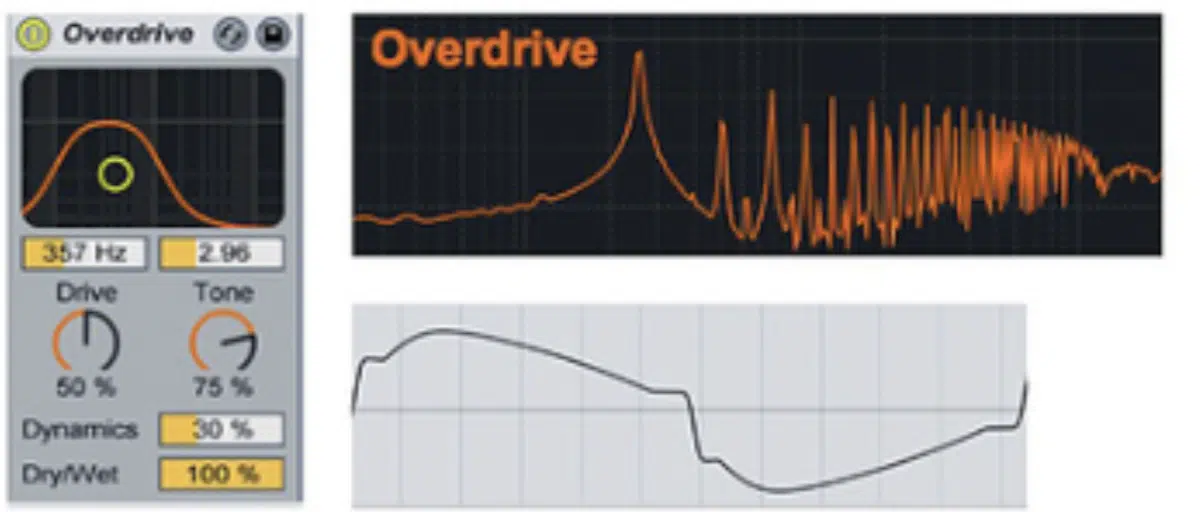
Overdrive distortion occurs when a signal is pushed to the point of mild clipping, introducing smooth even-order harmonics.
It’s used on instruments like bass and electric piano to add energy and fullness without sounding too harsh/ear-splitting.
For a subtle effect, set the input gain to a moderate level (just below clipping) so the output level remains balanced and your mix remains on point.
Overdrive is perfect for lead instruments, where increasing the drive parameter to 50% or higher can create sustain and tonal character.
For vocals, use parallel processing to blend the saturated signal with the original for extra clarity and texture.
Overdrive usually emphasizes midrange frequencies, so applying a slight cut around 400 Hz or a boost around 2 kHz with an EQ can help shape your sound.
It’s also great for EDM, where automating the drive parameter can add dynamic interest to synth leads or basslines.
-
Fuzz Distortion
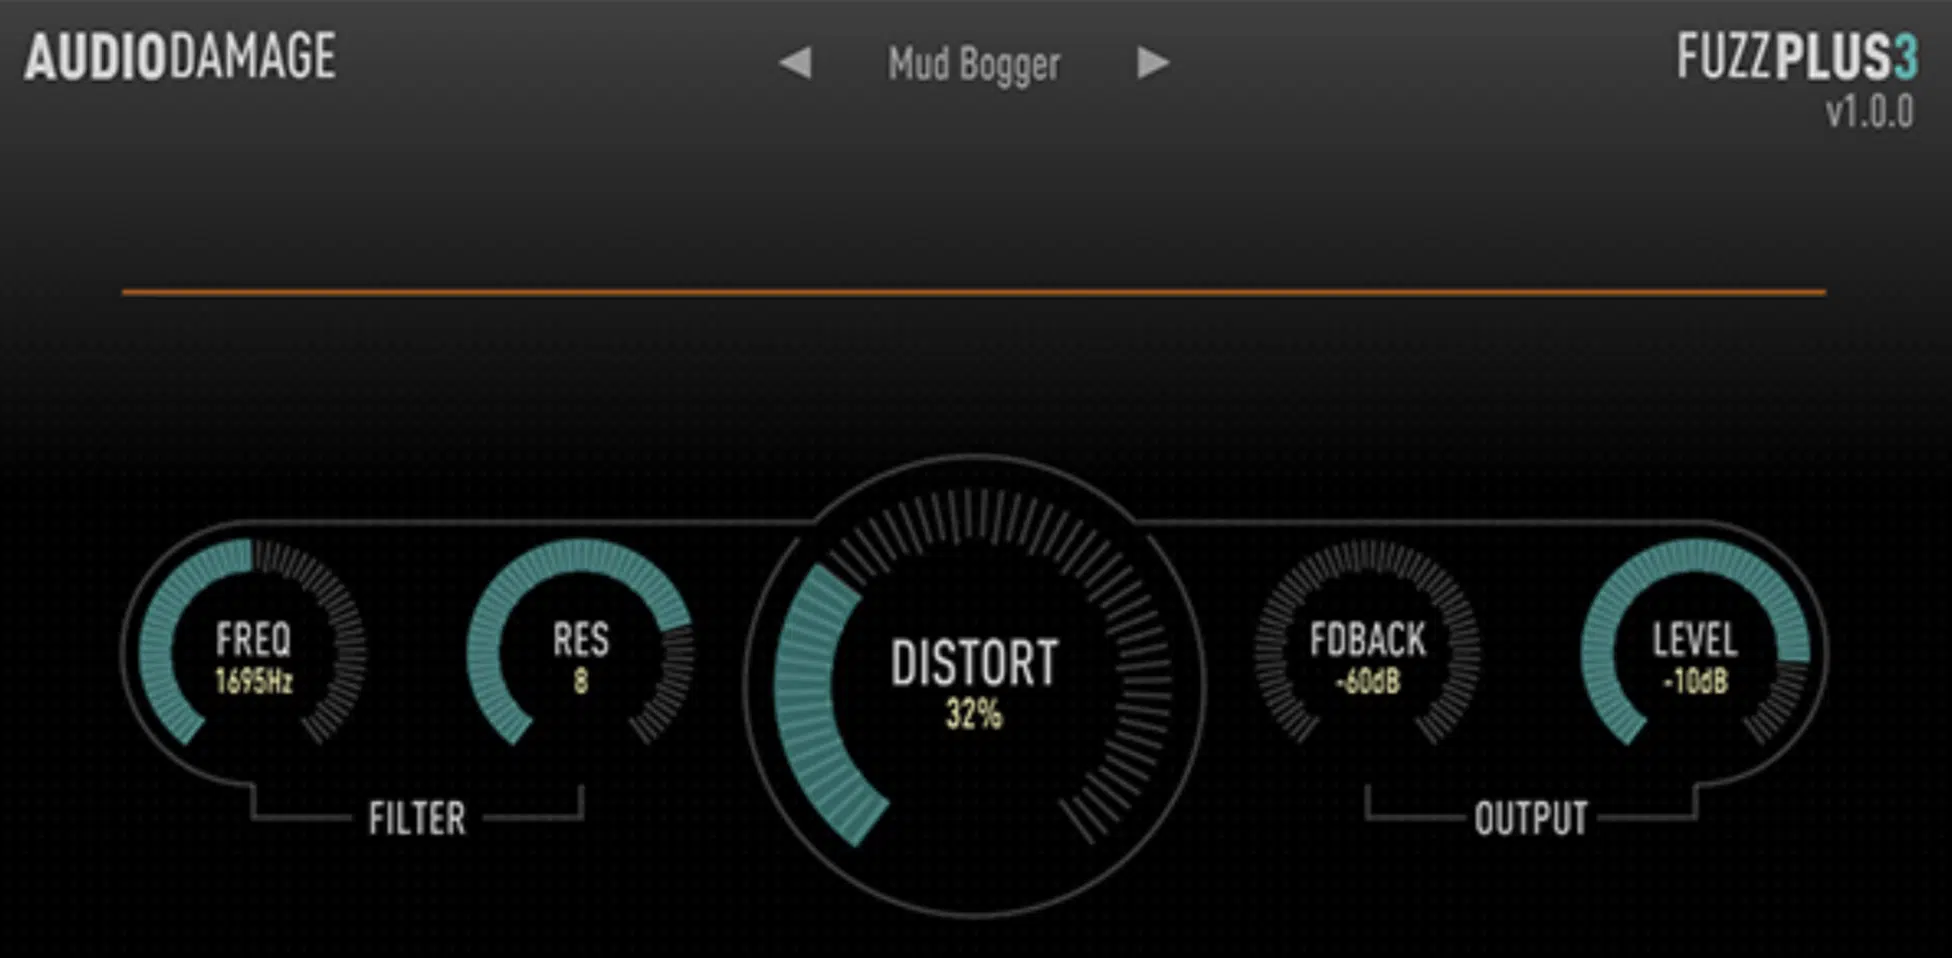
Next up we have fuzz distortion, which heavily clips the waveform.
In turn, it introduces intense odd-order harmonics and creates a gritty, saturated sound that dominates the frequency spectrum.
It’s most commonly applied to electric guitars by driving the input gain to extreme levels for more thick, aggressive tones.
For synth basslines, set the fuzz intensity between 50–70% to retain low-end clarity while adding texture.
When it comes to drums, applying fuzz distortion to snares or hi-hats can add character, but the output level should be carefully managed to avoid overpowering the mix.
NOTE: For MAX consistency, use a compressor before the fuzz effect to smooth peaks and make sure all of your distortion works together.
For experimental textures, combine fuzz distortion with audio effects like delay or reverb 一 creating evolving, layered sounds that add depth to your track.
-
Bitcrushing

Bitcrushing reduces the bit depth and sample rate of a signal, creating a gritty, lo-fi texture with audible quantization noise.
It’s one of my favorite distortion effects because it’s… well, awesome.
For percussion, reducing the bit depth to 8 or 12 bits can mimic the crunchiness of vintage drum machines.
Lowering the sample rate to around 22 kHz adds aliasing artifacts 一 giving synths a retro, digital edge that is equally cool.
If you’re looking to automate the bit depth on your vocals, then you’ll get glitchy, robotic transitions that add excitement to builds or drops.
To retain clarity, simply blend the bitcrushed signal with the original signal using parallel processing.
Use a low-pass filter around 8–10 kHz to manage harsh high-frequency artifacts introduced by the process.
NOTE: Pair bitcrushing with subtle saturation or compression afterward to smooth the effect and create a more professional/clean result.
-
Digital Waveshaping/Wavefolding
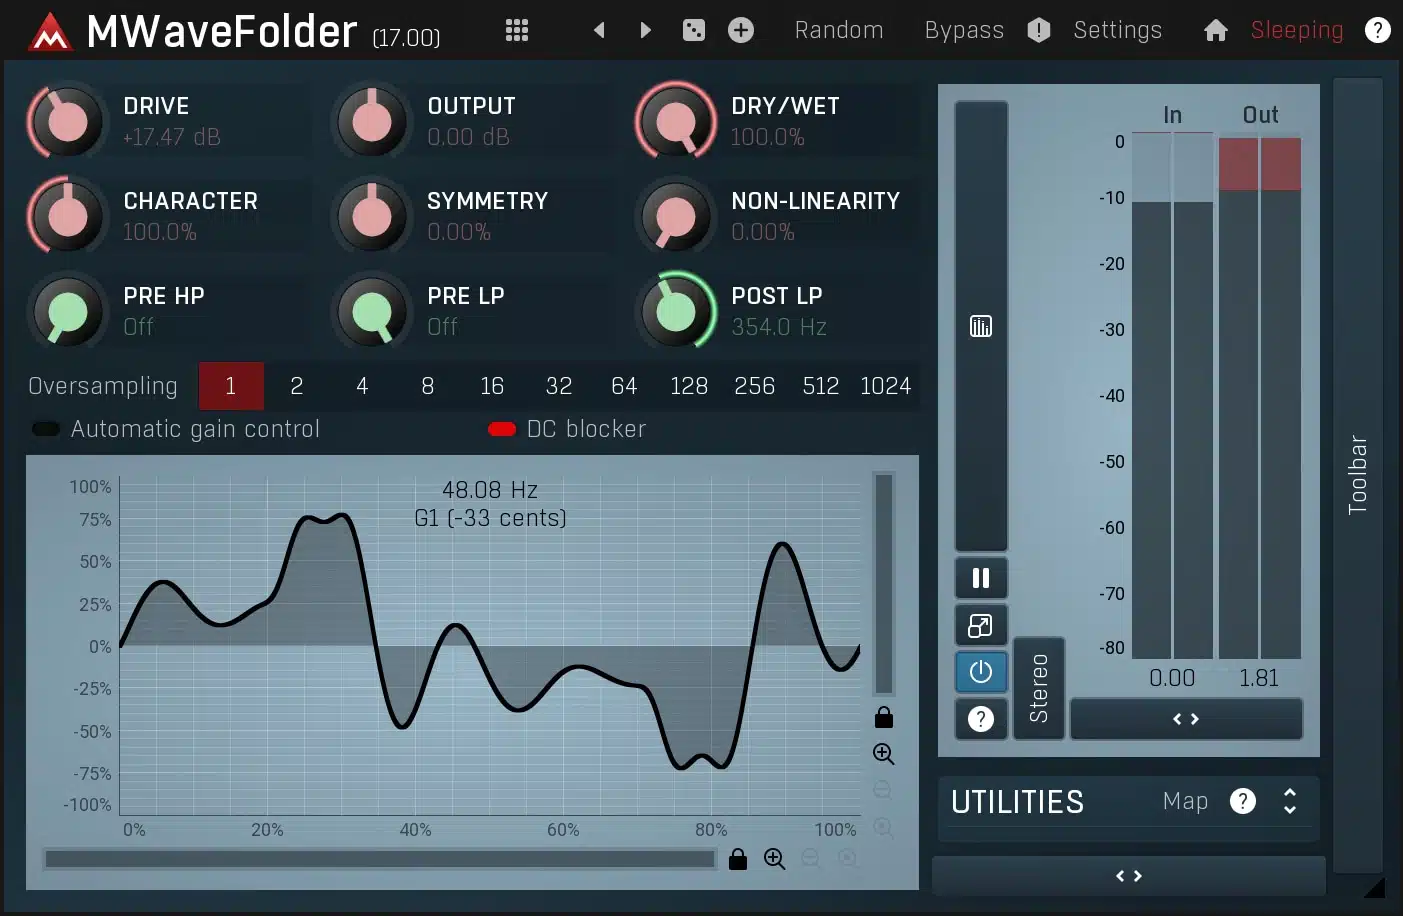
Digital waveshaping is a nonlinear audio processing technique that alters a signal’s wave form based on a mathematical curve.
It introduces harmonic content and unique textures.
For instance, applying waveshaping to a sine wave can transform it into a square or sawtooth-like shape, creating harmonics that add complexity.
The transfer function determines the degree of distortion:
- Setting a linear line produces no change.
- Curvier shapes increase harmonic generation.
When processing leads or synth basslines, start with a moderate shaping curve and gradually increase the effect to avoid over-saturating the frequency spectrum.
Tweak the drive parameter to control how much the incoming signal interacts with the waveshaping function — higher settings equal more aggressive results.
And when it comes to sound design, tweaking parameters like symmetry and bias can create unique tones not possible with traditional distortion.
Just make sure to watch the output level post-waveshaping, as extreme processing can lead to unwanted clipping or harshness.
-
Pro Tip: What is Bit Depth Distortion (Quantization Distortion)?
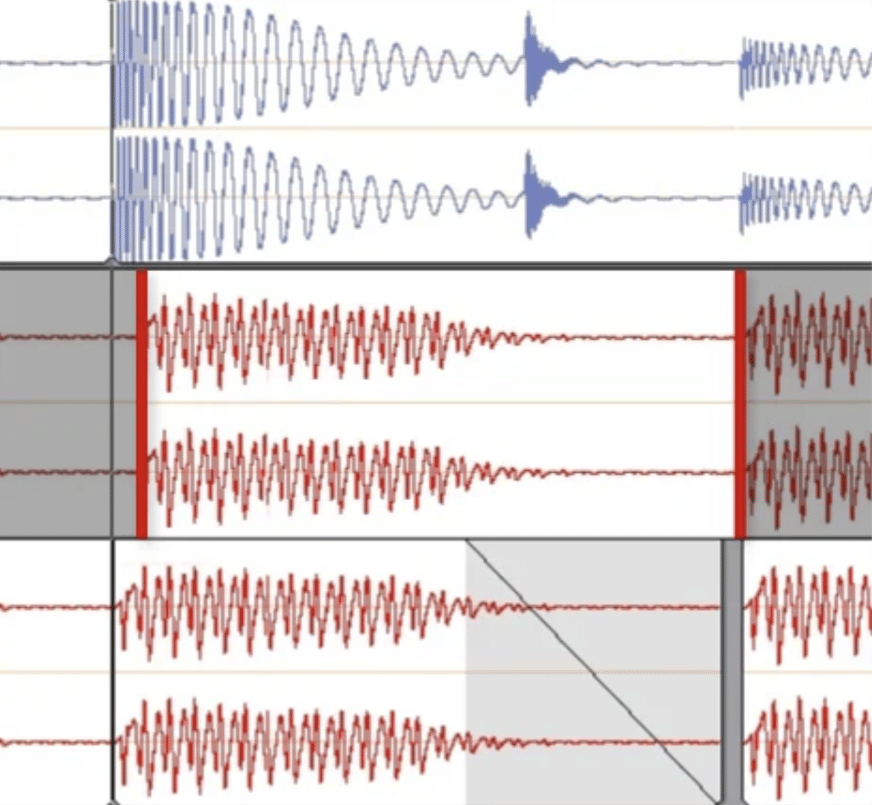
When you hear the term ‘bit depth distortion,’ also called quantization distortion, it’s just something that happens when a signal’s resolution is reduced.
It introduces artifacts due to rounding errors during digital encoding.
For example, converting a 24-bit audio signal to 8-bit creates graininess as the system struggles to represent the original waveform like it should.
That distortion becomes more apparent during quiet passages, as the lower bit depth cannot capture fine details, introducing harsh edges to the sound.
If you’re into lo-fi production, this one is perfect because you’ll be reducing bit depth on percussion elements like claps or snares to mimic the crunchy sound of vintage samplers.
To keep some control, apply dither (random noise added during conversion) to mask quantization artifacts and make the audio distortion more natural.
Keep the output level consistent after reducing bit depth, as quantization distortion can amplify transients and peak levels unexpectedly.
Don’t use any extreme settings on melodic elements like vocals because bit depth distortion can quickly degrade their clarity and ruin everything.
Instead, try using it in parallel 一 blending the distorted track with the original signal for a more balanced effect.
NOTE: If you’re exploring heavy quantization distortion, use an EQ or low-pass filter post-effect to tame harsh high frequencies caused by aliasing.
Types of Harmonic Saturation
When comparing digital distortion vs harmonic saturation, understanding the different types of harmonic saturation is essential for achieving the right tonal qualities in your tracks. Whether you’re going for warmth or subtle texture 一 each type can bring something new to the table.
-
Tape Saturation
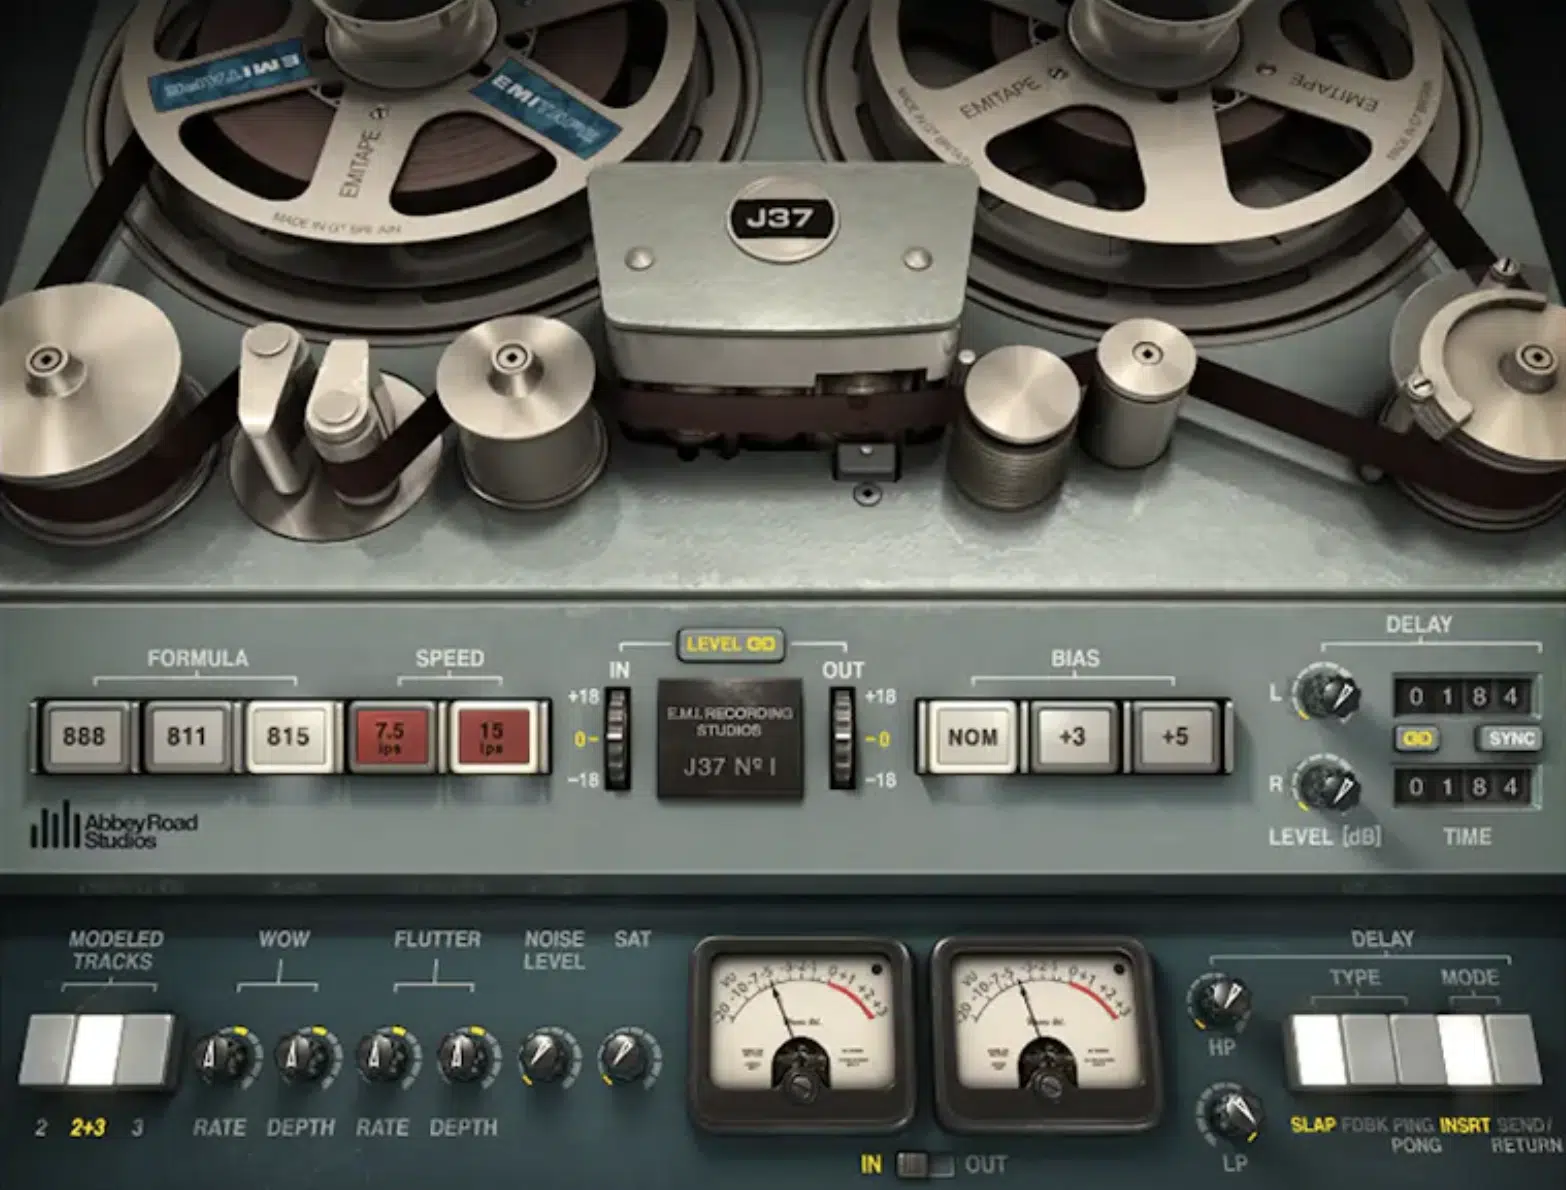
Tape saturation emulates the sound of analog tape machines, where the incoming signal is recorded onto magnetic particles.
This creates harmonic distortion and subtle compression, as we talked about.
This effect (that’s big on harmonic distortion and subtle compression) adds analog warmth by enhancing even-order harmonics, often viewed as smooth and on point.
For basslines, applying tape saturation can thicken the low-end while maintaining clarity across the frequency spectrum.
You’ll want to set the saturation level between 20–30% for subtle warmth or 50% or higher for more noticeable harmonic content.
On drum busses, tape saturation glues the elements together and softens transients while keeping that punch that you want.
Pay attention to the input gain… Pushing the signal too hard into saturation can lead to unwanted audio distortion or a muddy low-end.
NOTE: To mimic the behavior of vintage tape machines, try playing around with bias or WOW and Flutter controls, which give you pitch variations and additional texture.
Always monitor your output level post-saturation, as the process naturally compresses the signal, which can make it feel louder without increasing peak levels.
-
Tube Saturation
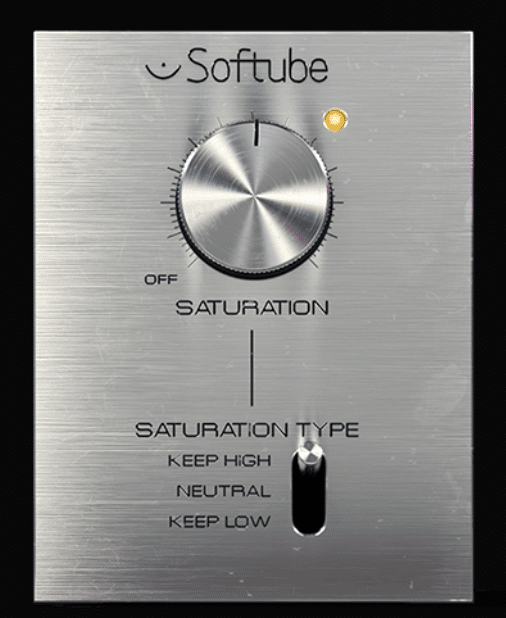
Tube saturation replicates the nonlinear behavior of vacuum tubes, and brings those even-order harmonics that create warmth in a saturated signal.
For basslines or synth leads, increasing the input gain to drive the signal into saturation produces smooth harmonic content that enhances:
- Low-end clarity
- Midrange presence
A moderate saturation level of around 30–40% works well for adding subtle character, while higher settings above 60% can push the sound into tube distortion territory.
On vocals, tube saturation sounds provide a polished edge that cuts through dense mixes, especially when applied carefully on peaks using a soft knee setting.
When tube saturation occurs on drum busses, it’s magic because the natural compression and harmonic generation glue elements together while retaining punch.
For added depth, adjust the bias parameter to control how the signal interacts with the tube’s cathode, shaping the tonal response.
Always check the frequency spectrum post-processing, as excessive saturation can create unwanted resonance in the low-midrange (requiring EQ adjustments).
Use tube saturation as a mastering tool to add analog warmth and perceived loudness, but avoid overprocessing to maintain a clean, professional sound.
I sound like a broken record, I know lol, but it’s very important.
-
Transistor Saturation
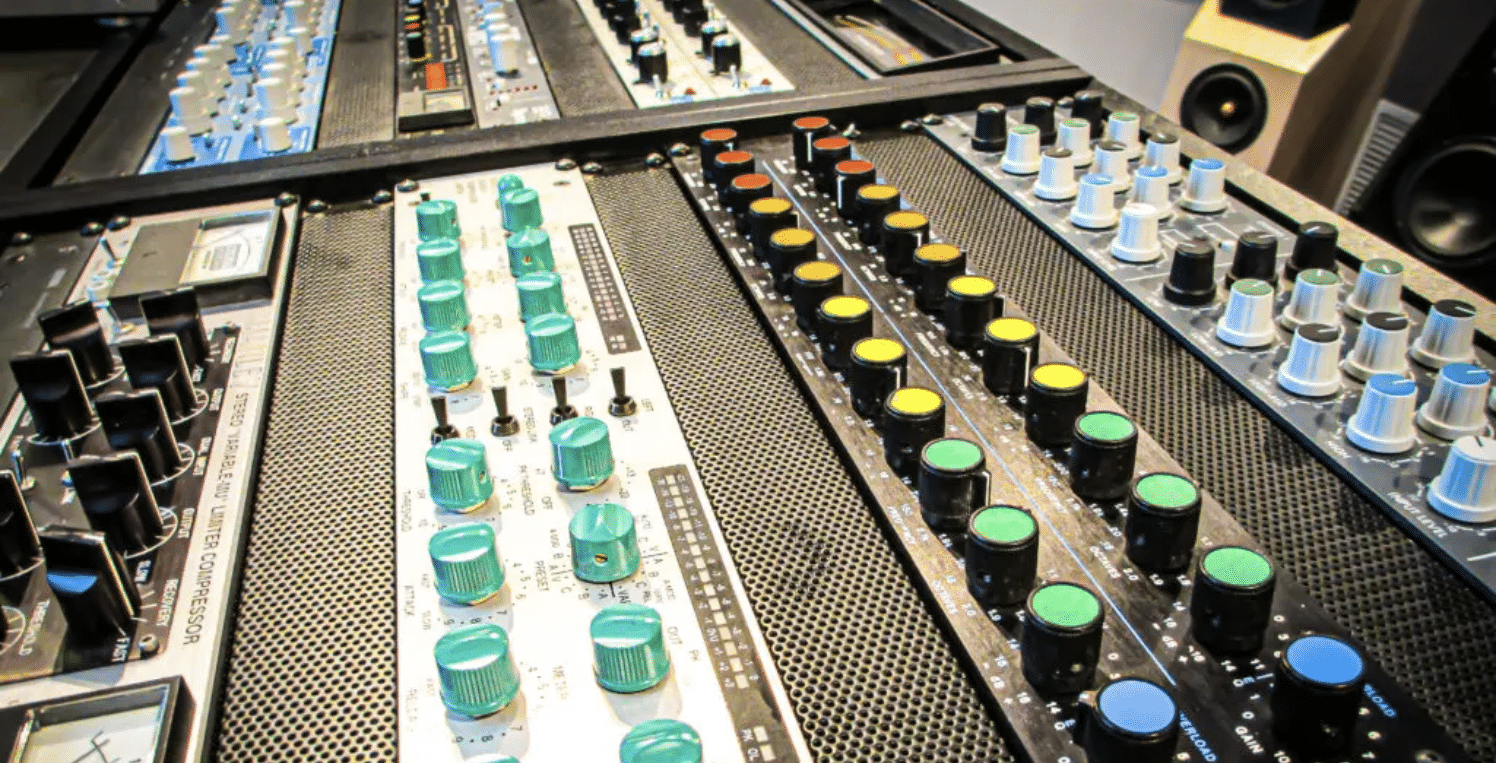
Transistor saturation occurs when an analog signal is pushed through a transistor-based circuit.
It creates odd-order harmonics that give the sound a gritty and aggressive tone.
Unlike tube saturation, which adds warmth, transistor saturation produces a sharper and more cutting edge that’s perfect for basslines or leads needing extra bite.
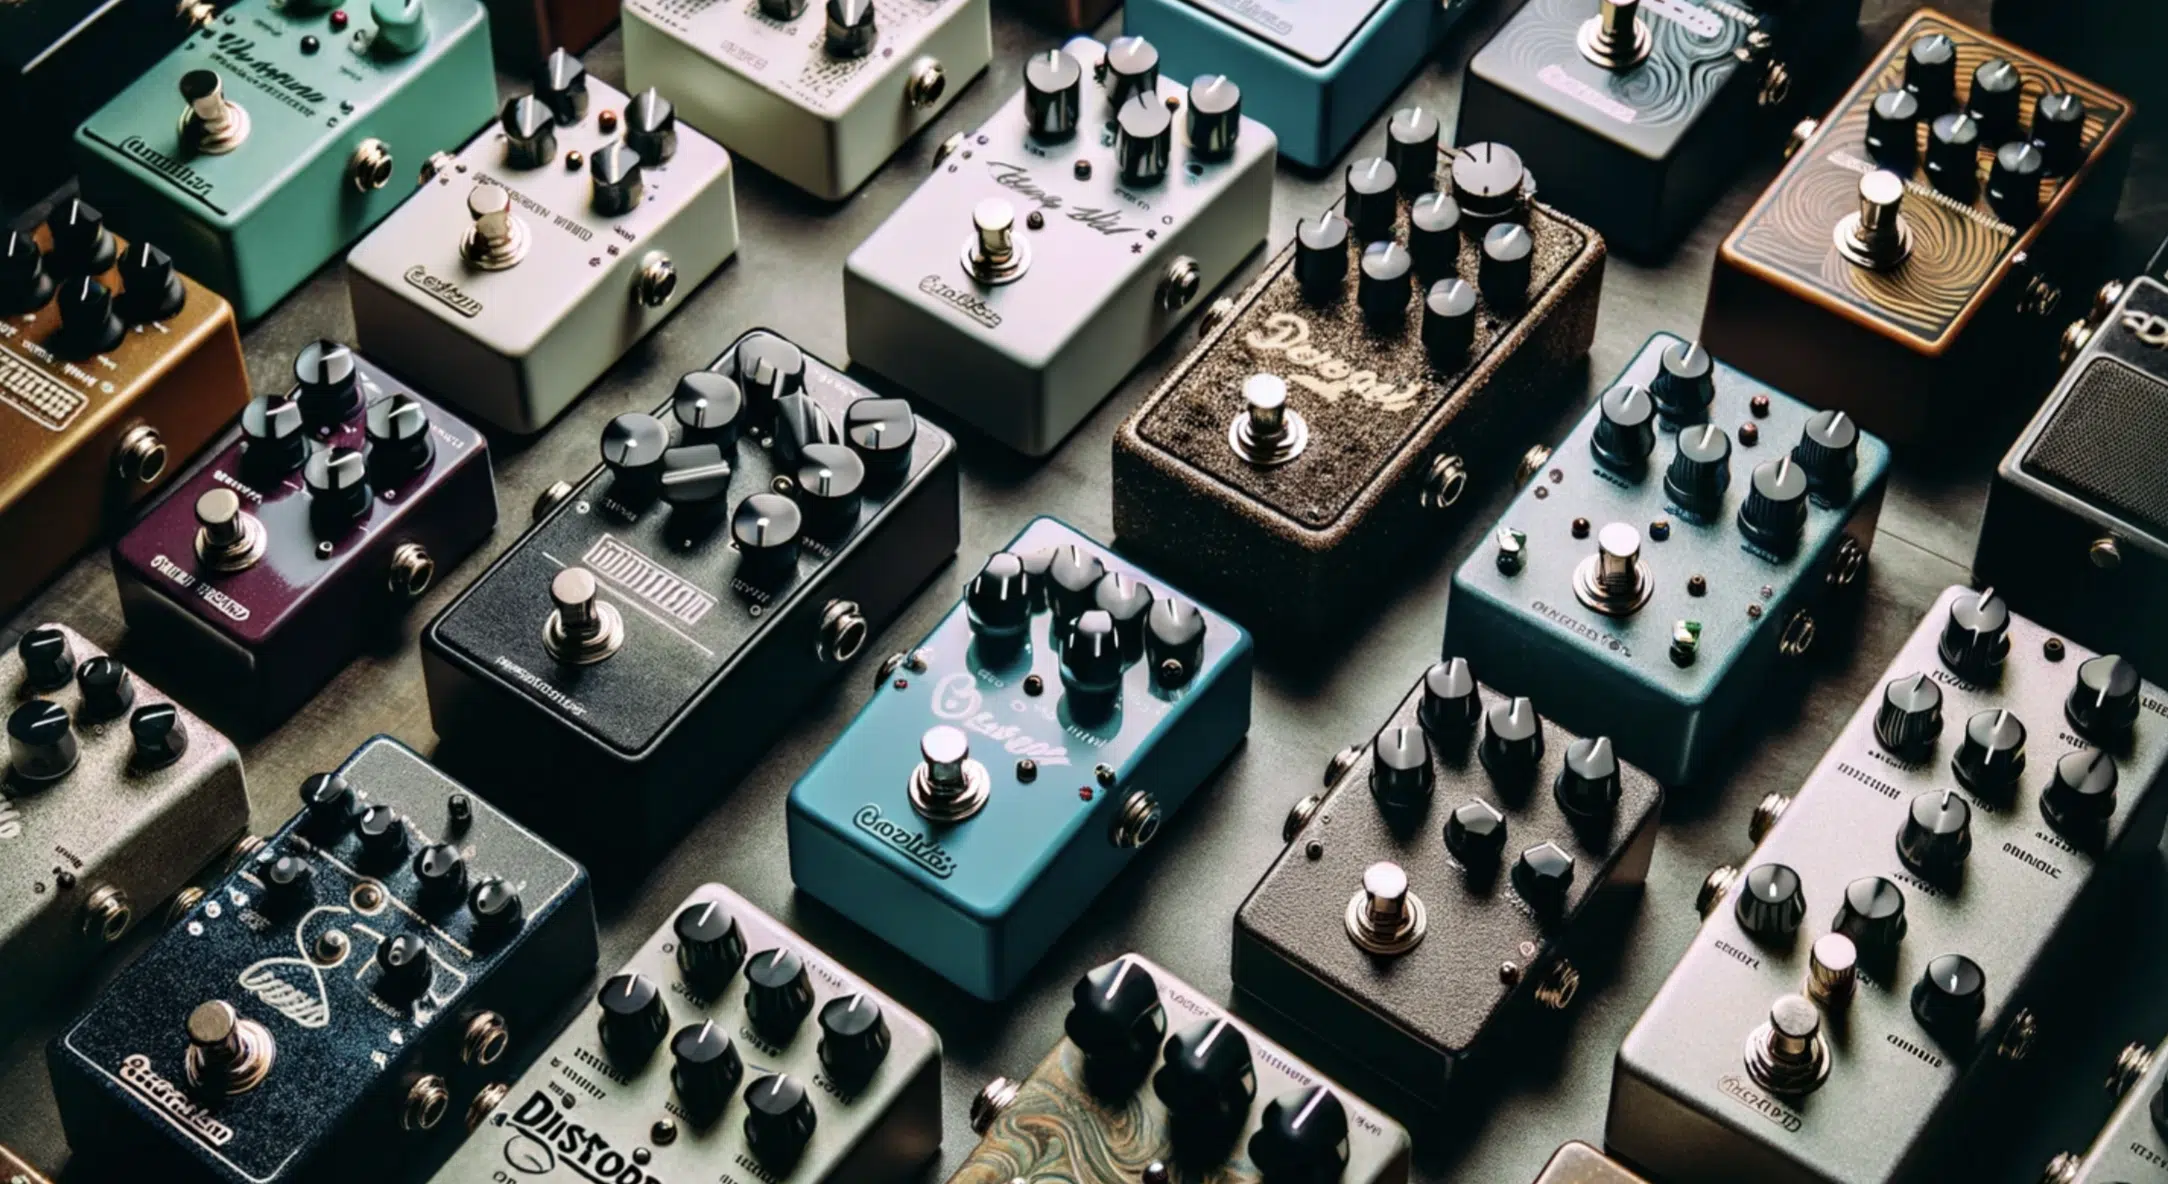
Many analog hardware devices, such as classic synths and bass guitar distortion pedals/guitar pedals, rely on transistor circuits to achieve this unique tonal character.
When using a distortion unit with transistor saturation, set the drive to around 40–60% for a balanced effect that enhances clarity without overwhelming the mix.
While analog distortion can create depth and texture, too much saturation can crowd the frequency spectrum, so keep an eye on the low-mids (200–400 Hz).
Mixing transistor saturation with other types, like tape saturation, can help balance its edginess with smoother harmonic content for extra cleaness.
Digital Distortion vs Harmonic Saturation: Key Techniques
Understanding how to use digital distortion vs harmonic saturation like a boss is all about practice and understanding where they work best. By mastering specific techniques, you can enhance your mixes with clarity, texture, and tonal balance. So, let’s get into it.
-
Using Distortion to Shape Your Drum Sounds
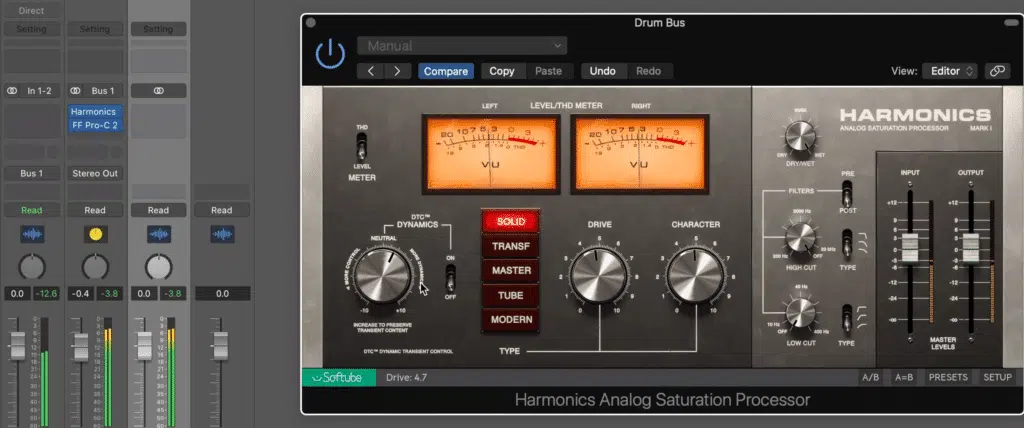
Distortion is a game-changer for adding energy to your drums.
For kicks, try using hard clipping to shape the transient and add aggression.
Set the drive to around 50–60% for a sharp attack that enhances clarity, but avoid pushing too far as it can muddy the low-end frequencies below 50 Hz.
On snares, using analog soft clipping at a lower intensity (30–40%) can help emphasize crack and midrange presence without making it too harsh.
Plus, with these settings you won’t have any harshness in the 2–5 kHz range, so that’s a bonus as well.
Hi-hats and cymbals benefit from more subtle processing than the others…
So, use transistor saturation at low intensities (15–20%) to add shimmer and texture without killing their natural brightness.
To keep everything balanced, use parallel processing…
Simply blend the distorted sound (around 30–40%) with the clean one for added depth while keeping the natural tone as it should be.
Just watch out for clipping when processing the drum bus because too much audio distortion can squash your dynamics and make your drums lose their punch.
-
Applying Saturation on Vocals for Warmth & Clarity

Saturation works wonders for making vocals sound more present and natural.
Try using tube saturation with the drive set around 20–30% to give the vocal track some warmth and richness.
This setting is really good for ballads or softer R&B vocal performances where you want a warm, “in your feels” quality.
For leads, add a touch of saturation before compression to smooth out peaks and bring forward the midrange frequencies (~ 2–4 kHz) that help a vocal cut through the mix.
If things start sounding too muddy, blend a saturated signal in parallel with the original track (this keeps the clarity intact while adding subtle character).
A 70/30 split (clean/saturated) is a good starting point for this balance.
Watch out for high-frequency build-up after saturation and distortion 一 to do so, use a gentle EQ cut around 6–8 kHz if it starts to sound harsh.
NOTE: For background vocals or harmonies, a more aggressive saturation setting (40–50% drive) can help them sit in the mix by adding warmth and depth while still supporting the lead vocal.
-
Enhancing Synth Basslines
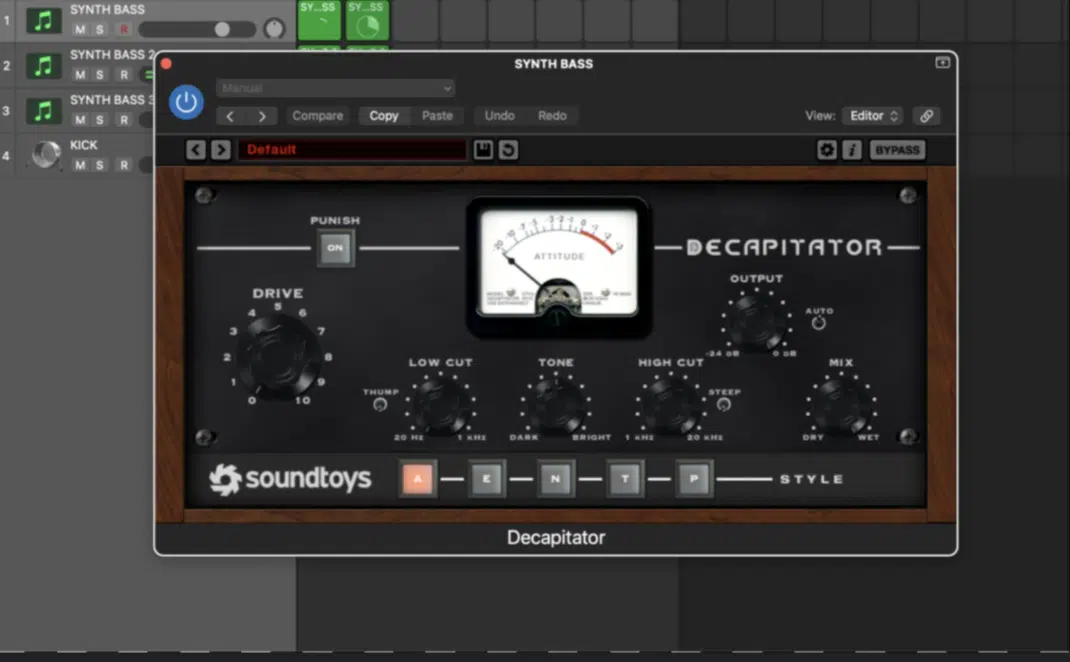
Saturation is perfect for making synth basslines stand out and feel more alive as we touched upon earlier, but I really wanted to break it down for you.
A little tape saturation with the drive at 30–40% can thicken the low end while keeping it warm and smooth.
This creates a warm, vintage feel that works especially well in genres like house or funk.
If you want more grit, try layering in some digital distortion, with settings around 50–60% to add aggressive harmonics without overwhelming the bass.
To keep the low end clean, use a high-pass filter set around 30 Hz to avoid excessive sub-bass build-up.
Always check your output level after processing to make sure the bass sits perfectly in the mix without overpowering any of your other elements.
Too much saturation can make it dominate, so aim for a balanced level where it supports the track without messing anything else up.
For added depth, experiment with parallel processing…
Blend the saturated signal at around 50% with the clean bass to retain its natural tone while enhancing its presence and texture.
Final Thoughts
And there you have it: everything you need to know about digital distortion vs harmonic saturation.
With all this new information, tips, tricks, and professional techniques, you’ll be able to enhance your mixes and really take your tracks to the next level.
This way, you can add warmth to your tracks and inject energy into your sounds.
Plus, successfully apply the right processing, get the right tonal character for your intended vibe, and maintain clarity like never before.
All without introducing unwanted artifacts or compromising the integrity of your mix, which can make you seem like a full-blown amateur.
And, as a special bonus, since we talked all about bitcrushing and the like, you’ve got to check out the best bitcrushing plugin in the world: Mangler.
It’s designed to transform any sound into an absolute monster in less than 3 seconds (and I’m not kidding, it’ll blow your mind).
With its intuitive interface featuring just four knobs, which are Mangle, Destroy, Bite, and Expand, you can easily apply hybrid distortion.
Plus, aggressive analog distortion, spicy bitcrushing, and add some pristine stereo width to your sounds.
Whether you’re looking to beef up drums, add grit to basslines, or create unique textures, Mangler delivers high-quality results all day.
But, circling back, if you master the key differences between digital distortion vs harmonic saturation, you’ll be able to create sounds that are super polished.
So, make sure to go try out these techniques, experiment every single day, and you’ll see exactly how much of an impact these effects can make.
Until next time…


Leave a Reply
You must belogged in to post a comment.