Spectral effects are powerful tools that are all about analyzing and playing around with the frequency spectrum of audio signals.
They can boost your mixes, add unique textures, and create dynamic, show-stopping beats that really capture the attention of your listeners (and keep them hooked).
Plus, spectral effects can help you control the frequency range and sculpt your sound to perfection 一 matching your unique vibe.
As producers, knowing all about different spectral effects will seriously improve your tracks, unleash creativity, and get that professional-quality sound.
That’s why we’re breaking down everything you need to know about spectral effects, like:
- What spectral effects actually are ✓
- Spectral filtering techniques ✓
- Spectral EQ tips/tricks ✓
- Spectral dynamics processing ✓
- Noise reduction and restoration ✓
- Harmonics enhancement ✓
- Spectral synthesis ✓
- Stereo imaging techniques ✓
- Spectral reverb & spectral delay ✓
- Using plug-ins like Soundmagic Spectral ✓
- Advanced destruction ✓
- Different spectral processing techniques ✓
- Much more about spectral effects ✓
By knowing all about spectral effects, you’ll be able to take your tracks to the next level and knock out unique sounds (plus, master the spectral domain as a whole).
Plus, you’ll have the skills to take on any audio challenge and dominate the competition.
This way, your tracks will always stand out, and you’ll be able to produce like a boss.
Table of Contents
- What are Spectral Effects?
- Spectral Filtering (Dominate Any Frequency Range)
- Spectral EQ
- Spectral Dynamics Processing
- Spectral Noise Reduction and Restoration
- Spectral Harmonics Enhancement
- Spectral Synthesis
- Spectral Stereo Imaging
- Spectral Reverb
- Spectral Delay
- Spectral Destruction Techniques
- Bonus Tips for Advanced Spectral Effects
- Final Thoughts
What are Spectral Effects?
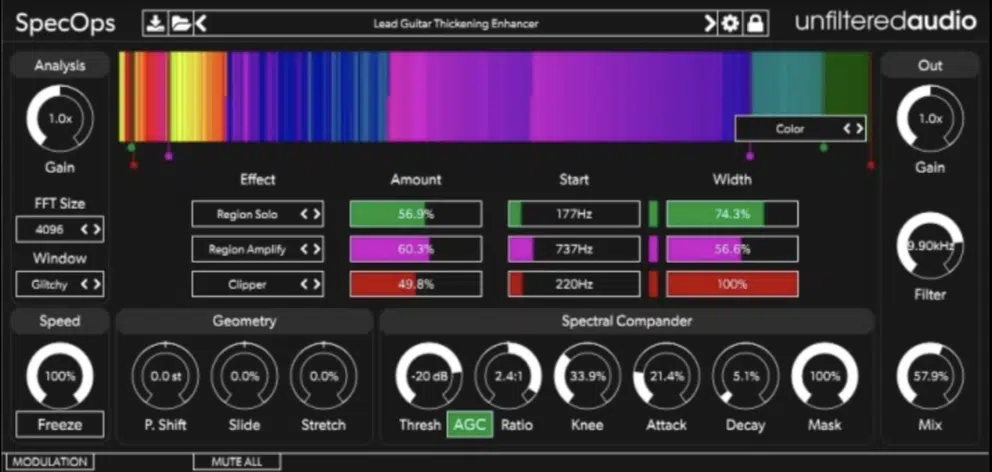
Spectral effects are a set of tools that analyze and manipulate different frequency components of an audio signal.
By focusing on the spectral domain, you gain precise control over specific frequency ranges, which lets you get super creative and create super dynamic sounds.
These spectral effects open up an endless world of possibilities because they let you sculpt your audio in ways that traditional effects just… can’t.
Whether you’re refining a mix or banging out entirely new sounds, spectral effects are a game-changer in modern music production.
Don’t worry, we’ll break it all down throughout the article (with details) so you get a solid understanding and can start working with spectral effects right now.
Spectral Filtering (Dominate Any Frequency Range)
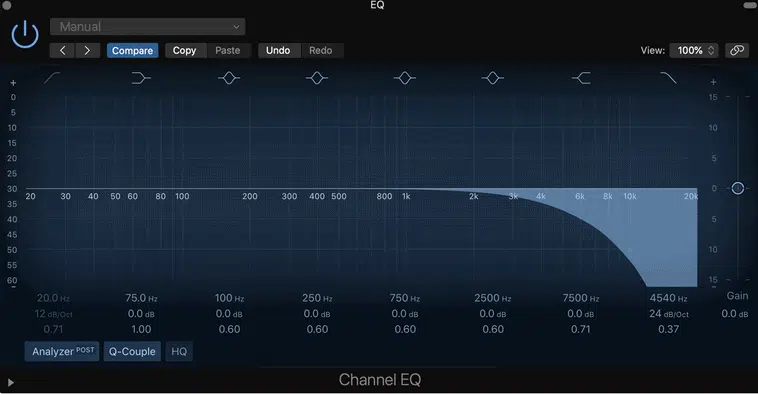
low-pass filter
Spectral filtering is all about adjusting the frequencies within an audio signal to shape its sound however you see fit.
You can use high-pass filters to remove lower frequencies and low-pass filters to reduce higher frequencies.
A high-pass filter, for example, allows you to eliminate bassy rumbles below, let’s say 100 Hz 一 making your track much cleaner.
On the flip side, a low-pass filter helps smooth out harsh high-end sounds above, like 8 kHz, to give your mix a warmer feel.
Band-pass filters are great for isolating and emphasizing specific frequency bands, such as highlighting a mid-range horn section by boosting frequencies ~ 1 kHz to 2.5 kHz.
Notch filters work wonders for cutting out problematic resonances that can muddy your sound, like ringing frequencies in a poorly-recorded vocal around 2 kHz to 5 kHz.
PRO TIP: Adjusting the Q-factor is very, very important here…
A higher Q (e.g., 10) means a narrower bandwidth for precise cuts, while a lower Q (e.g., 0.7) creates broader, more musical adjustments.
Mastering spectral filtering will set you up perfectly for the next level of spectral effects, which you’ll learn about in a minute.
Spectral EQ
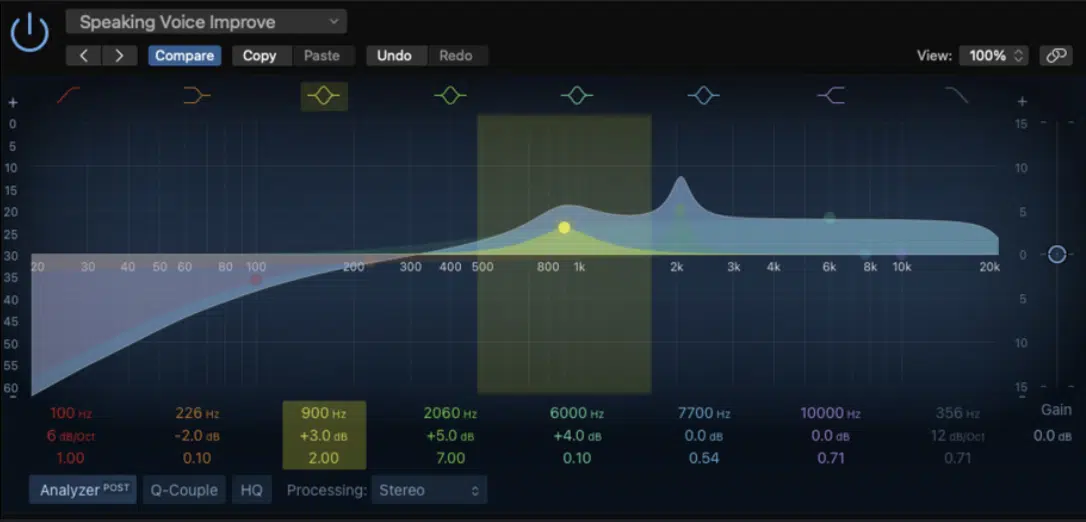
Spectral EQ (equalization) allows you to precisely control the frequency ranges in your audio 一 enhancing or reducing specific parts of your sound.
For example, if you want to add more bass to your kick drum, you can boost the lower frequencies around 60 Hz by 3 to 4 dB to make your low-end punchier.
If your vocals sound a bit harsh, you can cut higher frequencies around 10 kHz by 2 dB to smooth them out and reduce any sibilance.
Using a dynamic EQ like TDR Nova allows you to apply EQ changes only when certain frequencies exceed a set threshold 一 making it perfect for taming resonances.
A low shelf EQ set at 80 Hz can add warmth to your tracks by boosting the low end by 2 dB, giving your mix a much fuller sound.
While a high shelf at 12 kHz can bring out the shimmer in the higher frequencies by boosting 3 dB, which enhances the presence of hi-hats and cymbals.
Tweaking the Q-factor to around 1.5 for tighter control over specific frequencies (like higher frequencies or lower frequencies) or around 0.7 for broader adjustments is ideal.
It’ll help you achieve a balanced and professional sound in your mixes.
Spectral Dynamics Processing
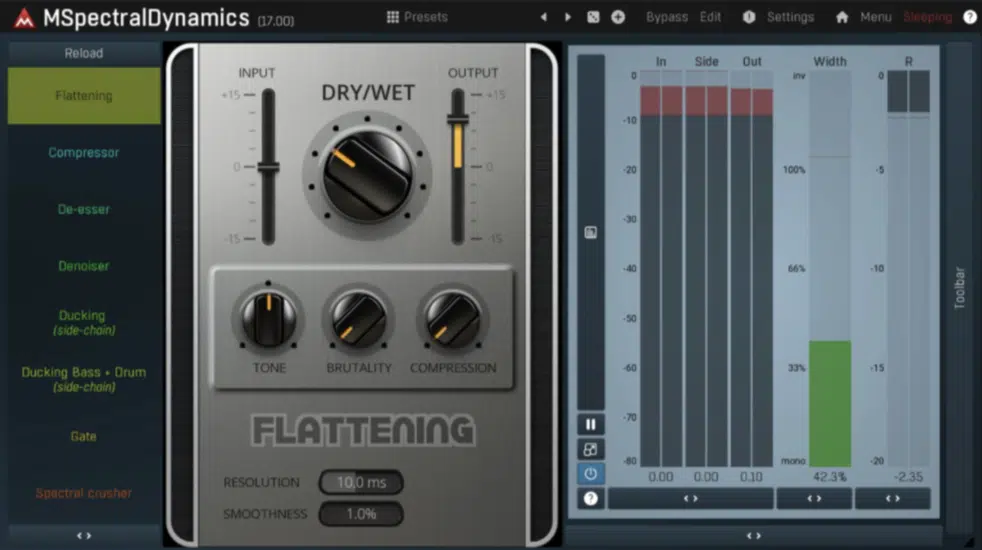
Spectral dynamics processing involves using spectral effects to manipulate the dynamics of an audio signal across specific frequency ranges.
For instance, you can split your audio into different frequency bands and apply (to each band independently):
- Compression 一 Reduces the dynamic range of a specific frequency band.
- Expansion 一 Increases the dynamic range, making quieter parts quieter and louder parts louder.
- Limiting 一 Sets a maximum output level, preventing peaks from exceeding a certain threshold and ensuring a clean, distortion-free mix.
When you’re using a multi-band compressor, make sure to set the crossover points at 150 Hz and 6 kHz to separate your bass, midrange, and treble.
For the bass band, set the threshold to -20 dB, ratio to 4:1, attack to 20 ms, and release to 100 ms to control the low end.
For the midrange, a threshold of -15 dB, ratio of 3:1, attack of 10 ms, and release of 80 ms will help you manage the dynamic range without squashing the sound.
For the treble, set the threshold to -10 dB, ratio to 2:1, attack to 5 ms, and release to 50 ms to add shine while keeping it under control.
Adjusting these settings for each band lets you tailor the dynamics processing to the specific characteristics of your sound, which guarantees a balanced/polished mix.
Spectral Noise Reduction and Restoration
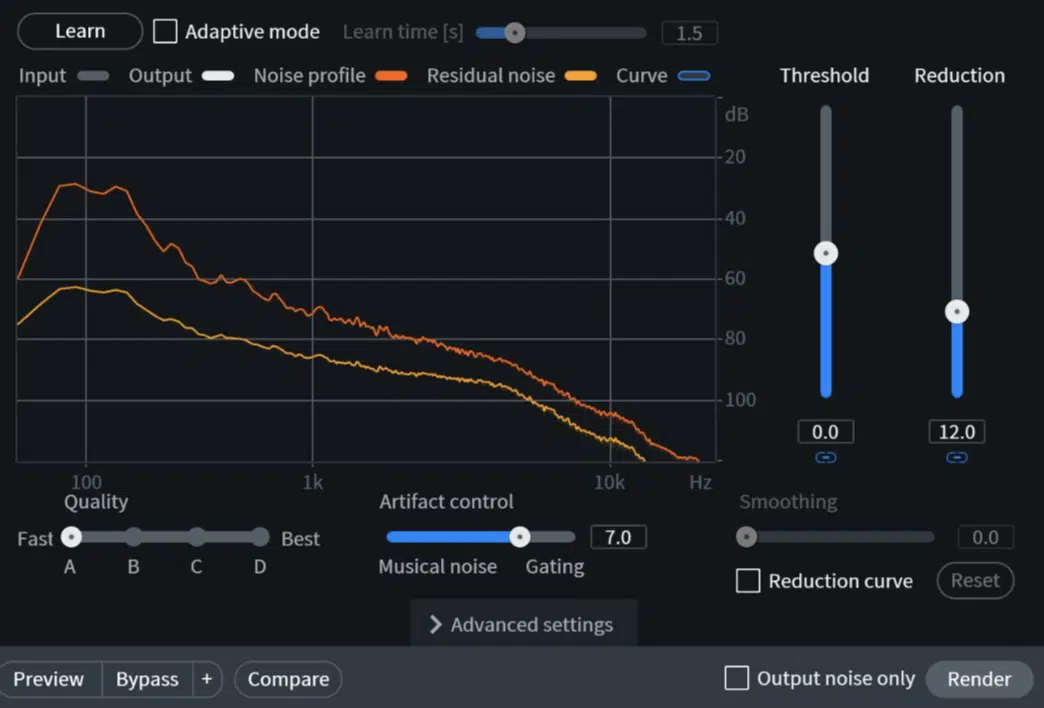
Spectral noise reduction is another powerful technique for cleaning up recordings by targeting specific frequency ranges where unwanted noise resides.
For example, to remove a 60 Hz hum, set a narrow band notch filter at 60 Hz with a Q-factor of around 10.
And, to reduce hiss in the higher frequencies, apply a high shelf filter at 8 kHz (reducing by approx. 3 dB).
For broadband noise, you can always use a noise reduction plugin 一 setting the threshold to -30 dB and the reduction amount to 12 dB.
Also, when it comes to spectral effects, spectral restoration tools like de-clippers can help repair damaged audio.
Set the threshold to -1 dB and use a smoothing value of 5 to interpolate missing or corrupted frequency data.
By fine-tuning these settings, you can achieve the best balance between noise reduction and preserving the audio quality.
This will make the clarity on point and seriously enhance the quality of your artist’s recordings.
Spectral Harmonics Enhancement
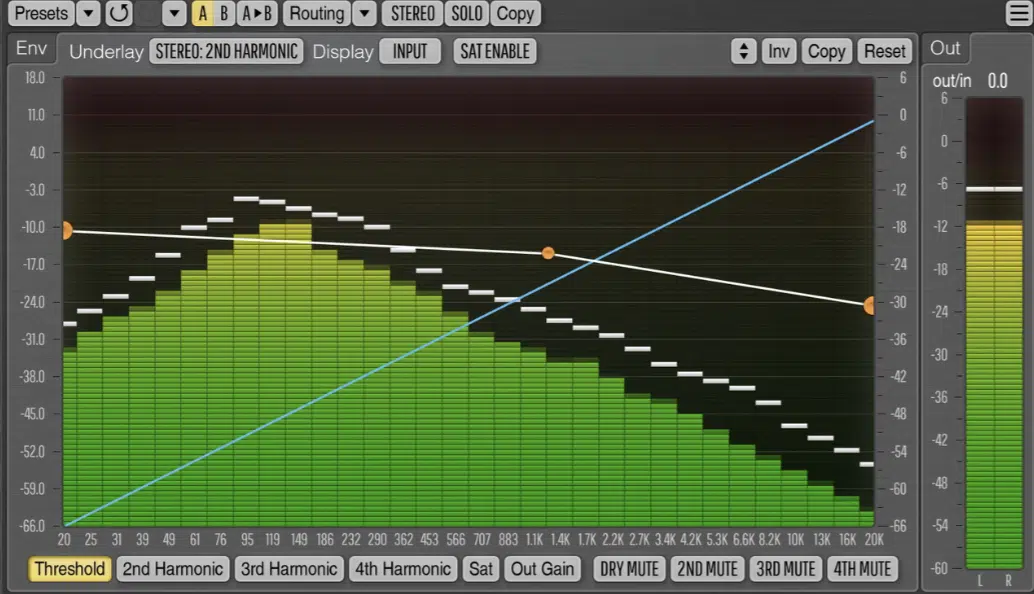
Spectral harmonics enhancement focuses on amplifying or modifying the harmonic content of your audio, which adds edge and complexity (which is always a plus).
For example, if you want to enhance a vocal track, boost lower harmonics around 250 Hz by 2-3 dB and higher harmonics around 5 kHz by 1-2 dB.
I also suggest using a harmonic exciter, setting the drive to around 10% and blending it in at 60% mix to add warmth and presence.
If you’re working with a guitar track, you can harmonic split even and odd harmonics 一 applying a slight overdrive to the even harmonics for a fuller tone.
NOTE: Adjusting the attack to 20 ms and release to 100 ms in a multi-band compressor can help control the dynamics of the enhanced harmonics.
If you want to play around with spectral effects that can fine-tune these parameters, you can achieve a more polished and professional sound in your mix with this one for sure.
Spectral Synthesis
Spectral synthesis is a technique where you generate new sounds by manipulating the spectral components of existing audio.
For example, using granular synthesis, you can stretch a short vocal sample into an atmospheric pad by setting the grain size to 250 ms and overlapping up to 8 grains.
Modulating the pitch with an LFO set to 0.3 Hz and setting the delay time to 100 ms adds movement and depth to the sound.
You can also use spectral freeze to hold specific harmonic content by setting the spectral freeze duration to indefinite 一 creating a sustained drone.
This can be layered with other sounds, by the way, which is super cool.
By experimenting with grain size, overlap, and modulation rate (e.g., setting the modulation rate to 0.5 Hz), you can create unique textures and soundscapes all day.
Using spectral synthesis, you can transform everyday sounds, like a simple clap, into otherworldly audio creations by manipulating their spectral components.
This technique opens up endless creative possibilities for sound design and music production that amateurs might not even know about.
Spectral Stereo Imaging
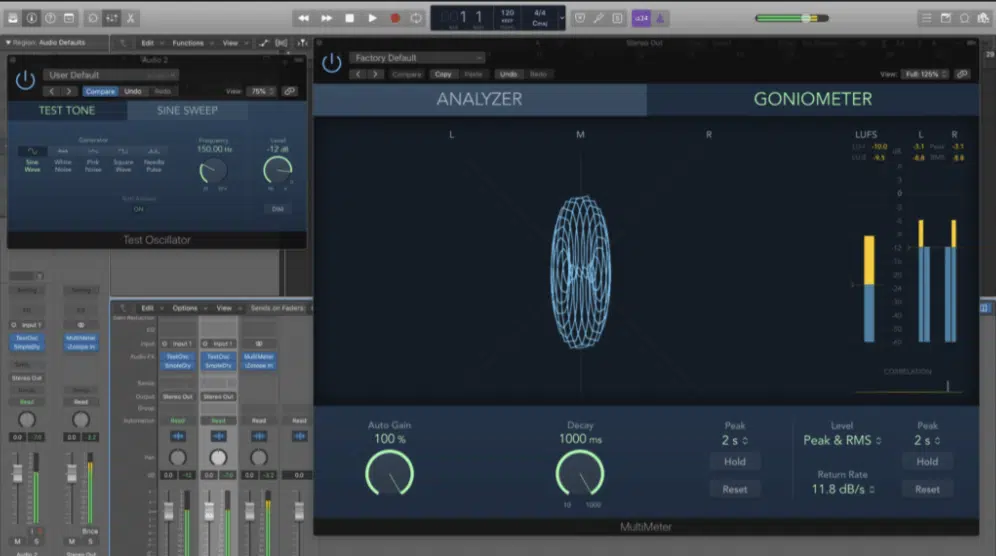
When it comes to spectral effects, you certainly can’t forget about spectral stereo imaging (which is actually one of my favorites).
It involves manipulating the stereo field of your audio across different frequency ranges.
For example, you can use a stereo imager to widen frequencies above 10 kHz, making your mix sound more spacious by setting the width parameter to 150%.
On the other hand, narrowing frequencies below 200 Hz makes sure that your bass remains tight and focused like it should be.
This can be done by reducing the width parameter to 70%.
Also, by adjusting the mid-side balance, you can control the width and depth of your overall stereo image.
For example:
- Boosting the side signal by 2 dB above 5 kHz adds width.
- Reducing the mid signal by 1 dB below 500 Hz can enhance the stereo separation.
Using spectral tools to automate these changes throughout your track, such as applying an envelope with a 200 ms attack and 500 ms release, creates some killer sounds.
It also makes things more immersive for your listeners, which they’ll really appreciate.
Don’t forget to play around with these techniques to create a wide, deep, and captivating stereo image that sets your mixes apart.
Spectral Reverb
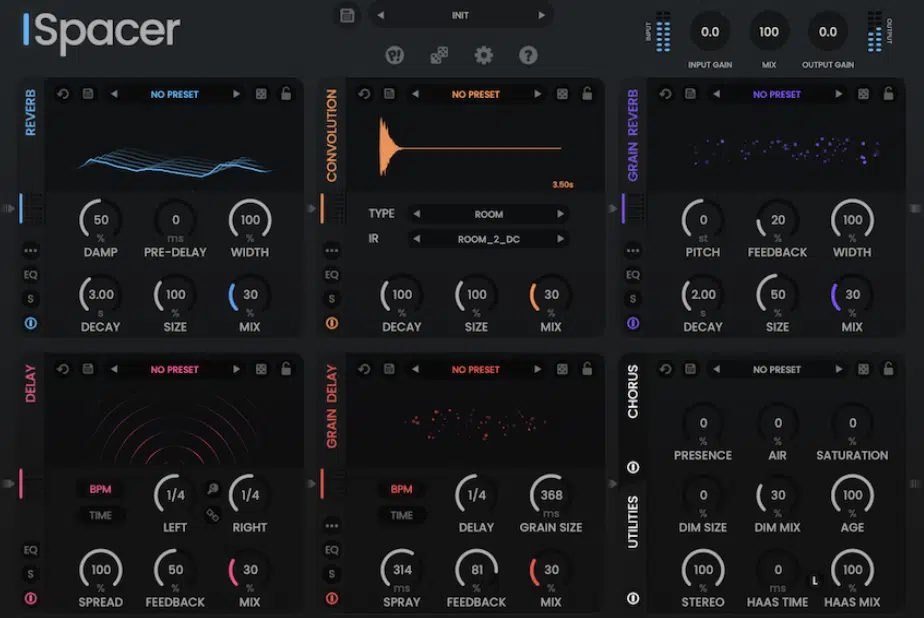
Next up on our list of spectral effects, we have spectral reverb, which adds depth and space to your sound by manipulating the frequency spectrum of the reverb tail.
For example, you can set longer decay times for lower frequencies, around 2.5 seconds, to create a lush and deep reverb effect.
This one is perfect for giving bass and kick drums a sense of space without losing impact, which sounds super professional.
On the other hand, when it comes to the higher frequencies, you’ll want to use a shorter decay time (approximately 1 second) to maintain clarity and prevent high-end smearing.
This is especially important for elements like hi-hats and vocals.
Also, adding a pre-delay of around 50 ms allows the original sound to cut through before the reverb kicks in 一 creating a cleaner mix and adding a sense of depth.
And, by using some spectral shaping, you can adjust the reverb color by boosting mid frequencies around 500 Hz by 1.5 dB to add warmth.
If you want to add a fuller sound to instruments like guitars and pianos, it’s awesome.
On the other hand, cutting high frequencies around 10 kHz by 2 dB can avoid harshness and create a smoother sound.
When dealing with sibilant vocals or overly bright synths, this can be a life saver.
Bottom line, you can create a wide range of reverb effects that enhance your mix and add a professional touch.
Spectral Delay
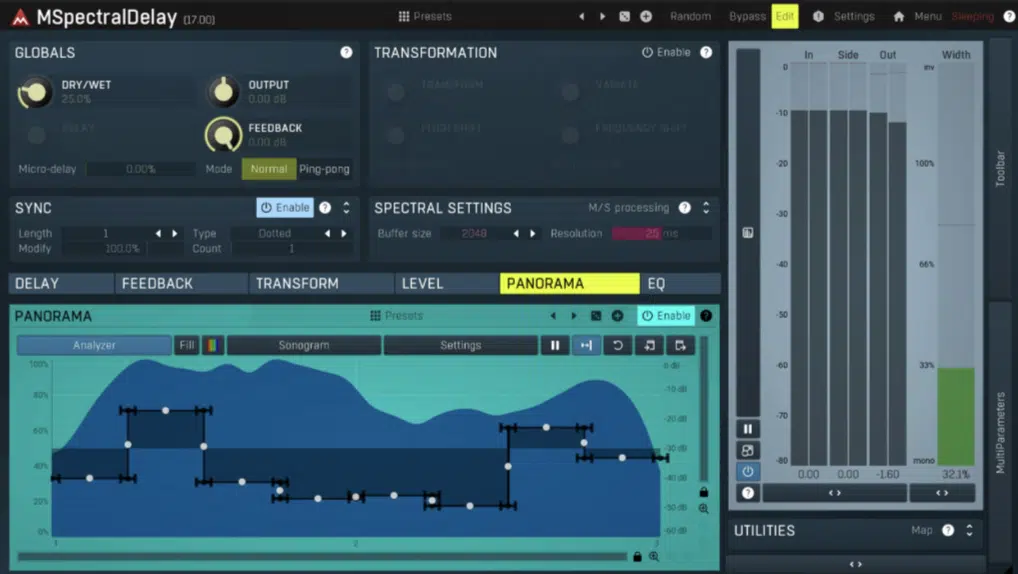
Spectral delay splits the audio signal into different frequency bands and applies delay effects to each band independently.
For example, you can set the delay time for lower frequencies (below 200 Hz) to 250 ms for a sick “echoing” low-end (you’ll know what I mean when you hear it).
On the other hand, using a shorter delay time of 100 ms for higher frequencies (above 5 kHz) maintains clarity and definition in the higher frequencies.
Adjusting the feedback for each band, such as 30% for lows and 50% for highs, creates complex and evolving delay patterns.
You can also apply modulation to the delay times, using an LFO with a rate of 0.5 Hz to add variation and movement to the sound.
NOTE: Setting the mix level to 40% ensures a balance between the dry signal and the delayed effects, which prevents the delay from overwhelming the original audio.
Spectral Destruction Techniques
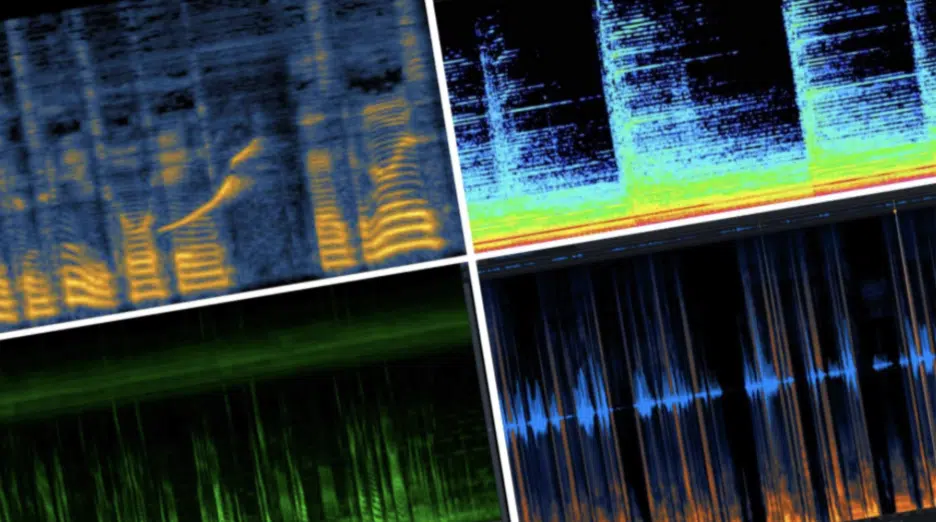
Spectral destruction techniques are all about intentionally degrading the audio signal by manipulating its frequency spectrum elements.
You can apply bit reduction to specific frequency bands, for example, reducing the bit depth of frequencies above 10 kHz to 8 bits to add a gritty texture.
When using spectral distortion, set the drive to 20% and focus on mid frequencies around 500 Hz to create a super chill lo-fi effect (which is popular right now).
Another technique is to use frequency shifting to create dissonance 一 for example, shifting frequencies below 100 Hz down by 50 cents can create a darker tone.
Applying a spectral gate with a quick attack of 5 ms and release of 50 ms can chop up the audio, which gives you a glitchy, rhythmic feel that people love.
With all of these spectral effects, you’ll be capable of creating killer unconventional sounds that add character to your beats.
Bonus Tips for Advanced Spectral Effects
So, now that you know all about the different spectral effects, let’s kick things up a notch with more advanced techniques. They’ll help you create even more dynamic and unique sounds with different spectral effects (and edit them in whatever direction you want).
-
Advanced Spectral Resynthesis
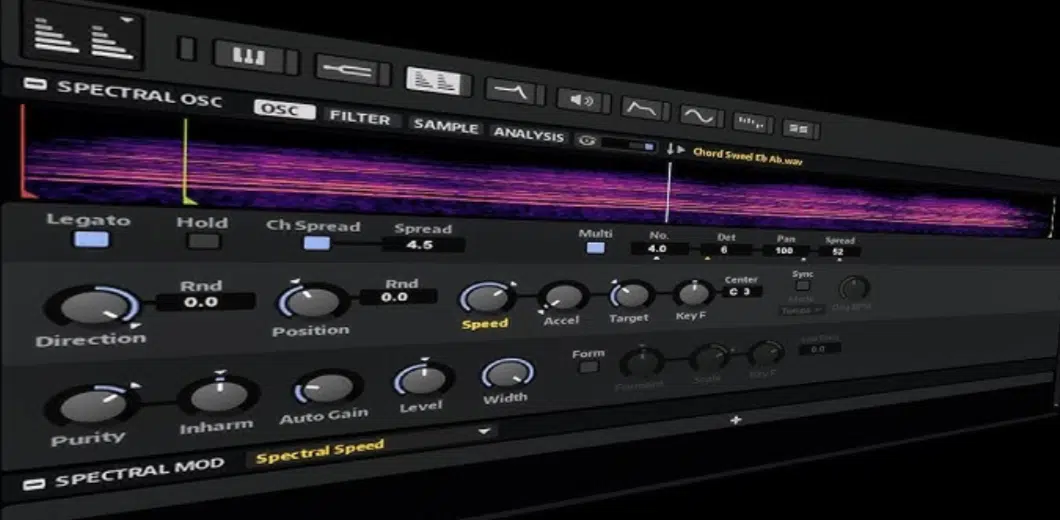
Advanced spectral resynthesis allows you to analyze the frequency content of an audio signal and use it to generate new sounds.
For example, you can resynthesize a voice sample by extracting its spectral data and applying it to a different instrument to create a dope hybrid sound.
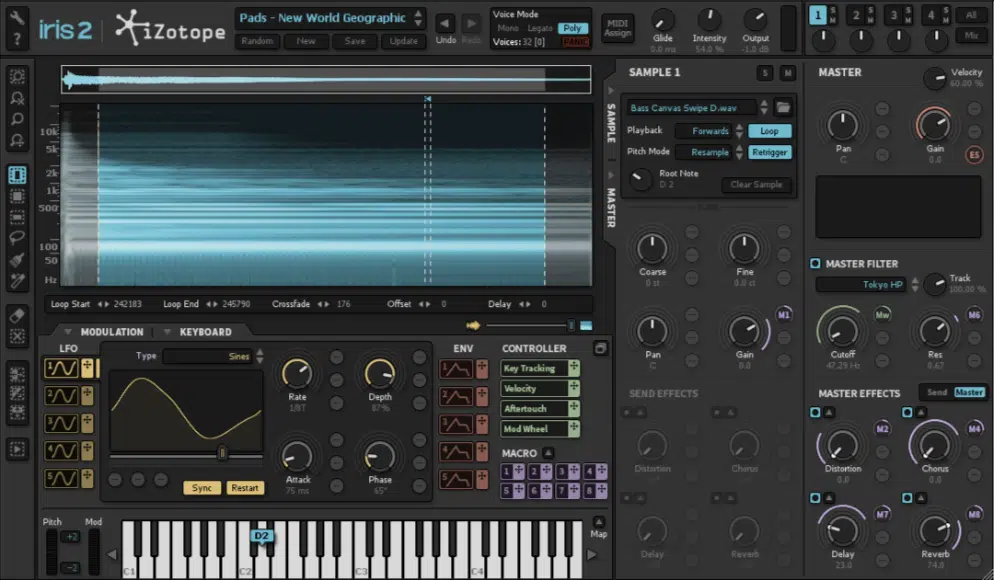
Using a plugin like Iris 2 to create evolving textures, you can simply:
- Load a sample
- Select a specific frequency range
- Tweak parameters such as release time (200 ms), gain, and pitch
Then, adjust the synthesis settings to include frequency modulation 一 setting a modulation index of 1.5 and a carrier frequency of 400 Hz for added complexity.
Another technique is to use additive synthesis with spectral resynthesis, where you can control each individual harmonic’s amplitude and phase for precise sound shaping.
By experimenting with different parameters and settings, you can create entirely new sounds that are different from anything you’ve created in the past.
Plus, they’ll retain the original character of the source material but with added layers of creativity, which is great as well.
-
Spectral Morphing Techniques to Master the Spectral Domain
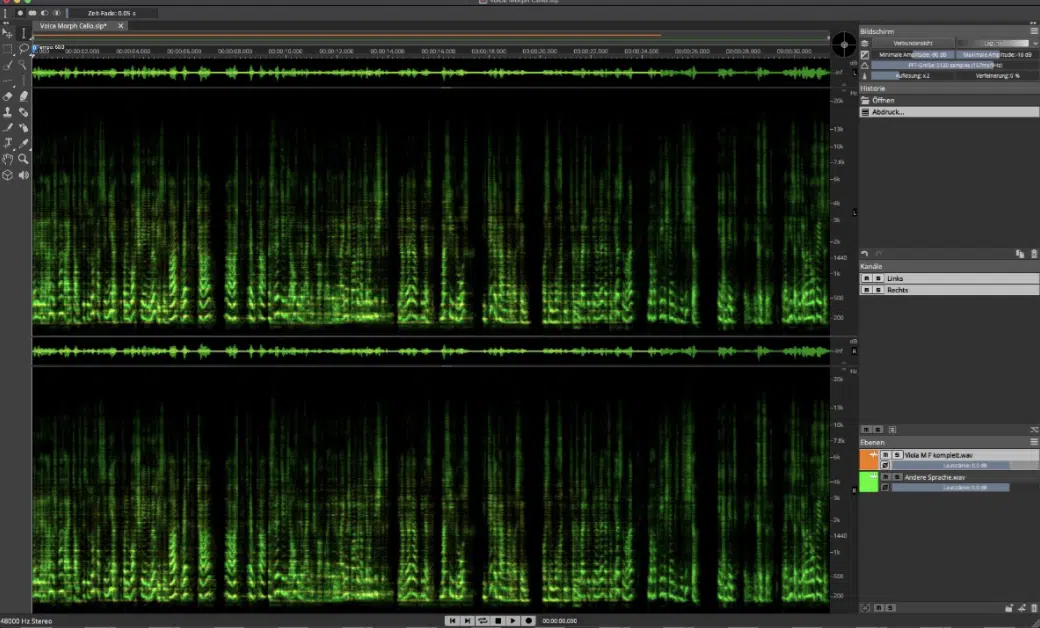
Spectral morphing techniques involve blending the spectral content of two or more audio signals to create a flawless transition or entirely new sound.
For example, you can morph a piano sample with a synth pad by aligning their spectral profiles and adjusting the morphing intensity to 70%.
You’ll want to use a spectral morphing tool to analyze both sounds, identify common frequency ranges, and apply an envelope with a 500 ms attack and 200 ms release.
This will help you control the morphing process smoothly.
Modulating the morphing parameter with an LFO set to 0.2 Hz can add movement and variation to the morphed sound so it evolves over time.
Adjusting the spectral smoothing parameter to around 10 can help blend harsh transitions and create a super fluid sort of sound.
This technique is super useful if you want to create hybrid sounds and evolving textures.
-
Spectral Interpolation and Cross-Synthesis

Spectral interpolation and cross-synthesis allow you to combine the spectral characteristics of two audio signals to create new and unique textures.
Spectral interpolation is the process of smoothly transitioning between two spectral profiles, blending the frequency content of one sound with another.
Cross-synthesis, on the other hand, involves merging the spectral data of two audio signals to generate a hybrid sound that retains elements of both sources.
For example, you can cross-synthesize a vocal sample with a drum loop by extracting key spectral information from each and blending them together.
Use spectral interpolation to map the frequency content of the vocal onto the drum loop 一 setting the interpolation rate to 0.7 for a balanced mix.
Adjusting the cross-synthesis parameters, such as the spectral overlap (set to 50%) and modulation depth (set to 1.2), helps create a cohesive, interesting sound.
Applying additional spectral processing, such as spectral gating or filtering, can refine the cross-synthesized audio even more, so don’t forget about that.
By experimenting with different interpolation rates, overlap settings, and modulation depths, you can achieve a wide range of creative results.
If you want to enhance your sound design skills, it’s perfect.
-
Final Pro Tip About Spectral Processing
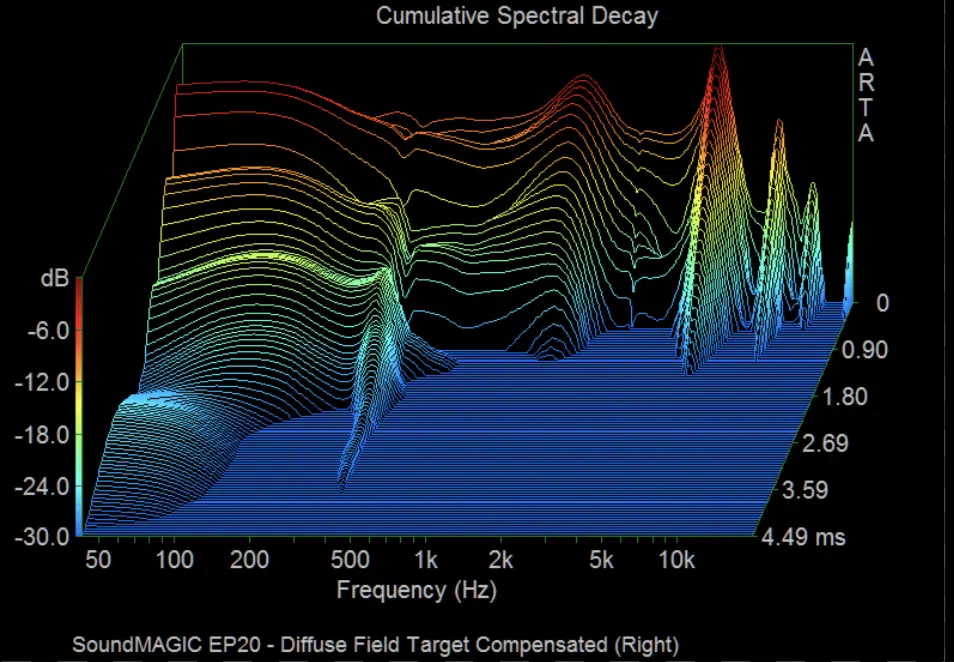
When working with spectral effects, experimenting with different plug-ins can bring even more unique results.
One of my favs is Soundmagic Spectral, which is a plug-in that offers a spectral suite/range of spectral effects for dynamic sound design.
It’s capable of most spectral effects, so don’t overlook it (if it’s not your thing, just look up in your browser for the best options by the developer you like).
In Logic Pro, you can utilize the pitch shifter plug-in to create unexpected textures by shifting the pitch of specific frequency bands.
Side note, if you want to know all about pitch shifting, we got you covered.
For example, applying a pitch shifter to the higher frequencies while keeping the lower frequencies at their default settings can produce a striking contrast.
Another technique is to use a loud split to separate the loud and soft parts of your signal 一 applying different levels of saturation to each.
Adjusting the saturation settings on the soft parts can add warmth, while a higher saturation level on the loud parts enhances the impact.
NOTE: Don’t forget to explore the default presets of your spectral effects plug-ins as a starting point, then tweak the settings to your unique sound.
Final Thoughts
And there you have it: everything you need to know about spectral effects.
As you know, they can seriously enhance your mixes, add unique textures, and help you create dynamic, show-stopping sounds like never before.
Plus, they help you control the frequency range, shape your sound, and add that professional touch to your tracks that I know you’re searching for.
Your projects will stand out, and your tracks will instantly captivate listeners with their depth and intricacy.
And with the pro tips, you should certainly be able to do that in no time.
As a special bonus, you’ve got to check out the most legendary free Vocal Samples in the game.
It contains 20 professional-quality vocal loops, chops, and one-shots that are out of this world (for real).
They’re the best way for you to make your tracks catchy and add the missing piece to your beats.
Plus, all of these proper, polished, perfectly processed vocal samples were created by expert vocalists and producers, so you know you’re getting top quality stuff.
And yes, it’s 100% royalty-free, so you never have to worry about any legal issues at all.
Remember, mastering spectral effects is all about constant experimenting, fine-tuning your settings, and learning all day long.
Bottom line, with the knowledge you’ve learned today, gained from this guide, you’re ready to take your production skills to the next level.
So, go out there and show your competitors what’s really good.
Until next time…


Leave a Reply
You must belogged in to post a comment.