Music production is all about laying down beats that are clean, professional, and stand out above the competition.
It requires a combo of technical skill, hustle, endless creativity, and the right production equipment/tools.
If you’re looking to learn all about what is music production (in detail) and what you’ll need to take things to the next level and break into the industry, I got you.
In today’s article, I’ll be breaking down:
- Essential equipment you’ll need ✓
- Choosing the right DAW for your style ✓
- Audio interfaces for high-quality recordings ✓
- Microphone basics and recording techniques ✓
- MIDI controllers and virtual instruments ✓
- Sound design tips and techniques ✓
- Arrangement and composition essentials ✓
- Mixing and mastering like a pro ✓
- Key audio effects and when to use them ✓
- Music producer tips for building a home studio ✓
- How to learn music production quickly ✓
- Much more about what is music production ✓
Bottom line, learning what is music production can bring some serious creativity to the table and help you turn basic musical ideas into frikkin’ masterpieces.
You’ll get a solid understanding of the equipment, techniques, and creative tricks/tips that make a track not be amateurish.
Plus, you’ll know all the best tips/tricks for recording, arranging, and mixing, so you can produce music that sounds pro.
This way, you can decide if you’re ready to jump into the music production field full-time, simply sharpen your skills, or swerve the prospect altogether.
Table of Contents
- What is Music Production: Breaking it Down
- Essential Equipment for Music Producers
- Audio Recording
- Sound Design Essentials
- Mixing Process/Techniques
- The Final Master
- Understanding Audio Effects When Producing Music
- Music Production Software and Plugins
- Bonus: Building a Home Studio (Summing it Up)
- Final Thoughts
What is Music Production: Breaking it Down
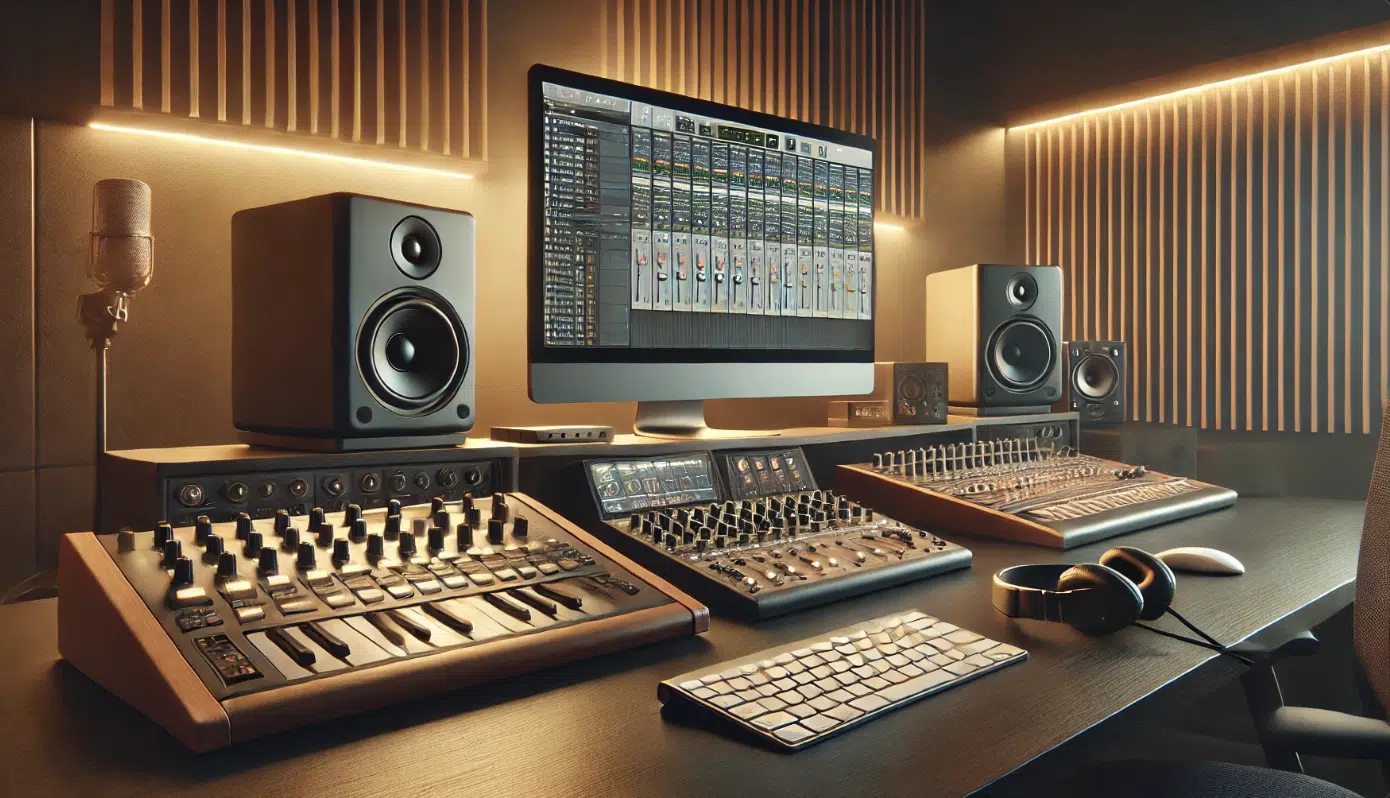
Music production is basically the entire process of turning a musical idea into a finished, ready-to-listen track that instantly makes an artist want to rap/sing over it.
From capturing raw sounds during a recording session to editing, arranging, mixing, and mastering, music production brings every single piece of a beat together.
When people first ask, “what is music production?” they often think it’s just about recording music and audio editing, but there’s so much more involved.
You’re not only handling the technical aspects, like using digital audio workstations (DAWs) and effects, but also making creative choices.
Ones that shape how a complete song sounds and feels.
For example, whether you’re recording instruments, designing custom sounds with synths, or adding effects to enhance sound quality, each step builds on the last.
Bottom line, music production is both an art and a science 一 giving you creative control over every detail from start to finish.
And today, we’ll be covering everything from the essential tools to advanced sound design, so let’s dive in.
Essential Equipment for Music Producers
To kick things off, let’s break down all the equipment you’ll need to successfully capture, edit, shape, and refine your tracks. Remember, music production equipment is what’s going to really help you become a skilled producer.
-
Computers and Operating Systems
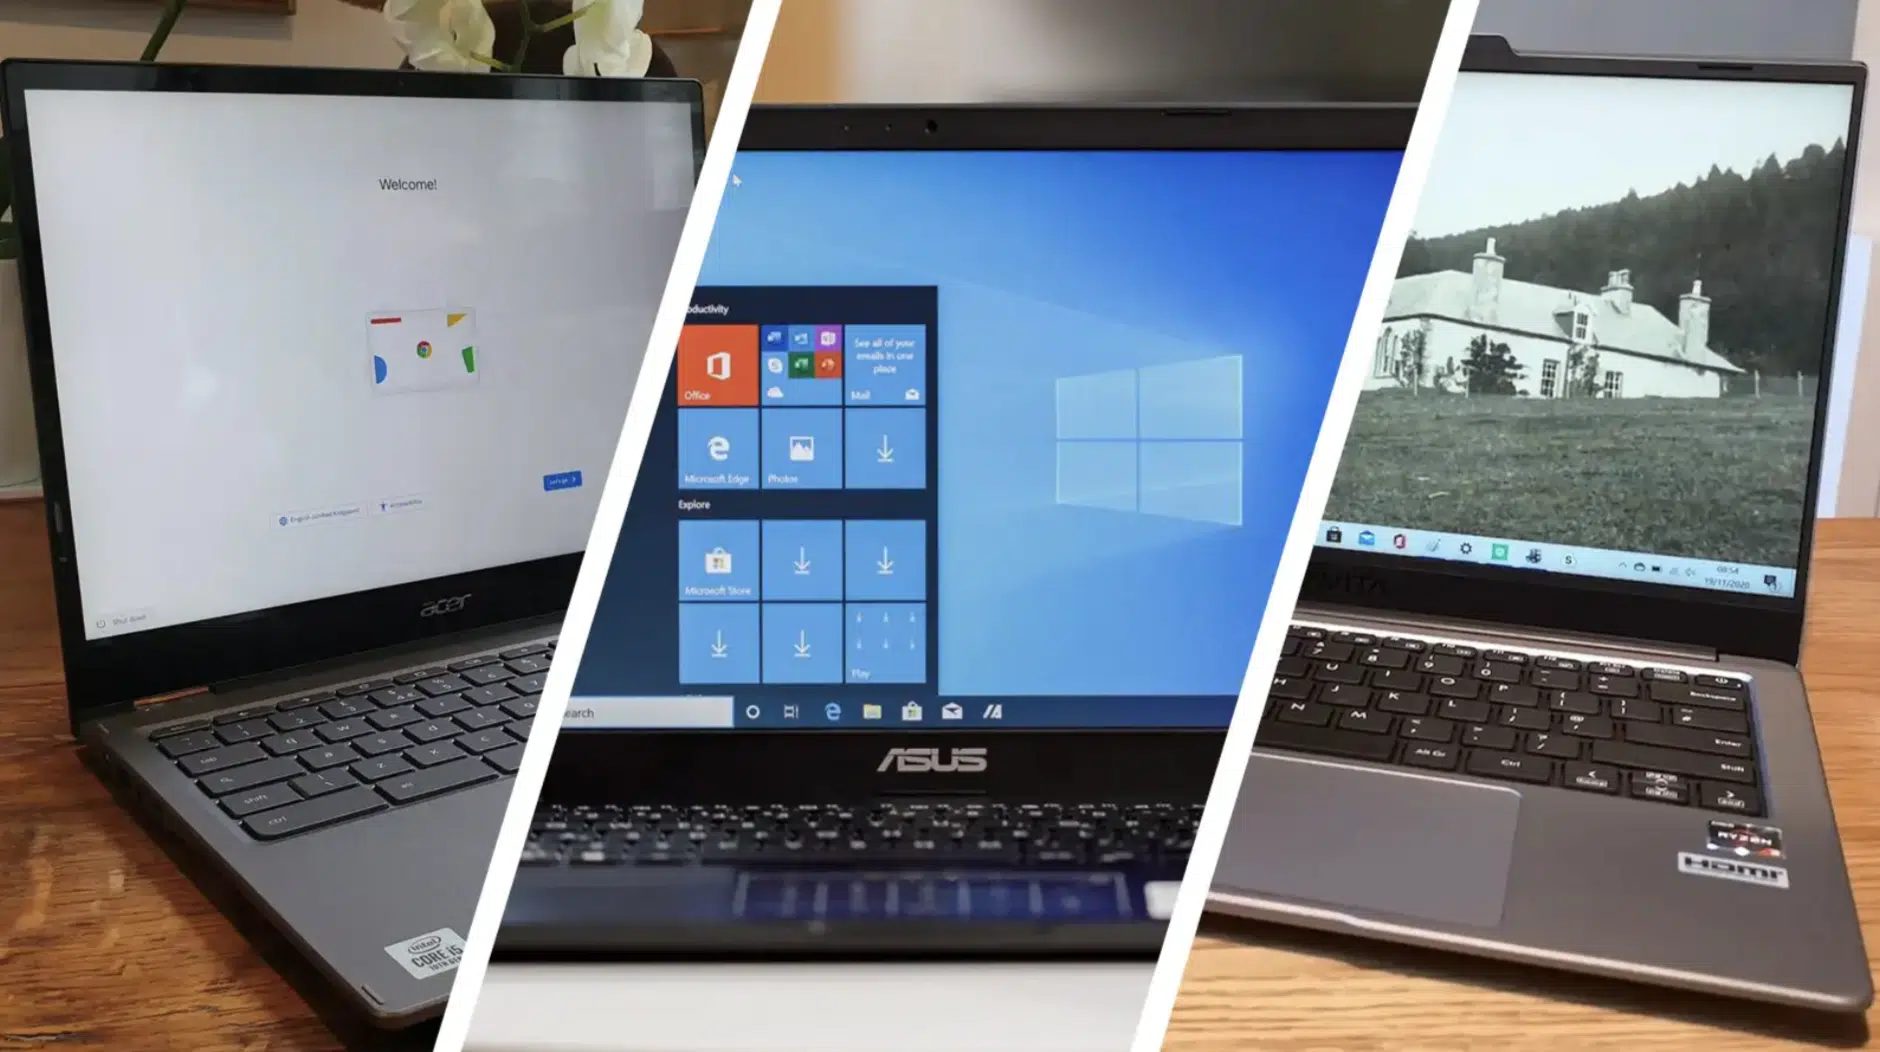
As music producers, the computer is our production hub, handling the heavy-lifting of audio processing and running music production software.
Choosing between Mac and Windows can depend on which DAW you plan to use.
For example, Logic Pro is Mac-only, so if that’s your DAW of choice, a Mac is essential, and FL Studio runs on both systems, so you have more flexibility.
Regardless of choice, you should always choose a computer/laptop with:
- A fast processor – Aim for at least an Intel i7 or equivalent. It’s what keeps all your audio tracks and plugins running without lagging.
- Sufficient RAM (at least 16GB is ideal) – 16GB is a good minimum, but if you’re working with a lot of virtual instruments or samples, consider upgrading to 32GB.
- Enough storage – Audio files, samples, and plugins can eat up space fast, so look for at least 500GB, ideally with extra storage options if needed.
This stuff is key because audio files and virtual instruments can quickly consume resources, and you don’t want anything to crash out while you’re producing.
Believe me, that’s the most frustrating thing in the world, so you definitely want to have the best possible home studio setup.
Working with a solid-state drive (SSD) can also speed up load times and make the workflow feel seamless, so keep that in mind as well.
It’s one of those things that, once you have it, you won’t want to go back.
Plus, external SSDs can be a great addition for storing sample libraries, keeping your main drive free for your DAW and essential files.
Side note, if you want to find out all about the best computers and/or laptops for music production specifically, we got you covered.
-
Digital Audio Workstations (DAWs)
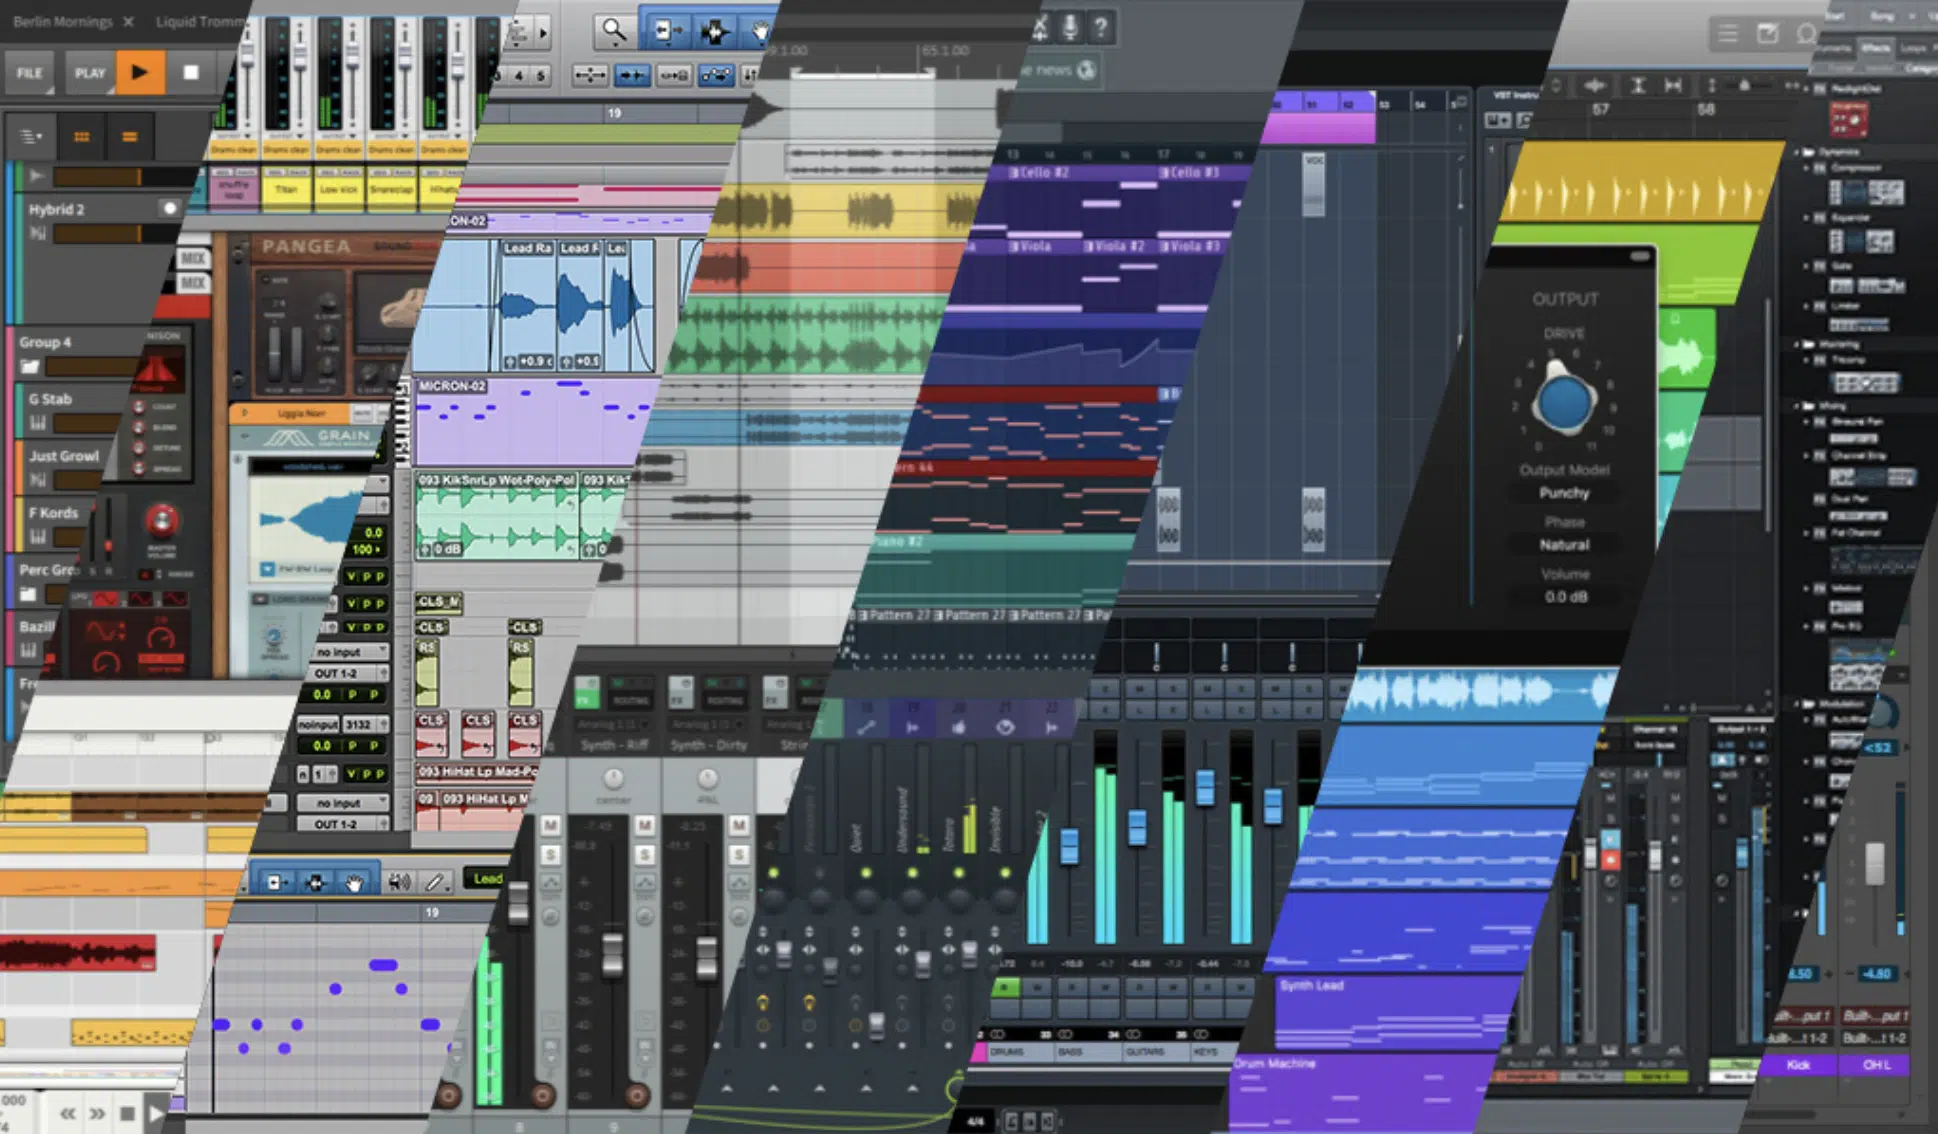
Digital Audio Workstations (DAWs) are music production must-haves, which are software platforms you’ll use to:
- Record
- Edit
- Mix/master
- Etc.
It acts as the virtual “studio” where everything comes together.
Each DAW has its strengths, and finding one that feels intuitive and matches your style is key to a smooth workflow (because, remember, it’s all about the proper setup).
Ableton Live, for example, is loved for electronic music production because of its clip-based interface, which makes it easy to experiment and build loops on the fly.
Logic Pro is another powerhouse for Mac users, with a wide range of built-in plugins and an intuitive layout that’s great for beginners and advanced producers alike.
For those more focused on audio engineering or live recording, Pro Tools is known for its detailed audio editing capabilities and is often used in professional studios.
Investing time in learning your DAW’s shortcuts, whether it’s Pro Tools, FL Studio, or even Bitwig, can speed up the production process and your workflow will improve.
Also, knowing all the features and functions is also obviously important.
NOTE: Most DAWs offer free trials, so trying a few out to see which one clicks can save time in the long run. DAWs are very personal, and finding the right one is like picking the best tool for your creative style.
-
Audio Interfaces
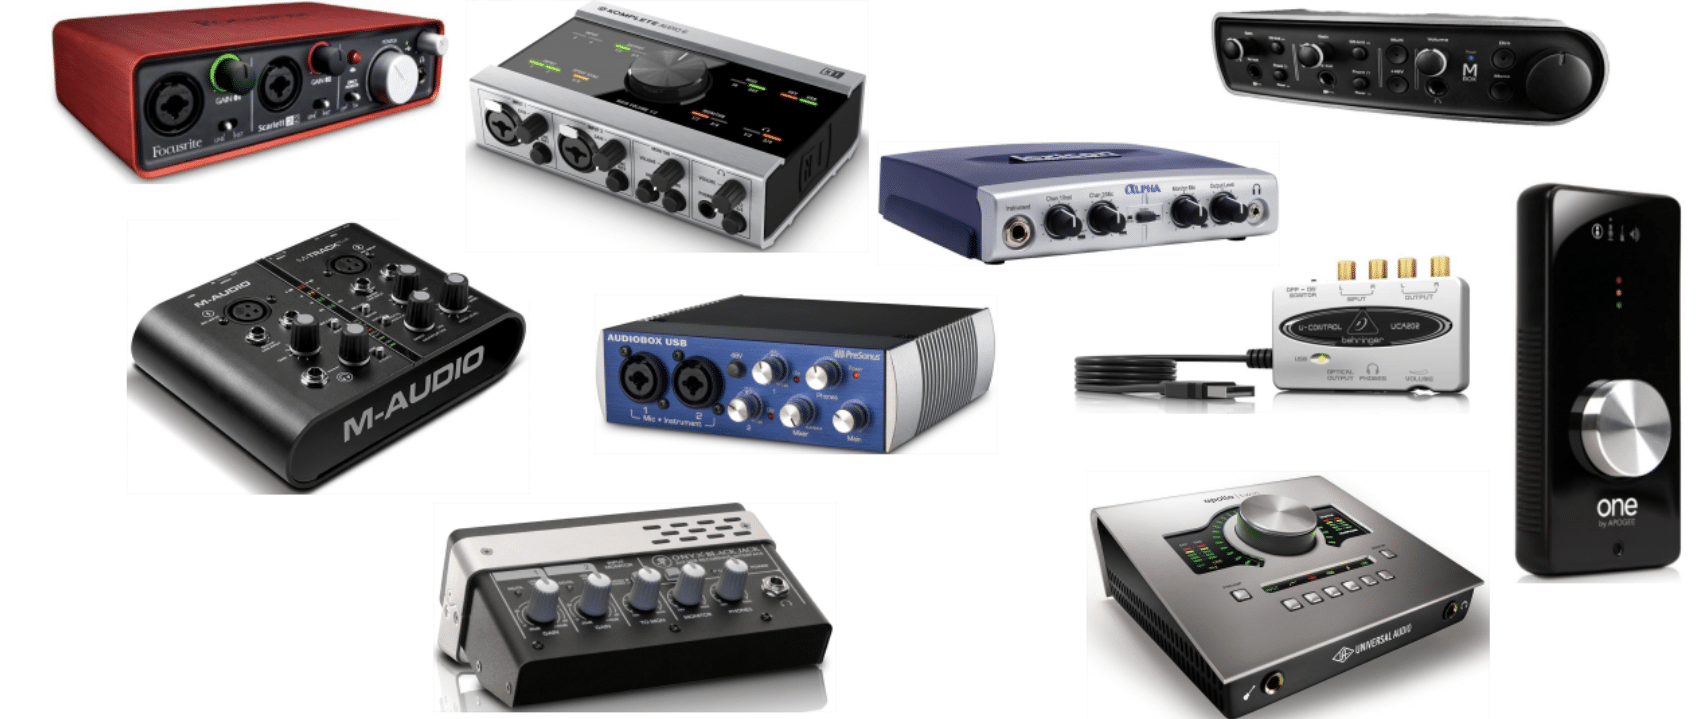
An audio interface is a must-have piece of music production equipment because it converts analog audio signals from instruments or microphones into digital data.
All for your digital audio workstation (DAW) to process so you can start cookin’ up fire.
If you’re just becoming a music producer, the Focusrite Scarlett series, like the Scarlett 2i2, is reliable and user-friendly 一 clean sound quality at a great price.
For more experienced producers, the Universal Audio Apollo interfaces deliver professional-grade sound with onboard DSP (digital signal processing).
It’s perfect for real-time effects and reducing the strain on your computer’s CPU.
NOTE: Look for an interface with low latency and high sample rates (at least 44.1kHz) to ensure high sound quality when tracking or monitoring.
Also, consider how many inputs you’ll need…
If you’re recording vocals and instruments at the same time a lot, interfaces like the Audient iD14 or the Apollo Twin X are great choices with versatile I/O options.
-
Microphones
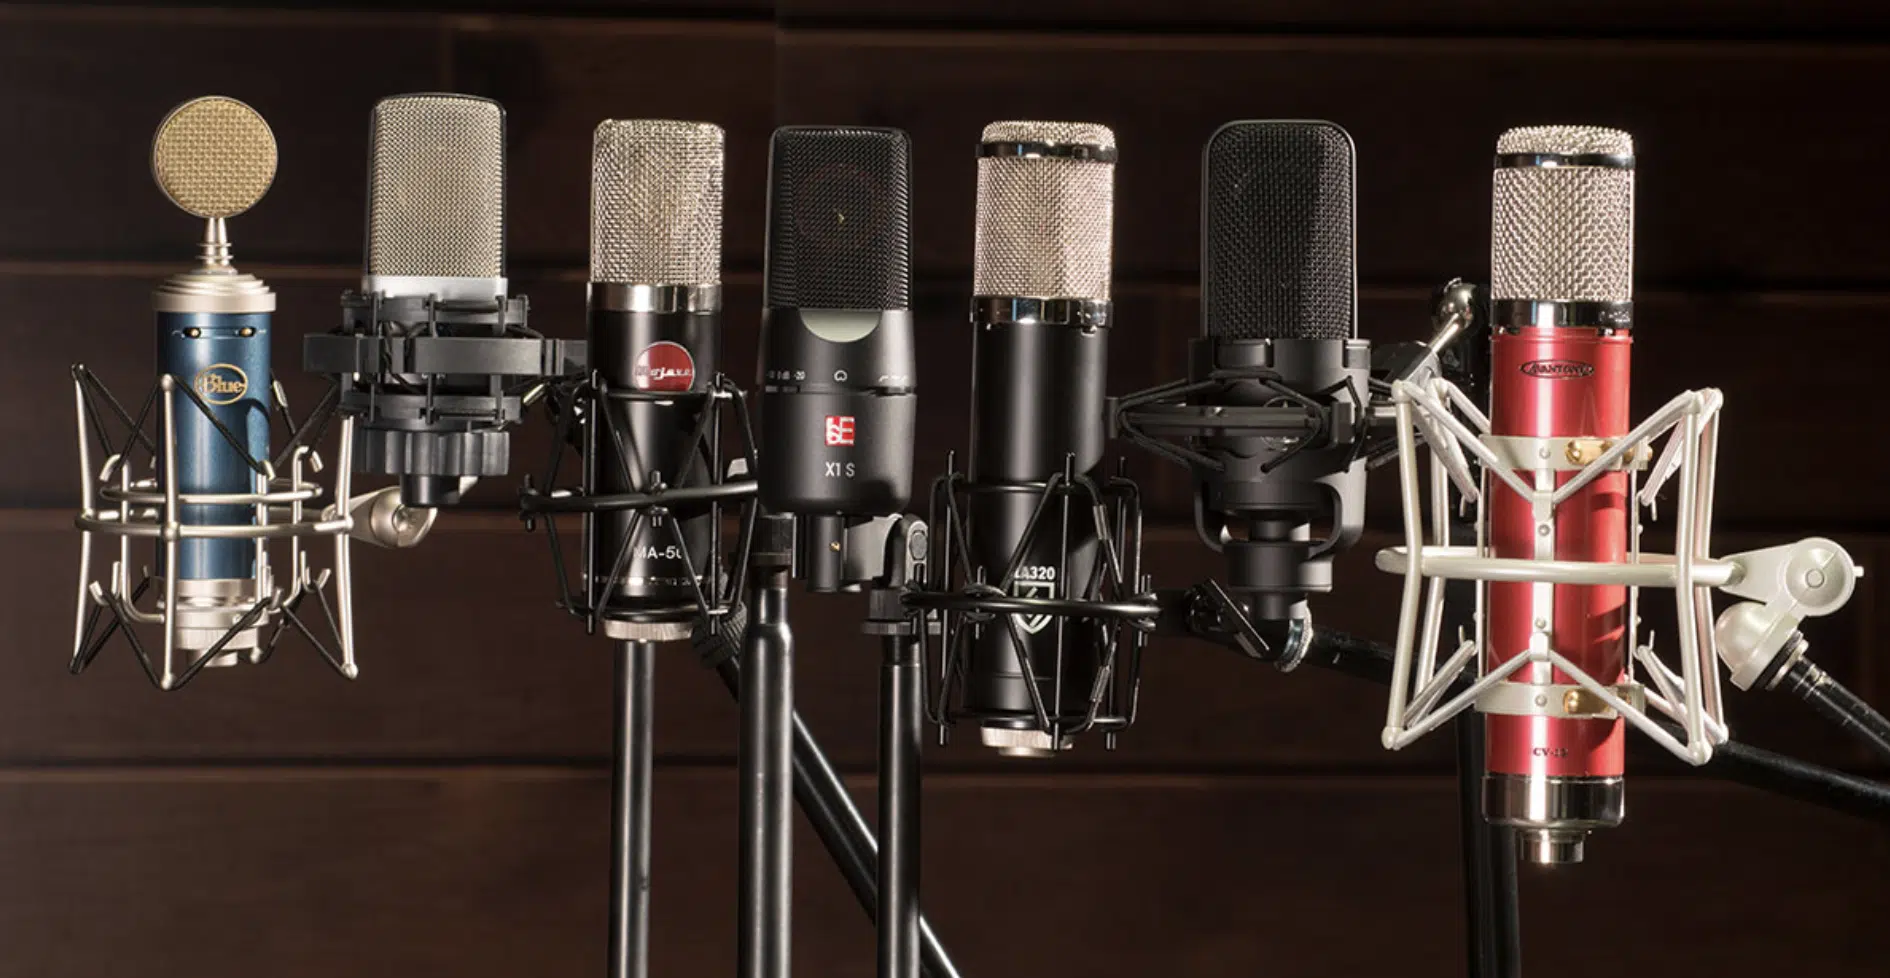
Microphones are, of course, essential for recording vocals and live instruments 一 each type serving different purposes in music production.
For most studio setups, a condenser microphone is ideal because it’s sensitive to subtle sound details, capturing warmth and clarity in vocals.
A popular and affordable choice is the Audio-Technica AT2020, which is versatile and performs well for various genres and voice types.
If you need a microphone for recording louder sources like drums or guitar amps, a dynamic mic like the Shure SM57 is solid and can handle high sound pressure levels.
NOTE: Make sure to invest in a pop filter to minimize plosive sounds and a sturdy mic stand to keep your setup stable.
Small details like these improve overall sound quality in your recording session.
-
MIDI Controllers
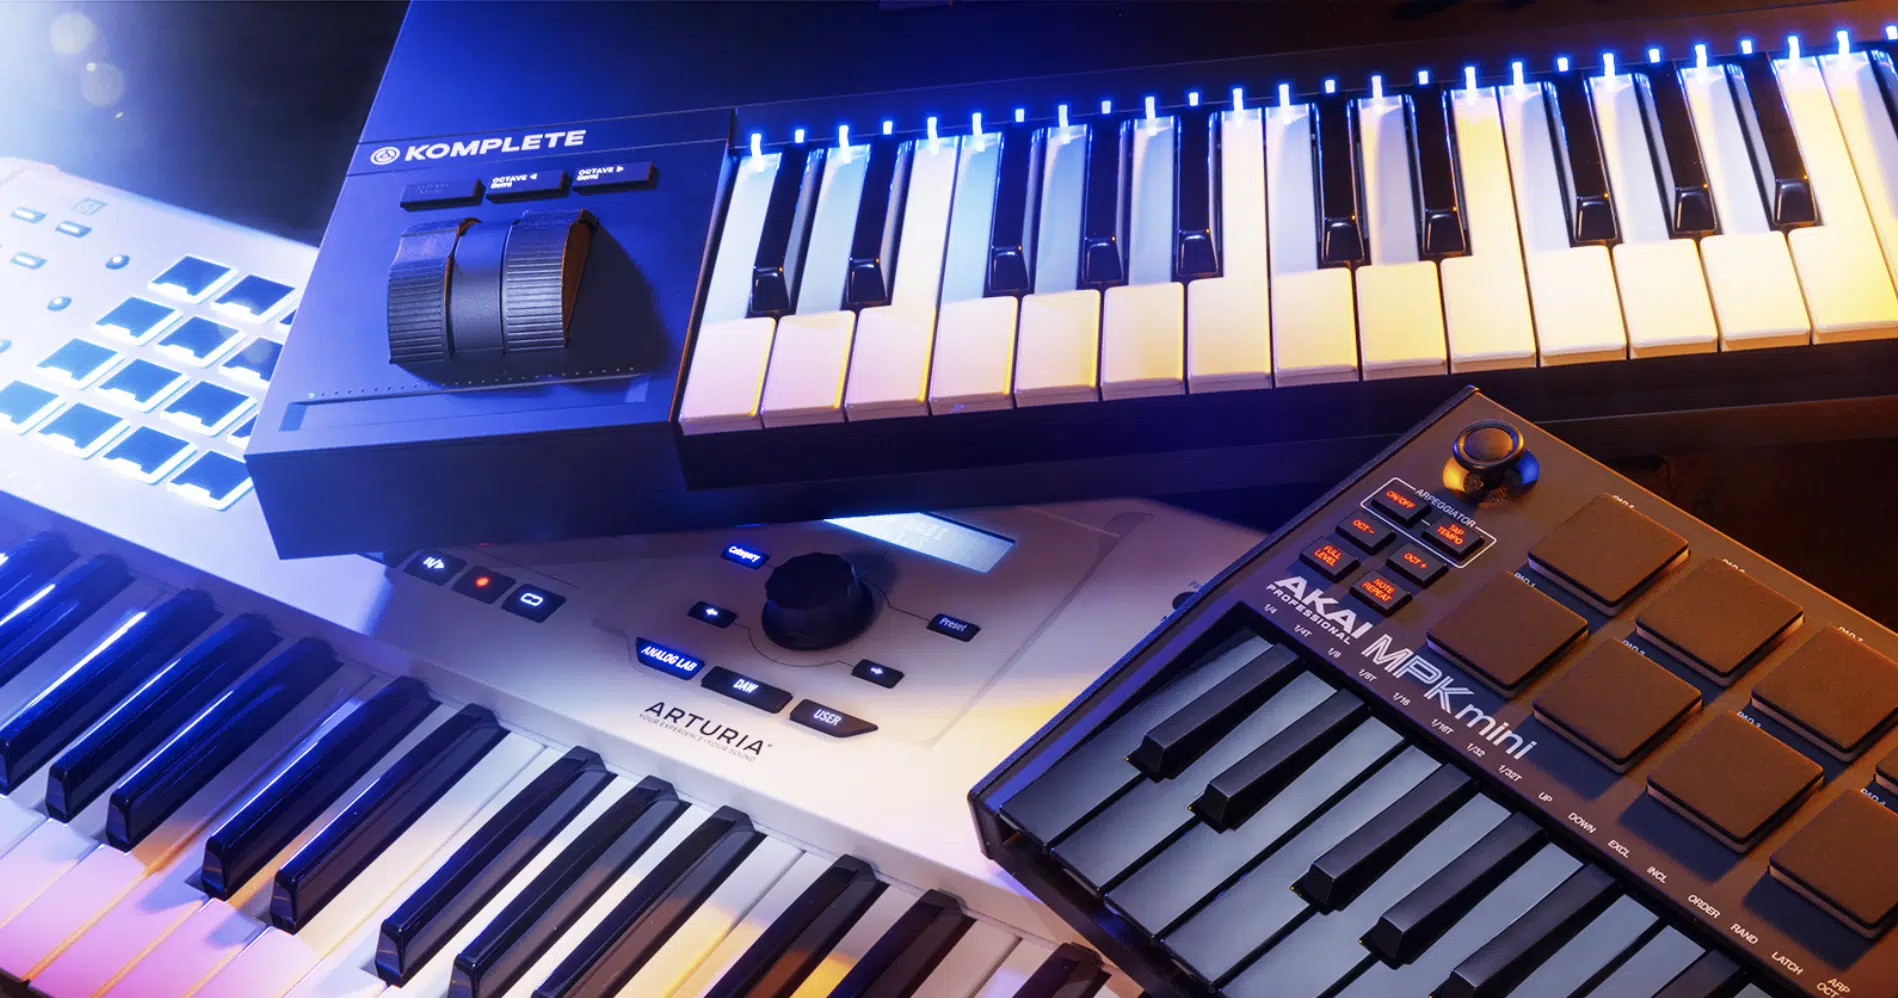
MIDI controllers add a hands-on element to your production process so you control virtual instruments and add expressive layers to your tracks.
Keyboard-style controllers with pads and controllers, like Akai MPK Mini, are perfect for:
- Creating melodies
- Triggering samples
- Controlling DAW functions
If beat-making or electronic music production is your focus, pad controllers like the Ableton Push or Native Instruments’ Maschine add versatility.
So, whether it’s live looping, finger drumming, or manipulating sounds in real-time, you’ll be able to do it like a champ.
Make sure to pick a MIDI controller/keyboard that works well with your specific digital audio workstation (DAW).
For example, Ableton users may find the Push 2 an invaluable addition for control of all Ableton Live functions they know and love.
PRO TIP: Some MIDI controllers also include sliders for mixing.
They let you adjust volumes and effects without a mouse, which can speed up your workflow and make the production process feel even more intuitive.
It’s all about making your workflow feel natural and giving you real-time control over every single detail, which can make your beats sound super personal.
With a good MIDI controller, you’re not just clicking around with a mouse… You’re actually playing, adjusting, and shaping sounds with your hands.
This hands-on control can really enhance your creativity so you can adjust parameters on the fly and capture ideas the second they come.
-
Studio Monitors and Headphones
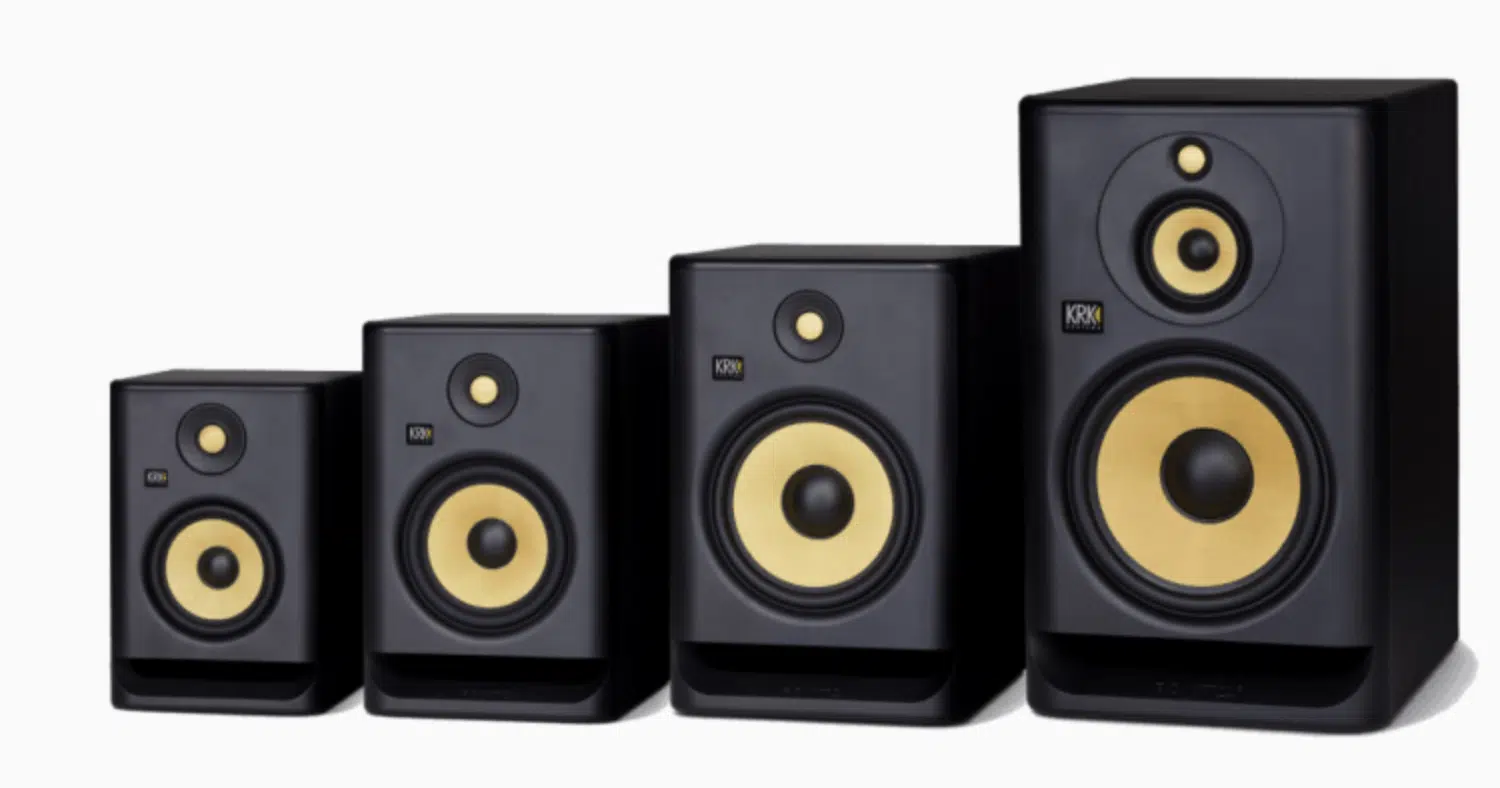
Studio monitors and headphones are essential for accurately hearing the details in your own music/mix.
Unlike regular speakers, studio monitors like the KRK Rokit 5 or Yamaha HS5 provide a flat response (meaning they don’t color the sound).
This will help you make mix decisions that will sound good across different playback systems, which is super important.
It’s worth investing in quality headphones, as well:
- Open-back models like the Sennheiser HD650 offer a more natural sound.
- Closed-back headphones like the Audio-Technica ATH-M50x are great for tracking because they minimize sound bleed.
Also, try checking your mix on both monitors and headphones to get a balanced perspective on the overall sound.
And make sure to be cautious with headphone volume, as high levels can cause ear fatigue 一 making it harder to make accurate mix adjustments.
Side note, if you want to know all about the different types of headphones or how to mix with headphones, we got you covered.
Audio Recording
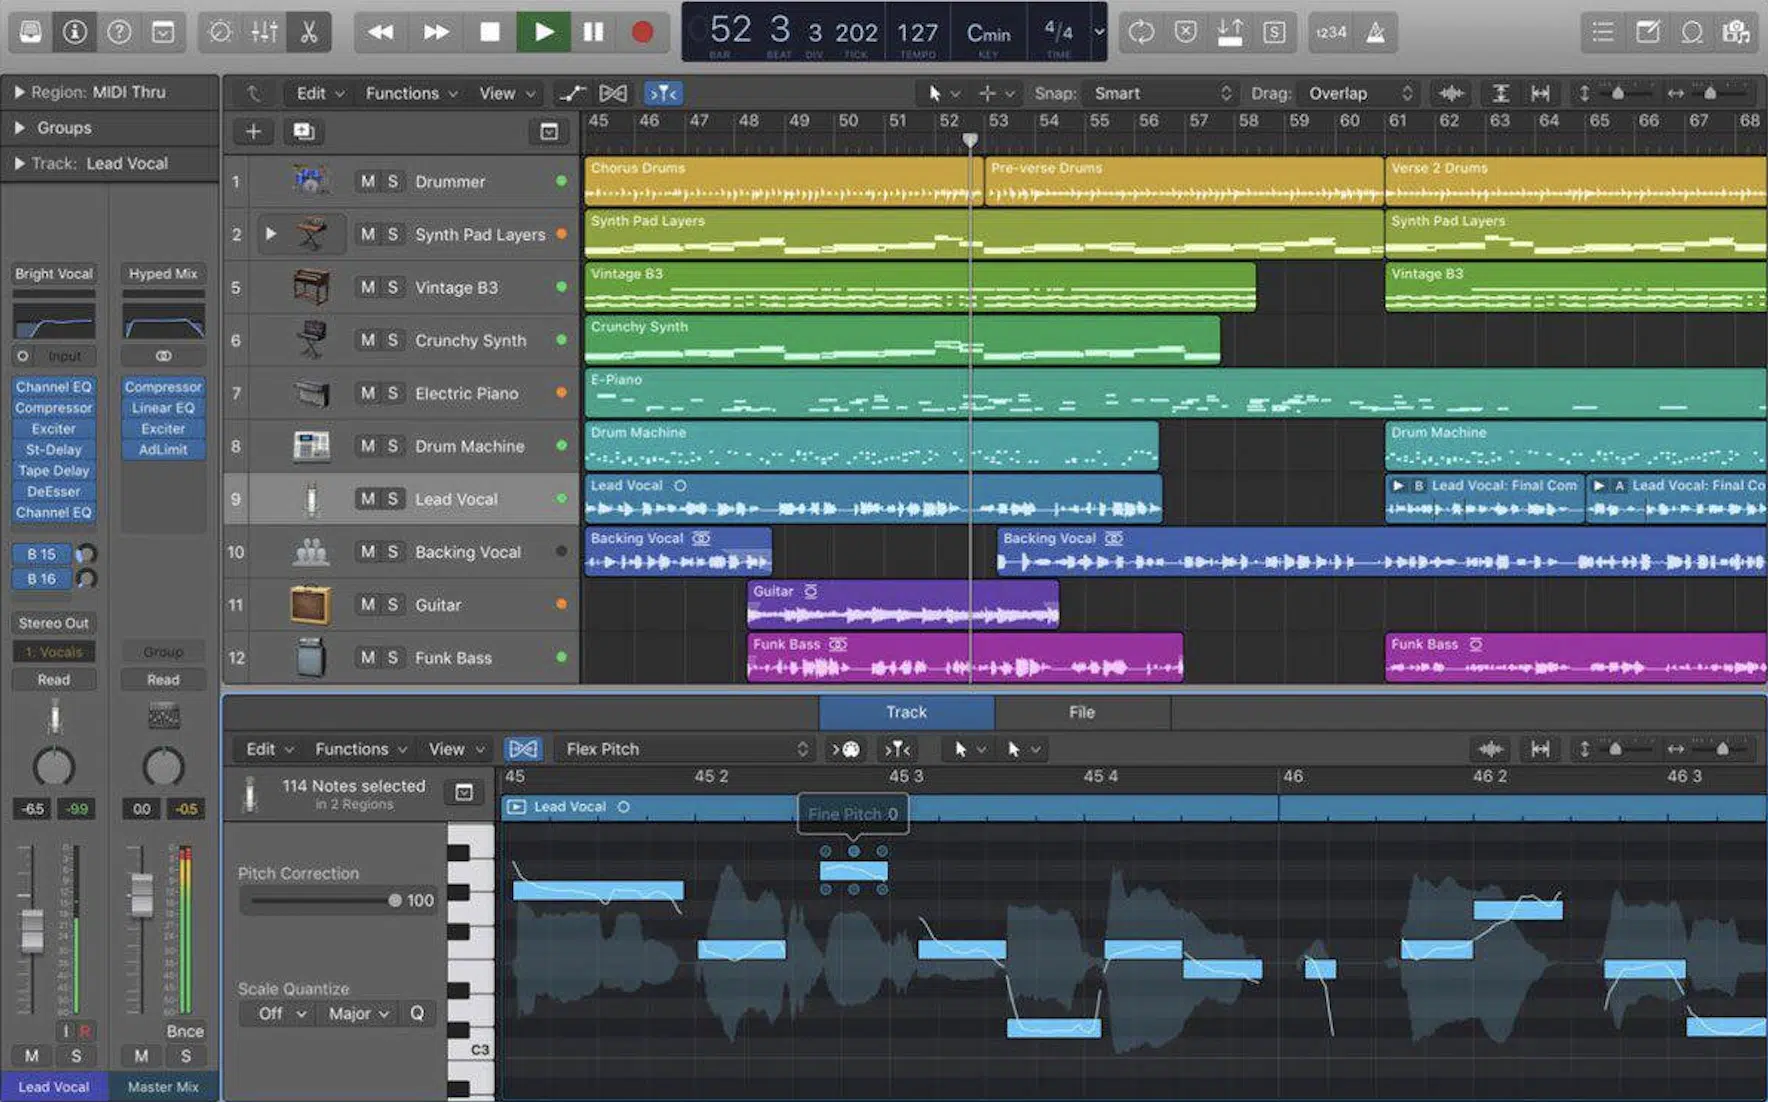
Audio recording plays a huge role in shaping the quality of recorded music, and getting them right is the first step in any recording project.
When recording vocals, for example, a condenser microphone about six inches from the singer’s mouth captures a natural tone.
And remember that adding a pop filter helps cut down on unwanted plosive sounds like “p” and “b,” so always make sure to invest as I said earlier.
When it comes to instruments, positioning is everything…
Placing a mic near the soundhole of an acoustic guitar captures warmth, but moving it up toward the neck can add brightness to the sound.
Room acoustics also have a big impact on audio quality; using foam panels or blankets to treat the space can reduce unwanted reflections and give you a cleaner sound.
MUSIC PRODUCER NOTE: Run a test recording to see how it sounds on both your studio monitors and headphones, so you can adjust mic placement or room treatment as needed.
Mastering the recording process and techniques can mean the difference between an okay sound and a final sound that’s clear, dynamic, and ready for the mix.
Whether you’re mastering your own music or working with a mastering engineer, make sure everything is on point.
Sound Design Essentials
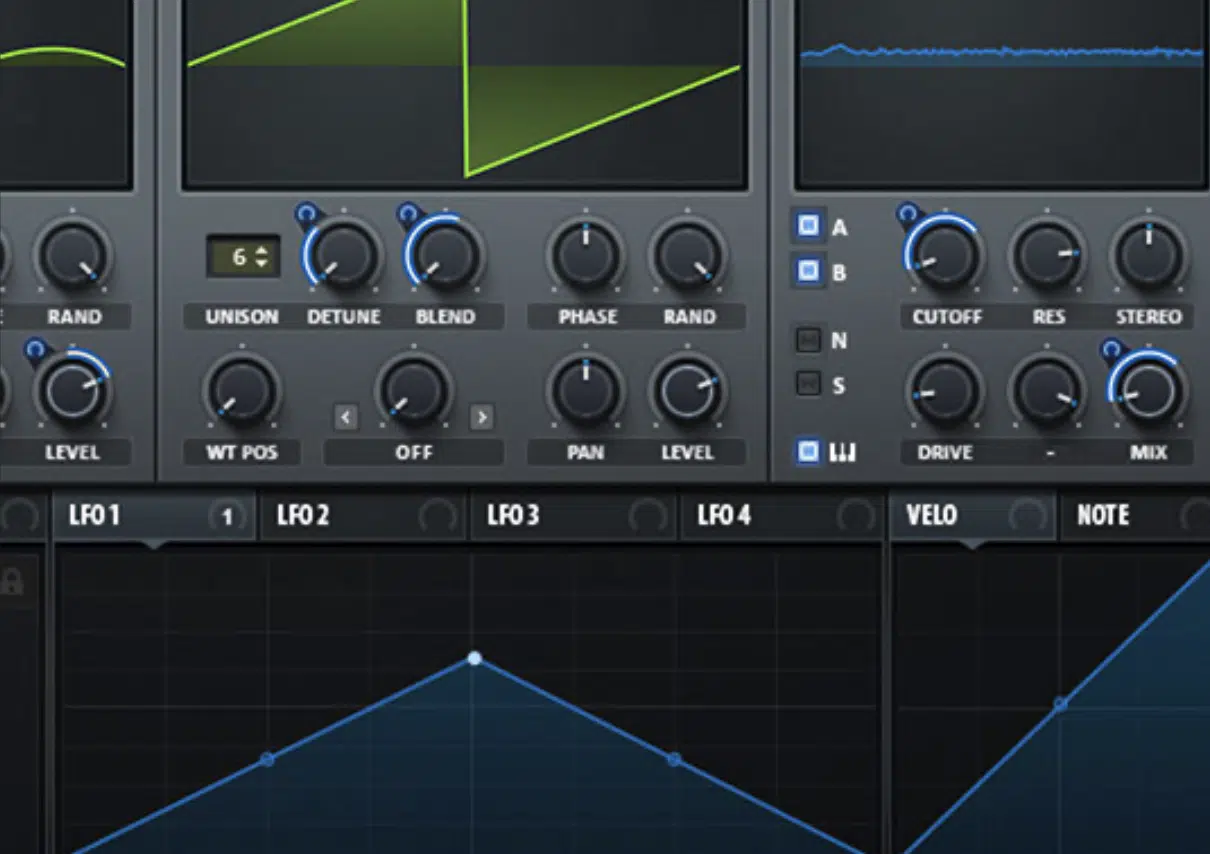
If you want to learn music production or what is music production, you’ll certainly need to know all about sound design as well.
Sound design is a huge part of what is music production, letting you create custom sounds that bring a unique edge to your tracks.
With synthesizers like Serum or Massive, you can start with a basic waveform (e.g., a saw or sine wave) and shape it by:
- Adjusting filters
- Adding modulation
- Applying effects like reverb
For a gritty bass, try using a saw wave with a low-pass filter and some added distortion to give it weight and presence.
Sampling adds even more flexibility…
You could record something as simple as a clinking key, load it into a sampler like Kontakt, and turn it into a playable instrument.
Layering sounds also adds depth, like stacking a sub-bass with a bright lead synth or adding white noise to a pad for texture.
Saving your custom presets is insanely helpful too 一 letting you build a library of go-to sounds that fit your unique style.
When experimenting, try combining effects or automating parameters to create movement because it adds a dynamic feel.
One that keeps your sounds interesting and fresh, helping you stand out as a music producer who can mess around with advanced sound design.
If you want access to the ultimate sound design course in the game, you have to check this one out for sure.
-
Arrangement and Composition
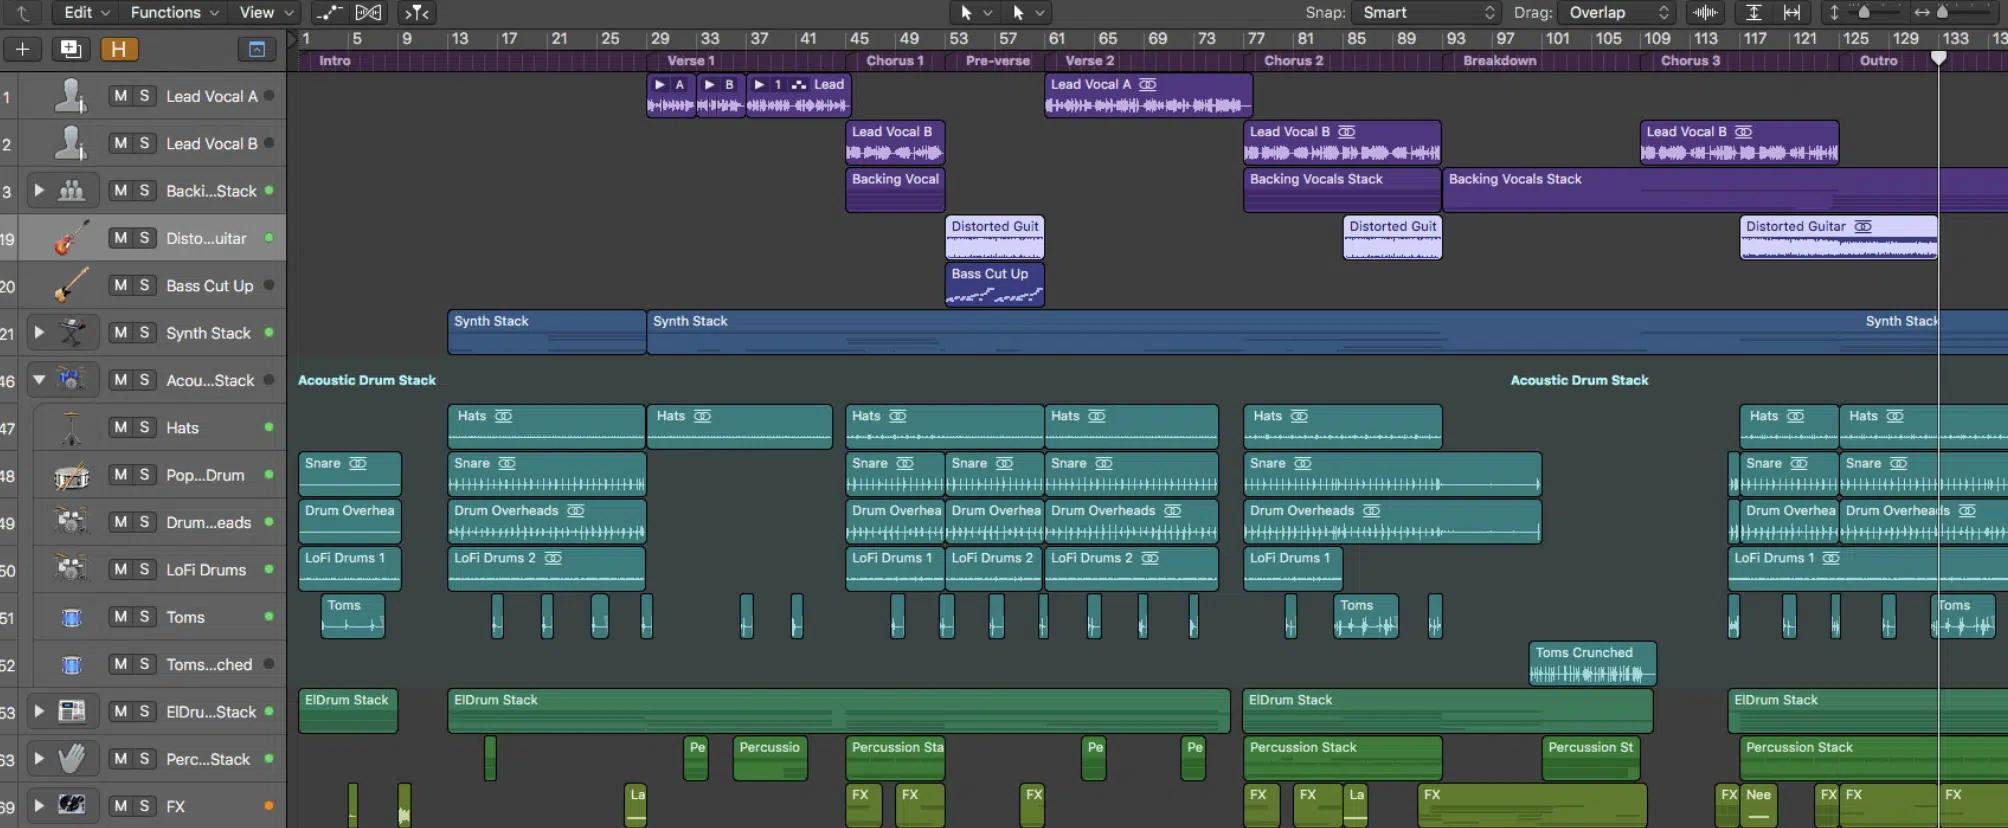
One of the main things to consider when learning what is music production is arrangement and composition.
Arrangement and composition are where you take your ideas and shape them into a full song, and without knowing about it, you’ll never knock out the ‘perfect’ beat.
A basic structure, like verse-chorus-verse, is a good starting point, but don’t be afraid to experiment with different song forms.
I’m a huge advocate of flipping stuff around and trying new things.
One common music producer technique is to introduce new elements gradually to keep listeners hooked, adding a new instrument/effect at each section to keep things fresh.
For example, you could try using a drop or breakdown for a dramatic shift in energy, especially in genres like EDM or trap.
An engaging arrangement can be the difference between a track that hooks listeners and one that falls flat and leaves people completely underwhelmed.
Remember, if you’re thinking to yourself, do I need to know music theory as a record producer?…
The answer is no. You most certainly do NOT need to know music theory in order to be a successful music producer, but it doesn’t hurt so you can break the rules correctly.
Mixing Process/Techniques
Now that you know what music production gear and other key things for producers to know, let’s get into the mixing process. Mixing is one of the most important parts of music production, where you focus on how each sound fits together to create a polished track. At this stage, you’re blending, shaping, and fine-tuning each element to achieve the right balance in the mix. Let’s get it…
-
Balancing Levels
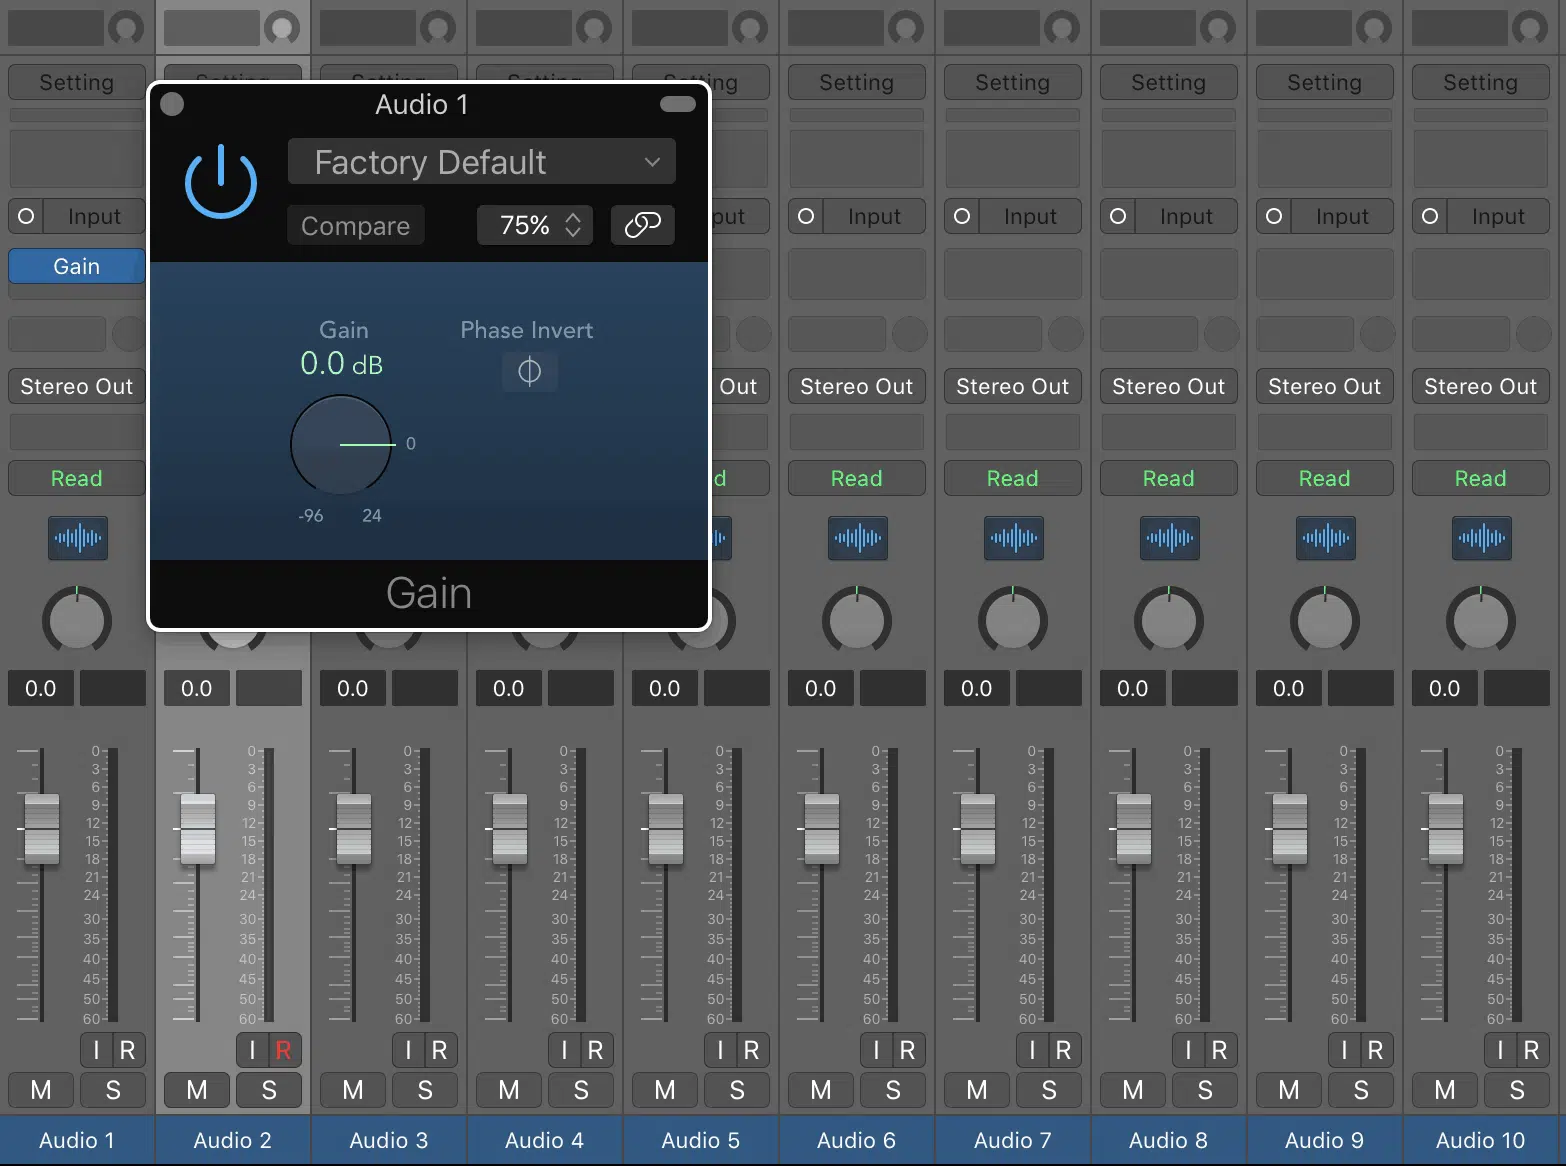
Balancing levels is the foundation of a solid mix, making sure each sound has its own place without overpowering the others.
When you’re figuring out what is music production, balancing is one of the first techniques to master, as it determines how each part of your track fits together.
Begin by setting that main element’s level, aiming for around -6 dB on your meter to leave plenty of headroom for the final mix and effects.
From there, start adding other elements one by one, adjusting their levels relative to the focal point.
For example, if you’re mixing a pop track with a lead vocal, you might want the drums sitting slightly under the vocal, with the snare peaking around -8 dB and the kick around -9 dB.
You might find that pulling some sounds down rather than pushing everything louder often achieves a cleaner mix with ample headroom for later steps like adding effects.
NOTE: Check your balance at both low and normal volumes like any experienced producer would.
The quieter playback usually reveals whether any one element is jumping out too much, so pay close attention (make sure to listen on as many playback systems as possible).
Remember, balancing levels isn’t just about getting things loud enough 一 it’s about creating space and depth that brings each part of the mix together.
-
Panning Strategies
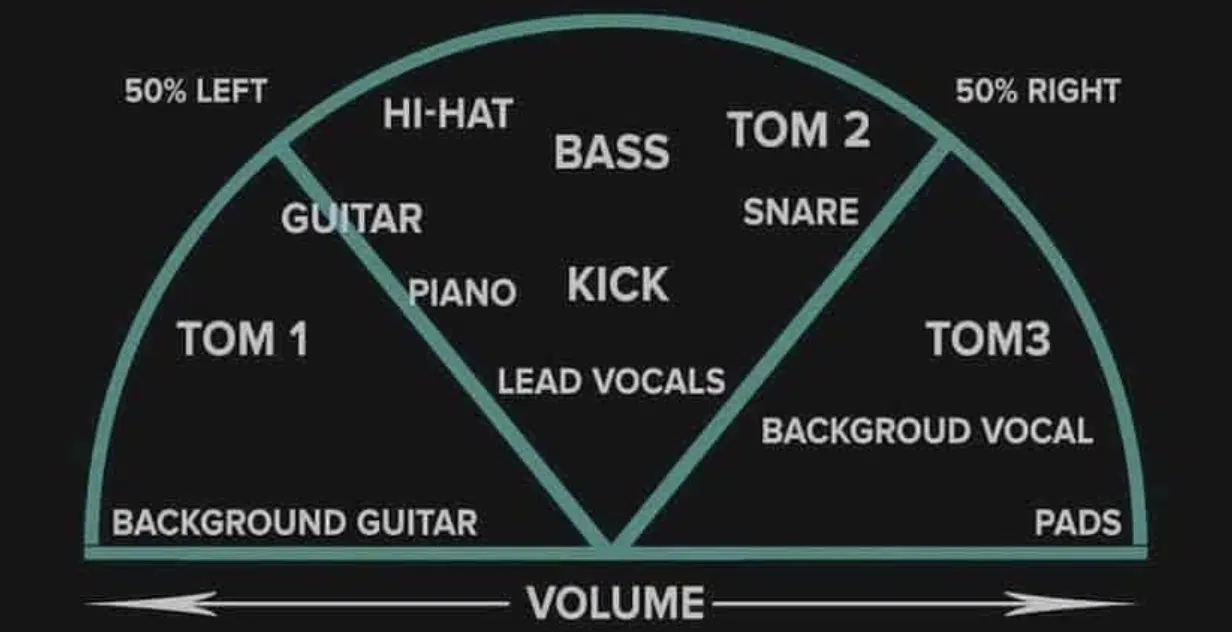
Panning helps position sounds in a way that makes your mix feel spacious, giving each part its own place (or ‘room’) in the stereo field.
This way nothing will clash or be buried.
For example, lead vocals usually sit right in the middle, while background vocals or harmonies can be panned around 30-50% left and right to add depth.
This creates a sense of fullness and can help emphasize the lead without overcrowding the mix.
When you’re working with layered sounds, like synths or guitars, slight panning differences between layers can add a wider feel.
For instance, if you’re working with two layered synths, try panning one slightly to the left (around 10-20%) and the other to the right (10-20%).
This separation adds width and makes the track feel bigger and more dynamic.
For guitars, you can create a classic “double-tracked” effect by recording two takes of the same riff and hard-panning one left and the other right for a wide, balanced sound.
Drums can also benefit from panning 一 placing hi-hats or cymbals to one side and toms to another can mimic a live drum kit’s natural feel.
NOTE: Always check your mix in mono because it helps make sure that no key elements disappear when the stereo spread is removed.
-
Equalization (EQ)
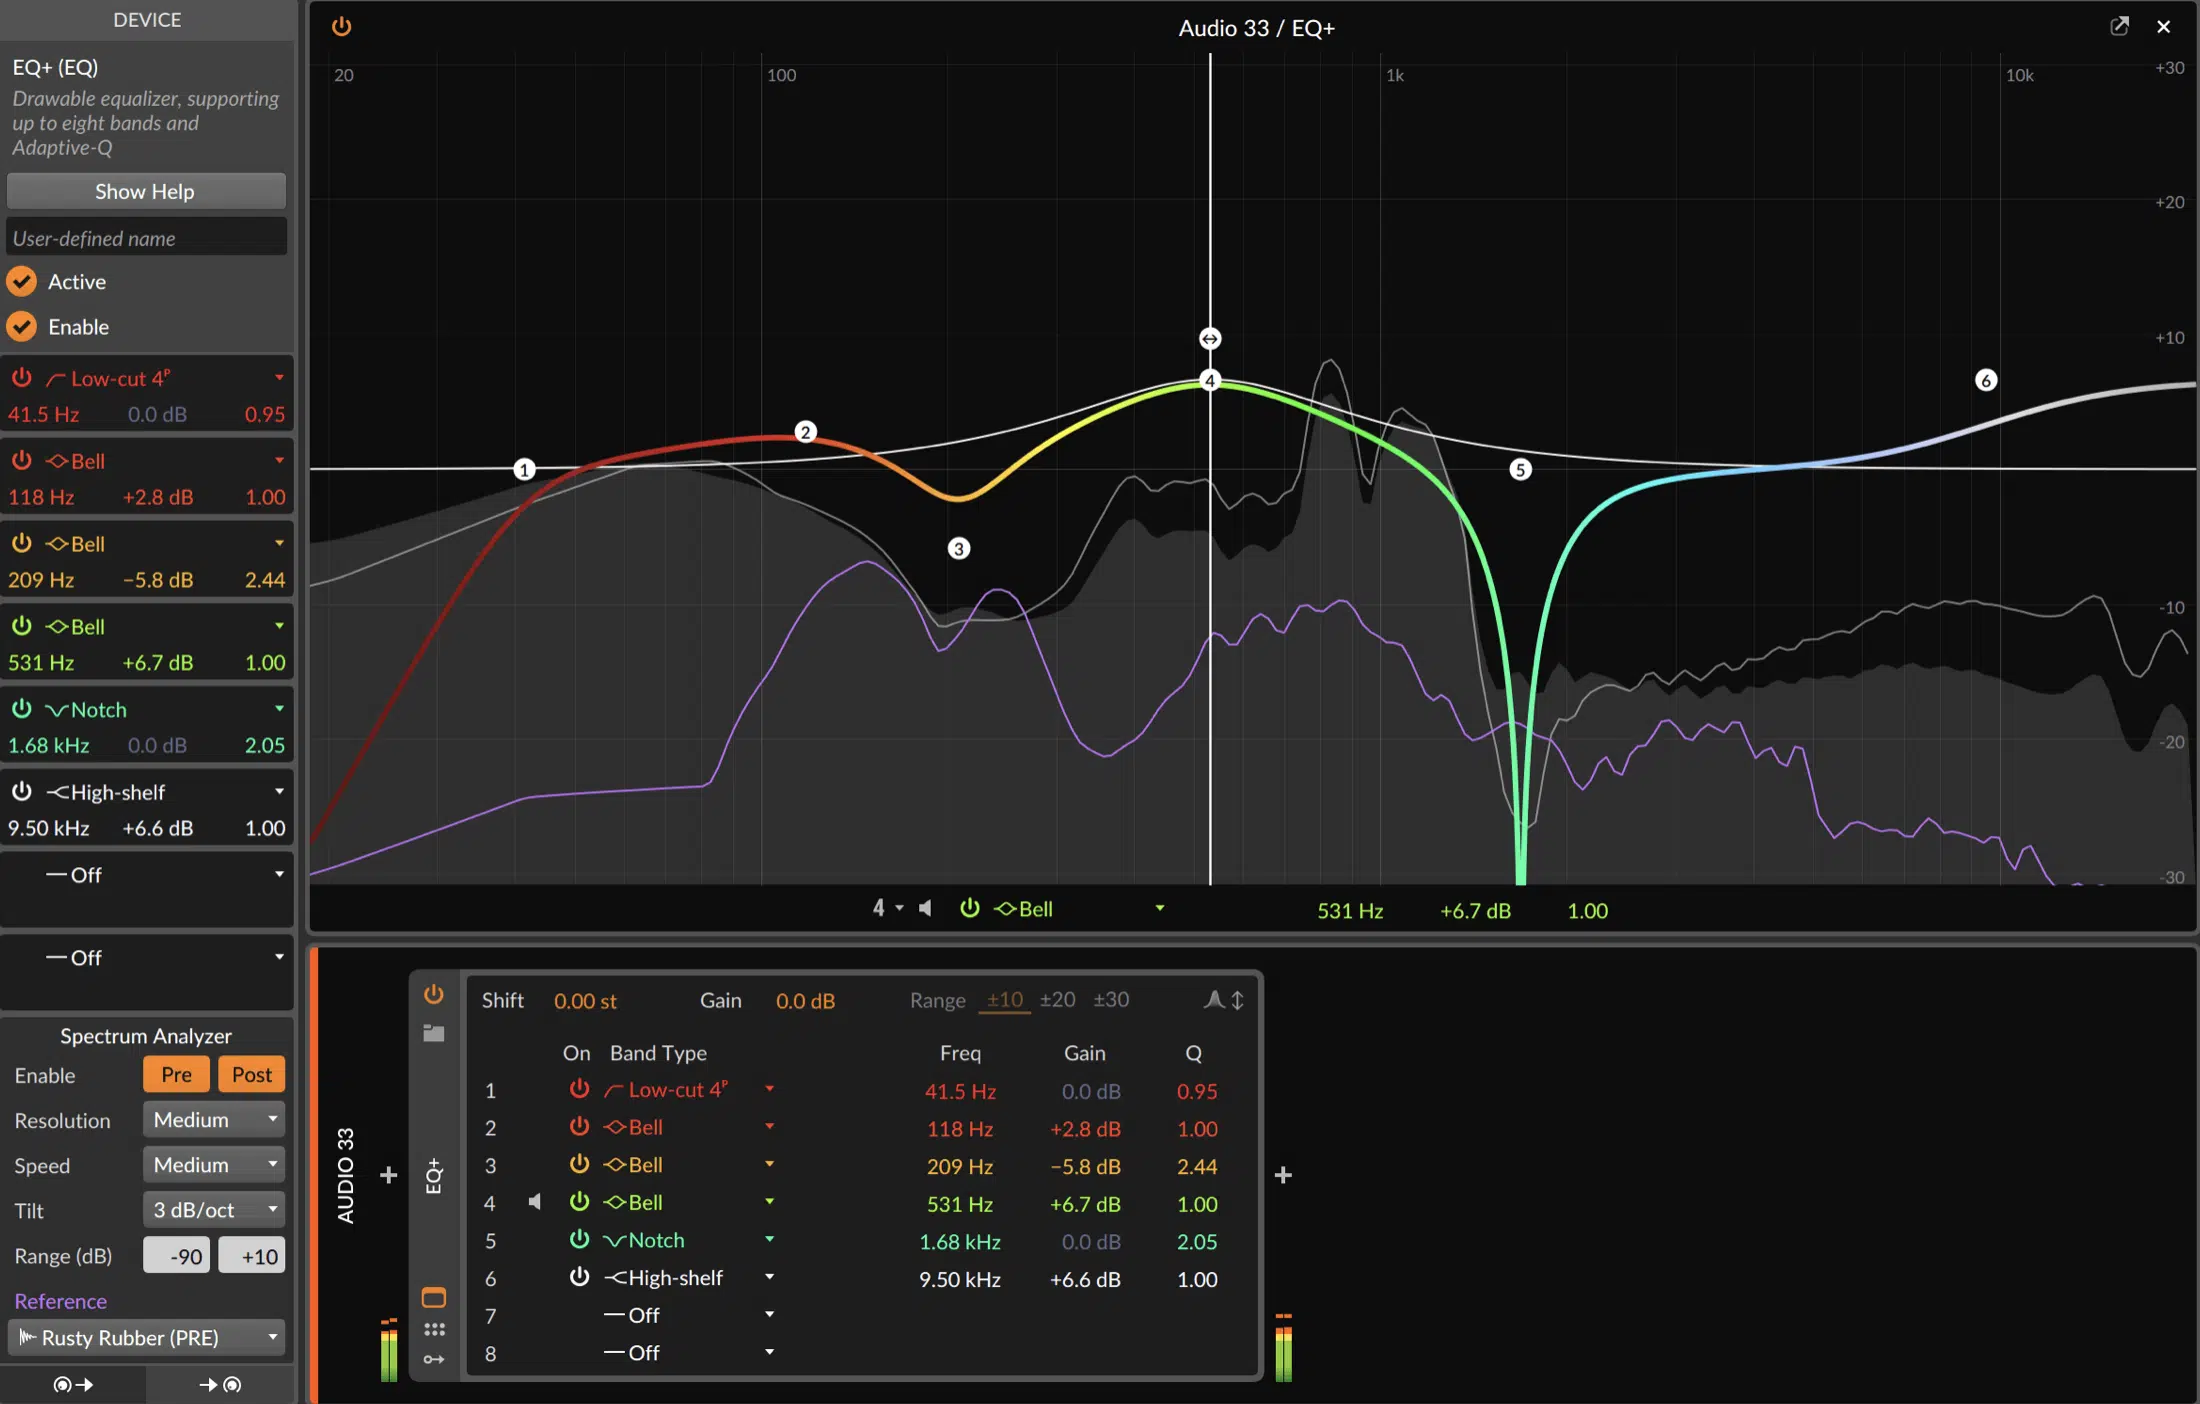
When you’re learning what is music production, think of EQ as the ultimate sculpting tool, letting you carve out space for each sound in the frequency spectrum.
EQ can be as simple as cutting low frequencies on a vocal around 80-100 Hz to avoid clashing with the bass or adding a slight boost to the high end to make a vocal sparkle.
If you have two sounds competing for space (like a guitar and a keyboard) adjusting their EQ can create room for each to stand out without muddying up the mix.
For example, you might boost the mid-range on a guitar at 1-2 kHz by 2-3 dB and reduce that same range on the keys by 2 dB so each instrument has its own “pocket.”
NOTE: Use a narrow bandwidth (Q factor) for subtle adjustments and a broader one for bigger shifts, especially when you want to make an instrument sound more prominent.
-
Compression and Dynamics Processing
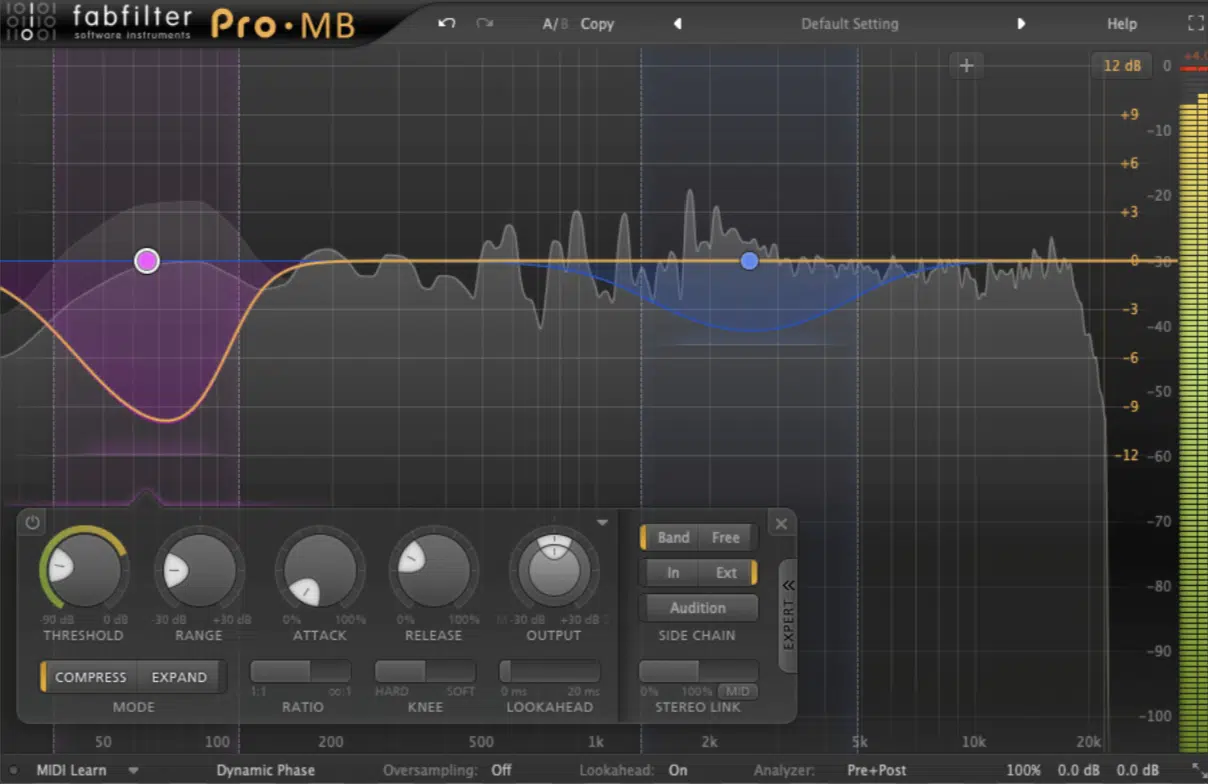
When you’re learning what is music production, you can’t leave compression out of the mix (pun definitely intended).
Compression controls the dynamics of your sounds, making them more consistent in volume and giving the whole mix a cleaner, more polished feel.
When using compression, it’s all about smoothing out loud peaks so your sounds (like vocals or drums) sit better in the mix.
For instance, on a vocal track with lots of volume changes, setting a compressor with a ratio of 3:1 or 4:1 and a threshold around -20 dB can smooth out peaks.
This way, every word will be super clear and crisp.
Use a moderate attack time of 10-20 ms to let the natural character come through, and a release time of around 40-60 ms so the compression feels subtle rather than harsh.
Compression is also great for drums… A moderate amount on the kick and snare can add punch without overwhelming other elements.
Try using a ratio of 4:1 on the kick with a short attack of 5-10 ms to emphasize its initial hit and a faster release of 30 ms to keep it tight.
For your snare, a similar ratio with a slightly longer attack (around 15 ms) will keep the snap but add weight to each hit without muddying other elements.
When experimenting with what is music production, try adjusting the attack and release times so it matches the vibe you’re going for.
NOTE: A slower attack (20-30 ms) keeps the natural punch of a sound, while a faster release (under 50 ms) can add a sense of tightness to drums and bass.
-
Reverb and Delay Effects
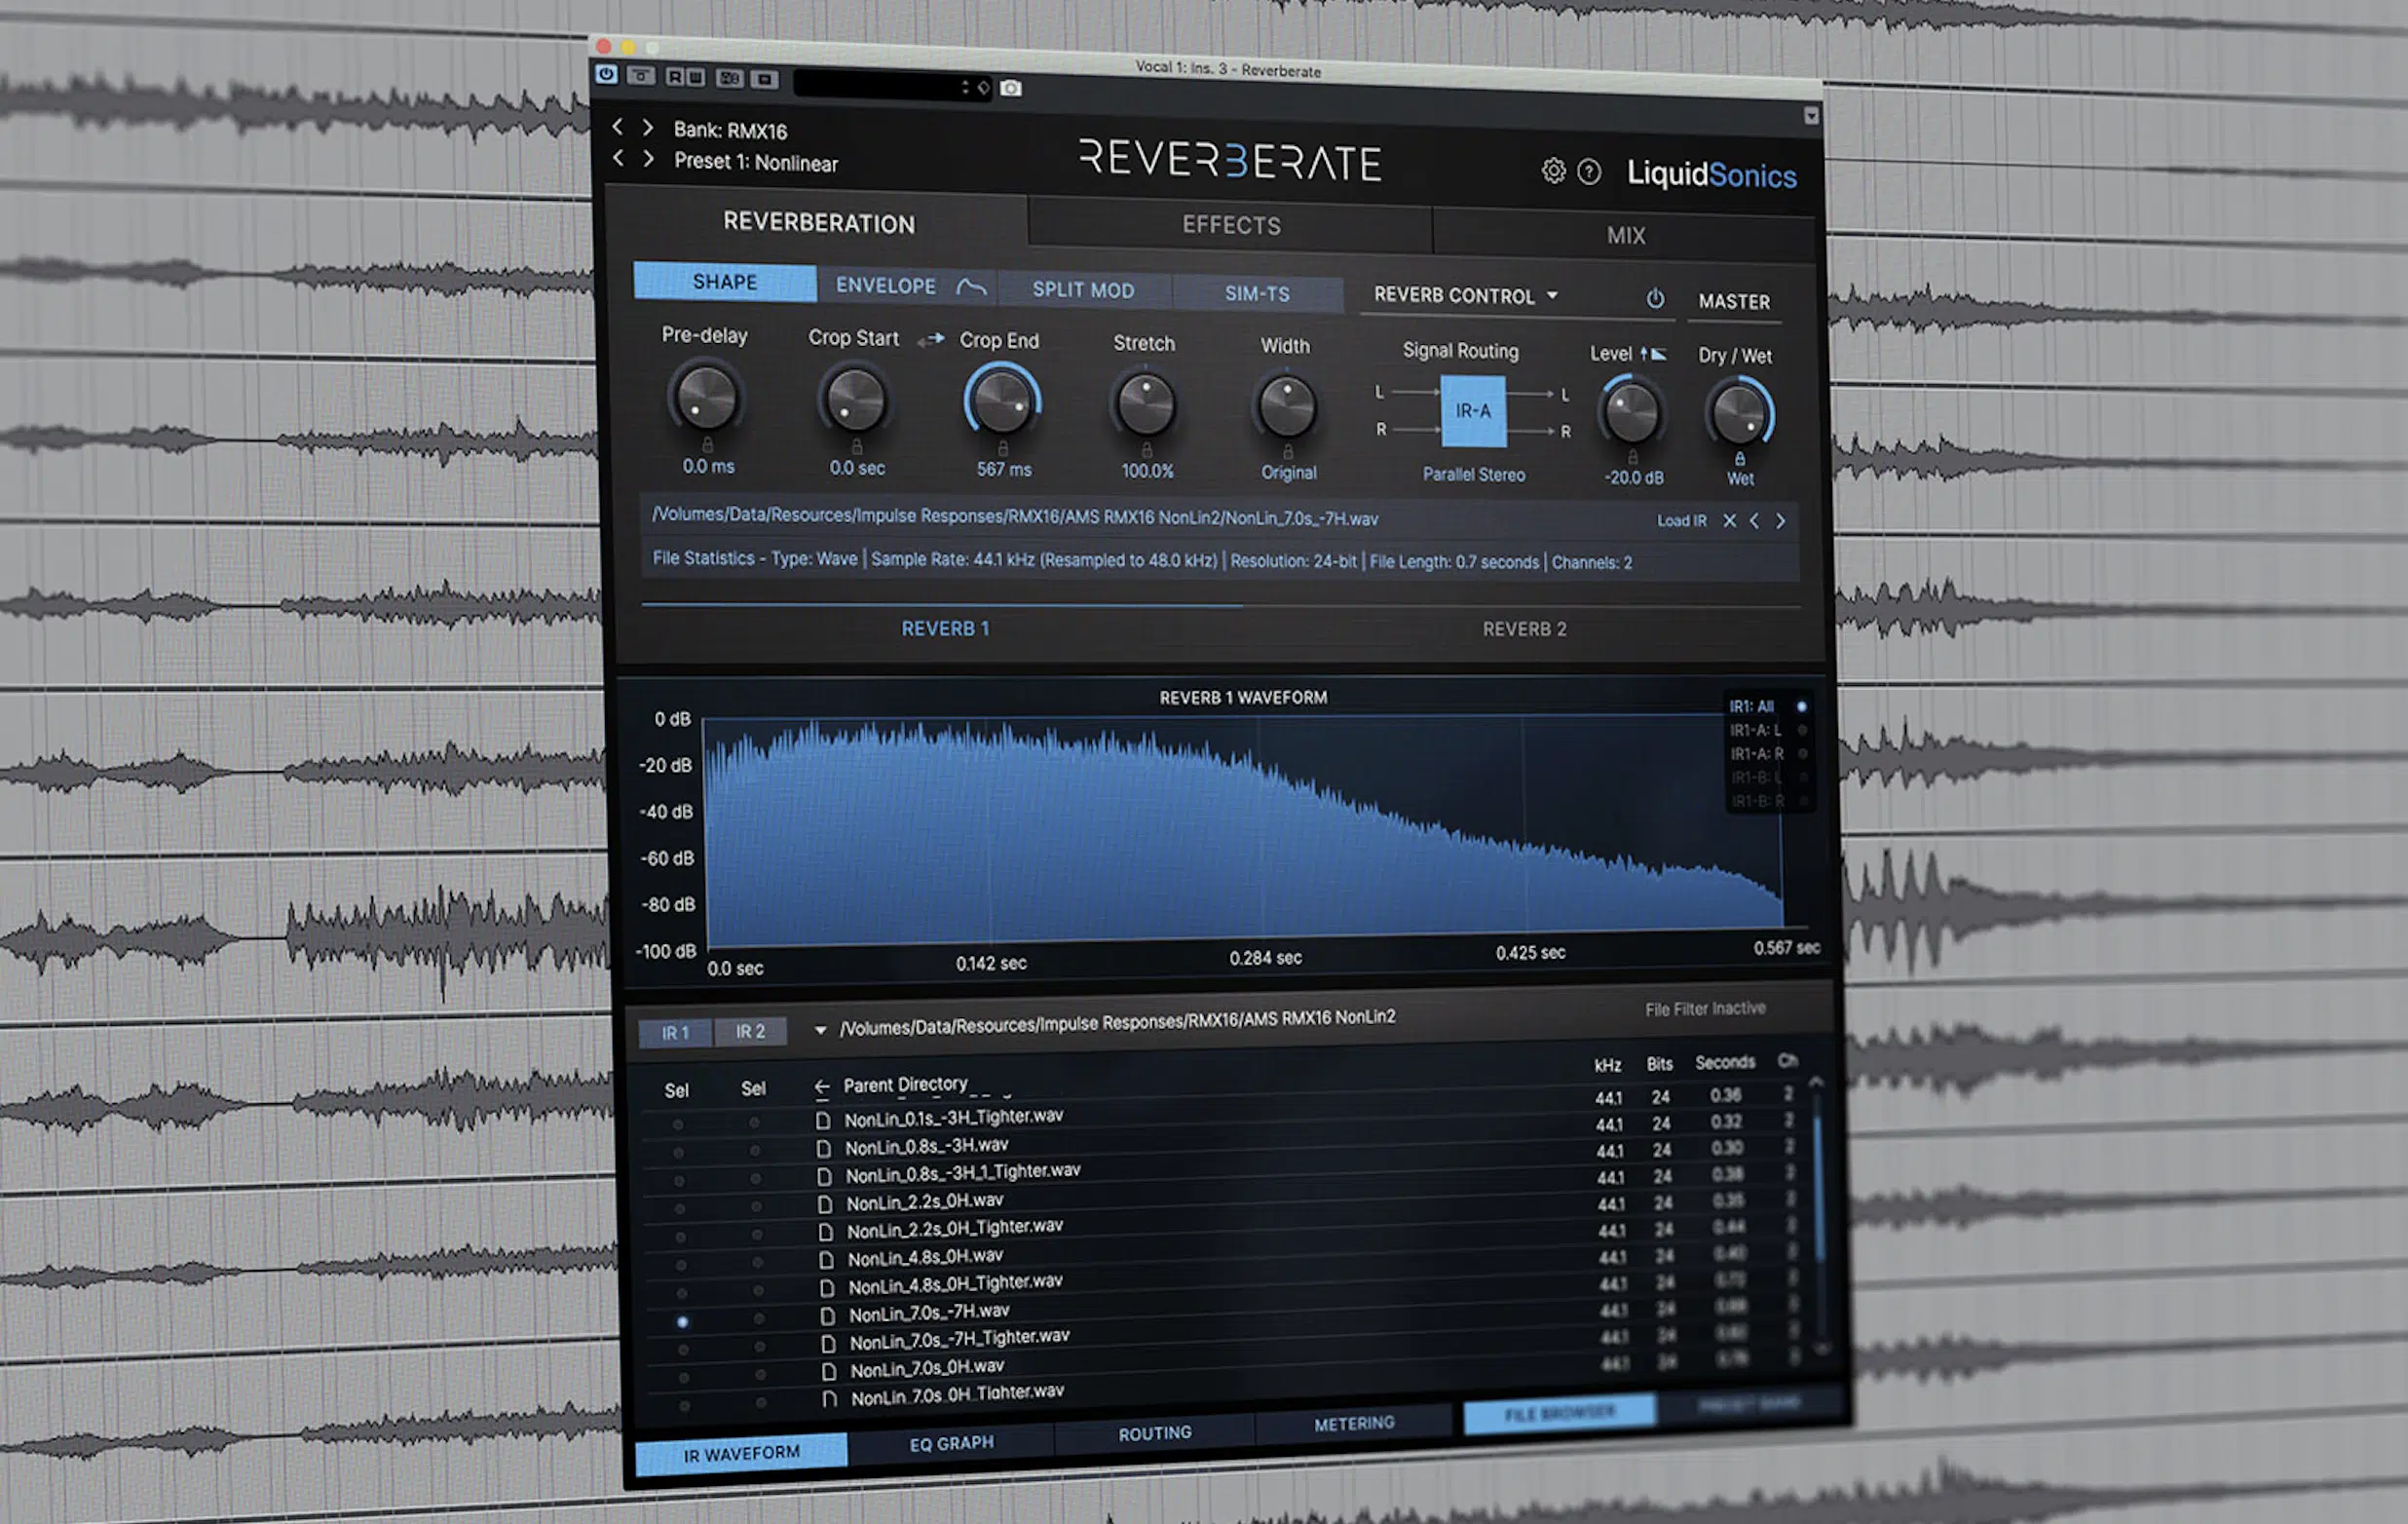
Reverb and delay are also VIPs when it comes to mixing because they’ll help make your sounds feel more authentic and atmospheric.
Reverb mimics the way sound reflects in a physical space, so a short, subtle reverb can make a vocal sound close and intimate.
While a longer, hall-style reverb gives a more dramatic, distant feel.
Delay, on the other hand, repeats a sound at intervals 一 creating echoes that can thicken vocals or add rhythmic elements to instruments.
For example, a slapback delay (a single, quick echo) on vocals is common in rock and country, while a longer delay with feedback can create a sense of space without wrecking the mix.
Just make sure to use reverb and delay carefully because too much can muddy the mix; small amounts often make the biggest impact.
The Final Master
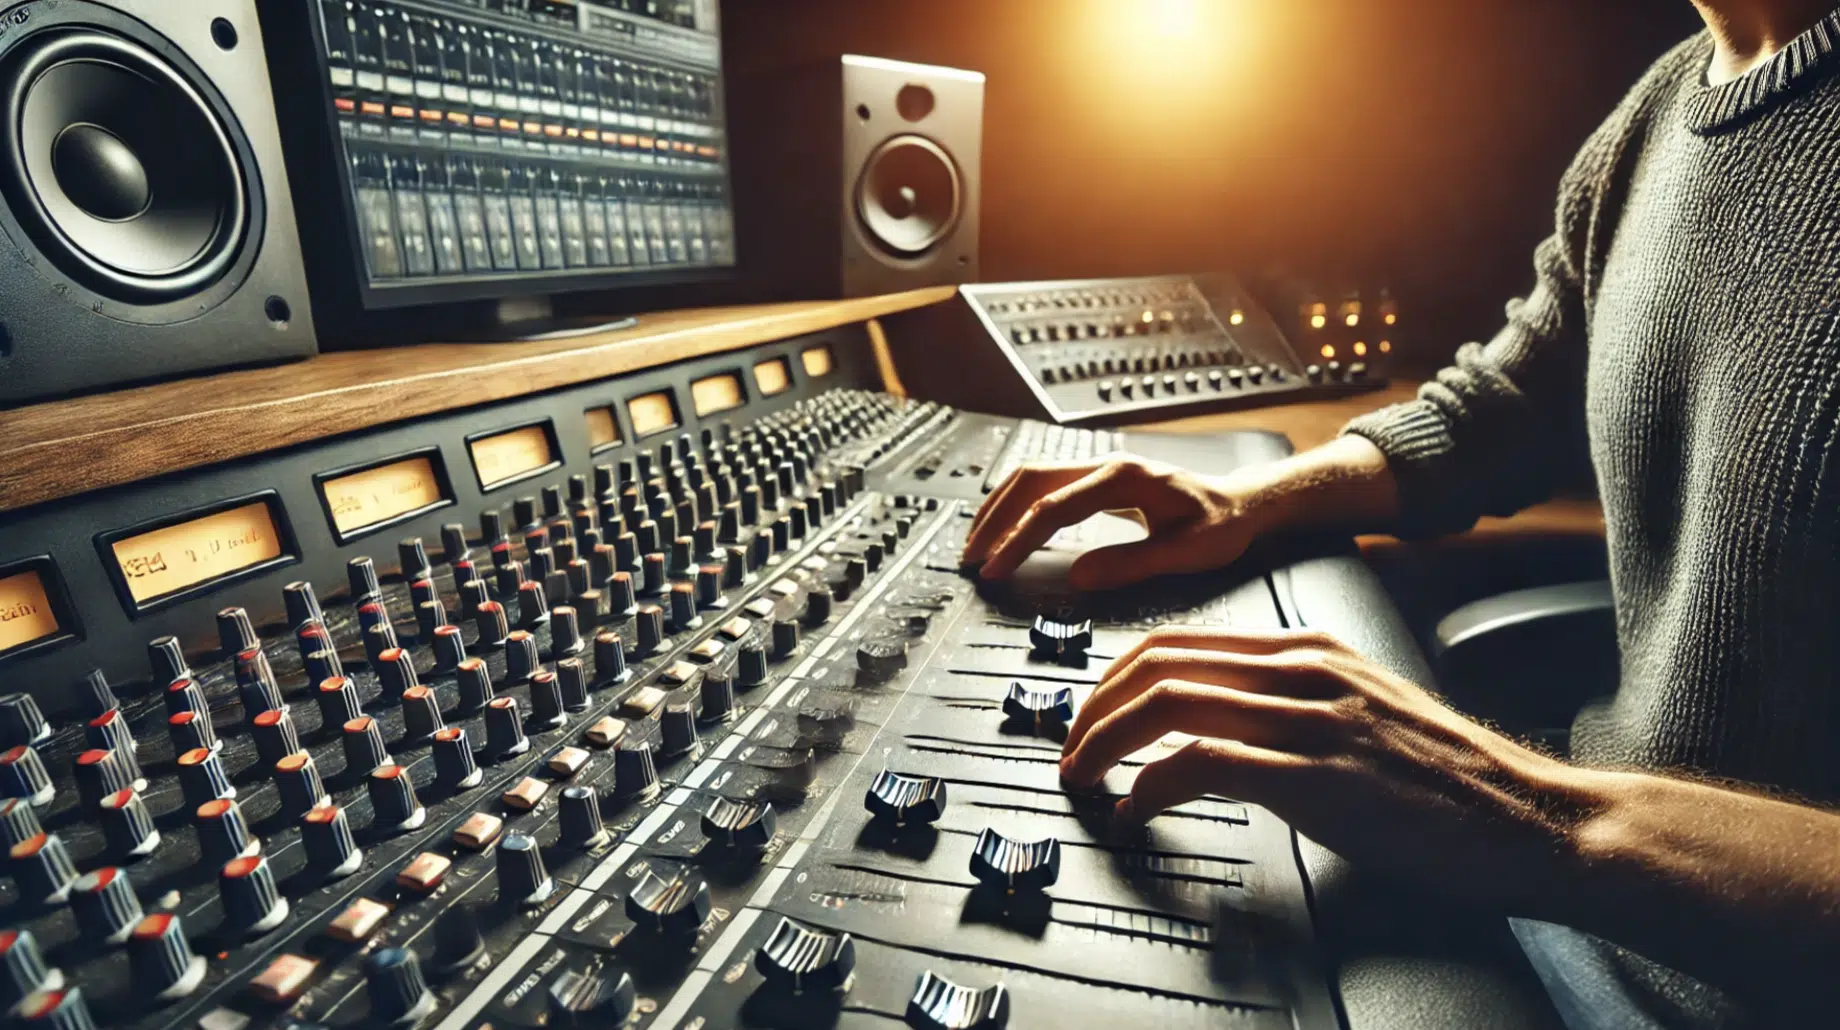
The final master is the last step in the music production process, where you finalize the track to make sure it sounds balanced and polished across all playback systems.
If you’re going to be a successful music producer, you’ll need to know all about it.
It involves techniques like:
- Broad EQ adjustments
- Compression
- Limiting
It will help bring your song up to a professional level without losing dynamics.
When you’re mastering, subtle adjustments are key… Adding too much EQ or compression at this stage can make the mix sound squashed or overly bright.
Make sure to compare your track to reference tracks in a similar genre, which helps you see if your mix has the right balance of bass, mids, and highs.
A limiter is typically added last to maximize volume without causing unwanted distortion 一 giving the track a loud, competitive feel while keeping it clean.
Mastering also helps with translation, meaning your mix should sound great on different playback systems, from headphones to car speakers and everything in between.
Bottom line, mastering is what makes a track sound polished and complete, ready for listeners and streaming services alike.
PRO TIP: Mastering can never fix a horrible mix, it’s not magic. Mixing is all about subtle tweaks and mastering is more about broad strokes.
If your mix is trash, mastering cannot help. This is something you really need to know when learning what is music production.
Understanding Audio Effects When Producing Music
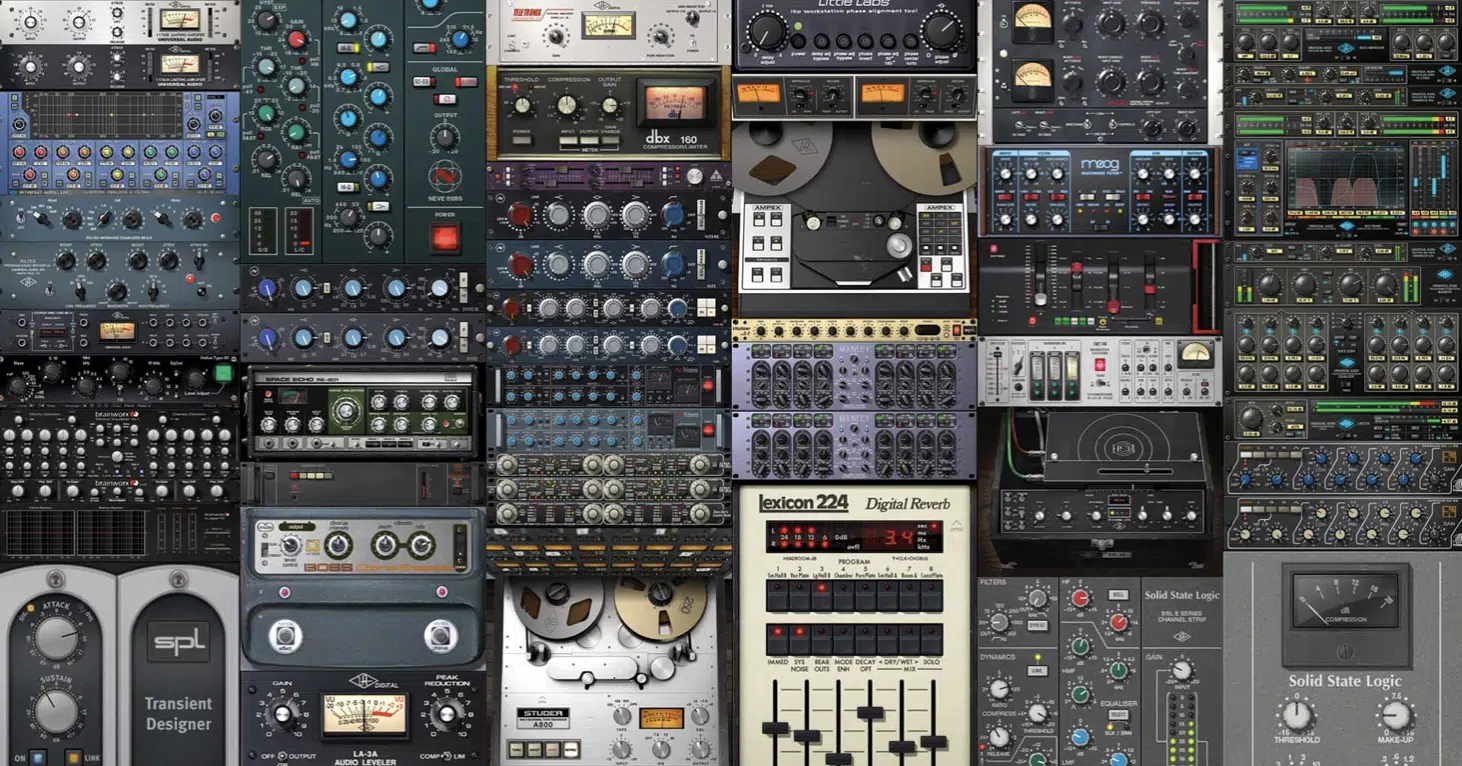
Audio effects add personality and dimension to your mix, allowing you to shape sounds and explore your creative expression as a music producer (which has no bounds).
We touched upon everything earlier, but I thought I’d add it’s own section because it’s such a huge part about learning what is music production.
Effects like reverb and delay can add space and depth 一 making a vocal feel like it’s recorded in a huge hall or giving a synth an echo that trails off smoothly.
Modulation effects such as chorus and flanger create a thicker, fuller sound.
For instance, adding a chorus effect to a guitar can make it feel like several guitars are playing together, which is super epic.
Distortion effects can bring grit and energy to sounds, like adding a touch of warmth to a bassline or creating a raw edge on a snare for a more intense feel.
Understanding how each effect works and where to use it is a huge part of learning what is music production, as the right effect can bring a lifeless sound to life.
PRO TIP: Instead of overloading a track with effects, try layering a couple of subtle effects (like adding a tiny bit of reverb with a light chorus on a synth pad) to get depth without losing clarity in the overall mix.
Music Production Software and Plugins
Music production software and plugins are super important for creating a professional sound. As a music producer, they give you ultimate control over recording, editing, and shaping your tracks. From Virtual Studio Technology (VST) plugins to advanced synthesizers and samplers, they challenge what’s possible in modern music production, providing endless creative options. Let’s get into it.
-
Virtual Studio Technology (VST) Plugins
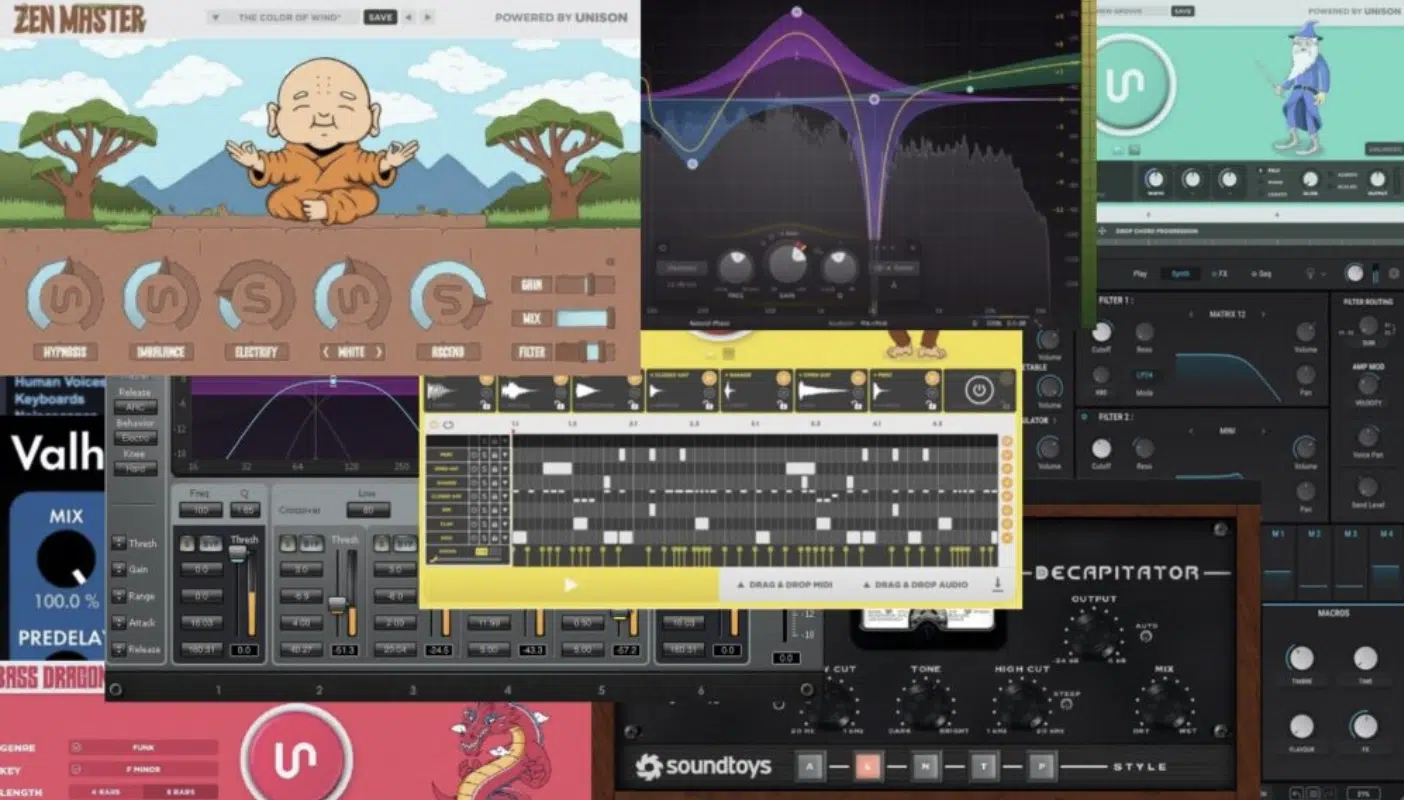
VST plugins are software tools that expand the capabilities of your DAW, providing virtual instruments, effects, and mixing tools.
All of which can enhance your music production process.
Many VST plugins emulate real-world equipment, like vintage compressors or EQs, while others bring unique sounds/effects that you can’t easily replicate with physical gear.
For example, plugins like Waves’ SSL Channel or FabFilter’s Pro-Q 3 EQ give you professional-quality mixing options right in your DAW.
VSTs can be especially useful for producers without access to a full recording studio setup, as they allow you to produce music with high sound quality from a home studio.
When learning what is music production, exploring different VST plugins helps you find tools that fit your style, from simple virtual pianos to complex multi-effect processors.
NOTE: Try out both free and paid VSTs to understand what works best in your production style without completely breaking the bank.
As a music producer, you’ll have endless choices that can enhance sound quality and give you ultimate creative control over your music, so take advantage.
-
Effects Plugins
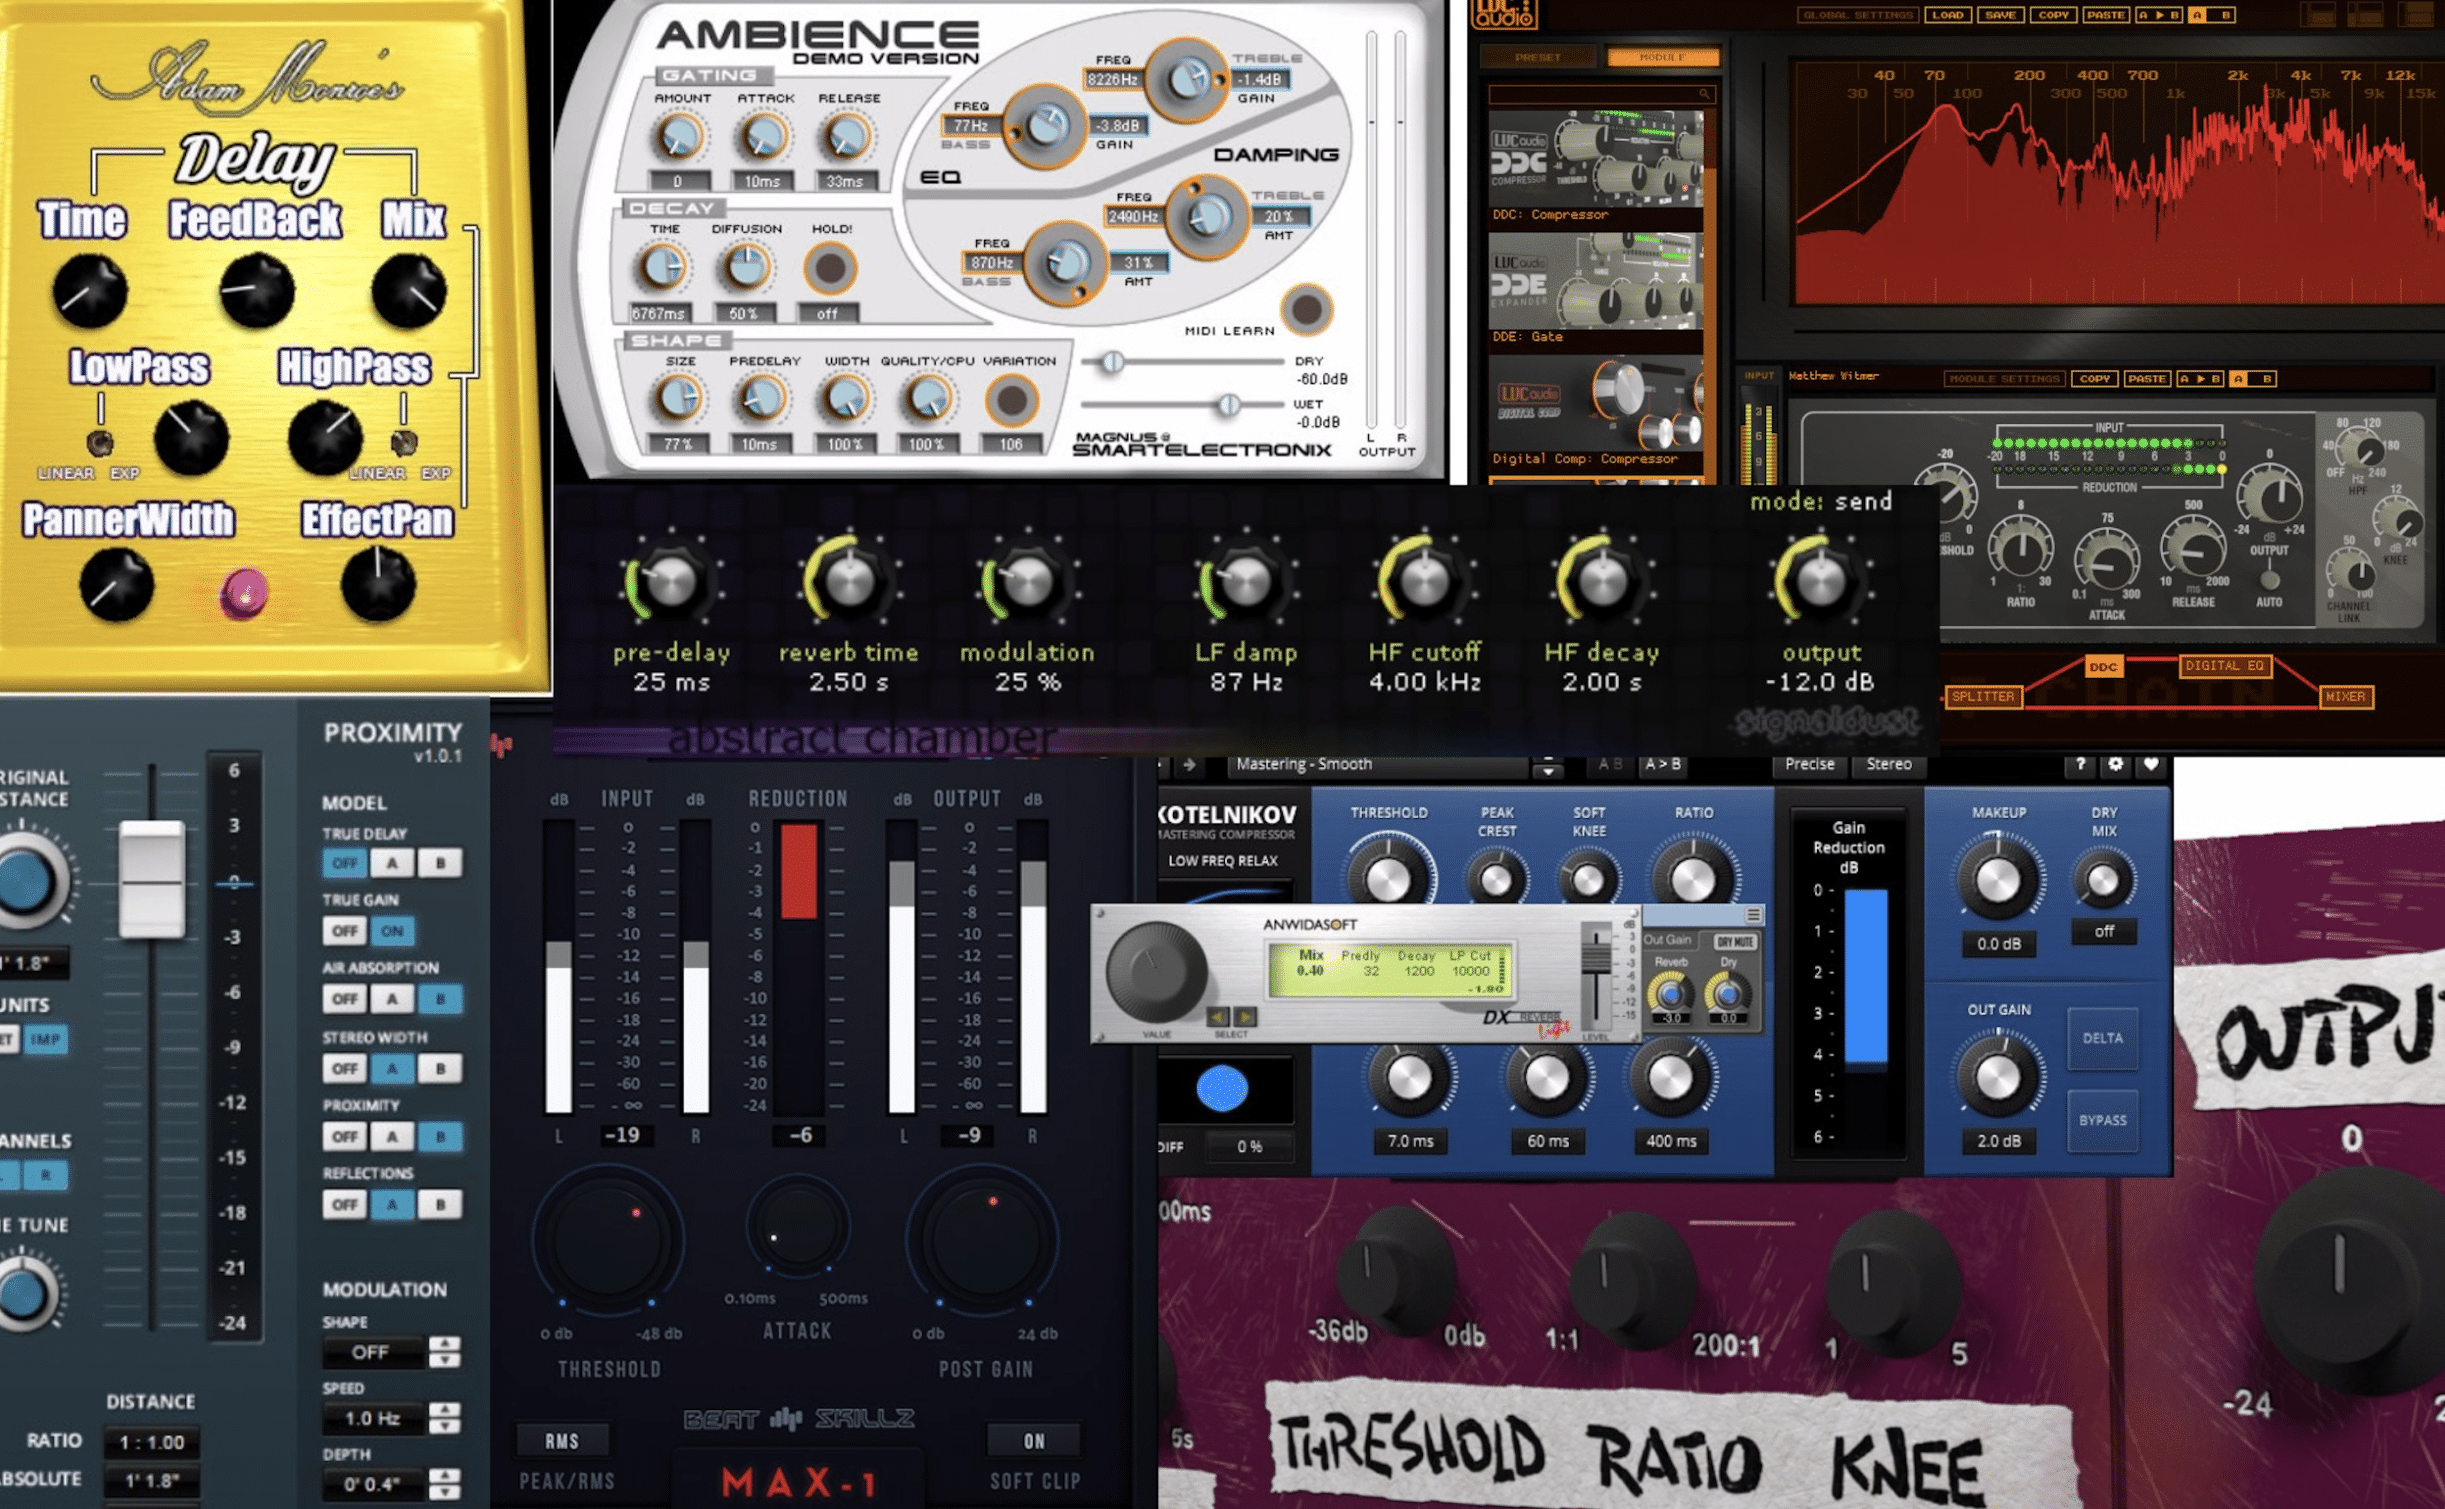
Effects plugins are where you can really shape the vibe of a track, letting you add depth, texture, and unique character to each element.
Popular effects plugins like Soundtoys’ Decapitator for distortion or Valhalla’s VintageVerb for reverb can add warmth and atmosphere to sounds.
It will make your tracks feel more alive, immersive, and show-stopping.
Delay plugins, like EchoBoy, let you add rhythmic echoes to your tracks 一 great for adding dimension to vocals or synths.
For music producers, knowing how to apply effects without overdoing it is essential because even a little reverb or delay can bring a sound to life.
Just keep in mind that too much can destroy your mix, so tread lightly.
When learning what is music production, think of effects as ways to enhance your creative process and a must-know for professional beats.
A well-placed effect can give your track the polish and professional edge it needs.
PRO TIP: Use effects subtly on some parts and more intensely on others to keep the mix balanced while adding interest.
-
Synthesizers and Samplers
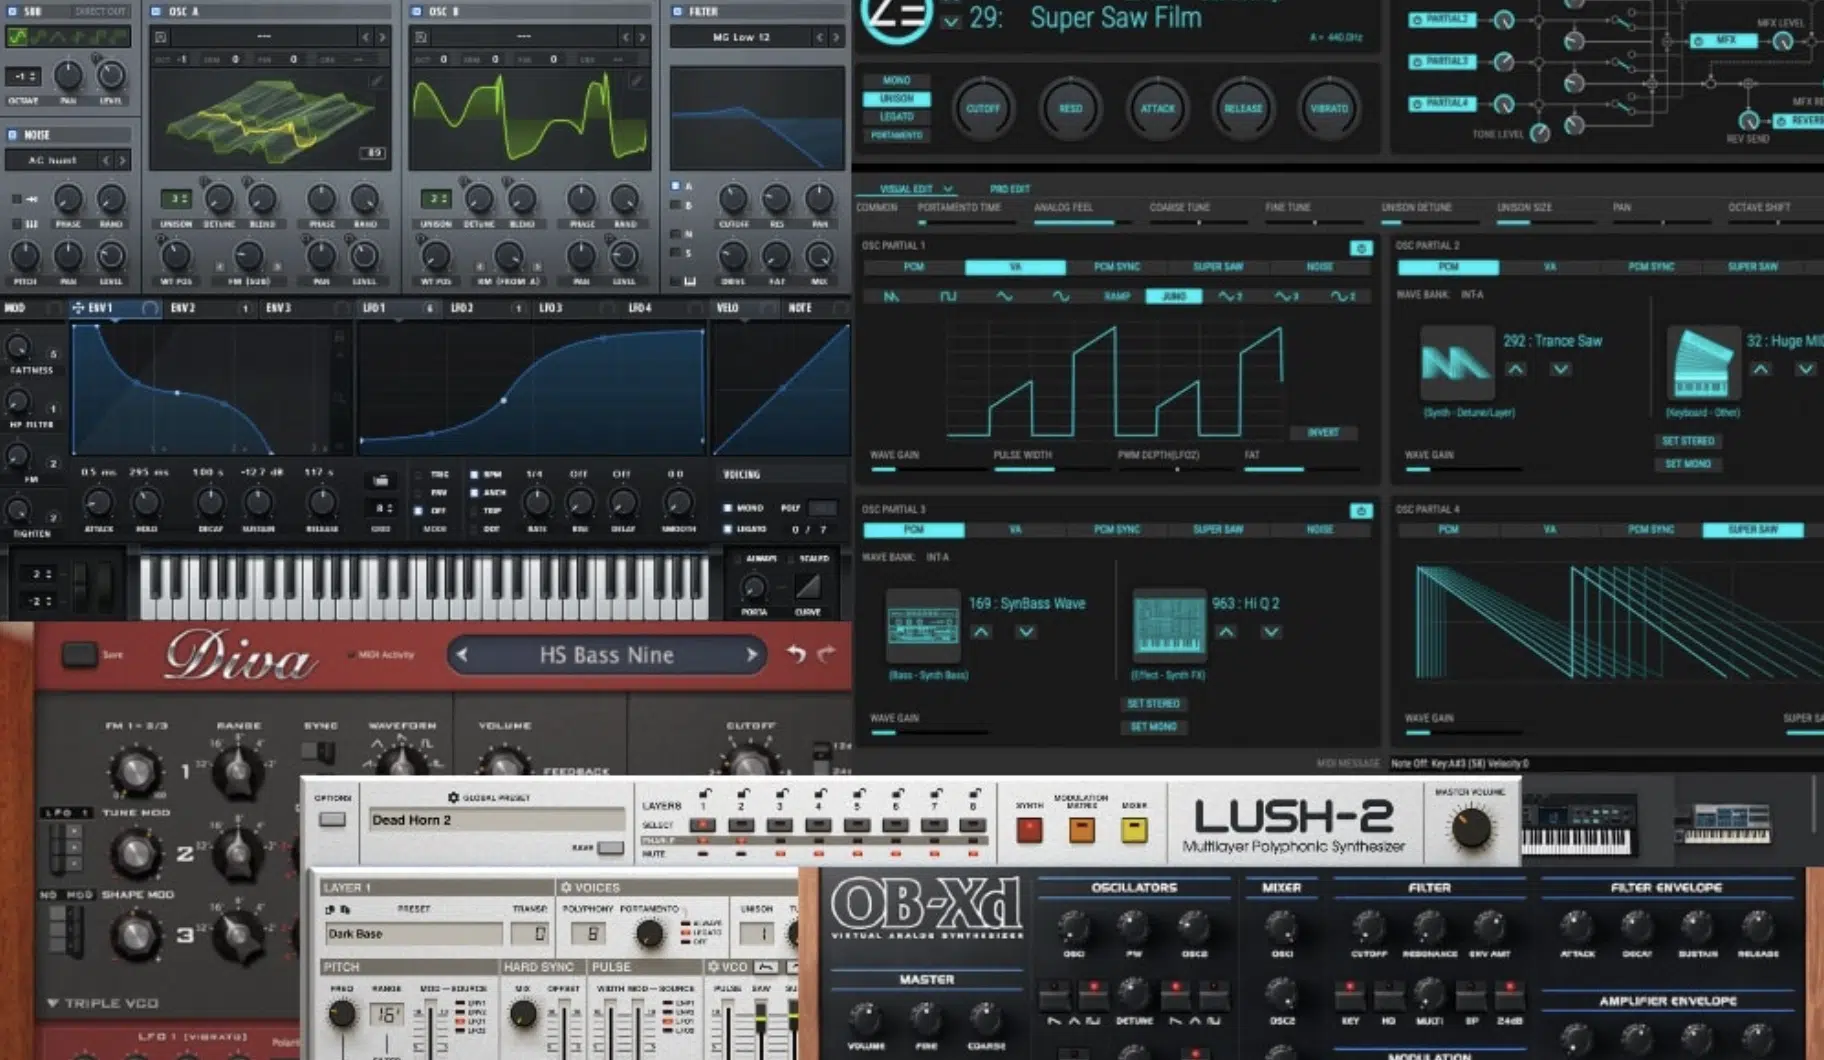
Synthesizers and samplers are all about creating or manipulating sounds from scratch.
Synthesizers like Serum or Massive allow you to shape sounds using oscillators, filters, and modulators.
They’re perfect for designing custom basslines, leads, or atmospheric pads.
Samplers, such as Kontakt, let you load and play back recorded music samples, whether they’re drum hits, vocal chops, or even entire instruments.
Try to combine both synths and samplers in your tracks, that’s my advice.
For example, layering a synthesized bassline with a sampled sub-bass can add depth and complexity to your low-end, making it go crazy.
Knowing how to use synthesizers and samplers effectively is essential for building up a sound palette and learning what is music production.
It’ll give you the flexibility to create everything from organic to digital sounds.
Playing around with them will let you develop your unique sound (signature sound, hopefully) and opens up countless possibilities in your music projects.
Bonus: Building a Home Studio (Summing it Up)
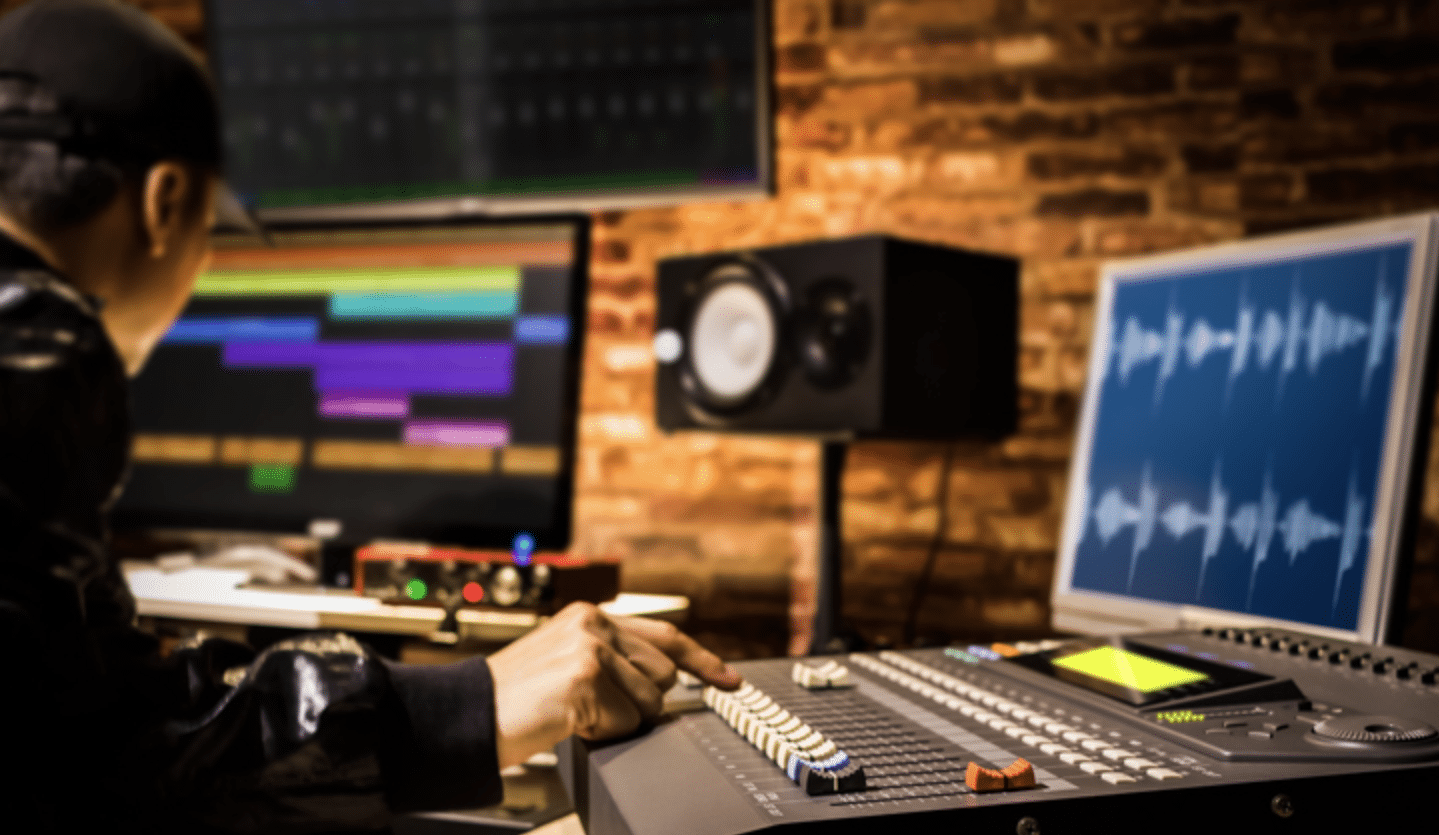
Building a home studio lets you produce music comfortably, with all the equipment you need to create professional tracks at any time and stay in the zone.
It can even help you break out of beat block easier.
Start by setting up a dedicated workspace… Ideally, a quiet room where you can control sound reflection with basic acoustic treatment like foam panels or bass traps.
Investing in essential gear like an audio interface, studio monitors, and a quality microphone will make a big difference in audio quality as we talked about.
It will help you capture the best performances and tweak them effectively.
You’ll also need a reliable computer and a digital audio workstation (DAW) to serve as the central hub for your music production workflow.
Plus, a good pair of headphones for detailed listening is non-negotiable.
Adding digital tools like MIDI controllers/MIDI keyboards and VST plugins can expand your creative possibilities without needing a lot of physical space.
With a solid home studio setup, you’ll be able to turn musical ideas into fully produced songs, enhancing sound quality and giving you creative control.
It will up your music production process all day.
Remember, being a successful music producer is all about perfecting every little detail, and if you don’t have the right setup, that’s impossible.
Final Thoughts
And there you have it, the ultimate guide about music production, so you’ll never have to ask yourself, “what is music production?” ever again.
You now know that it requires a blend of creativity, technical skills, and the right equipment (plus constant practice and learning).
Having production gear like a reliable audio interface and a versatile MIDI controller is essential as well, because it makes all the difference.
Remember, it’s all about experimenting with EQ, compression, and effects while making sure each sound holds down its own space in the mix.
Developing your recording, mixing, and arrangement skills will also help your tracks sound polished and professional, so never slack in that department.
And, as a special bonus to take your skills to the next level, you’ve got to check out the Beatmaker Blueprint (Free Teaser Pack).
This pack includes 449 legendary samples, loops, and MIDI files, all 100% royalty-free and created by the world’s top producers.
It offers a variety of elements, such as 808s, melodic loops, drum loops, and more 一 providing a solid foundation for your projects.
Whether you’re conquering beat-block or experimenting with new genres, this pack is the most valuable resource in the game.
Not only for the ultimate inspiration, but to help you have the hottest sounds around.
Just remember music production is a continuous journey of learning and creativity, it doesn’t get mastered in a week.
Make sure to stay dedicated, always refine your skills, and never let failure bring you down.
Until next time…


Leave a Reply
You must belogged in to post a comment.