Creating beats is a complex yet highly rewarding art form.
The right beat can be the heart of a memorable song, and mastering the intricacies of beat-making can help your music gain the recognition it deserves.
However, if you’re unsure of how to make a beat from start to finish, the process can feel daunting.
Luckily, we’re going to break down every single aspect of beat-making.
This includes:
- How to make a beat ✓
- Setting up your home studio ✓
- Mastering the basics of beat making ✓
- The secrets of melodic elements ✓
- Advanced bass line techniques ✓
- Strategies for crafting unique & outstanding beats ✓
- The art of layering in music production ✓
- Mind-blowing advanced beat-making techniques ✓
- The ultimate guide to audio effects & sound manipulation ✓
- How to make a beat (from start to finish) ✓
By the end of this article, you’ll have a comprehensive understanding of the beat-making process (from start to finish).
Armed with this knowledge, you’ll be well on your way to making beats like a true master.
As well as get your beats on par with the professionals in the industry.
So, let’s dive in…
Table of Contents
Setting Up Your Digital Studio
So you want to make your own beats, huh?
Well, you’ve got to set up your digital studio first, and that means making some key choices in gear and software.
That’s vital when you’re learning how to make a beat (or improve your process).
-
The Perfect Digital Audio Workstation (DAW)
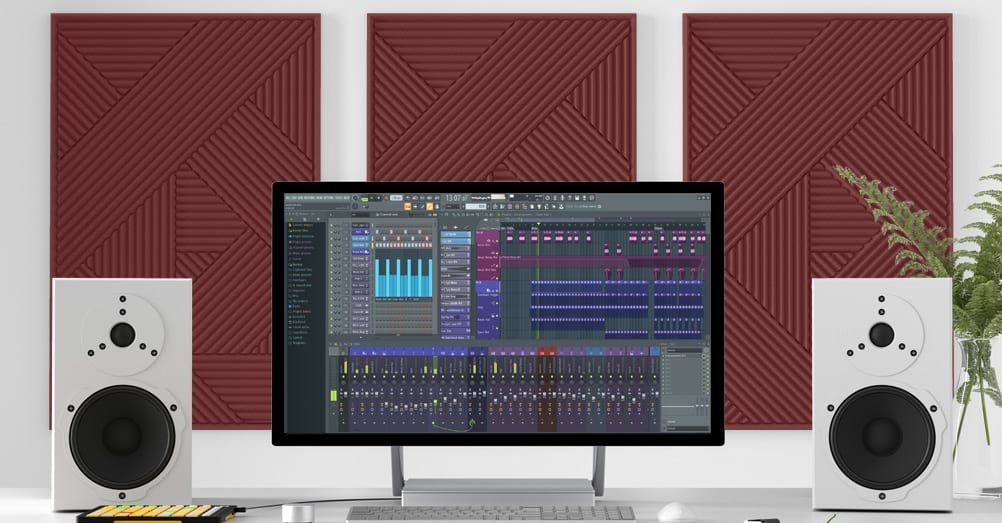
Your DAW is the foundation of your music production; it’s where you’ll create, edit, and finalize your beats.
For beat makers, FL Studio is a go-to for many and for good reason.
FL Studio offers versatility and ease of use 一 making it perfect for both beginners and advanced music producers.
The user interface is intuitive, and it’s packed with virtual instruments and effects that’ll give your beats that professional touch.
Another reason why FL Studio is a preferred DAW among beat makers is its seamless integration with a variety of audio interfaces and MIDI controllers.
This makes your beat-making process smoother.
But hey, the DAW you choose ultimately boils down to personal preference.
Other popular options include:
- Ableton Live
- Logic Pro X
- Pro Tools
- Reaper
- Reason
- Studio One
Try out a few, and see which one vibes with you the most, as it’s where you’ll be spending most of your time.
Regardless of the DAW you choose, you’ll want to spend some time getting to know its features.
This will speed up your workflow and enable you to focus more on creativity rather than stumbling through technical hurdles.
-
Picking the Right Audio Interface

An audio interface is another cornerstone in your music production setup.
It serves as the hub that connects all your gear to your computer 一 making it essential for recording high-quality audio.
The key here is to choose an audio interface that supports your needs when you’re learning how to make a beat.
For example, if you’re planning to record multiple instruments at once, then opt for an interface with multiple input/output channels.
Another point to consider is the connection type.
USB is standard, but other options (like Thunderbolt) provide lower latency, which is crucial when you’re recording or playing virtual instruments in real-time.
NOTE: Brands like Focusrite and Universal Audio offer reliable, high-quality audio interfaces that work well with most DAWs.
These are great options to kick start your music production journey.
Your choice in an audio interface will affect the sound quality of your beats, so don’t skimp here.
Invest in a good one, and your future beats will thank you, especially if you’re just learning how to make a beat.
-
Choosing a MIDI Controller
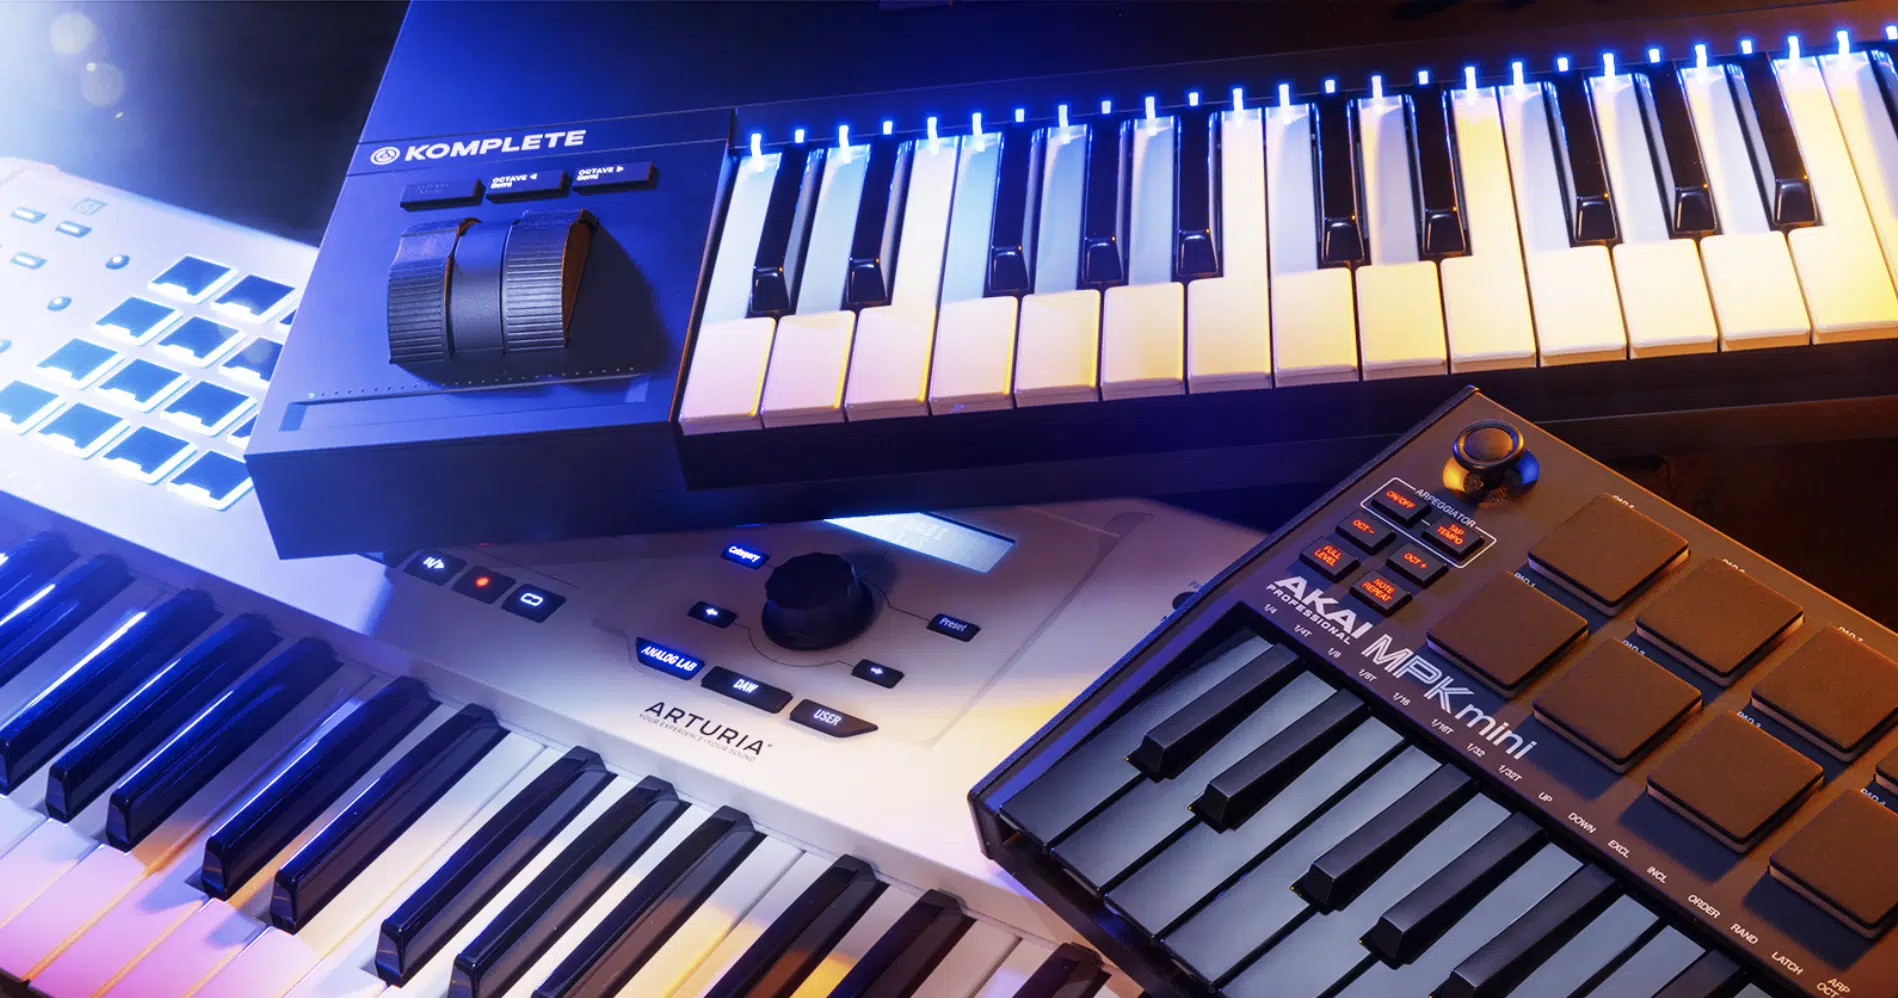
A MIDI controller is your gateway to translating your musical ideas into your DAW.
They come in all shapes and sizes, from compact 25-key models to full 88-key digital pianos.
Why is a MIDI controller (or MIDI keyboard) so essential for beat making?
Well, it enables you to manually play:
- Drum beats
- Bass lines
- Melodies
- Chord progressions
They essential give your beats that more “humanized” feel (which is super important).
The Akai MPK Mini is a popular choice for many beat makers.
It’s portable and includes a variety of controls 一 from drum pads to knobs for tweaking your virtual instruments and effects.
For those heavily into electronic music production, something like the Ableton Push 2 offers a comprehensive control surface designed specifically for Ableton Live.
Remember, the best MIDI controller is the one that fits your workflow.
Play around with a few out and see which one clicks with your personal style of making beats.
If you’re looking for the absolute best MIDI controllers of 2023, we’ve got you covered.
-
Must-Have Studio Monitors
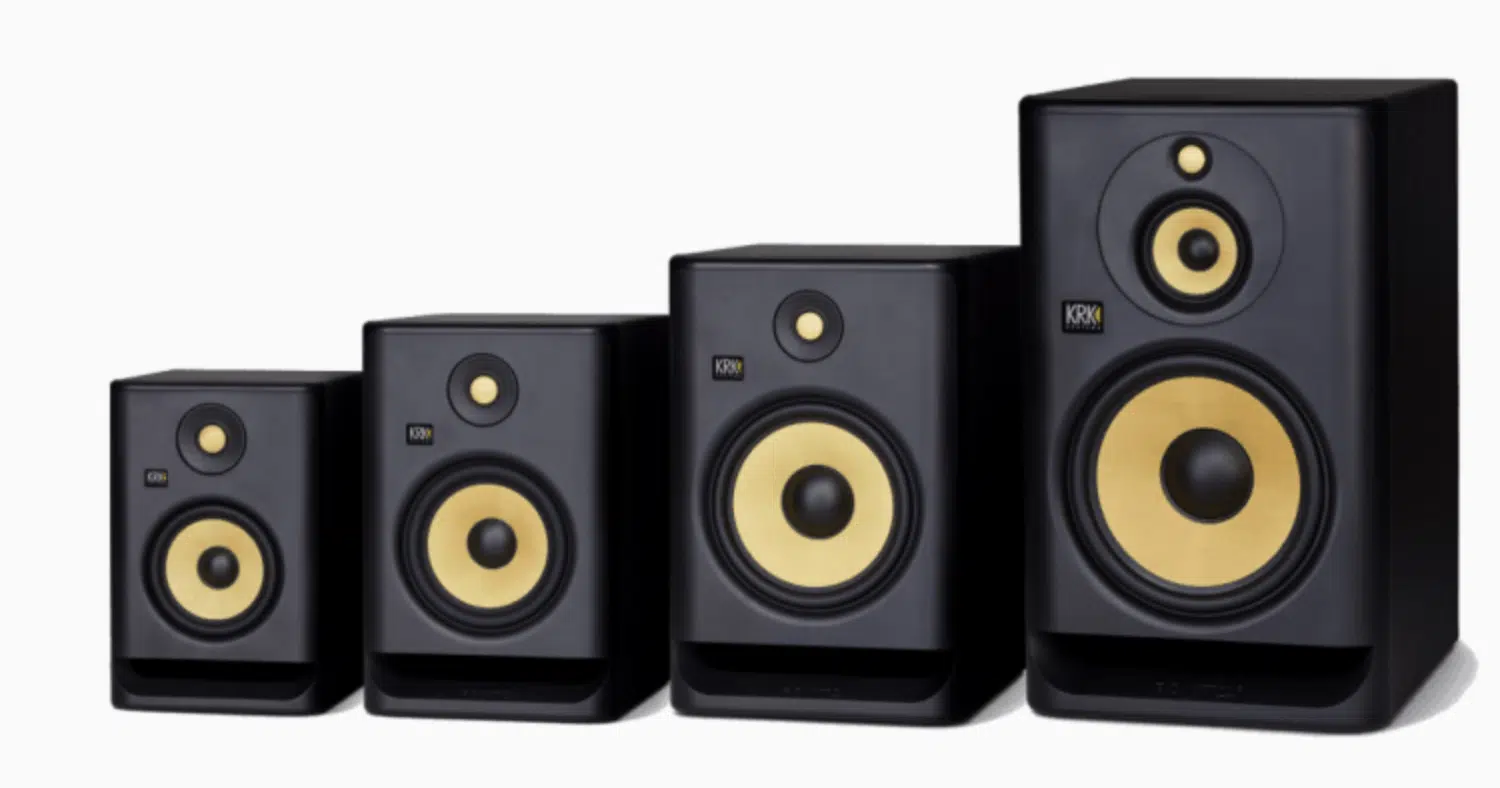
When you’re producing your own beats, monitors are critical for accurate sound reproduction.
Unlike regular speakers, they offer a flat frequency response and allow you to hear your beats as they truly are.
Remember to also invest in acoustic treatment for your home studio (or professional music studio).
Foam panels and bass traps can help give you a cleaner, more accurate listening environment.
NOTE: Your studio monitors should be positioned at ear level and angled towards you to create an equilateral triangle.
This setup will provide the most accurate stereo imaging.
Monitor stands or isolation pads can help further eliminate unwanted vibrations and reflections 一 providing a purer, more accurate sound.
This will ensure that your beat making is top-notch.
Getting Started With Beat Making: Drum & Bass
Alright, you’ve got your studio set up and you’re itching to lay down your own beats.
But before you can pump out the next big hit, you need to understand the building blocks of a solid beat.
-
Understanding the Bass Line
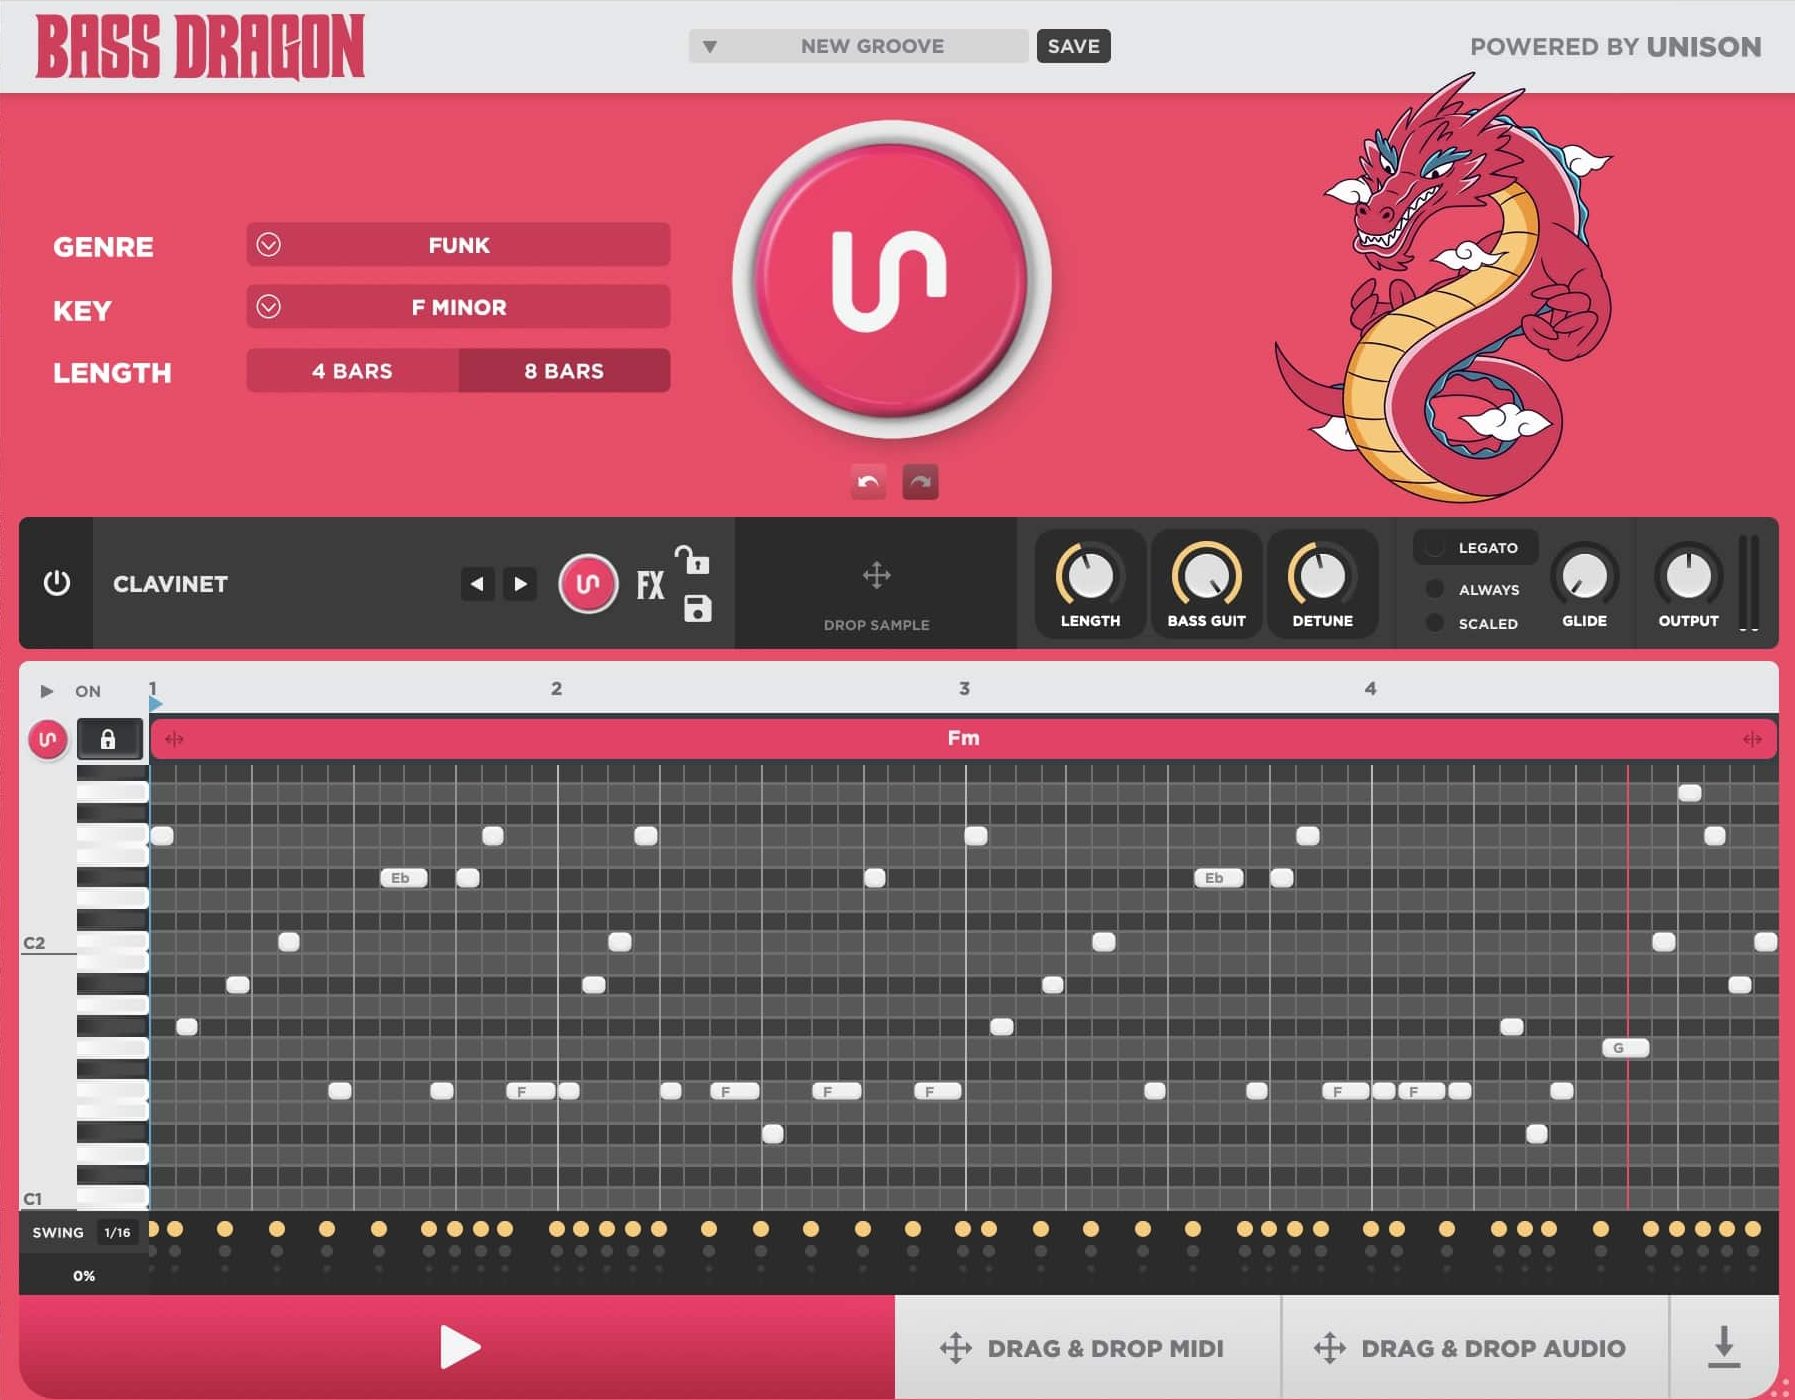
Bass Dragon can help you produce fire basslines every single time.
The bass line is the soul of your beat, providing the harmonic foundation upon which all other elements are built.
A compelling bassline can make your beat memorable and add a layer of complexity that elevates it beyond the mundane.
If you’re making beats, understanding the intricacies of a bass line is crucial.
#1. Use “ghost notes” to add a human touch to your bass line.
In FL Studio, you can use the velocity tool to subtly change the volume of each note 一 mimicking the small imperfections you’d get with a live performance.
#2. Try “sidechaining” your bass to your kick drum.
This technique allows the bass to temporarily dip in volume whenever the kick hits and allow both elements to shine without clashing frequencies.
Most DAWs, including FL Studio, have easy ways to set up sidechaining.
#3. Experiment with different bass sounds.
Instead of sticking to the classic 808 bass, why not try a live bass sample or even a synth bass? Each brings its unique flavor to the mix.
If you’re looking how to creatively manipulate your 808s, we divulged all the industry secrets.
#4. Use an arpeggiator on your bass line for rapid, rhythmic sequences.
This can inject energy into more dynamic sections of your beat.
#5. Always keep in mind the genre you’re producing for.
While a gritty, distorted bass may work well in a trap beat, a smoother, sub-bass might be more suitable for R&B or lo-fi.
Adapt your bass line to fit the mood and style of your track.
-
Kick Drums

Kick drums are the heartbeat of your beat, providing the rhythmic foundation that drives the song forward and gets heads nodding.
Layering kicks can add depth and weight to your sound.
For example, you can:
- Use a low-frequency kick 一 For the thump.
- Use a higher-frequency kick 一 For the click.
This will effectively cover the whole frequency spectrum of the included kick sound.
Make sure to always pay attention to the transient of your kick.
This is the initial spike in volume that occurs when the drum is first struck.
In digital audio workstations like FL Studio, you can use transient shapers to control this and make your kick more punchy or more soft (depending on your needs).
You can also use pitch bending to create a “swooping” kick drum.
Start the kick at a higher pitch and quickly slide it down to its base pitch, which adds a sense of urgency and excitement to your beat.
Don’t forget to experiment with unconventional kick patterns.
While the ‘four on the floor’ and the ‘boom-bap’ are staples, stepping outside the norm can make your beat stand out.
Just make sure it serves the song and doesn’t distract, of course.
-
Snare Drums
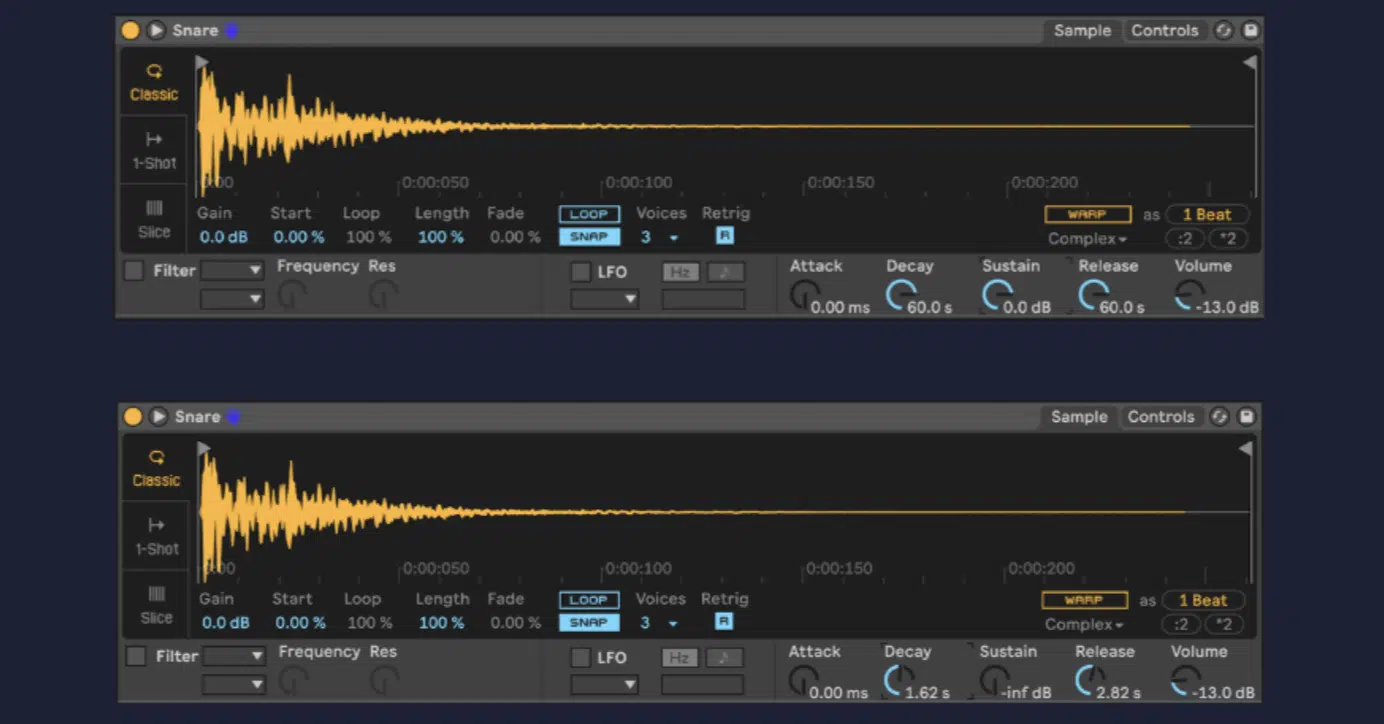
The snare drum acts as the clap in a round of applause; it accents the kick and provides a counterpoint to its steady thump.
Similar to kicks, snares can also benefit from layering.
Combining a low, meaty snare with a high, snappy snare can result in a fuller, more intricate sound.
Snare “ghosting” involves adding softer snare hits between the main hits 一 adding texture and rhythm to the beat.
NOTE: To do this in FL Studio, lower the velocity of the ghost notes to make them softer than the main hits.
Try placing your snares in unexpected places.
While traditionally snares hit on the 2nd and 4th beat, shifting them slightly off-grid can create a jarring yet captivating rhythm.
Experiment with the “width” of your snare by adding a slight delay between the left and right channels.
This can make the snare feel bigger and add depth to your beat.
-
Hi-Hats
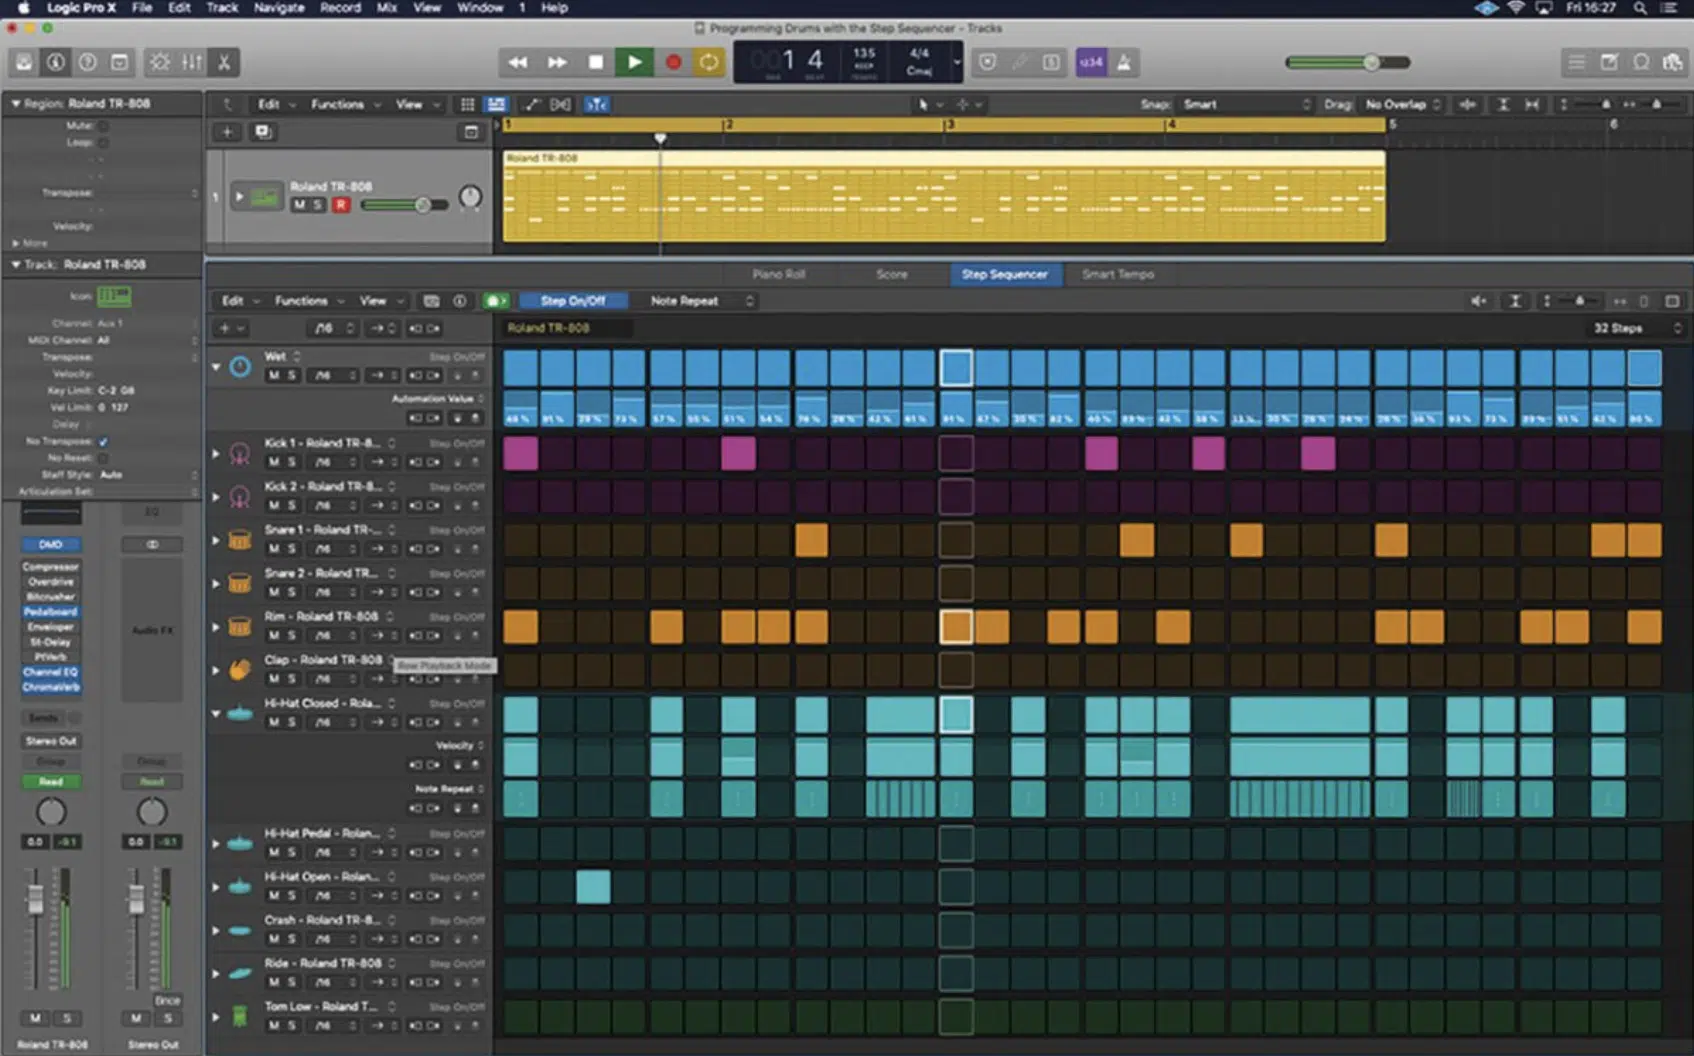
Hi-hats are the spice in the recipe that is your beat.
They add high-frequency energy and can dramatically change the feel of your rhythm.
Use “stutter” or “trap hats” for a more modern sound.
Rapid 1/16 or 1/32 notes can be sequenced in your DAW to create this effect.
Varying the velocity and pitch of your hi-hats can make them feel way more organic.
In FL Studio, you can randomize these parameters for a less robotic sound.
“Open” hi-hats (longer, more sustained versions of the standard hi-hat sound) can be used to signal transitions between different sections of your beat.
Experiment with panning your hi-hats slightly to the left or right for a wider stereo image.
This creates room for other elements in the mix.
-
Incorporating Hip-Hop Elements
Hip-hop elements, such as sampling and breakbeats, can add authenticity and complexity to your beats, regardless of genre.
When sampling, make sure to pay attention to the groove and feel of the original track.
Try to match your beat’s tempo and swing to it for a more cohesive feel.
Use “chopping,” a method where you divide a sample into smaller segments and then reassemble them in a new, unique way.
This adds a layer of originality to your sampled material.
Also, don’t ignore the power of vocal samples.
A well-placed vocal phrase or shout can punctuate a beat 一 adding human touch and familiarity.
Experiment with double-time or half-time rhythms to change the energy of your beat dynamically.
This can be particularly effective in transitions or breaks.
When you’re making your own music, specifically hip-hop beats, it’s a good idea to get crazy and think outside of the box.
If you’re looking for the most mind-blowing, captivating free hip-hop samples of 2023, we’ve got you!
The Beat-Making Process Step-by-Step
When it comes to your beat-making journey, knowing your tools is just the start.
Now, we get into the fascinating process of putting it all together to create beats that truly resonates.
-
Crafting the Drum Beat
The drum beat is the backbone of your track.
It accomplishes things like:
- Setting the song’s tempo
- Establishing the rhythm
- Getting your listeners moving
Start with a basic drum loop to get your creative juices flowing, as you can always elaborate later.
Focus on getting the kick and snare in the right spots, then fill in with other percussion.
Use groove templates or quantization to inject a specific “feel” into your drum patterns.
These features allow you to make your drums more robotic or more “human,” depending on the genre and mood you’re aiming for.
Implement “swing” to make your drum patterns feel less rigid (which can help make your “good beat” legendary).
This technique slightly delays the off-beats 一 giving your drums a more relaxed, groovy feel, without the need of a legendary drum machine.
Additionally, try to incorporate polyrhythms or polymeters to add complexity.
These are advanced rhythmic techniques where you layer different time signatures or rhythmic patterns on top of each other.
-
Creating Melodic Elements
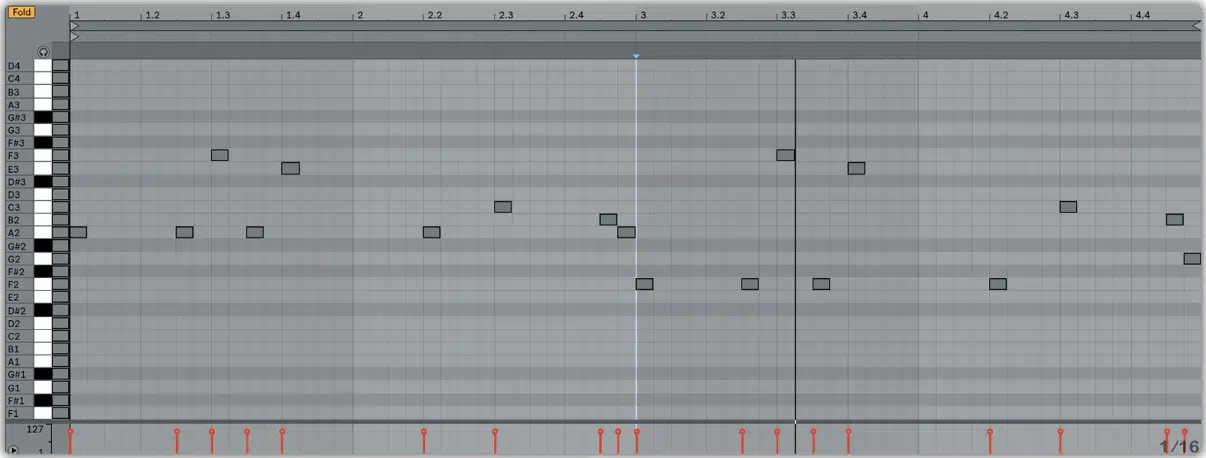
Now that you’ve got your drum groove going, it’s time to inject some soul into your track.
Melodic elements are the emotional core of your song and can really make your beat stand out.
When you’re making music, a good starting point is to identify the key your beat is in.
Knowing the key will guide your melodic choices and keep your song harmonically coherent.
Use arpeggios to quickly create compelling melodies.
An arpeggio is basically the notes of a chord played in sequence rather than simultaneously, and it can add movement and energy to your track.
Use “ghost notes” to add texture to your melodies.
These are notes played at a much lower volume 一 serving as an almost subliminal layer that adds depth and complexity.
Leverage “counter-melodies.”
These are secondary melodies that play against your primary melody, creating a richer musical narrative.
If you want to learn how to create powerful melodies, we’ve got you covered.
-
Sound Selection for Your Beat
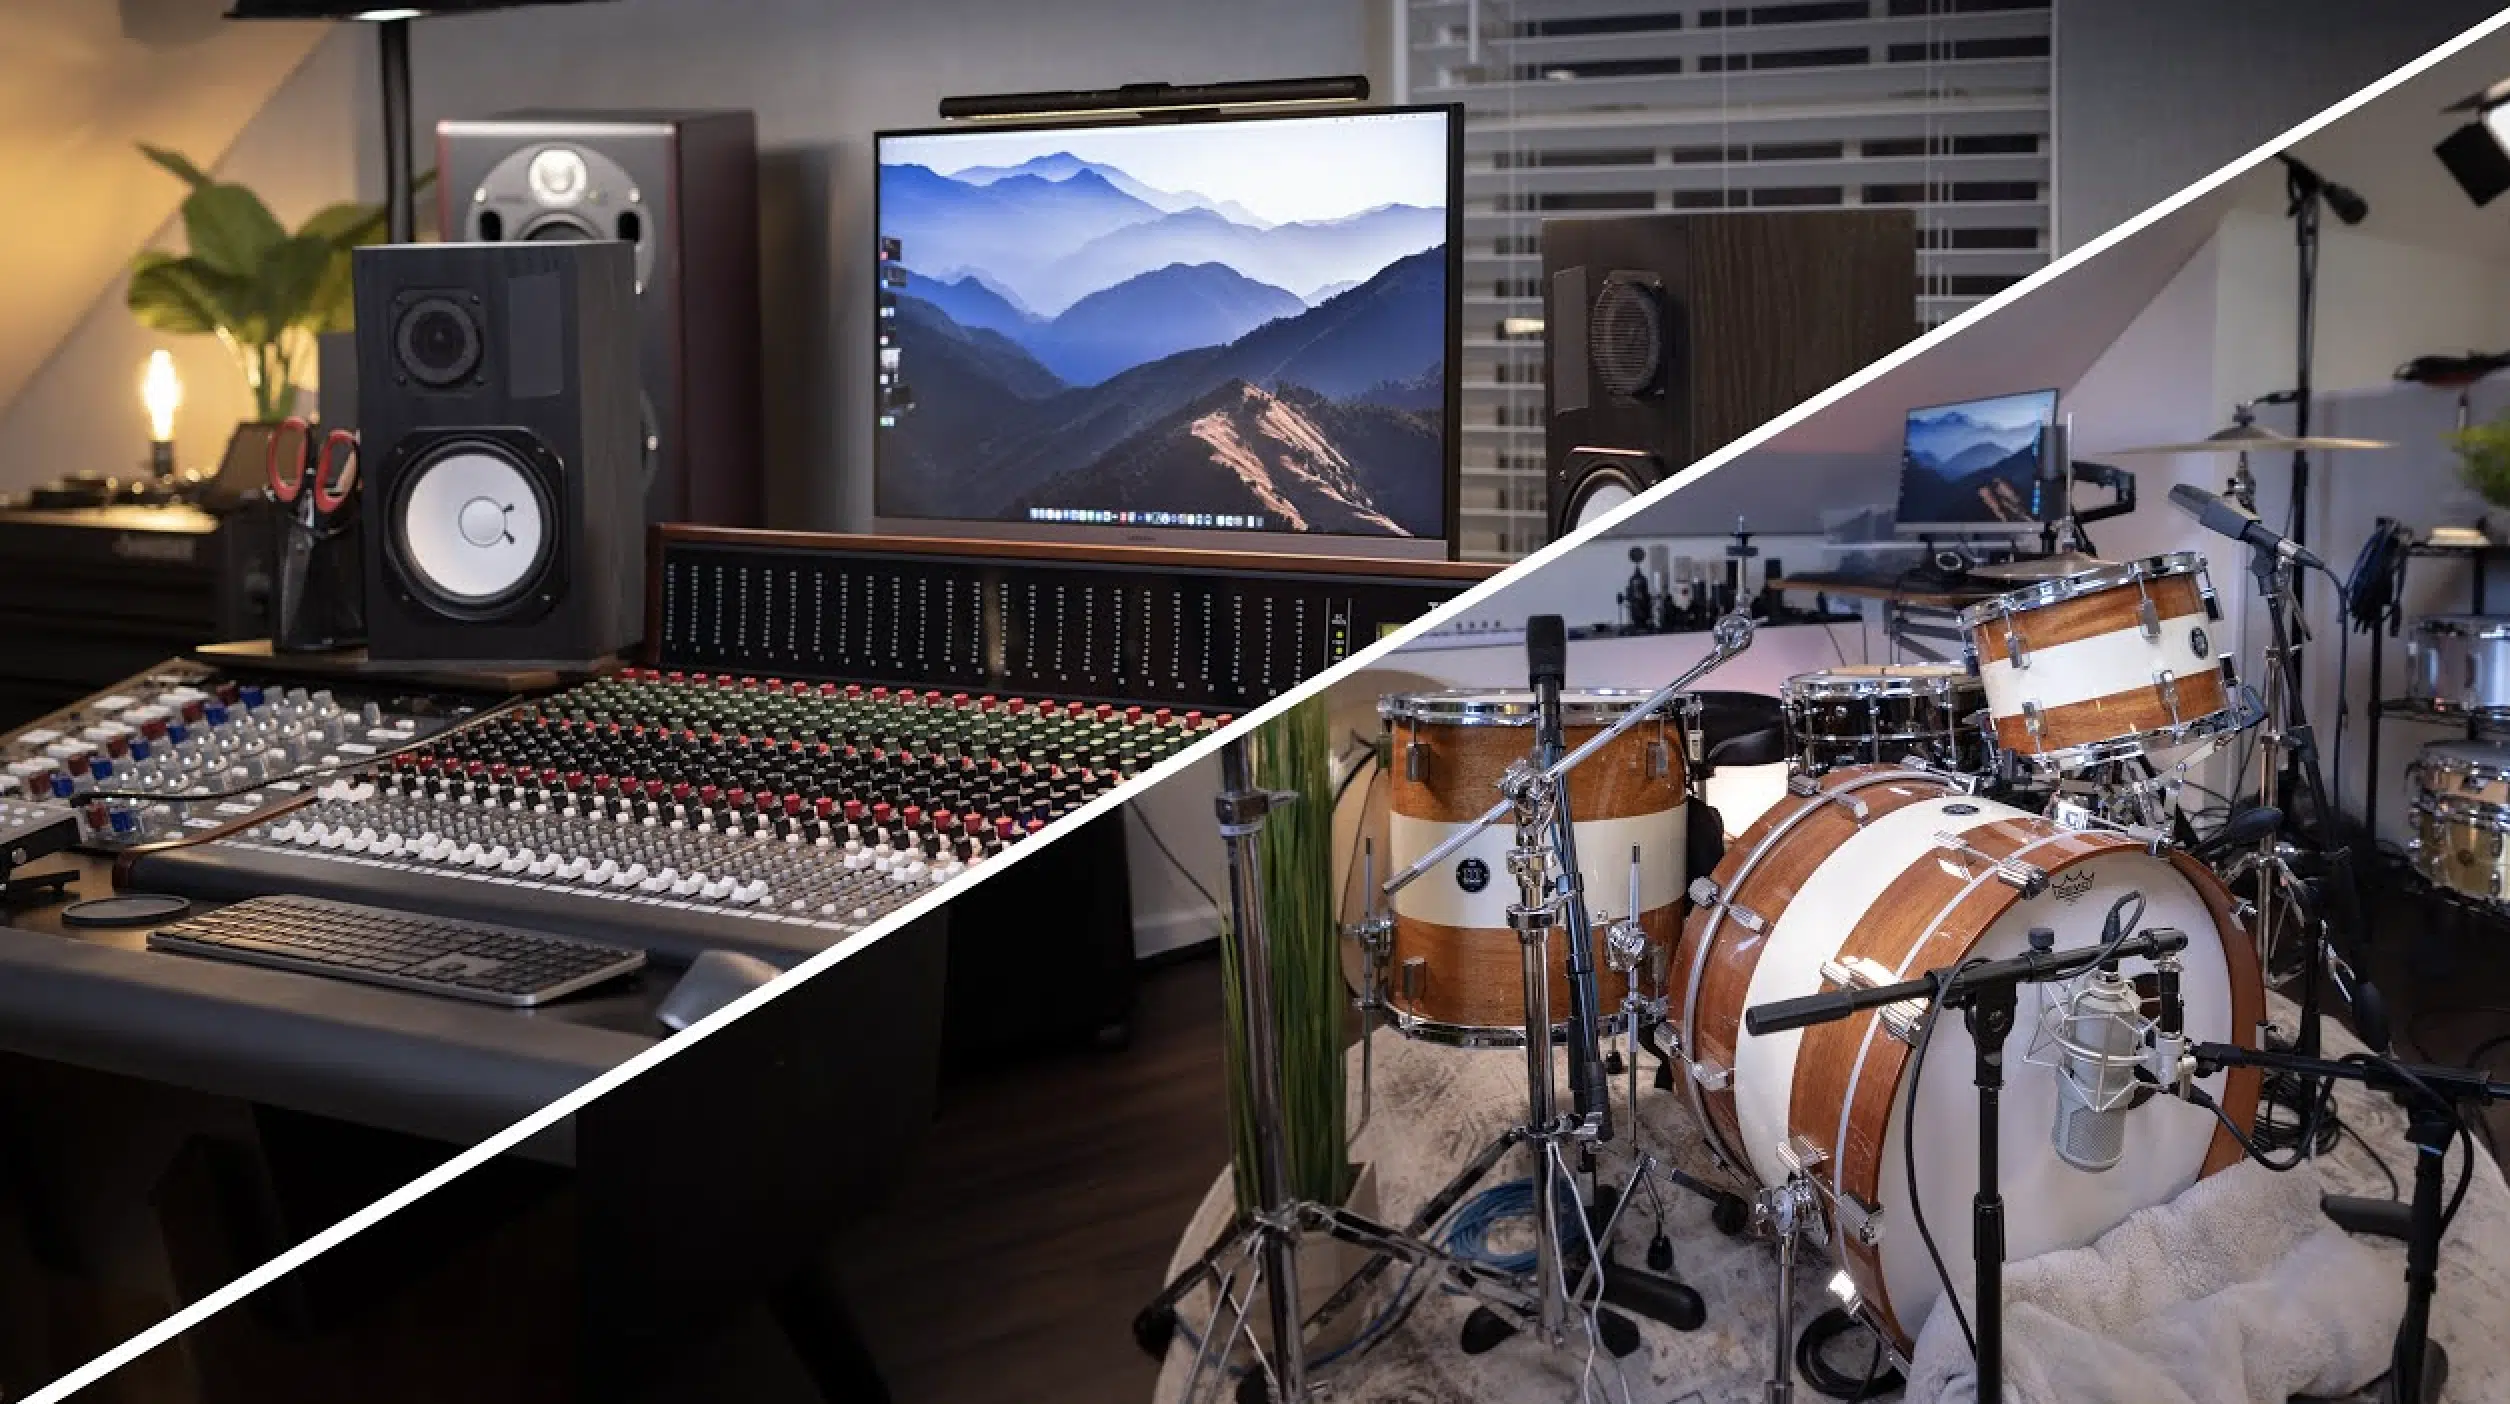
When you produce beats, the sounds you choose for can make or break your track.
From the kick drum to the snare to the instruments, each sound should serve a purpose; remember, go for quality over quantity, always.
It’s better to have a few great sounds that fit well together than a bunch of mediocre ones.
Also, try “layering” to beef up your sounds.
For example, you can layer a synthesized snare with an acoustic snare to create a unique, fuller sound.
Don’t forget to tune your drums.
Yes, drum sounds can be in key too, and tuning your drums to match the key of your song can result in a more cohesive sound.
Lastly, use field recordings to create unique textures.
These are audio recordings captured outside the studio (like the sound of rain or city traffic) and can add an extra layer of realism or atmosphere to your beat.
-
Mixing & Mastering
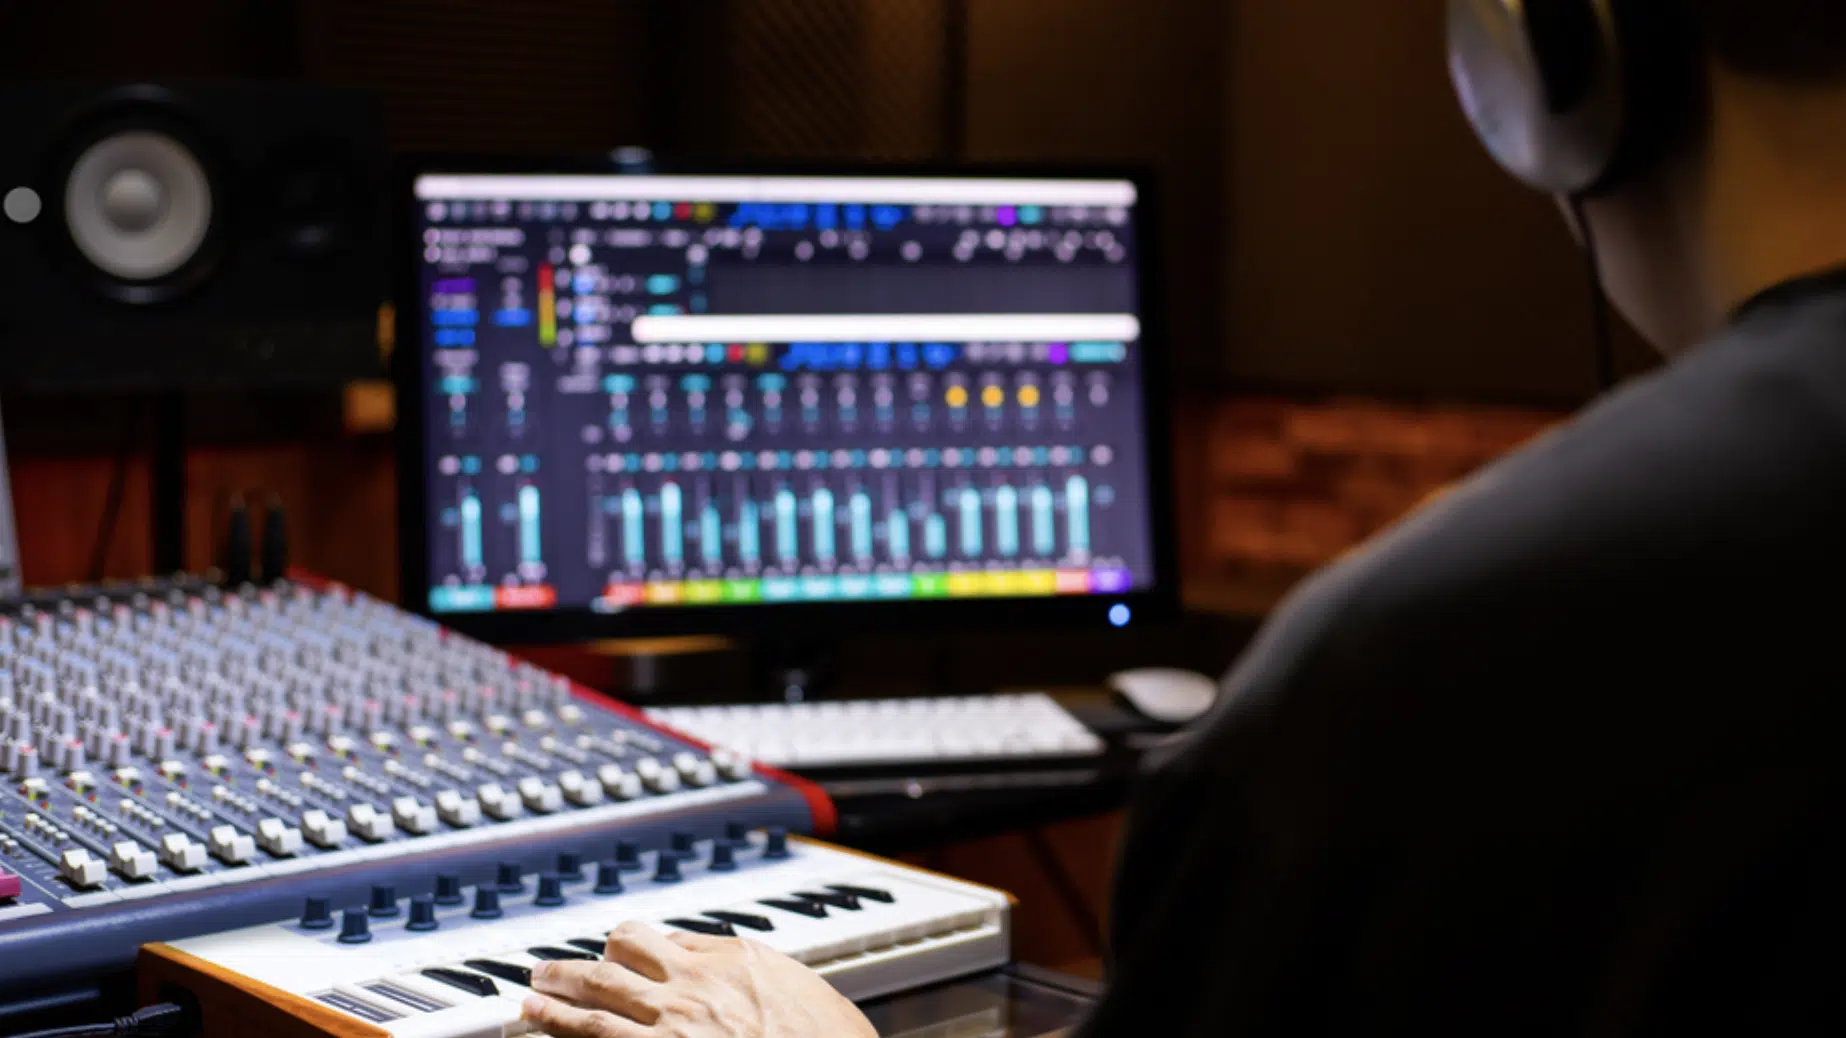
Mixing and mastering your own beats, whether it’s a hip-hop beat or lofi beat, might sound like the domain of audio engineers.
However, as a digital music producer, understanding these concepts can elevate your beat-making skills to a whole new level.
Always start your mix at low volumes.
It not only protects your ears but also helps in making more accurate mixing decisions.
NOTE: If it sounds good quiet, it’ll sound great loud.
Use EQ (Equalization) to carve out a space for each instrument.
For example, you may want to boost the high-mids on your snare drum while cutting those same frequencies on your kick drum to reduce clashing.
Parallel Compression is your friend, so don’t forget about it.
This technique involves blending an unprocessed ‘dry’ signal with a heavily compressed version of the same signal 一 resulting in a more dynamic sound.
Don’t underestimate the power of a limiter in mastering, either.
A limiter will help ensure your beat’s overall volume is consistent and that it doesn’t clip (exceed maximum levels).
When you’re making beats, gain-staging is crucial.
Keep the volume of each individual track at reasonable levels to maintain headroom for the master channel.
Overloading the master will result in a distorted mix, which is a big no-no in music production.
Vital Techniques in Making Music
Alright, you’ve got the basics down and you’re dying to create your own beats.
Now let’s talk about some intermediate techniques that will set you apart from beginner beat makers.
Remember, mastering the basics is essential, but exploring new techniques will add unique flavors to your own beats.
-
Advanced Bass Line Techniques
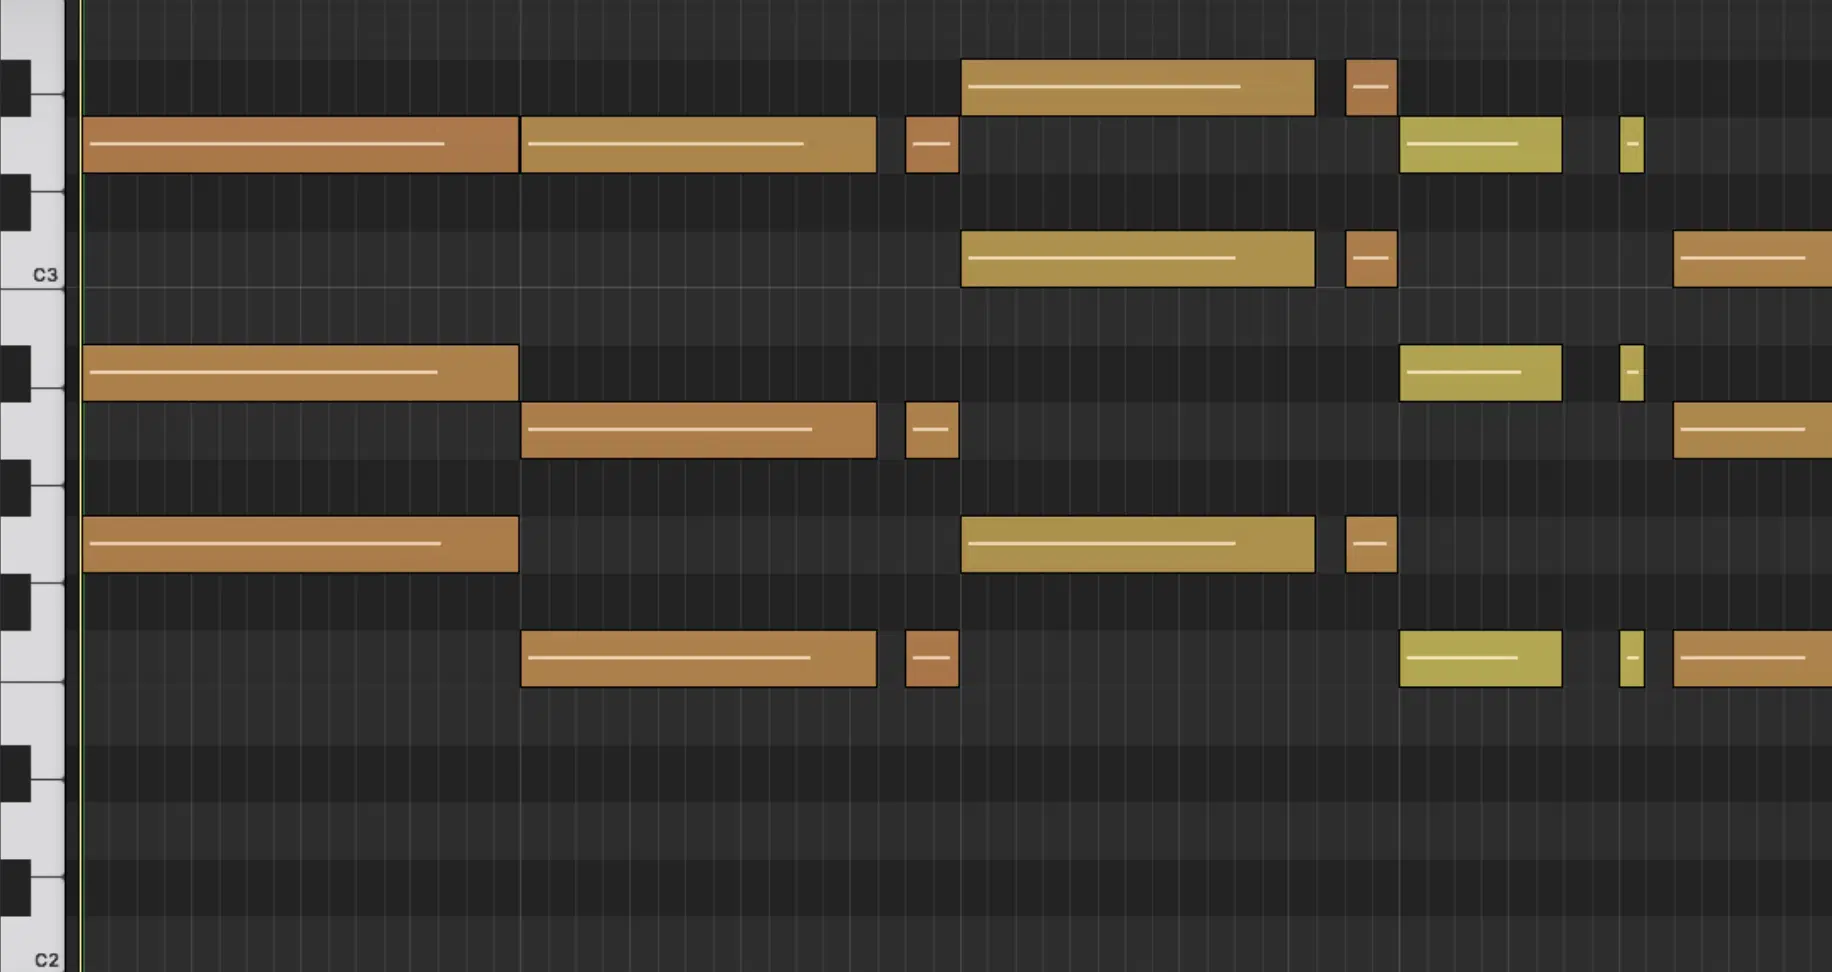
Your bass line doesn’t have to be static and boring.
It can:
- Evolve
- Groove
- Even tell a story if you let it
Try out “octave jumps” in your bass lines.
This technique involves rapidly switching between different octaves of the same note, which can create a feeling of energy and movement.
Syncopation is always key when it comes to music/beats.
Syncopation involves placing accents or emphasis in unexpected places in the beat 一 creating a more complex, intriguing bass line.
Use a “passing tone” for smoother transitions between the main notes in your bass line.
Passing tones are notes that connect more important melodic notes in a smooth, logical manner.
Leverage “ghost notes” in your bass lines.
Similar to how they work in melodies, ghost notes are soft, almost inaudible notes that can add rhythm and complexity to your bass line.
-
Using Drum Machines
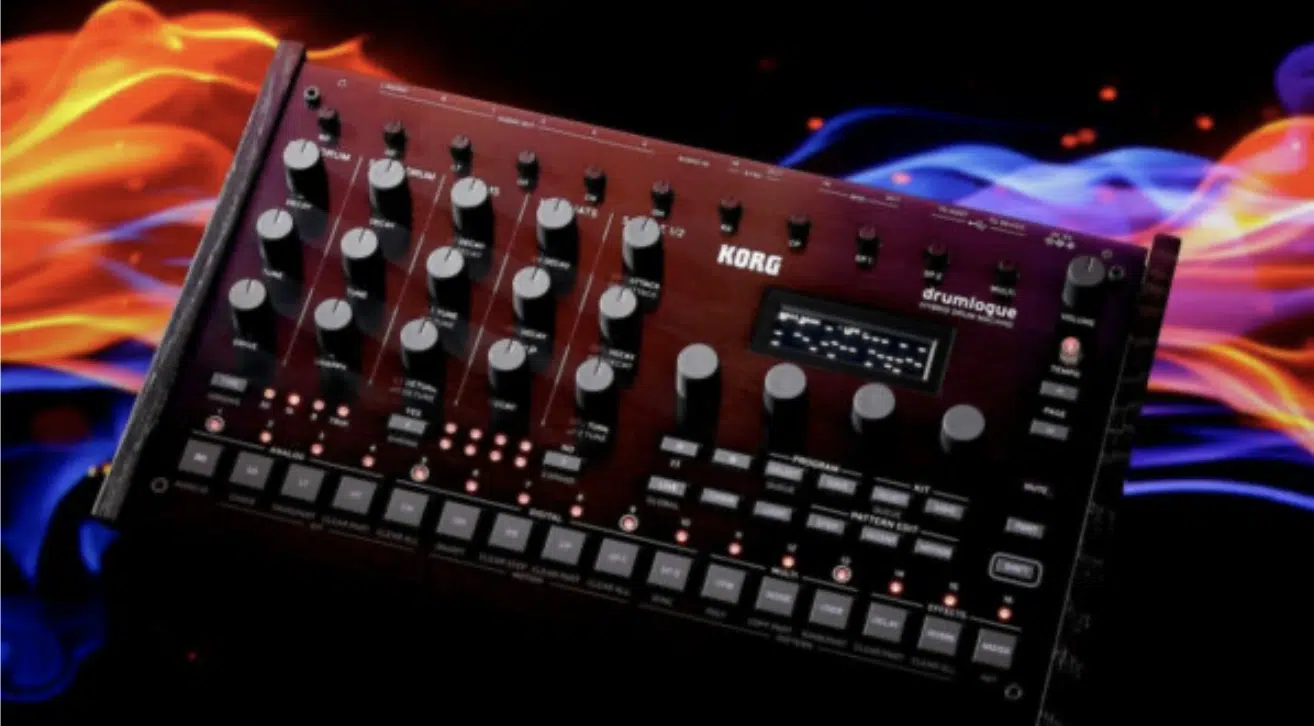
Drum machines have been a staple in beat making since the early days of hip-hop.
Today, both hardware and software options can replicate or even surpass the classic machines like the Roland TR-808.
Use drum machines for layering your drum sounds.
By stacking different snare or kick samples from a drum machine over your DAW’s built-in samples, you can create unique, textured sounds.
Step-sequencing on drum machines can offer a different workflow from drawing in each hit manually.
This method can sometimes spark creativity when you’re feeling stuck.
Many drum machines offer an ‘accent’ function to give certain steps in your sequence more emphasis 一 mimicking the dynamics of a real drummer.
Some drum machines even offer polyrhythmic capabilities.
This lets you set different step lengths for different instruments, which can lead to complex and interesting rhythmic patterns.
-
The Hottest Drum Patterns
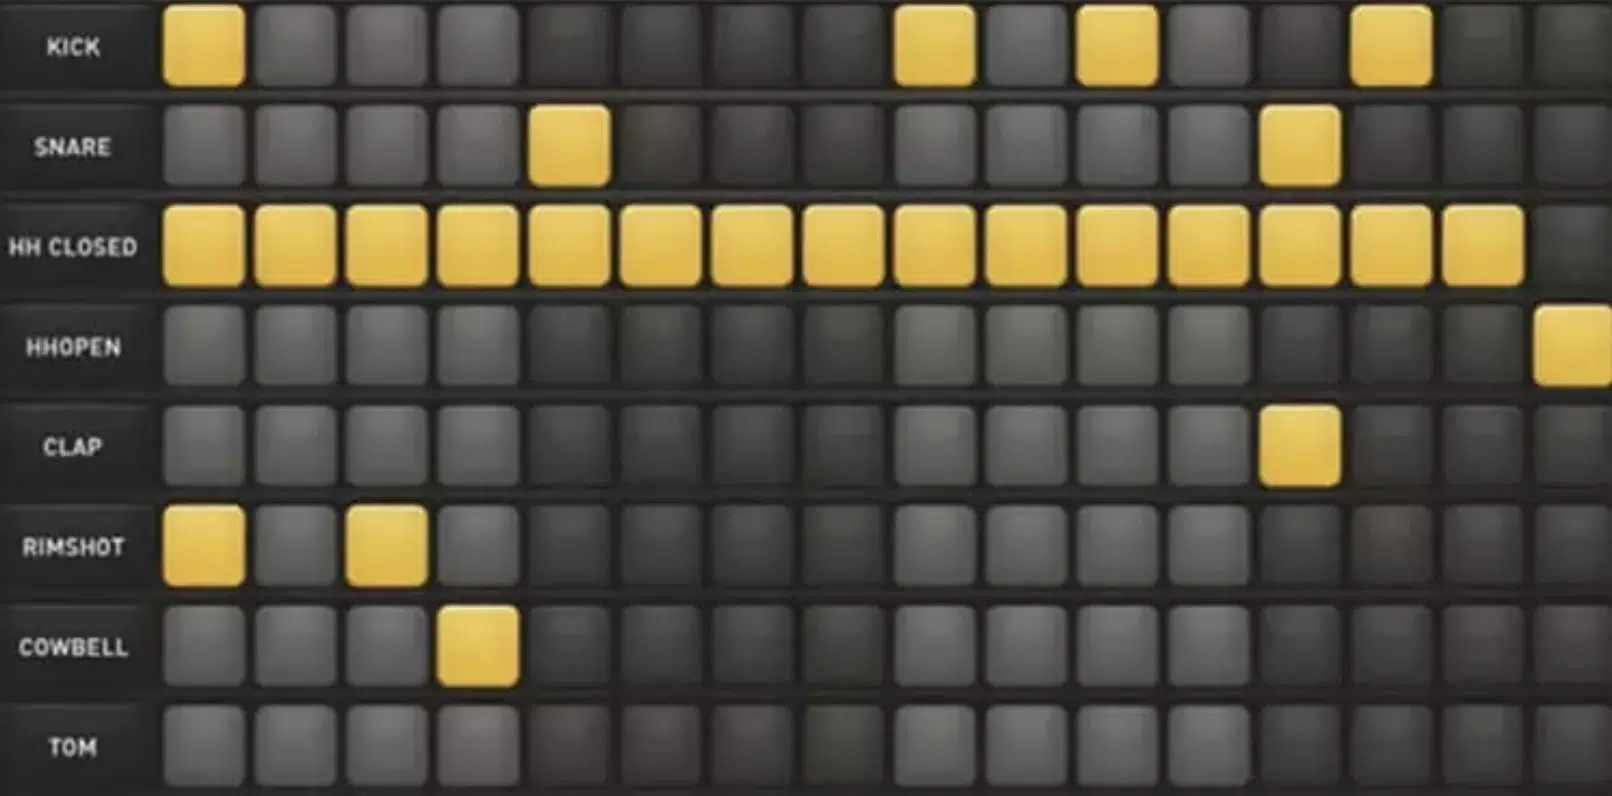
A hot drum pattern can make or break your beat, so let’s talk about how to ensure your drum game is on point.
The ‘kick-snare-kick-snare’ drum pattern is timeless, but don’t be afraid to deviate.
Experimenting with where you place these elements can create a completely different vibe.
Try the “swing” function in your DAW to give your drum patterns a more human, less robotic feel.
Use triplets in your hi-hat patterns for a quick and easy way to add complexity and a fresh feel to your beat.
Program automation in your drum patterns to gradually evolve the sound and intensity, keeping the listener engaged.
-
Implementing Virtual Instruments
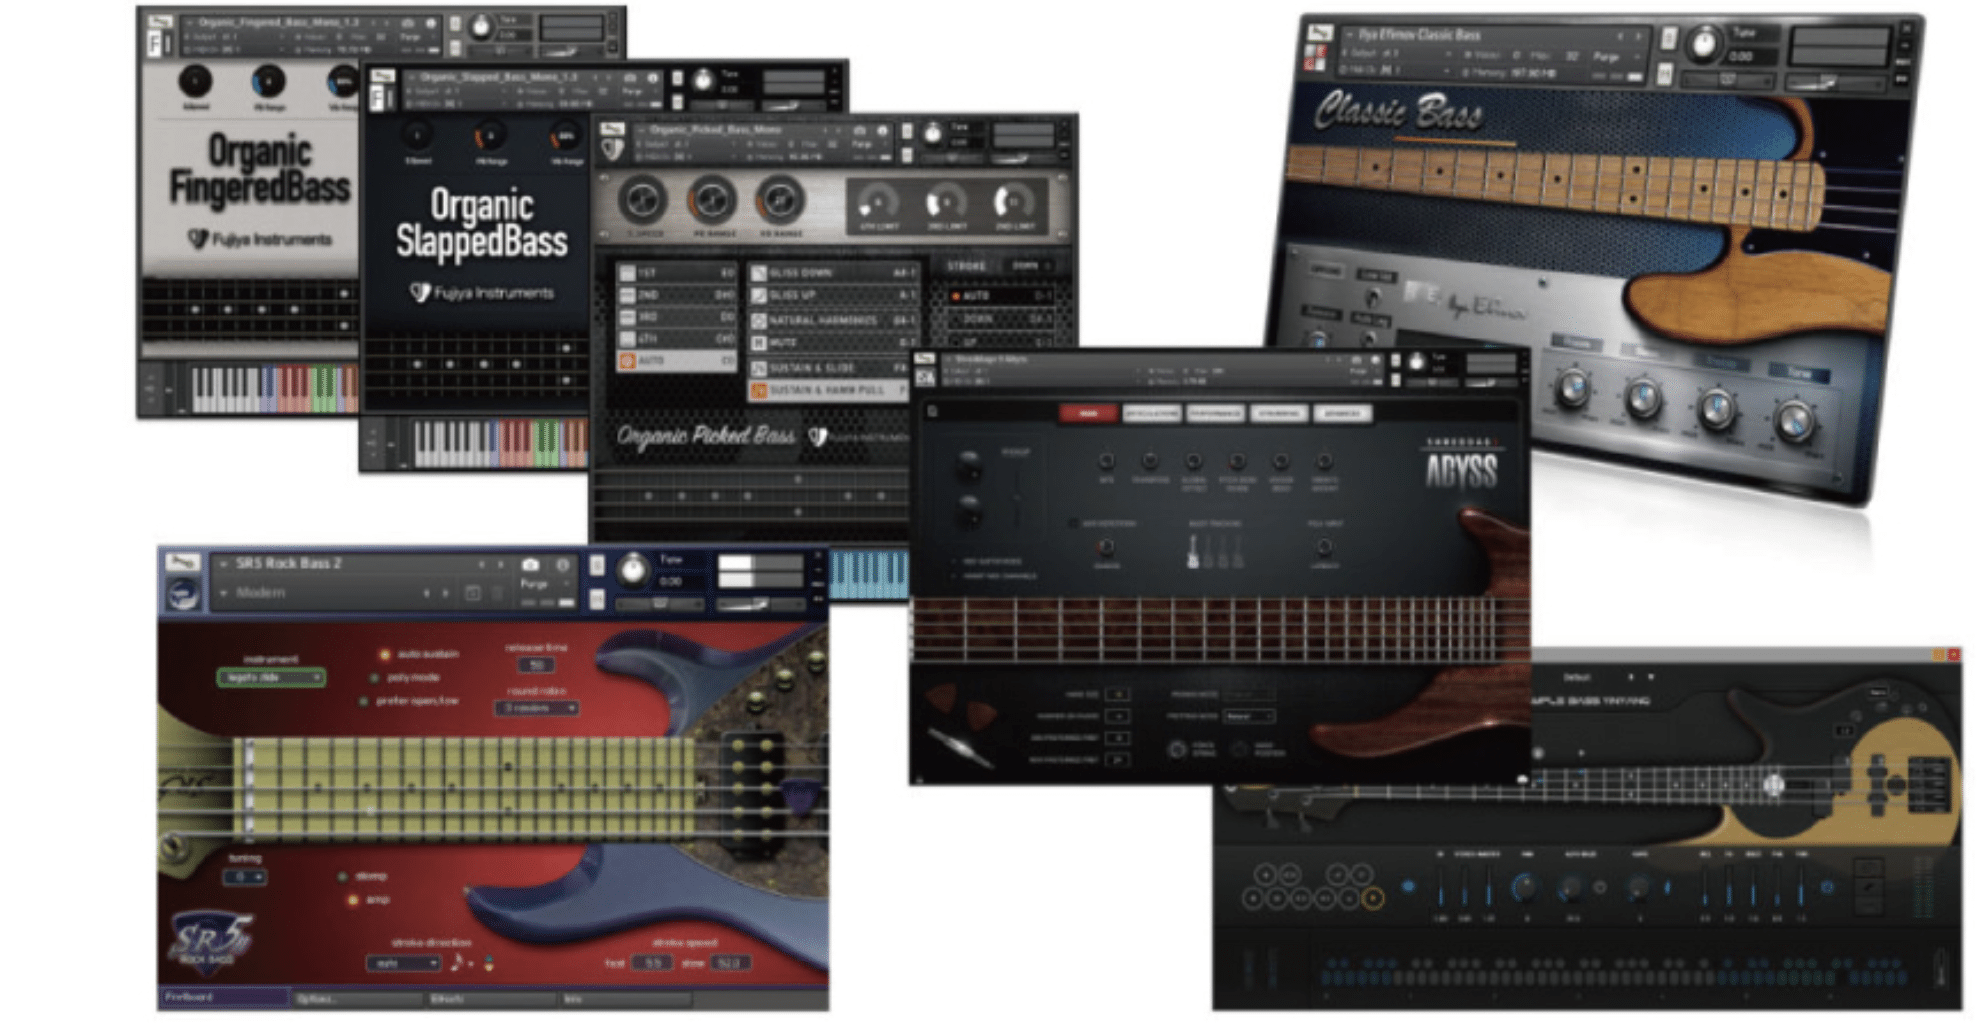
Virtual instruments (VIs) are essential in modern production.
Virtual instruments emulate real-world instruments and can expand your creative palette immensely.
A Virtual Instrument is a software-based representation of a physical instrument.
It generates sound either through sampling (where real instruments have been recorded) or synthesis (where the sounds are generated electronically).
There are various types of VIs: Software synthesizers, drum machines, sampled orchestras, etc.
Each has its unique characteristics and applications.
You can use your MIDI controller to play virtual instruments, which gives you real-time control over parameters like:
- Pitch
- Volume
- Modulation
Virtual Instruments can be CPU-intensive, especially those that use high-quality samples.
Always keep an eye on your CPU load to prevent glitches and crashes.
Most modern DAWs allow you to host multiple VIs as plugins.
Learning how to layer and combine these can add depth and complexity to your compositions.
Beat Making Strategies That Will Make Your Beats Stand Out
Moving from intermediate to more advanced techniques, you’ll want to start employing specific strategies that make your beats unique and captivating.
By mastering layering, sequences, piano roll manipulations, and chord progressions, you’ll be able to distinguish your beats in a crowded marketplace.
-
Layering in Music Production

Layering in music production refers to the technique of stacking multiple elements to create a fuller, more complex sound.
It can apply to everything from drum hits to full instrumental tracks.
Start by layering your kicks and snares.
By combining samples with different tonal characteristics, you can create a sound that has both the punch and the body you desire.
NOTE: Make sure that your layered samples are in phase to prevent any muddiness.
In layering synthesizers, consider panning one layer to the left and another to the right, which can widen your stereo image.
Just make sure to check how it sounds in mono to avoid phase issues.
“Phase issues” occur when the waveforms of two similar sounds cancel each other out, leading to a weaker sound.
Also, implement frequency splitting when layering.
This involves assigning different frequency ranges to different layers.
For example, you could:
- Use one layer for low-end frequencies.
- Unother for high-end sparkle.
Many music producers use layering to mimic sounds they can’t generate otherwise.
For example, you might layer a synthesized string sound with a sampled string sound to get both the electronic texture and the organic quality of real strings.
-
Effective Use of Piano Roll
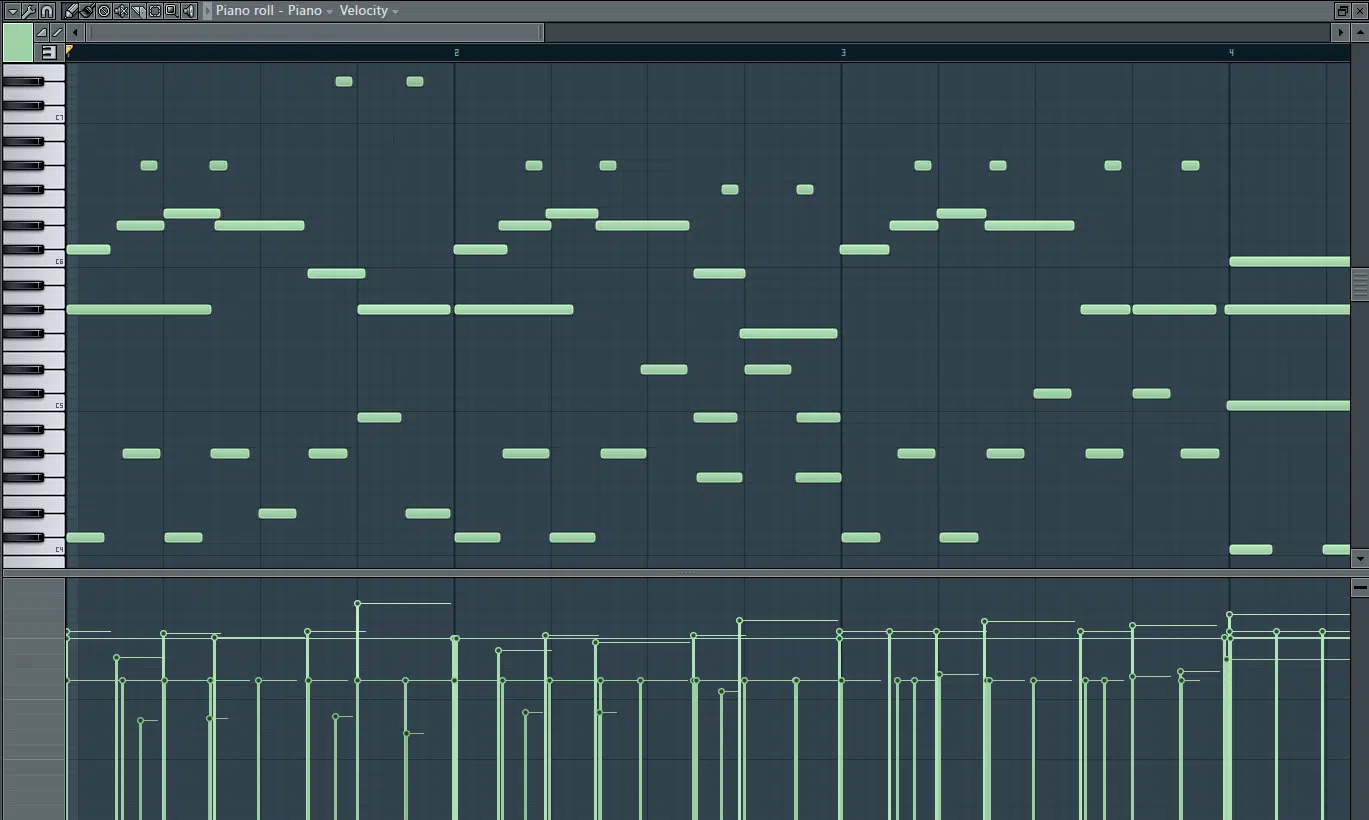
The Piano Roll is a graphical interface where you can compose and edit MIDI notes.
It’s a quintessential tool for beat making (especially in a DAW like FL Studio), which arguably offers one of the most user-friendly and versatile piano rolls in the industry.
“MIDI” stands for Musical Instrument Digital Interface; a protocol for communicating musical information between digital devices.
In the Piano Roll, each “note” you see corresponds to a MIDI event.
The snap-to-grid feature in FL Studio’s Piano Roll can be a real lifesaver for beginners.
It allows your notes to align automatically to a predetermined rhythmic value 一 making it easier to create precise rhythms.
Utilize the control lanes at the bottom of the Piano Roll for manipulating parameters over time, like:
- Velocity
- Pitch bend
- Modulation
These control changes can bring life and dynamics to your composition.
To add a human touch, occasionally offset some notes just a fraction ahead or behind the beat.
Ghost notes, as we touched upon, are another feature that makes FL Studio’s Piano Roll seriously stand out.
These are lighter, transparent notes that show you the notes being used in other channels and helps you create harmonically relevant parts quickly.
-
Chord Progression Essentials
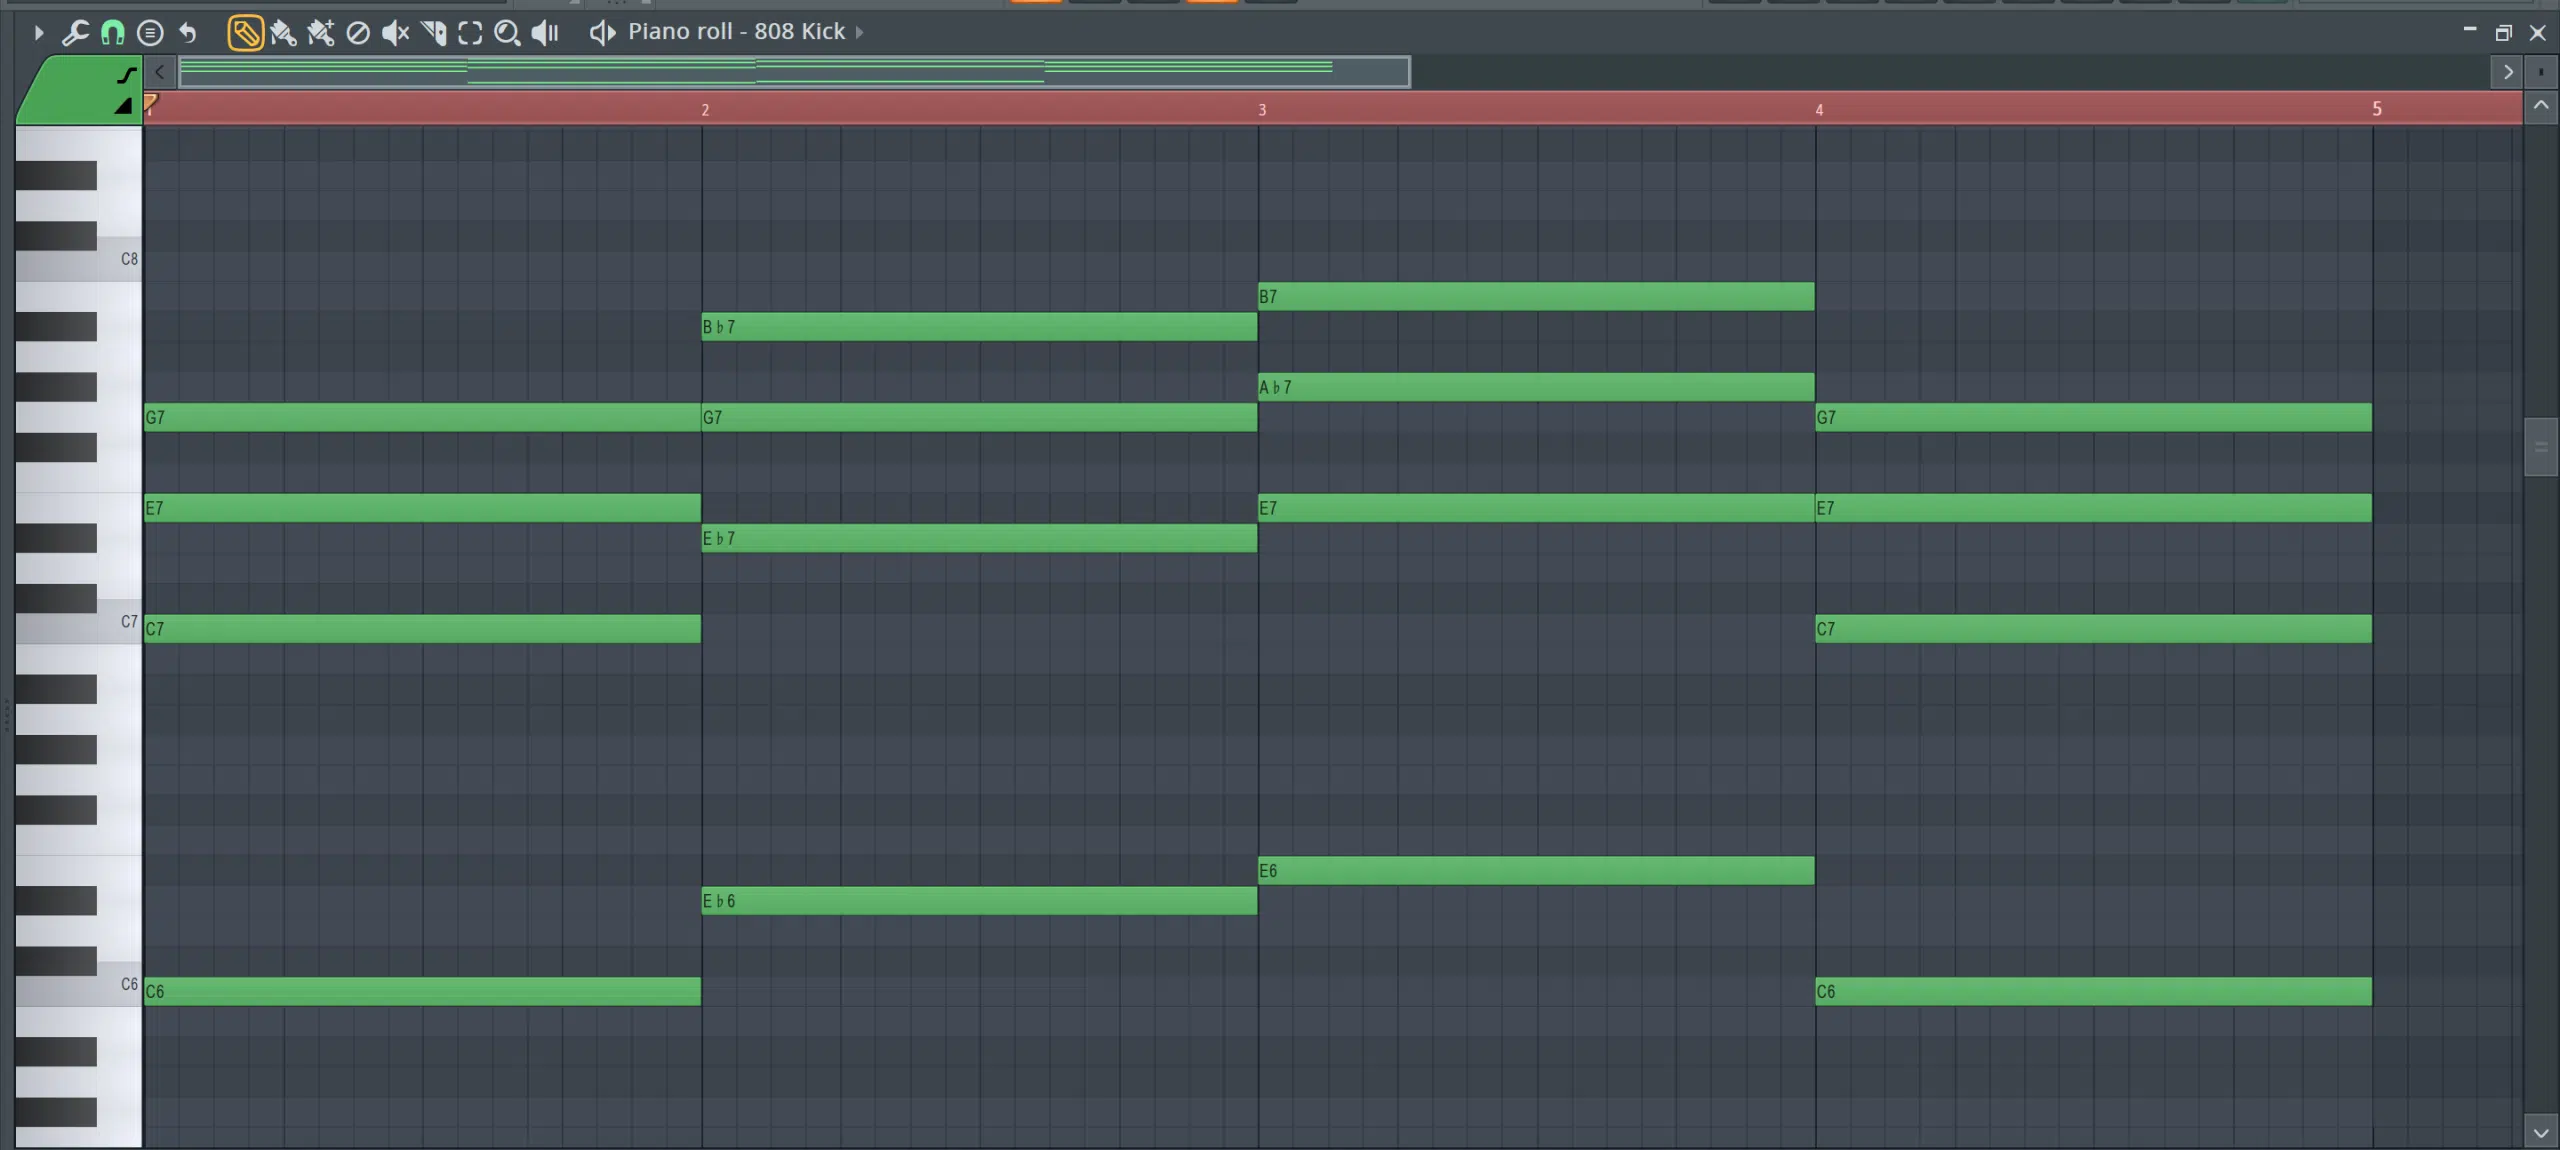
Octave stacks.
Chord progressions are the backbone of most musical compositions.
They provide the harmonic context over which melodies and other musical elements are developed.
Familiarize yourself with basic chord progressions like the I-IV-V or ii-V-I, especially if you’re working in genres that heavily rely on harmony (like R&B or Soul).
Also, consider using “inversions,” which rearrange the notes in a chord to provide smoother transitions between chords.
Inversions can make your chord progression sound more sophisticated and less jumpy.
An “inversion” is a rearrangement of a chord where a note other than the root is the lowest note.
For example, if C is the root of a C major chord, an inversion might use E or G as the lowest note.
To create suspense or anticipation, use “suspended chords” or “diminished chords.”
- Suspended chords 一 Don’t have a third, which gives them an open, airy feel.
- Diminished chords 一 Add a sense of tension and instability.
Use “modal interchange,” borrowing chords from different modes to create unique and emotionally rich progressions.
For instance, borrowing a chord from the parallel minor can add a dark twist to a major key chord progression.
Bottom line, a good chord progression can complete enhance your beats and improve their song structure.
If you want to learn everything about creating a unique chord progression, from a musical idea and the root note to the manipulation of your chord progression, we’ve got you covered.
Advanced Beat-Making Techniques
After mastering the essential strategies that help your beats stand out, it’s time to go deeper into the realm of advanced beat-making techniques (my favorite part).
If you want to transform a good beat to a chart-topping one, these music production techniques can certainly help.
-
Incorporating Audio Effects
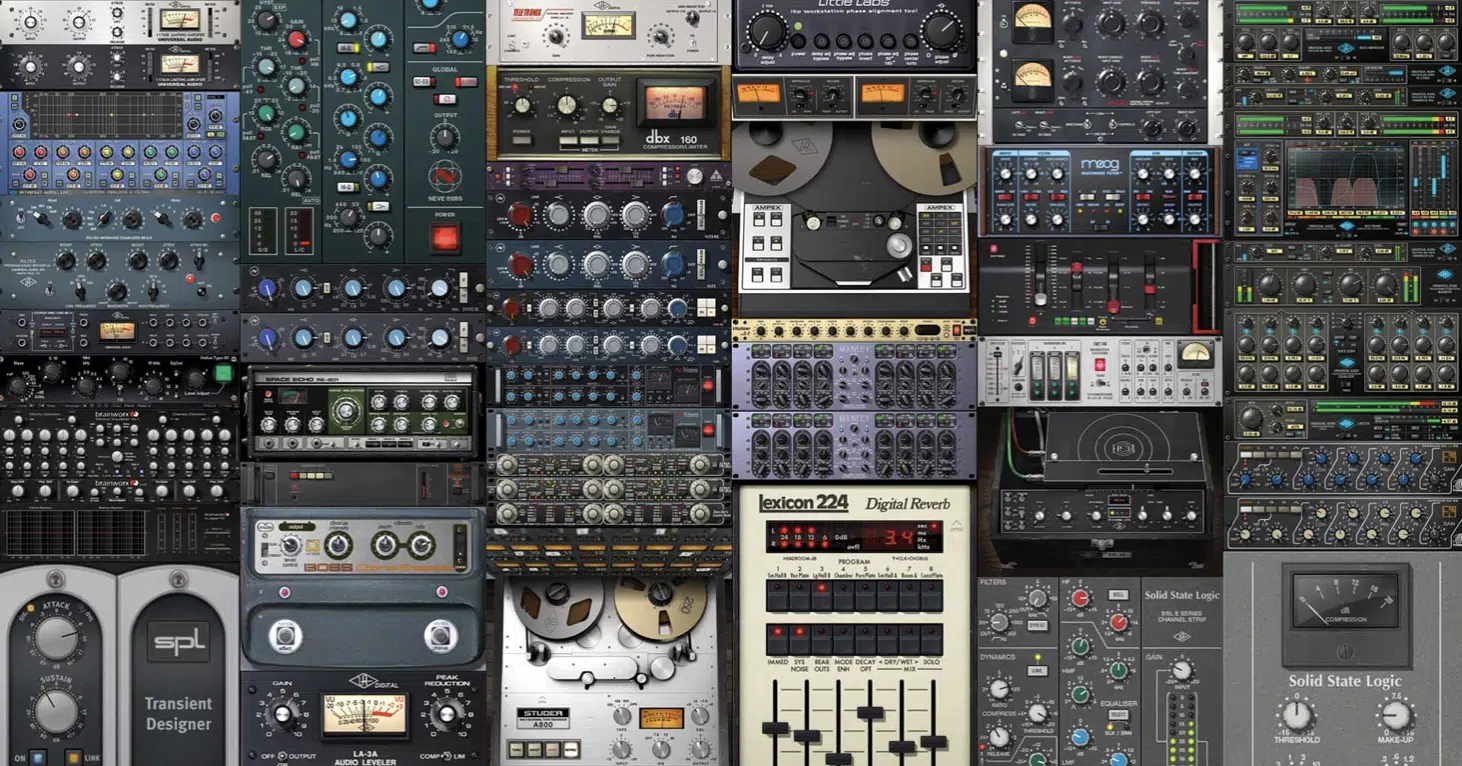
Audio effects are indispensable in modern beat making, especially if you want your own beat to stand out.
They can be as simple as reverb, distortion, saturation, or delay and as complex as granular synthesis processors that can significantly alter the sound.
When you make beats every day, being familiar with all the various audio effects can seriously enhance your workflow.
Reverb mimics the sound reflections in different spaces.
By adjusting the size, decay time, and other parameters, you can make an instrument sound like it’s in a small room or a large hall.
NOTE: When it comes to audio effects, just be careful not to overdo it.
While it might be tempting to add multiple layers of reverb, delay, and modulation, too much can muddy your mix.
Side-chaining is an advanced technique where one sound modulates an effect on another.
For example, in electronic music, a kick drum might trigger a compressor on a bass line to make it “duck” each time the kick hits.
Automate your effects.
Most DAWs allow you to automate the parameters of your effects 一 enabling them to change over time.
For instance, automating the dry/wet knob on a reverb can create a building sense of space throughout a section.
Use parallel processing for more control over your effects.
Instead of applying an effect directly to a track, you can send a copy of the sound to an auxiliary track with the effect.
This way, you can mix the original and affected sounds to taste.
-
Frequency Modulation Synthesis
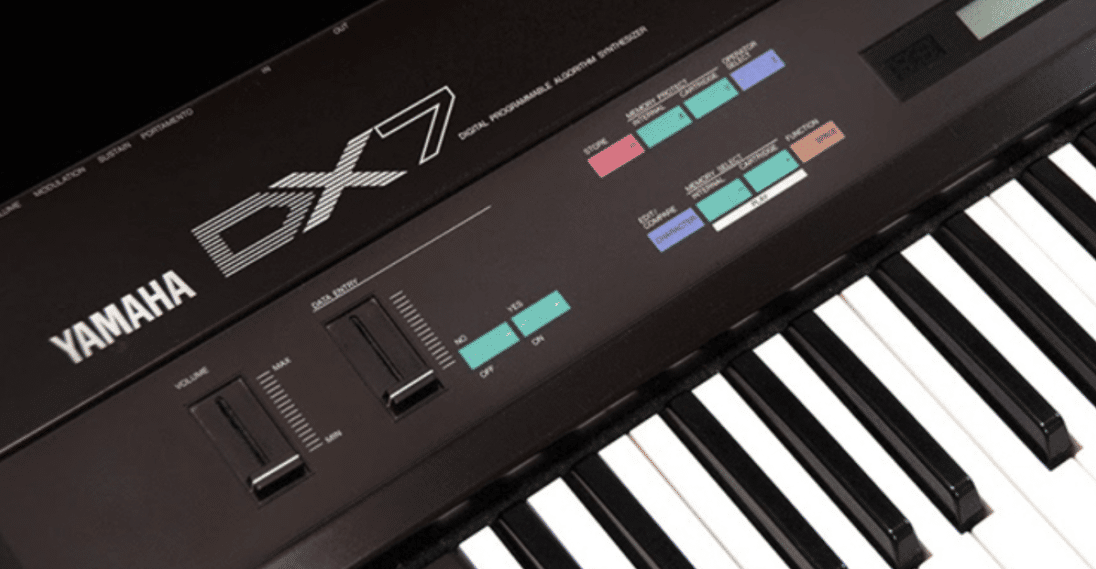
Frequency Modulation Synthesis, or FM synthesis, is an advanced form of sound synthesis that provides a wealth of sonic possibilities.
This ranges from realistic instrument emulation to complex evolving textures.
In FM synthesis, the frequency of one waveform (known as the “carrier”) is modulated by another waveform (the “modulator”) to create new harmonic structures.
FM synthesis is great for creating expressive, dynamic instruments that respond differently to various velocities or other performance metrics.
Utilize the “Ratio” setting to fine-tune the relationship between the carrier and modulator frequencies.
NOTE: Higher ratios often result in more harmonically rich and complex sounds.
Use FM synthesis for complex evolving pads and soundscapes by slowly modulating various parameters like:
- Frequency
- Modulation
- Depth
- Switching modulators in real-time
If your DAW supports it, try using MIDI Macros to control multiple FM parameters at once for more dynamic and expressive sound manipulation.
-
Granular Synthesis
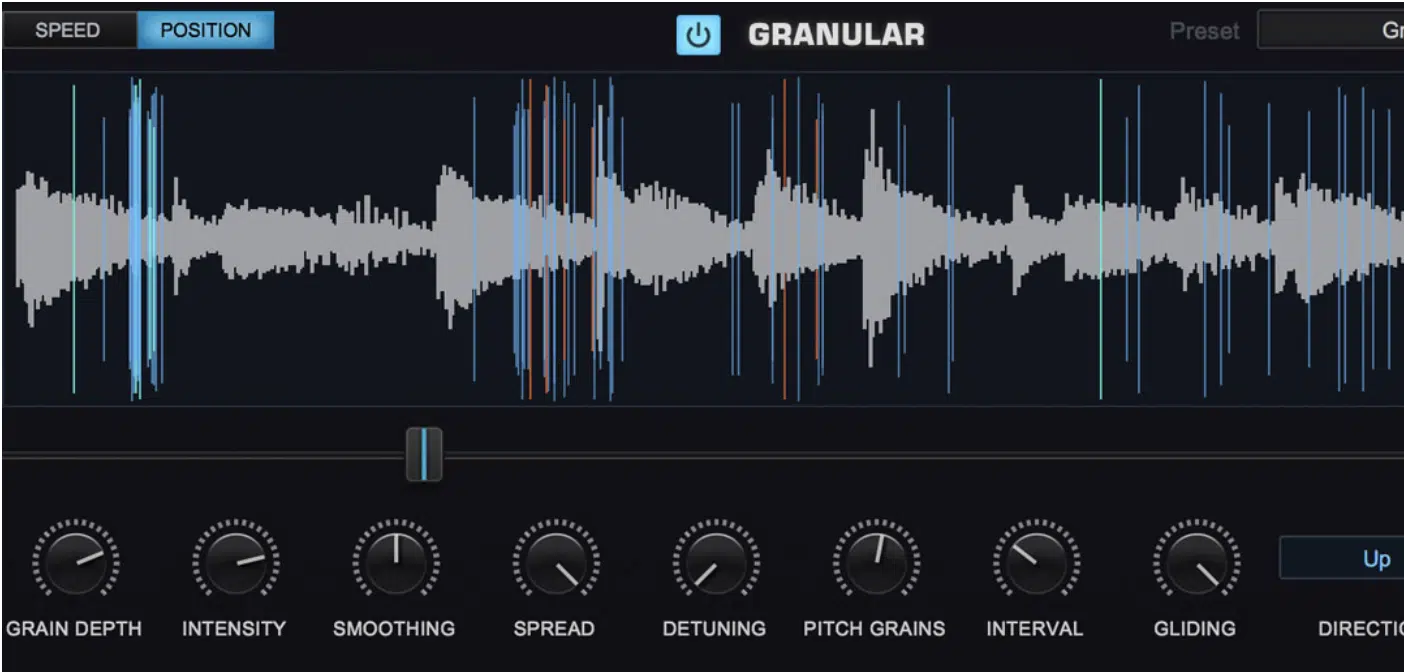
Granular synthesis is another advanced technique that allows you to manipulate sound at a microscopic level by breaking it into tiny grains.
A “grain” in granular synthesis is a tiny piece of a waveform, usually just a fraction of a second, that can be:
- Looped
- Layered
- Processed
Which, in turn, create complex textures and evolving sounds.
To get started, pick a sound that has a rich harmonic content, like a human voice or a complex musical instrument.
Control parameters like grain size, pitch, pan, and volume to create dense clouds of sound or stuttering rhythmic patterns.
For unpredictable, evolving textures, randomize some of the granular parameters over time.
This can result in ever-changing, almost ‘living’ sounds.
Combine granular synthesis with other forms of synthesis or sampling for unique hybrid instruments that are entirely your own.
How to Make a Beat: Final Thoughts
Making beats is a true art, fusing together elements of rhythm, melody, texture, and emotion to create an auditory experience like no other.
It’s not just about laying down some kicks and snares 一 it’s about capturing a mood, delivering a message, and invoking emotion—all through the power of sound.
With the detailed guidance provided in this article, you’re now well-equipped to master the craft of how to make a beat that can rival the pros.
Along your beat-making journey, you might find some tools that can amplify your creative potential.
And if you’re looking for the absolute best in the game, you have to download these free MIDI basslines pack.
This pack includes 12 fire, free MIDI basslines that can take your beats to the next level.
Whether you’re crafting the next chart-topper or trying to light up the dancefloor, these basslines will help you capture everyone’s attention.
They can serve as an excellent foundation for your tracks.
As well as allow you to focus on other creative elements like drum patterns and melodies.
From setting up your digital studio with the right gear to diving into the nitty-gritty of crafting drum patterns, melodic elements, and mixing, you’ve been given the full breakdown.
So go ahead, start producing those killer beats and make your mark in the music world.
You now have all the knowledge and tools you need to elevate your game and create beats that will make you a true master of the art.
Until next time…


Leave a Reply
You must belogged in to post a comment.