Reverb effects can add some serious depth and dimension to your tracks.
They can make boring recordings feel alive, help elements blend together properly, and make sure your soundscapes are always on point.
Plus, reverb helps define the mood and space of your mix 一 whether you’re going for a tight, punchy groove or a dreamy, atmospheric vibe.
As producers, knowing all about the different reverb effects and how to use them super creatively is key.
This way, you’ll bang out mixes that sound razor sharp, professional, and unique, which is why I’m breaking down everything you need to know, like:
- All types of reverb effects (e.g., spring reverb, convolution reverb, digital reverb, etc.) ✓
- Key parameters like decay time and pre-delay ✓
- How to use shimmer and modulated reverb creatively ✓
- Tips for layering multiple reverbs in your mix ✓
- The role of diffusion and damping ✓
- Using EQ to clean up reverb tails ✓
- When to use mono versus stereo reverb ✓
- Applying sidechain compression to reverb ✓
- Automating reverb for dynamic changes ✓
- Much more about reverb effects ✓
By knowing all about the different reverb effects, you can really transform your mixes and take your music production game to the next level.
Plus, your tracks will always be balanced, professional, and captivating.
This way, you can create mixes with clarity, depth, and direct sound like a boss.
Table of Contents
- What Do Reverb Effects Bring to the Table?
- Types of Reverb Effects
- Room Reverb Effects
- Hall Reverb Effects
- Chamber Reverb Effects
- Plate Reverb Effects
- Spring Reverb Effects
- Convolution Reverb Effects
- Algorithmic Reverb Effects
- Gated Reverb Effects
- Reverse Reverb Effects
- Non-Linear Reverb Effects
- Shimmer Reverb Effects
- Modulated Reverb Effects
- Cathedral Reverb Effects
- Pro Tip: Digital Reverb Effects
- Key Reverb Parameters
- 15 Pro Tips for Using Reverb Effects Like a Boss
- Final Thoughts
What Do Reverb Effects Bring to the Table?
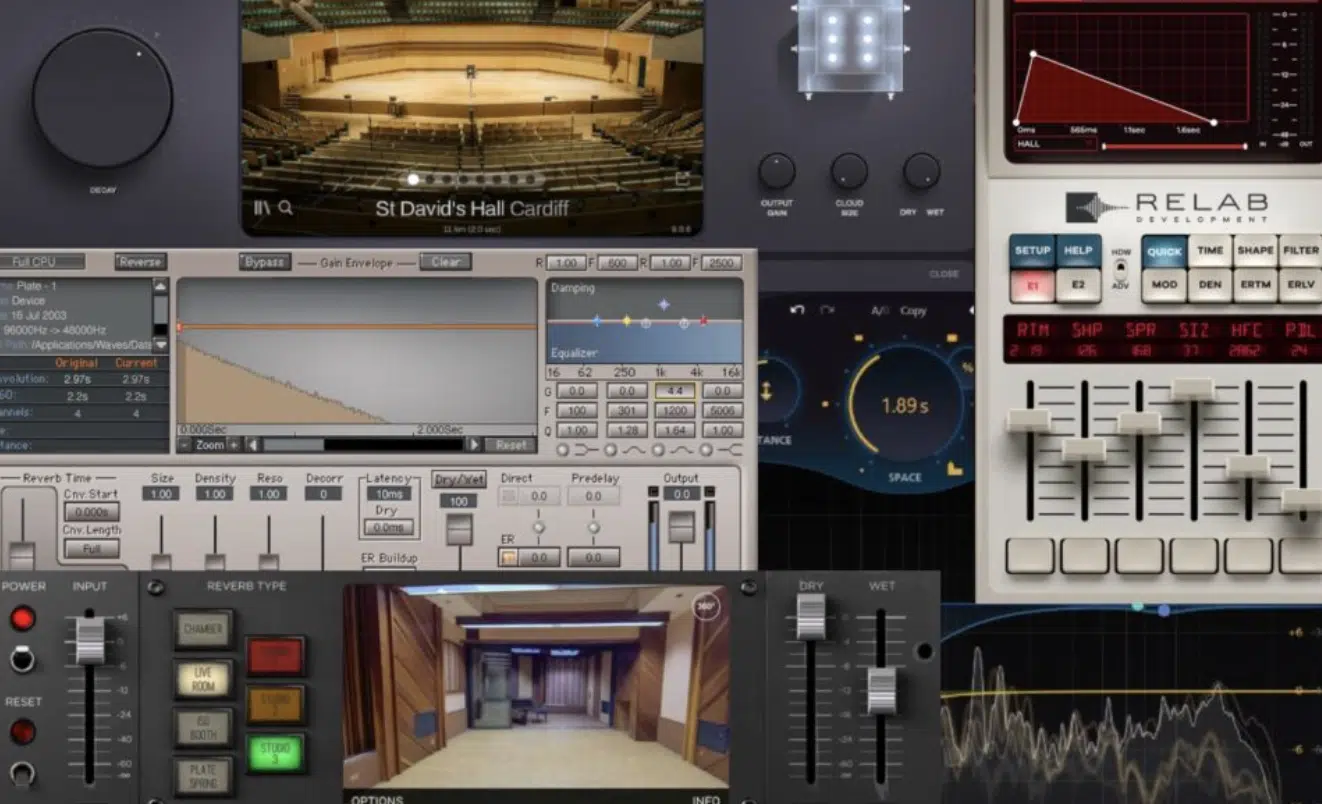
Reverb effects recreate how sound reflects and disperses in a physical space 一 giving your tracks a sense of environment and realism.
By adding reverb, you can simulate anything from a tight studio room to a huge hall to add depth and dimension to individual sounds.
For example, using a short reverb tail on hi-hats can make them feel crisp yet natural, while a longer tail on synth chords can create a dreamy atmosphere.
Key parameters like decay time and pre-delay let you fine-tune the size and character of the simulated space.
But just keep in mind reverb isn’t just about space…
It’s also about mood and how your reverb sounds interact with the rest of the mix.
Don’t worry, we’ll break it all down throughout the article so you get a solid understanding of different reverb effects.
Types of Reverb Effects
There are so many reverb effects out there, each with their own unique character/vibe. So, to kick things off, let’s break down the most common reverb types and how you can creatively use them every day.
-
Room Reverb Effects
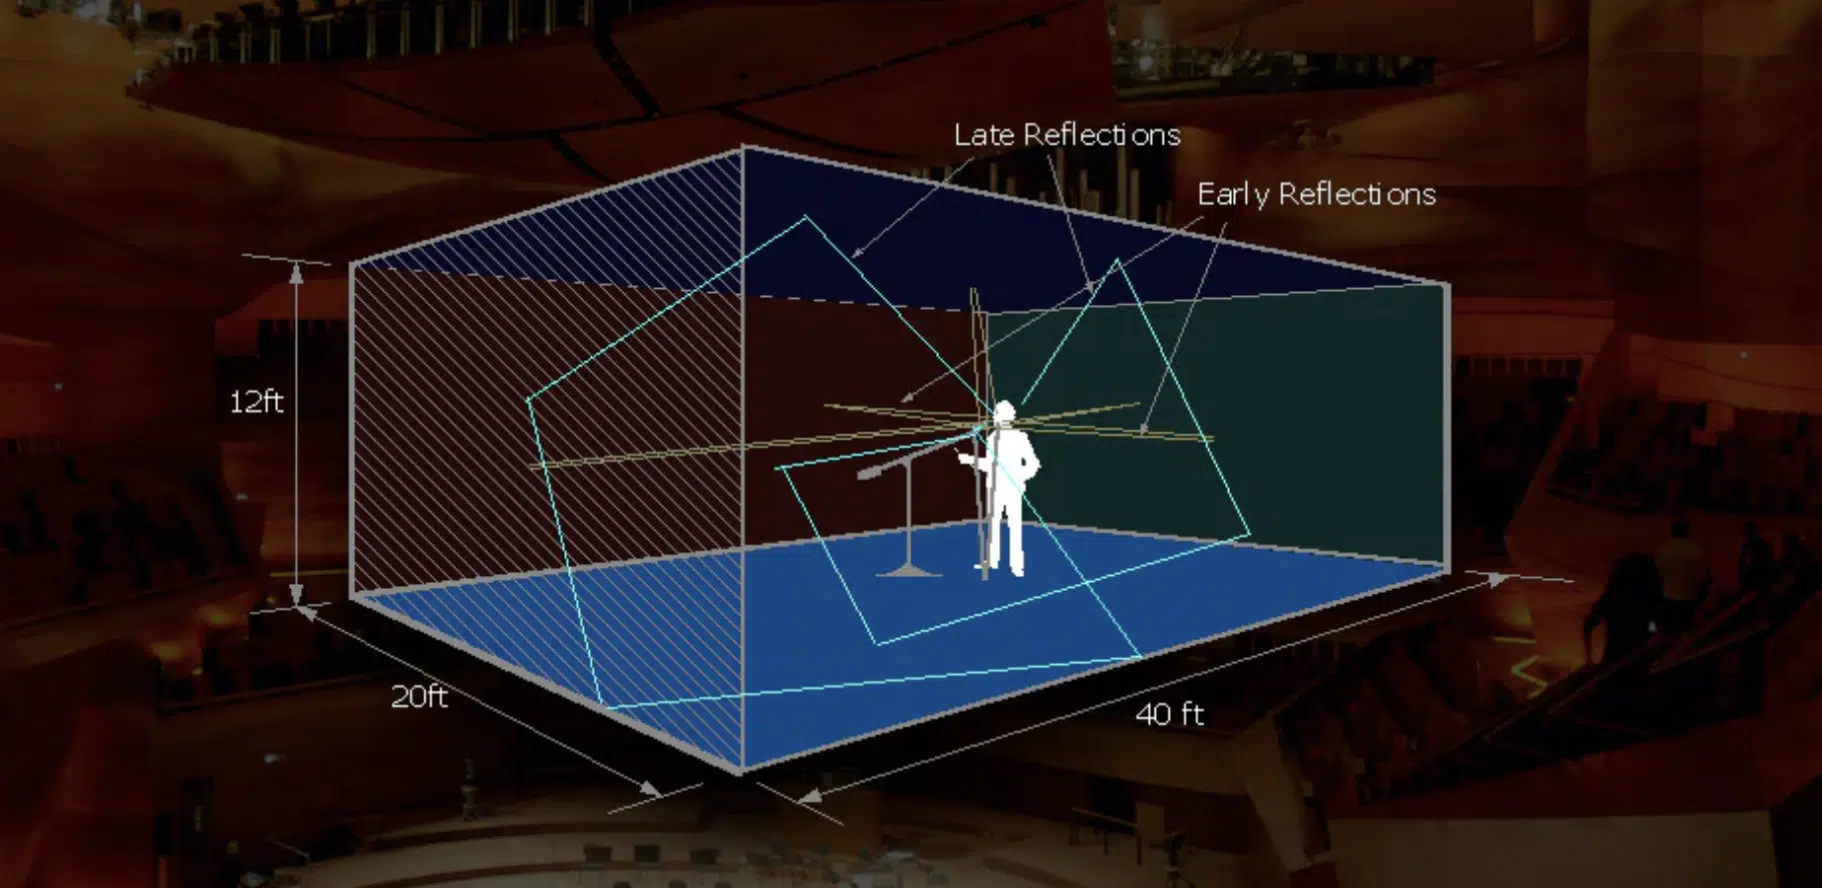
Room reverb captures the acoustics of small to medium spaces 一 giving you tight reflections and a natural sense of space.
It’s perfect for adding subtle ambiance to drums, claps, or vocal layers without overpowering the mix, which you never want.
The settings that are most common for room reverb include a:
- Decay time of 0.4 to 0.9 seconds
- No more than 10 ms of pre-delay
- Wet/dry mix around 20-30%
For example, adding room reverb to a snare can make it feel punchy yet grounded, especially when paired with a slight high-frequency boost in the reverb EQ.
Just don’t forget to roll off lows below 150 Hz so the low-end energy stays clean.
My advice is to use room reverb sparingly on instruments like hi-hats or percussive layers to create separation while keeping the groove tight.
This is because too much reverb can wash out their sharp transients and make the rhythm lose definition, and nobody has time for that.
By keeping the decay short and the wet mix low (around 10-15%), you can add a natural sense of space without wrecking the precision/clarity of your percussion.
-
Hall Reverb Effects

Next up we have hall reverb, which emulates the large, reflective sound of concert halls 一 delivering smooth, long tails that enhance atmosphere and fullness.
This type is ideal for adding a grand, spacious feel to elements like vocal harmonies, pad layers, or synth stabs.
The most on point settings for hall reverb usually include a:
- Decay time of 2 to 4 seconds
- Pre-delay between 25-45 ms
- Wet/dry mix of 30-40%
For example, if you want a vocal ad-lib to fly high, hall reverb can give it an epic, otherworldly presence while still blending smoothly with the mix.
Rolling off frequencies below 200 Hz and slightly cutting at 300-400 Hz prevents the reverb from adding muddiness.
You’ll want to add slight modulation on the tail to give the reverb movement and avoid static, lifeless reflections.
NOTE: I suggest experimenting with a 2-3 Hz modulation rate and a depth setting of around 20-30% to create subtle, natural movement in the reverb tail.
This adds a sense of liveliness and helps the reverb blend flawlessly into the mix, especially in sections that don’t have a lot going on or breakdowns.
Again, avoid overdoing it, as too much modulation can make the reverb feel unnatural and distracting (you’ll sound like a full-blown amateur).
-
Chamber Reverb Effects
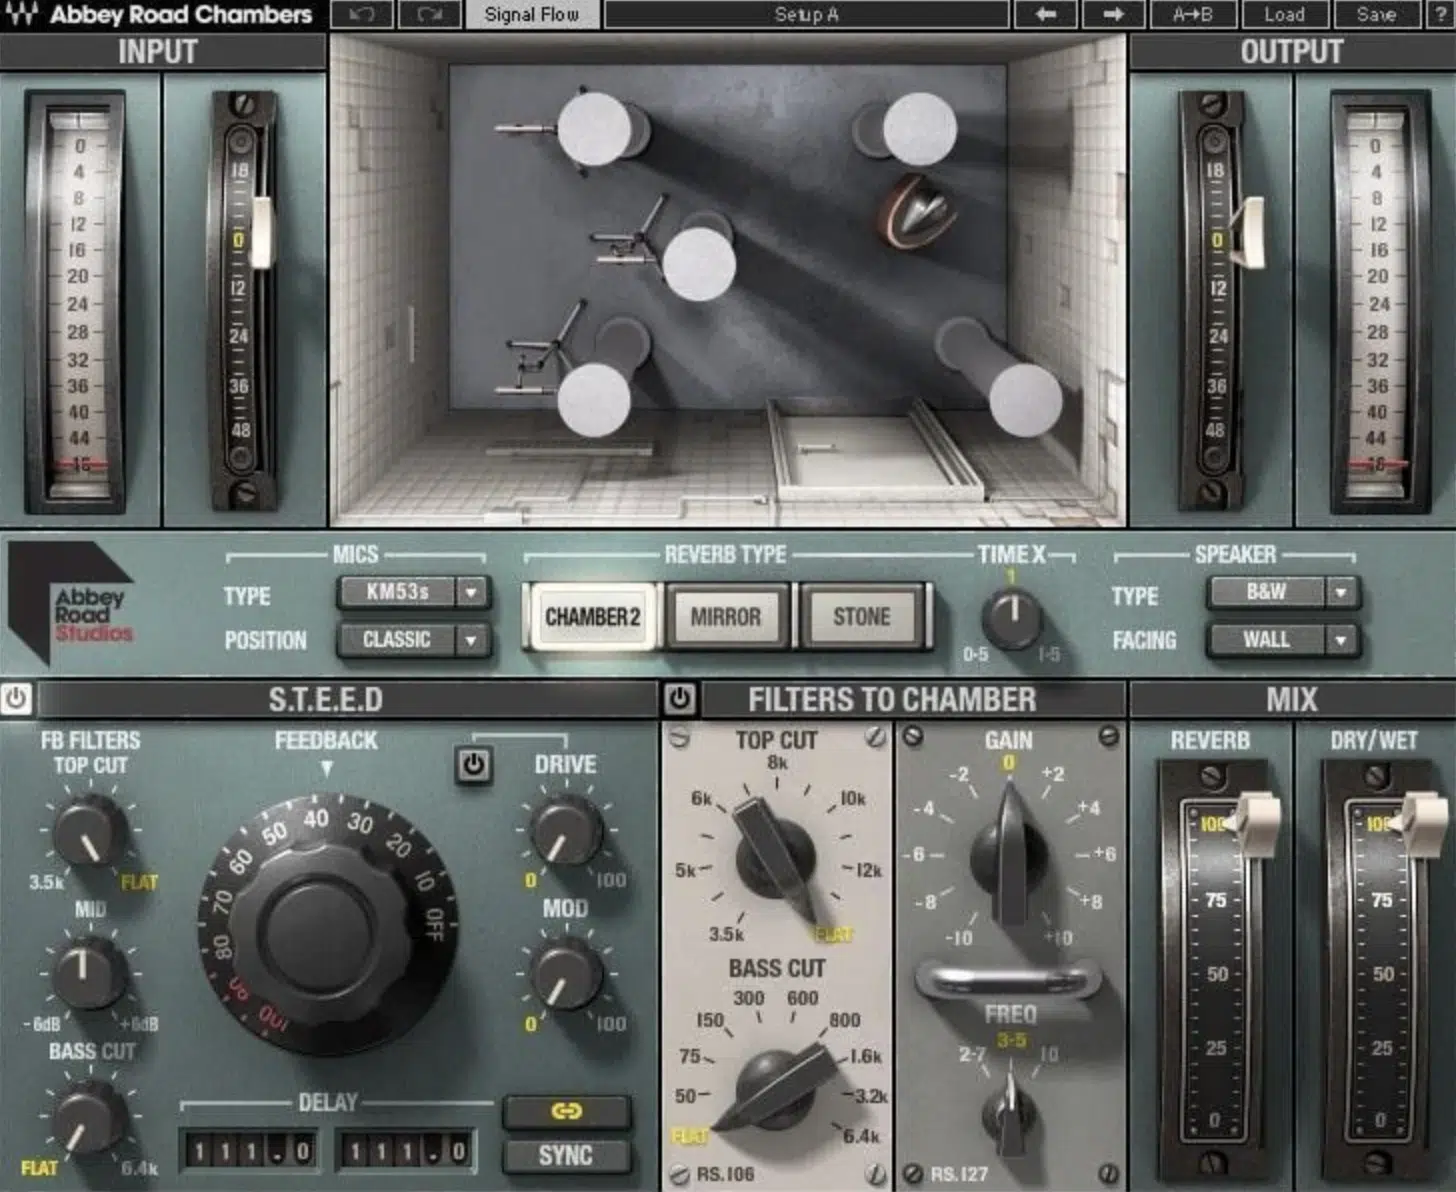
Chamber reverb replicates the sound of a dedicated echo chamber (a physically reflective room designed to generate natural, smooth reverberations).
This type of reverb provides a dense, warm texture that’s usually used to enhance vocals or melodic instruments.
A decay time of 1.5 to 2.5 seconds and a pre-delay of 10-20 ms are a good place to start because it strikes a perfect balance between clarity and atmosphere.
For example, adding chamber reverb to a vocal hook can give it that vintage richness, especially with a slight high-end boost around 5-7 kHz in the reverb EQ.
My advice is to roll off low frequencies below 200 Hz to keep the reverb from cluttering the mix and muddying bass-heavy elements.
NOTE: Use chamber reverb on backing vocals to make them blend perfectly with the lead to create a super fluid, epic soundscape.
You can apply subtle sidechain compression to the chamber reverb, triggered by the lead vocal, to ensure the reverb ducks slightly whenever the lead is active.
This will keep the lead vocal front and center while still allowing the backing vocals to fill the space when the lead takes a break.
Also, try layering the chamber reverb with a touch of short plate reverb for added density and a smoother transition between the lead and backing vocals.
-
Plate Reverb Effects
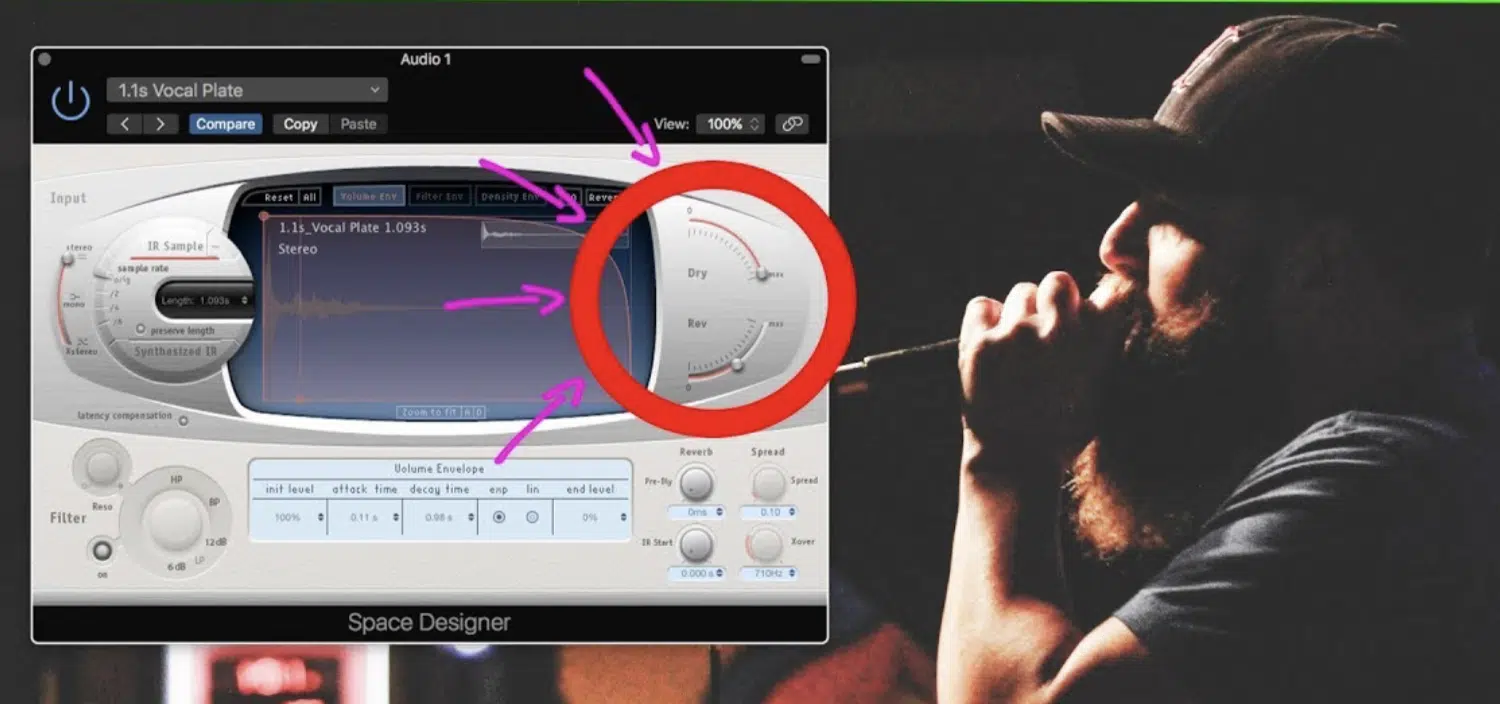
Plate reverb, originally created using a vibrating metal plate/large sheet, offers a bright, smooth reverb tail with a fast response time.
It’s a go-to for making vocals, snares, and even lead synths pop in the mix.
The settings that work best when it comes to plate reverb usually include a:
- Decay time of 1 to 2 seconds
- Minimal pre-delay (5-10 ms)
- Wet/dry mix of 20-30%
For example, a snare drum with plate reverb gains a crisp, punchy presence that feels classic yet modern, especially in genres like hip-hop or trap.
Adding a small boost around 3 kHz in the reverb tail enhances its clarity, so definitely keep that in mind.
My advice is to keep plate reverb tightly controlled with automation 一 lower the wet mix during verses and bring it up in choruses for dynamic impact.
Using stereo widening on the plate reverb can also add dimension to sparse mixes and add a bit of edge.
To do so, use a stereo widening plugin or reverb settings with a width control, pushing the width to around 120-150% for subtle enhancement.
On the flip side, you can pan the left and right channels of the reverb slightly off-center (e.g., -10% left and +10% right) to create a more authentic spread without losing focus.
NOTE: For extra edge, I like to add a touch of harmonic distortion or saturation to the reverb return, which can help it cut through the mix while maintaining warmth.
-
Spring Reverb Effects
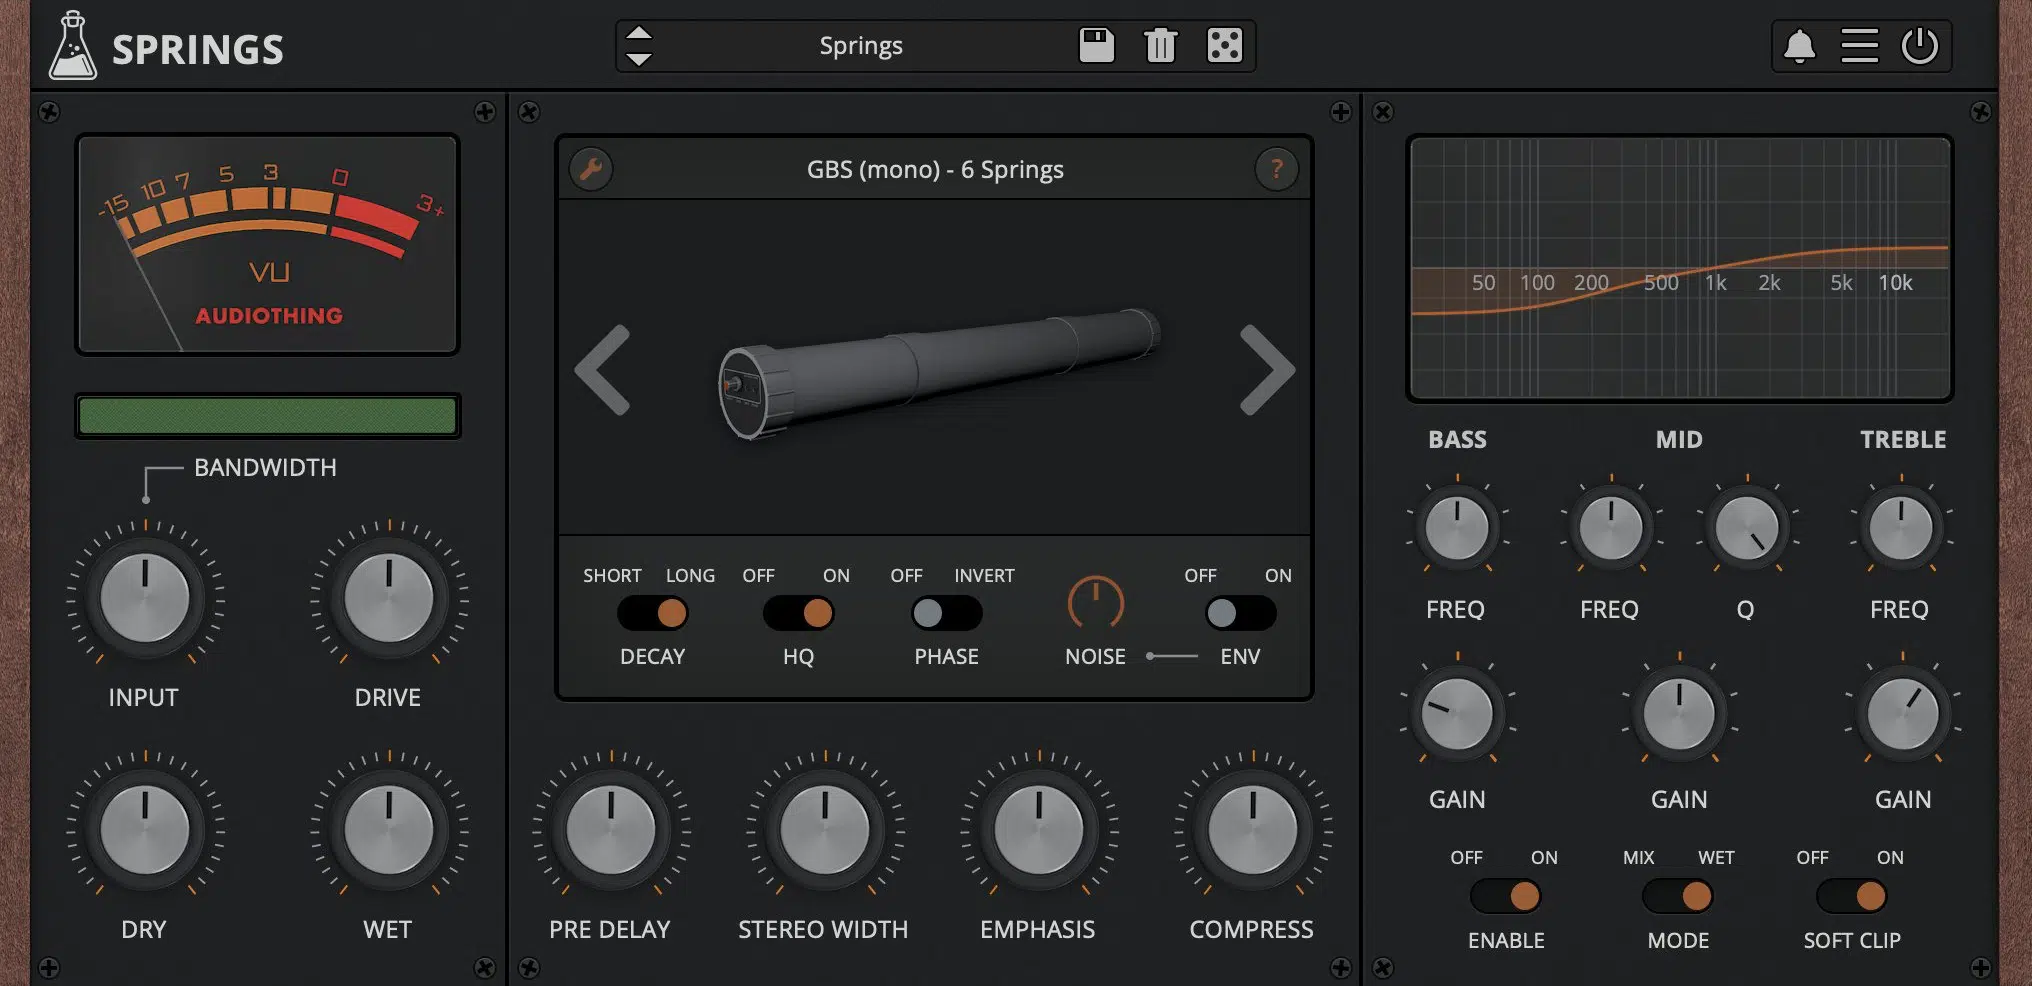
Spring reverb, known for its distinctive metallic and “boingy” quality, is a unique tool often used for adding character and grit.
It’s especially effective on guitars, drum loops, and when you’re playing around with experimental sound design.
The most effective settings typically include a:
- Short decay time of 0.5 to 1.2 seconds
- Minimal to no pre-delay
- Wet/dry mix of around 15-25%
For example, running a clap through a spring reverb can add a raw, vintage texture perfect for lo-fi or indie trap tracks.
My advice is to use spring reverb carefully on lead elements, as its unique tone can easily overwhelm a mix if overdone.
A great tip is to blend spring reverb with a darker EQ curve to make it less piercing and more fluid within the overall track.
To do so, apply a low-pass filter to the spring reverb return 一 cutting frequencies above 6-8 kHz to tame the high-end harshness.
You can also slightly boost the mids around 500-800 Hz to give that extra warmth and body, which makes the reverb feel like it really belongs.
For an even smoother result, try adding a small amount of pre-delay (around 10 ms) to separate the reverb from the dry signal.
This helps it blend more naturally without overpowering.
-
Convolution Reverb Effects
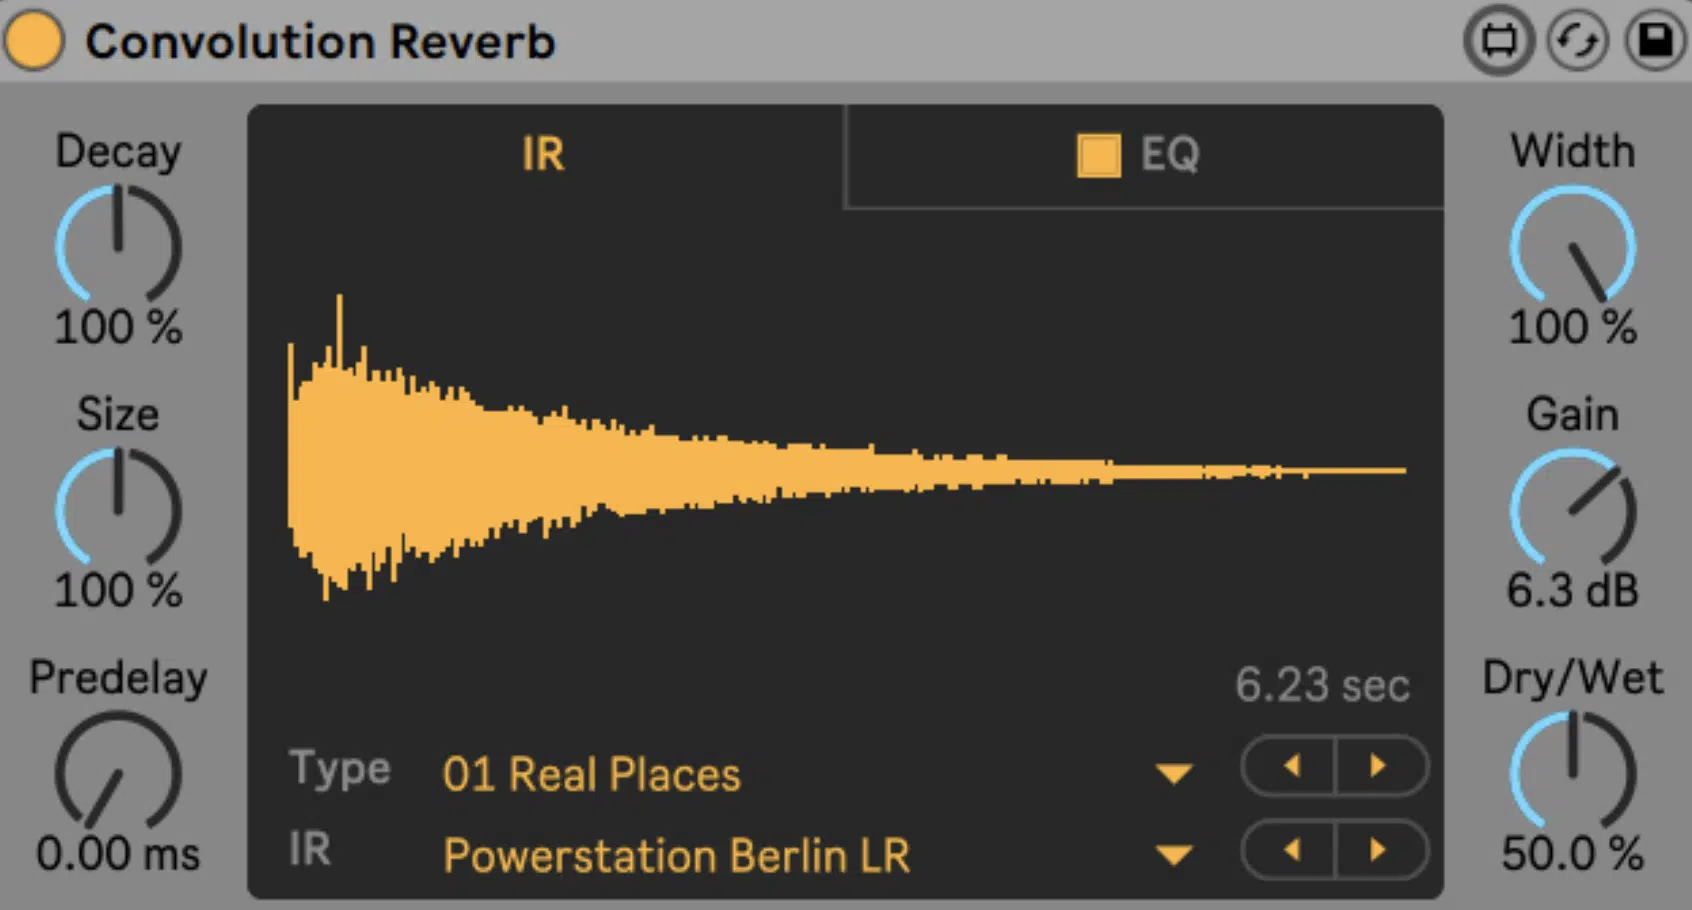
Convolution reverb uses impulse responses (IRs) to replicate real acoustic spaces with high precision, making it an ideal choice for immersive soundscapes.
I suggest you start with the following settings:
- A decay time based on the IR’s original space (typically 1.5 to 5 seconds)
- A pre-delay of 20-40 ms to allow the dry signal to shine
For example, using a convolution reverb IR of a cathedral can add a dramatic quality to choir-like vocal harmonies or long, sustained chords.
Also, keep in mind that adjusting the wet/dry mix to around 30-40% ensures the reverb enhances your music without overpowering it.
My advice is to experiment with unconventional IRs (like forests or subway tunnels) to create unique textures for ambient layers.
NOTE: Blend convolution reverb with a subtle shimmer effect to add a lush, ethereal tail to atmospheric pads or synths.
To do so, use a convolution reverb with a long decay time (4-6 seconds) as the foundation…
Then, route it to a shimmer reverb plugin or a pitch-shifting effect set an octave up with a mix of around 15-25%.
Don’t forget to tweak the shimmer reverb’s wet/dry mix to keep it subtle so it enhances the lushness without dominating the overall sound.
For added control, apply a high-pass filter on the shimmer effect, cutting frequencies below 500 Hz to prevent it from clashing with the convolution reverb’s fuller tail.
-
Algorithmic Reverb Effects
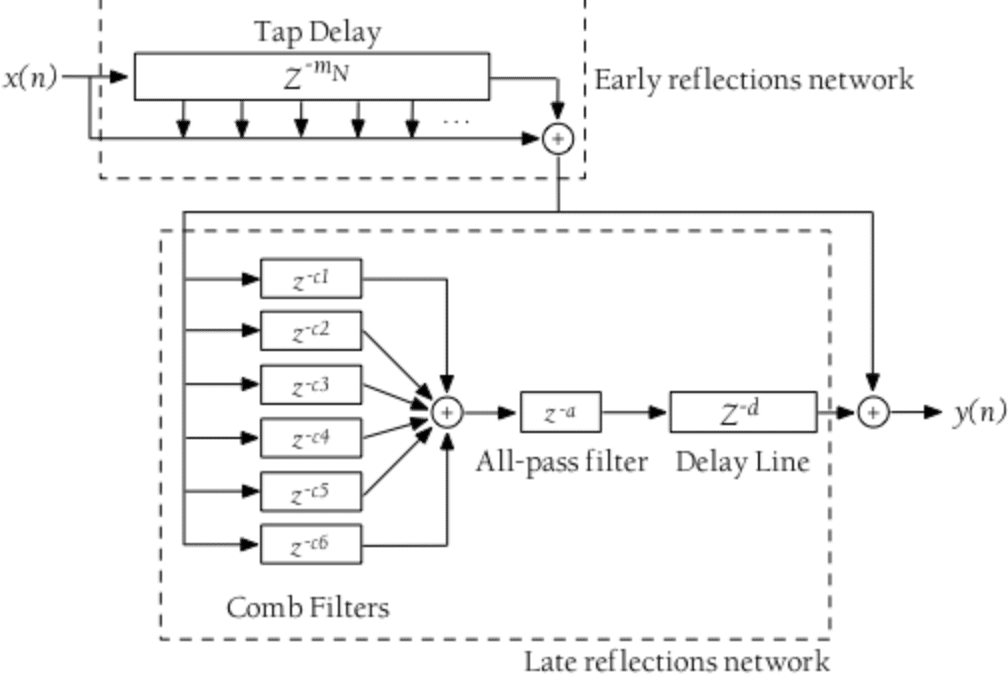
Algorithmic reverb generates reverb tails using complex mathematical algorithms, offering flexible control over parameters and creative shaping.
It’s super versatile and can help you design anything from natural room acoustics to entirely artificial spaces, and everything in between.
Common settings include:
- Decay times between 1.5 to 3 seconds
- Pre-delay of 15-30 ms
- Awet/dry mix of 20-40%
For example, applying algorithmic reverb to a lead synth with a slightly extended tail can create an edgy, cinematic vibe.
Try playing around with the density and diffusion parameters 一 keeping them low for sharper, reflective reverb or higher for smoother, more immersive tails.
Also, automate the wet/dry mix during transitions or drops to create movement and drama in your arrangement (it works great).
Also, dialing in subtle modulation to the reverb tail can also add a sense of life and complexity to static tracks.
To do so, set the modulation rate to around 0.5-2 Hz and the depth to around 10-20%, depending on how subtle or pronounced you want the movement to be.
This will create a gentle pitch or amplitude variations in the reverb tail so it won’t sound basic, boring, or static.
For even more control, use an LFO or modulation plugin linked to the reverb’s parameters, and adjust the intensity to complement the energy of your track.
Lighter modulation for ambient sections and more pronounced modulation for dramatic risers or drops.
-
Gated Reverb Effects
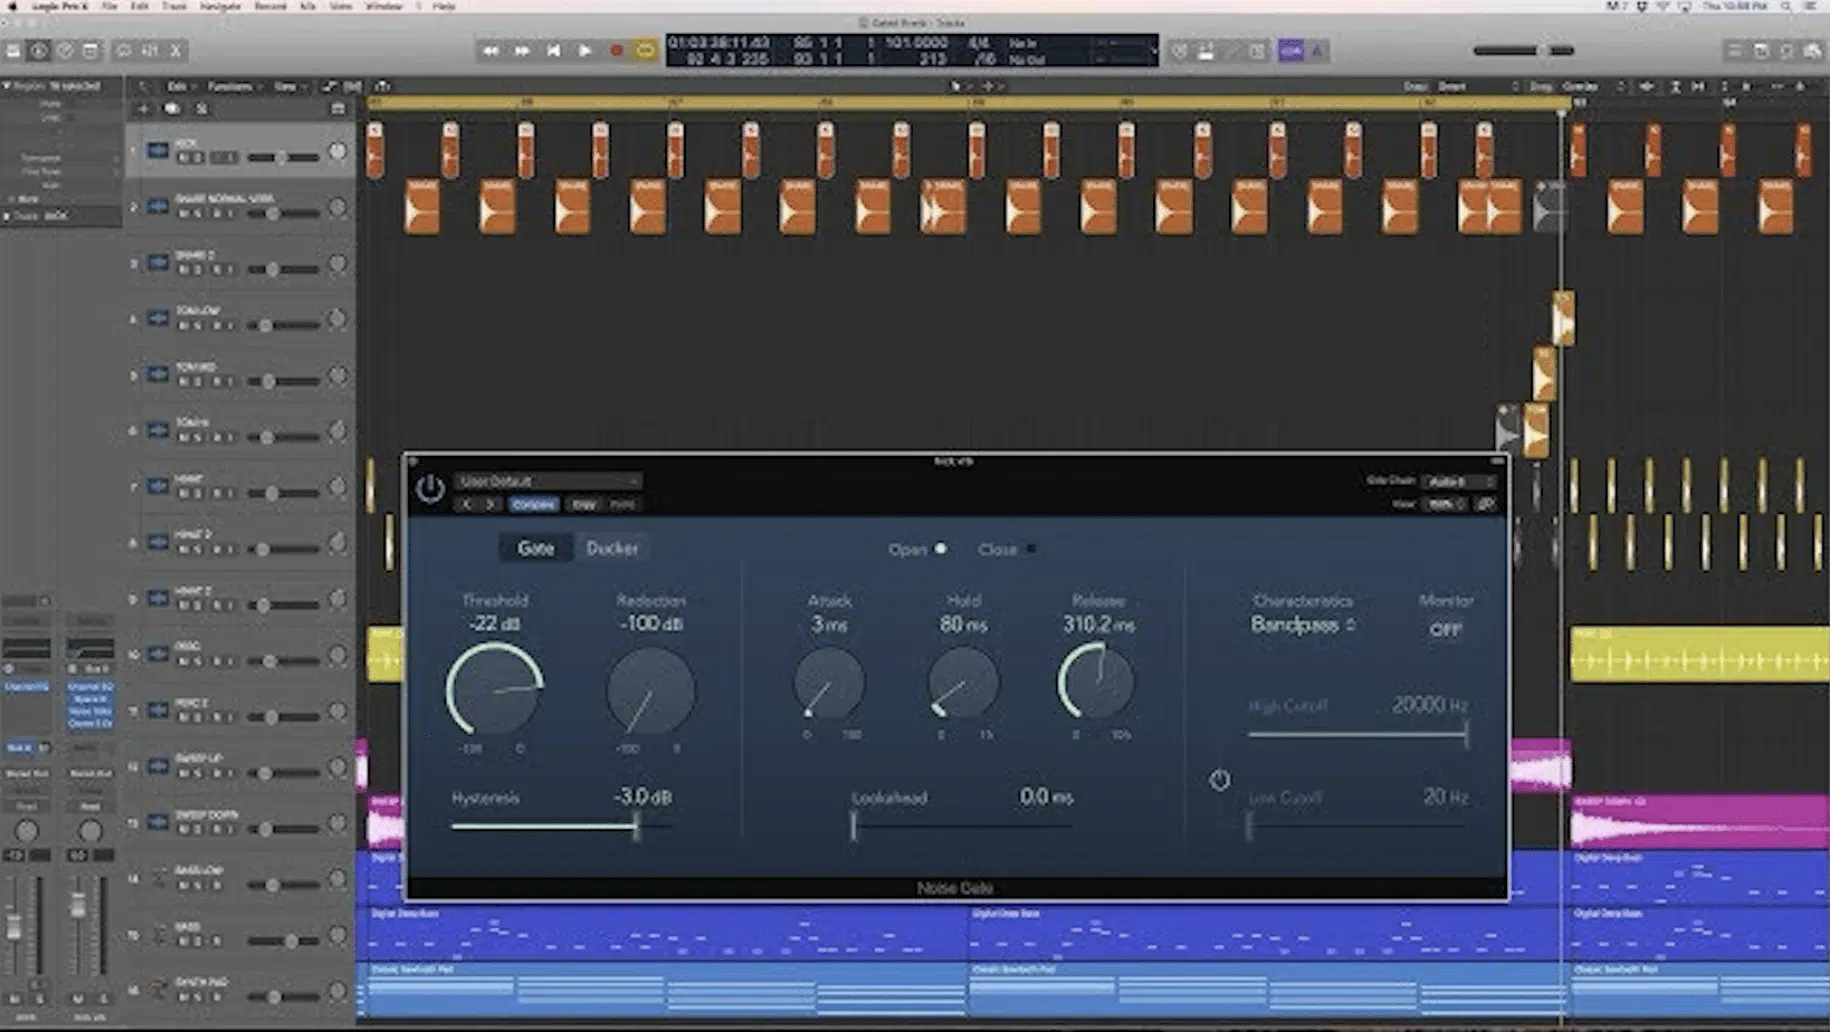
Gated reverb creates a dramatic, punchy effect by cutting off the reverb tail abruptly using a noise gate.
Gated reverb is iconic in its use on drums (particularly snares) to create an explosive yet controlled sound that people absolutely love.
You’ll want to start with a decay time of 1-2 seconds, a pre-delay of 10-15 ms, and a gate threshold that eliminates softer reverb tails.
All while preserving the loudest reflections, of course.
For example, a gated reverb on a trap snare can add weight and punch 一 making it stand out in dense mixes like the professionals do.
My advice is to match the reverb’s decay to the tempo of your track to the cut-off feels super rhythmic and not in any way jarring.
A great tip is to use gated reverb carefully on vocals for special effects, like giving rap ad-libs an impactful, percussive quality.
Blending gated reverb with dry percussion can also add depth while keeping the groove tight and focused, so keep that in mind as well.
-
Reverse Reverb Effects

Reverse reverb flips the reverb tail, creating a swelling effect that rises into the dry signal, usually used for transitions or to some much-needed build tension.
It’s actually one of my favorite reverb effects, so you’ll definitely want to try it out.
Reverse reverb typically works best with decay times of 1-2 seconds, pre-delay of 10-20 ms, and a wet/dry mix of 50-70% for dramatic builds.
For example, applying reverse reverb to a vocal phrase or snare hit can create a haunting lead-in, super effective in hip-hop or cinematic trap intros.
You should always try to freeze and print the reverse reverb as an audio track to fine-tune its timing and blend with automation.
Also, layer reverse reverb with subtle delays or panned effects to create a wider, more complex transition.
Playing around with different reverb types before reversing them can also lead to unique textures, such as using a hall reverb for a grand swelling effect.
For example, apply a 2-second hall reverb with a 20-30% wet mix to a vocal phrase, then bounce it to audio and reverse the clip.
Then, add a ping-pong delay with feedback set to 20-25% and pan the delays slightly left and right for extra width (as we talked about earlier).
To create even more depth, layer the reverse reverb with a low-pass filtered shimmer effect (cutting frequencies above 8 kHz) to give the swell a dreamy, ethereal feel.
-
Non-Linear Reverb Effects
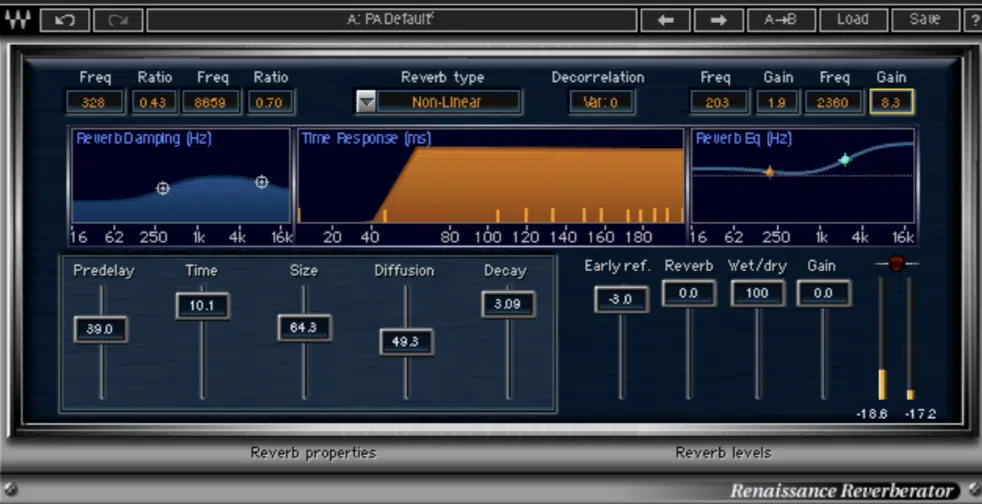
Non-linear reverb features irregular decay curves that give you unique, abrupt tails or gated-like effects to play around with.
This type of reverb is great for innovative sound design and adding unusual textures to your mix so your tracks really stand out.
The most typical settings might include a:
- Decay time of 1-1.5 seconds
- Pre-delay of 5-15 ms
- Wet/dry mix of 30-50%
This all depends on the intensity desired in the early part of your track, of course.
For example, applying non-linear reverb to percussion (e.g., kicks or claps) can create a sharp, edgy sound that cuts through heavy basslines.
My advice is to use non-linear reverb in breakdowns or intros where its unconventional decay can really hook people in and keep them interested.
I suggest mixing non-linear reverb with distortion or saturation to create some sick gritty, industrial tones that are perfect for layering under bass-heavy elements.
Tuning the EQ of the reverb to emphasize specific frequencies, like 2-4 kHz, can make its impact even more pronounced as well.
-
Shimmer Reverb Effects
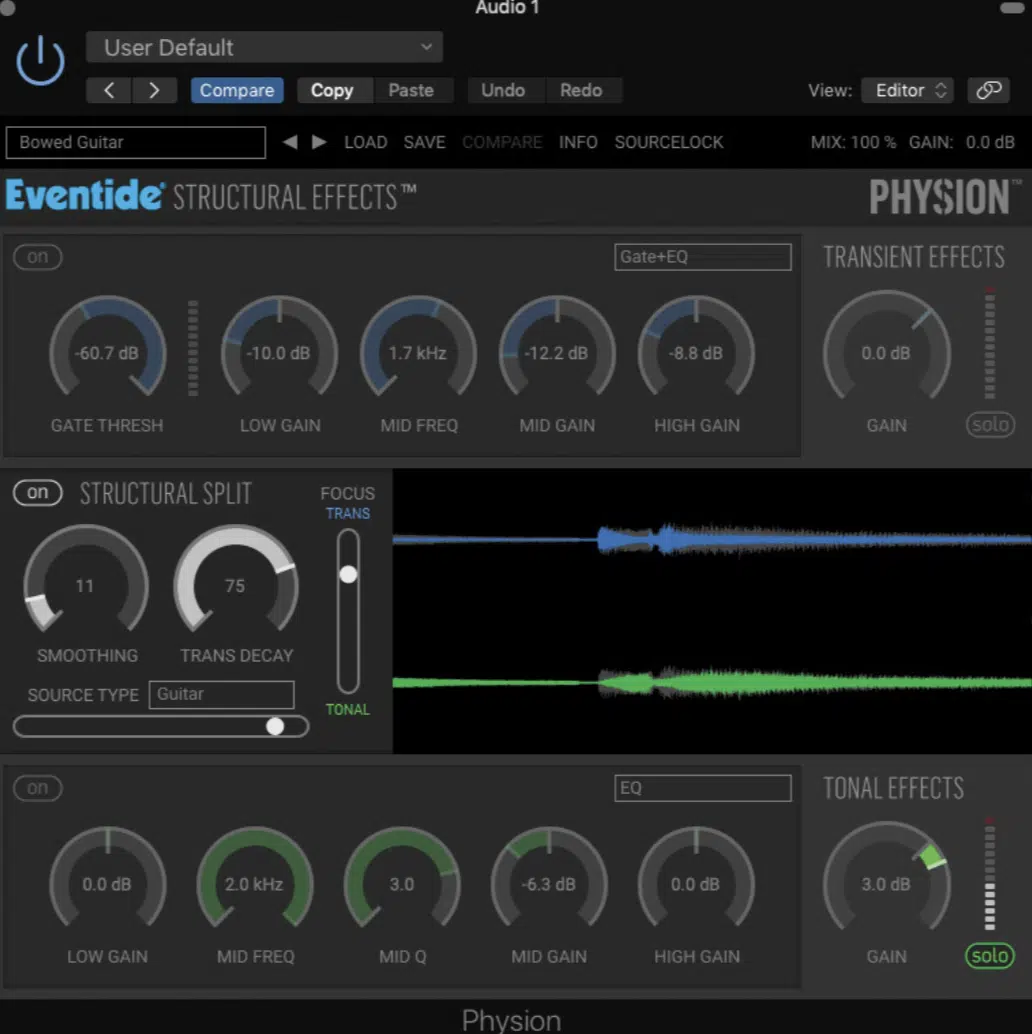
Shimmer reverb creates ethereal, otherworldly textures by combining pitch-shifted reflections (often an octave up) with long tails.
It’s really perfect for pads, leads or more atmospheric sounds 一 really wherever you want to add a dreamy, cinematic quality to your tracks, really.
When it comes to the settings, you can start off with a decay time of 4-8 seconds, pre-delay of 30-50 ms, and a wet/dry mix of 40-60%.
For example, using shimmer reverb on a synth lead can transform it into a floating, angelic centerpiece in your mix.
My advice is to pair shimmer reverb with subtle low-pass filtering to tame high-end harshness caused by the pitch-shifted reflections.
For example, apply shimmer reverb with a 4-6 second decay time and a pitch shift of +12 semitones to a synth lead.
Then, use a low-pass filter to roll off frequencies above 10 kHz to smooth out any harshness that you’re still dealing with.
Automate the wet mix from 30% to 50% during a buildup to gradually enhance the ethereal ambiance and create anticipation before the drop (which is key).
On vocal chops in hooks, keep the shimmer reverb’s mix at around 20-25% for subtle sparkle, and layer it with a short plate reverb for extra body/cohesion.
NOTE: Automate the wet mix during transitions to create evolving textures 一 making it perfect for buildups or breakdowns.
-
Modulated Reverb Effects

Modulated reverb is up next, and this one integrates effects like chorus or flanger into the reverb tail to add motion and richness.
This type of reverb is perfect for creating evolving textures on:
- Synths
- Guitars
- Even vocals
Start with a decay time of 2-5 seconds, pre-delay of 20-40 ms, and a wet/dry mix of 30-50%, depending on the desired intensity and vibe you’re going for.
For example, applying modulated reverb to a pad can add life and movement so it doesn’t sound static or dull.
My advice is to adjust the modulation rate and depth carefully 一 too much modulation can make the effect feel overly wobbly or unnatural.
NOTE: Use modulated reverb in stereo mode, widening the soundstage and creating a three-dimensional effect that enhances the mix’s depth altogether.
Mixing it with a subtle delay can also add extra rhythmic complexity, so keep that in mind.
-
Cathedral Reverb Effects
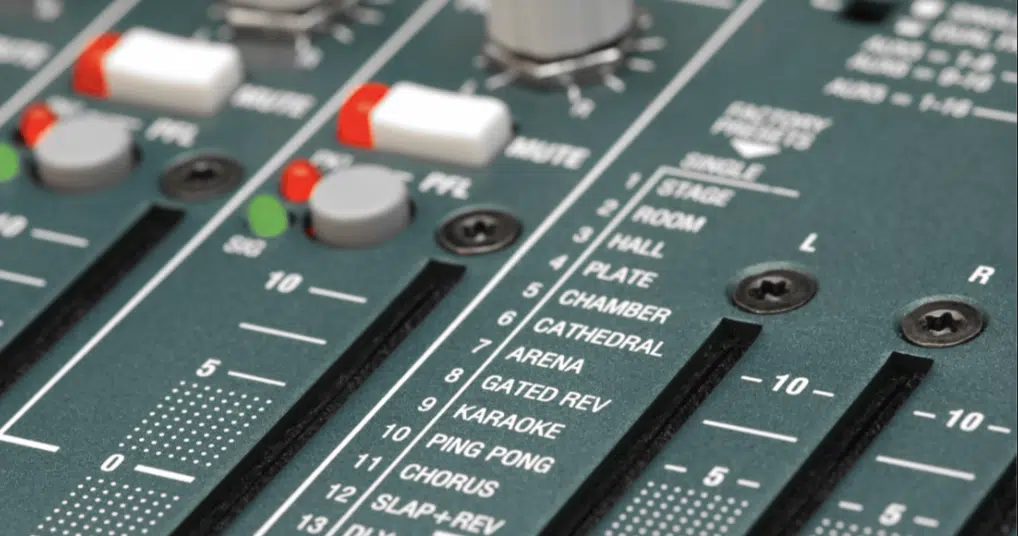
Cathedral reverb simulates the vast, reflective spaces of large cathedrals, giving you long, grand tails with a dramatic, almost sacred quality.
It’s perfect for creating epic atmospheres, especially on vocals, orchestral elements, or sustained pads.
Settings typically include decay times of 6-10 seconds, pre-delay of 40-60 ms, and a wet/dry mix of 50-70%.
For example, applying cathedral reverb to vocal harmonies can make them sound angelic and soaring 一 creating a monumental effect.
You could set the decay time to 6-8 seconds and add a pre-delay of 40-60 ms to maintain clarity while allowing the harmonies to bloom naturally.
To avoid muddiness: roll off frequencies below 250 Hz and slightly cut around 400 Hz, ensuring the reverb complements the vocals without overpowering them.
For added impact, layer the cathedral reverb with a subtle shimmer effect, boosting the high end above 10 kHz to create an ethereal, cascading tail.
It will enhance the monumental vibe, which ends up sounding crazy cool.
-
Pro Tip: Digital Reverb Effects
![]()
Digital reverb is just a broad category that includes all the reverb types generated through digital algorithms (both realistic and creative options).
My advice is to experiment with presets as starting points, then fine-tune parameters like damping and diffusion to match your track’s mood.
Key Reverb Parameters
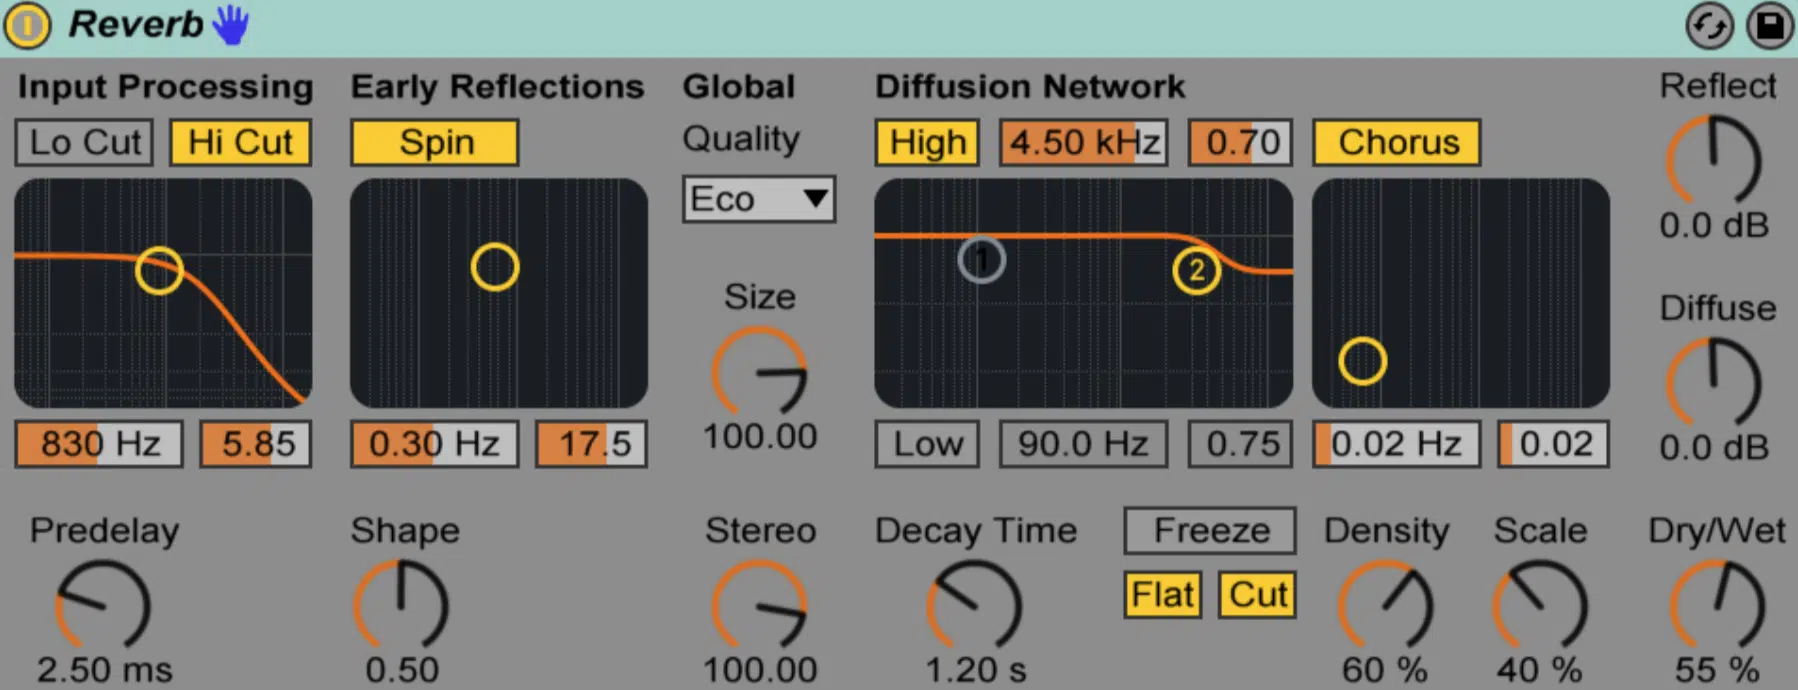
Now that you know all the different types of reverb, let’s talk about the key parameters so you can master all of the reverb effects you want to use. These controls shape the character, size, and behavior of your reverb so you can create the perfect ambiance for your tracks.
-
Decay Time
Decay time determines exactly how long it takes for the reverb tail to fade out, essentially controlling the perceived size of the space.
A short decay time (around 0.3-1 second) works well for percussive elements like claps 一 giving them a quick, tight reflection that doesn’t clutter the mix.
Long decay times (3-6 seconds), on the other hand, can create a grand, spacious feel for pads or vocal effects.
For example, using a 4-second decay on vocal ad-libs in a hook can make them sound atmospheric and expansive.
My advice is to match the decay time to the tempo and density of your track…
Faster tempos need shorter decays to maintain clarity, while slower tempos can accommodate longer tails.
Try to layer different decay times on multiple elements to create a more immersive soundscape without overcrowding.
-
Pre-Delay
Pre-delay sets the time between the original sound and the onset of the reverb, giving the dry signal a moment to breathe before the reflections kick in.
Typical settings range from 10-40 ms, with shorter values adding immediacy and longer values creating separation.
For example, a 25 ms pre-delay on a lead vocal can keep the vocal clear and upfront while adding depth behind it.
You’ll want to use longer pre-delay times on vocals in busy mixes to maintain intelligibility, while shorter pre-delays are great for subtle instruments like hi-hats.
A great trick is to sync pre-delay times to the track’s tempo for rhythmic coherence… Calculate it using the BPM (e.g., 30 ms at 100 BPM).
NOTE: Playing around with longer pre-delays can also add a creative, slapback-like effect to certain elements, like vocal ad-libs or percussive hits.
-
Diffusion
Diffusion controls how dense or scattered the reflections in the reverb tail are, shaping the texture of the space.
Low diffusion settings produce sharp, distinct reflections, making the space feel a bit smaller and more defined (great for rhythmic elements like snares or plucks).
High diffusion values create a smoother, denser reverb, perfect for lush pads or atmospheric effects.
For example, using low diffusion on a snare can make it punchy and defined, while high diffusion on a synth lead can make it lush and immersive.
My advice is to start with medium diffusion (around 50-60%) and tweak it based on the element’s role in the mix.
Make sure to lower diffusion on fast-paced tracks to prevent the reverb from smearing transients, especially on drums.
Layering different diffusion settings across your music can add subtle variations and keep the reverb interesting, so definitely give that a go as well.
-
Damping
Damping adjusts how the high frequencies decay in the reverb tail, mimicking the natural absorption of sound in real spaces.
Low damping (less absorption) retains bright, shimmering tails, ideal for airy pads or melodic plucks.
High damping (more absorption) creates darker, warmer tails, suitable for intimate or vintage sounds.
For example, damping the high end around 5-6 kHz on a vocal reverb can reduce harshness and make it blend smoothly.
My advice is to balance damping based on the mix 一 bright reverb tails can cut through dense mixes, while darker tails are less intrusive.
And, as I said earlier, make sure to automate damping during transitions; start with bright, crisp reflections and gradually darken them for a smoother, dramatic fade-out.
Using damping creatively can make the reverb feel more organic and less digital.
-
Mix (Wet/Dry)
The mix control balances the original (dry) signal with the reverberated (wet) signal 一 determining how much reverb is heard.
A wet/dry mix of 10-20% is common for subtle ambiance on drums or rhythm tracks, while 40-60% works well for more dramatic effects like vocal reverbs or leads.
For example, a 30% wet mix on claps can add a natural room feel without washing them out, while a 50% wet mix on a pad can fill the mix with depth and space.
My advice is to use lower wet mixes for percussive elements to retain clarity and higher mixes for sustained or melodic reverb sounds to maximize ambiance.
NOTE: Parallel processing is another great technique 一 sending your dry signal to a reverb bus and blending the two for better control.
15 Pro Tips for Using Reverb Effects Like a Boss
Now, to close out this article, let’s talk about some of my favorite tips to help you use reverb like a boss so you can enhance your mix while keeping it clean/professional.
#1. EQ Your Reverb
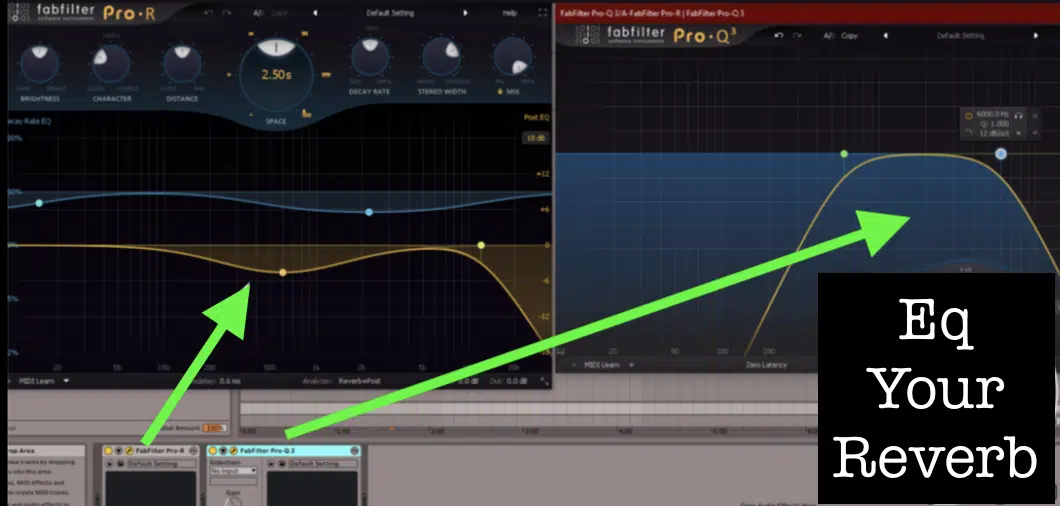
Always EQ the reverb return channel to prevent muddiness in your mix.
For example, rolling off frequencies below 200 Hz can stop reverb tails from interfering with your bass elements, while cutting 300-500 Hz reduces boxiness.
Boost around 3-5 kHz to enhance clarity, especially on vocals or snares.
My personal advice is to treat the reverb like its own instrument and tweak it to fit your mix using a high-pass or low-pass filter.
For added precision, use a linear phase EQ to avoid introducing phase issues, especially when dealing with low-end cuts on reverb.
When working with percussive elements like claps or snares, you might want to apply a gentle shelf boost around 7-10 kHz to give the reverb a crisp, airy feel.
On the other hand, if the reverb on vocals feels too harsh, apply a narrow cut around 2-3 kHz, which can help tame any nasal or piercing frequencies in the tail.
On instruments like synth leads, experiment with a low-pass filter set to 12-15 kHz 一 softening the reverb to create a smoother, more professional sound.
For even more control, try dynamic EQ to target specific frequencies only when they become too prominent, such as an automated cut in the 1-2 kHz range during louder vocal peaks.
Also, layering a second reverb with different EQ settings (such as rolling off everything above 8 kHz for warmth) can create a more complex, textured reverb tail without overcrowding the mix.
#2. Automation is Key
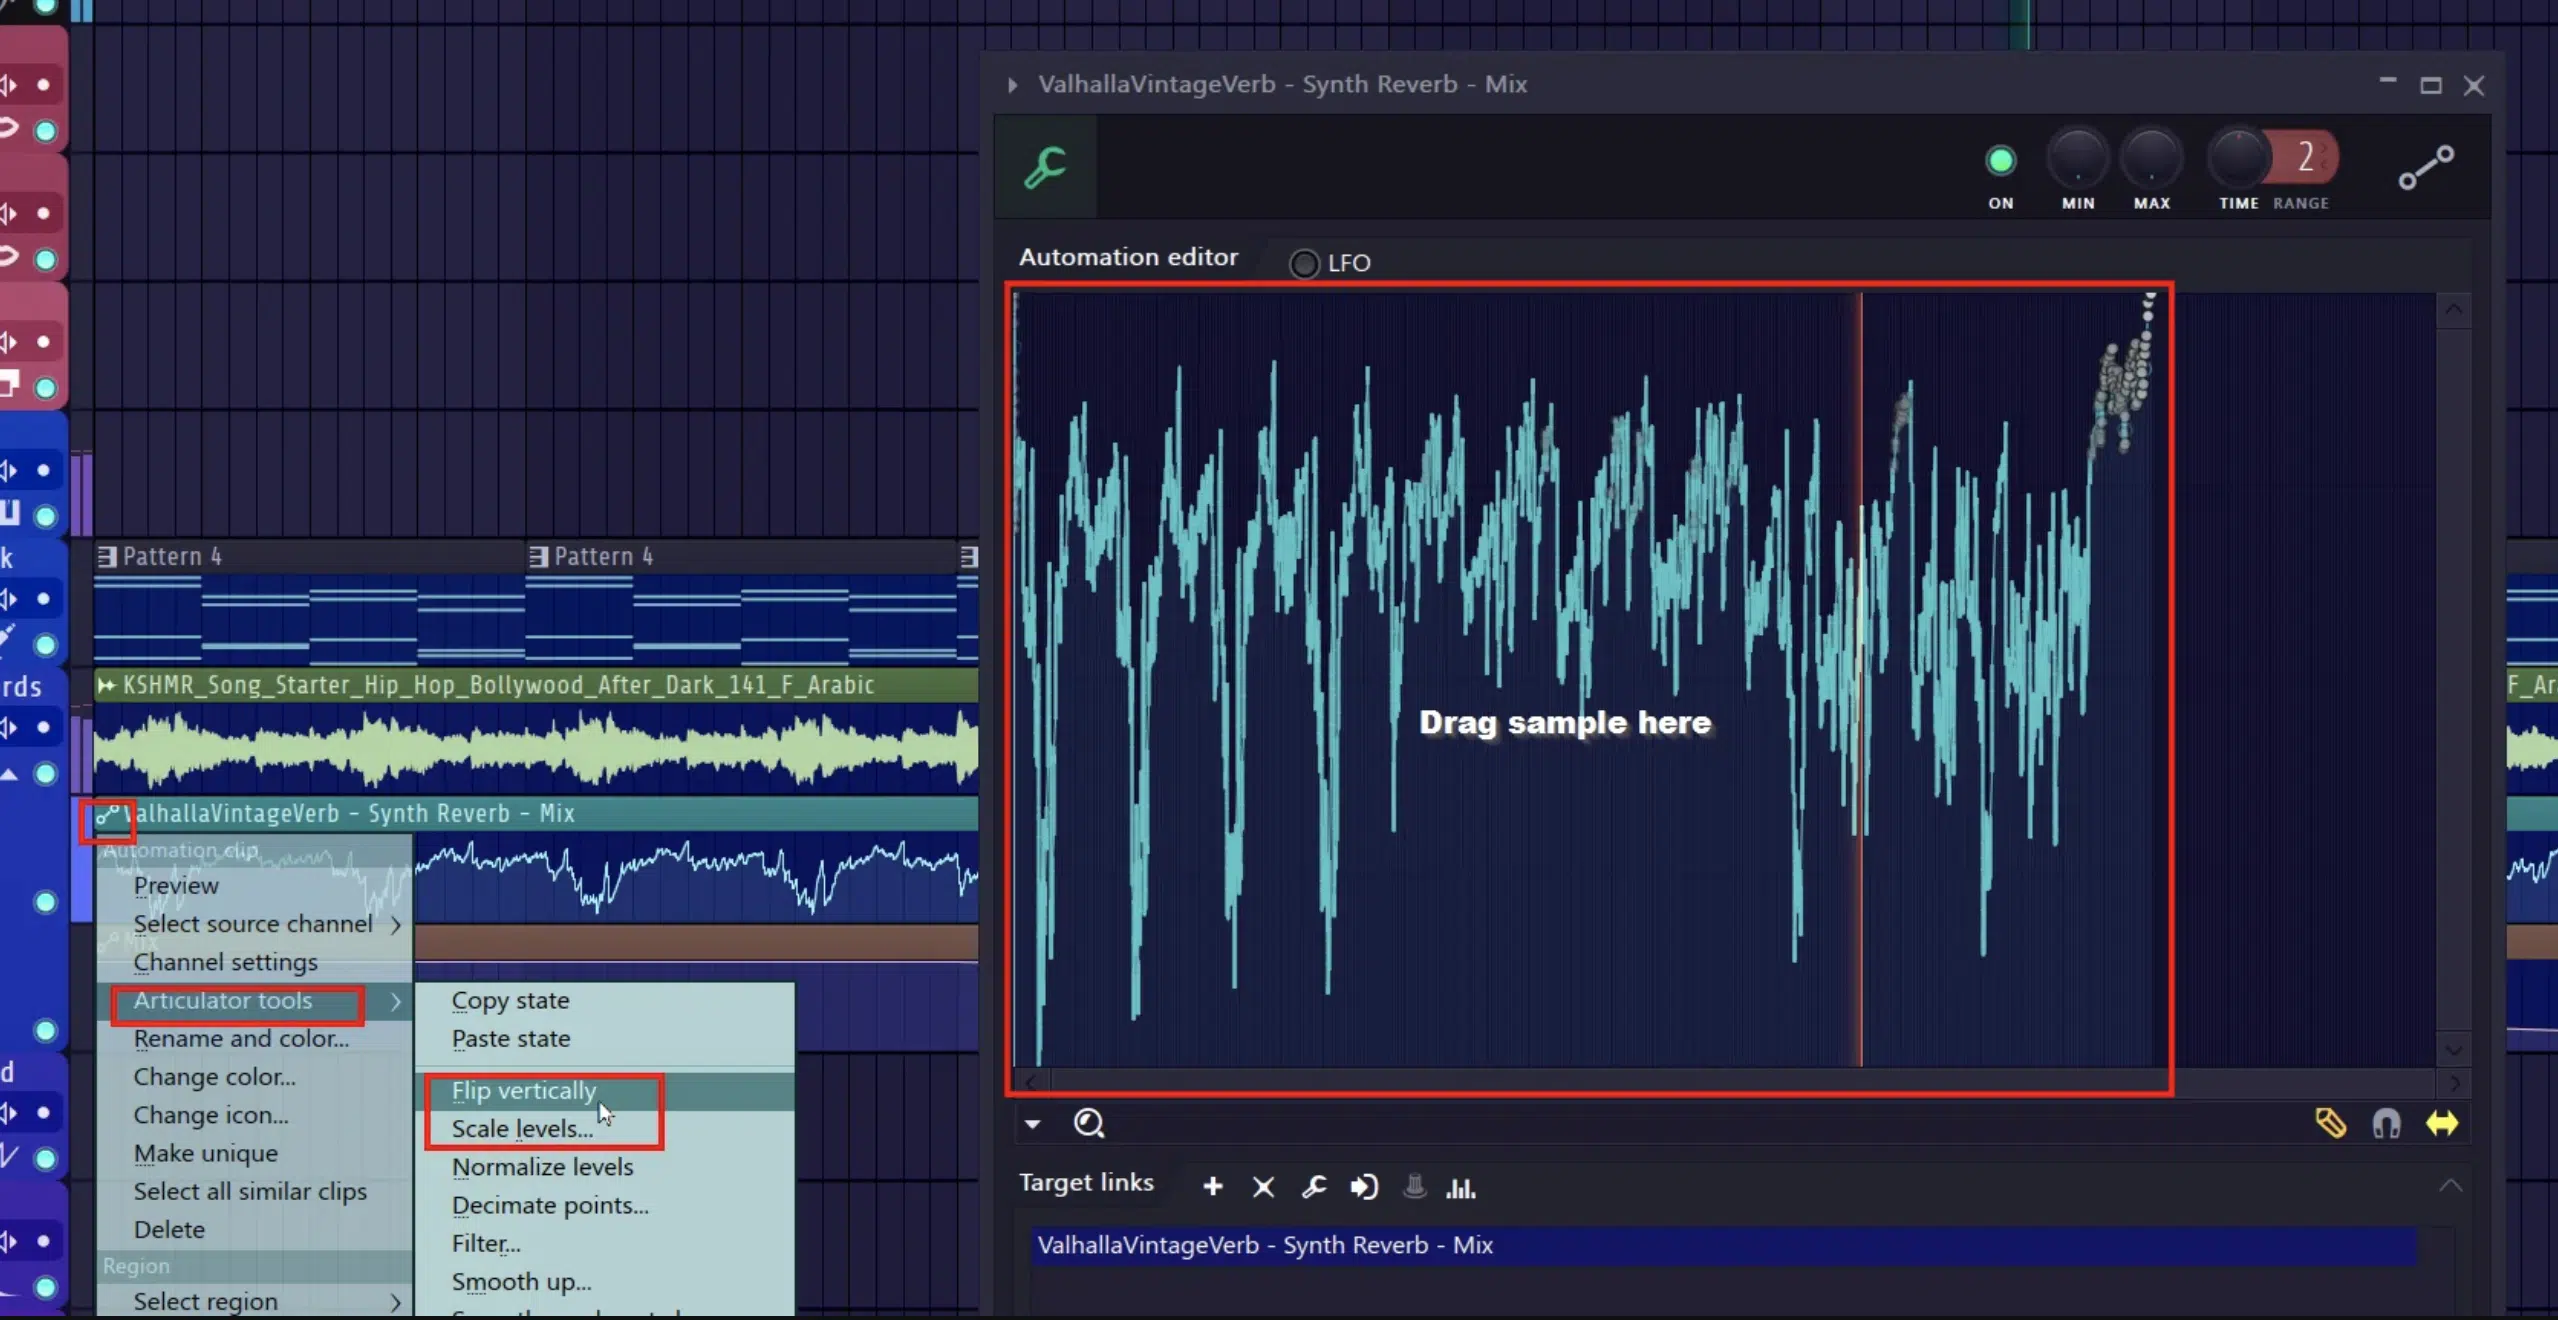
Reverb automation adds dynamic interest to your tracks so you never have to worry about any static effects (yuck, am I right?).
For example, automating the wet mix to increase during a breakdown or outro can build tension and drama.
My advice is to automate reverb parameters like decay time and pre-delay during transitions to emphasize key moments in your sound arrangement.
This technique keeps your mix engaging and alive, and post-production tasks easier.
For more creative results, try automating the stereo width of the reverb during a buildup 一 gradually widening it from 100% to 150%.
This will create a sense of expansion and depth leading into the drop.
Also make sure to automate the high-frequency damping, starting with a brighter reverb tail and gradually darkening it during an outro can create a smooth, natural fade.
For rhythmic effects, sync automation of the wet/dry mix to the track’s tempo, increasing and decreasing it in time with the beat for added energy in sections like drops or fills.
Another trick is to automate modulation depth or rate on a modulated reverb to add evolving textures that match the dynamics of your arrangement.
This will keep the reverb feeling fresh and tied to the track’s movement.
#3. Layer Multiple Reverbs
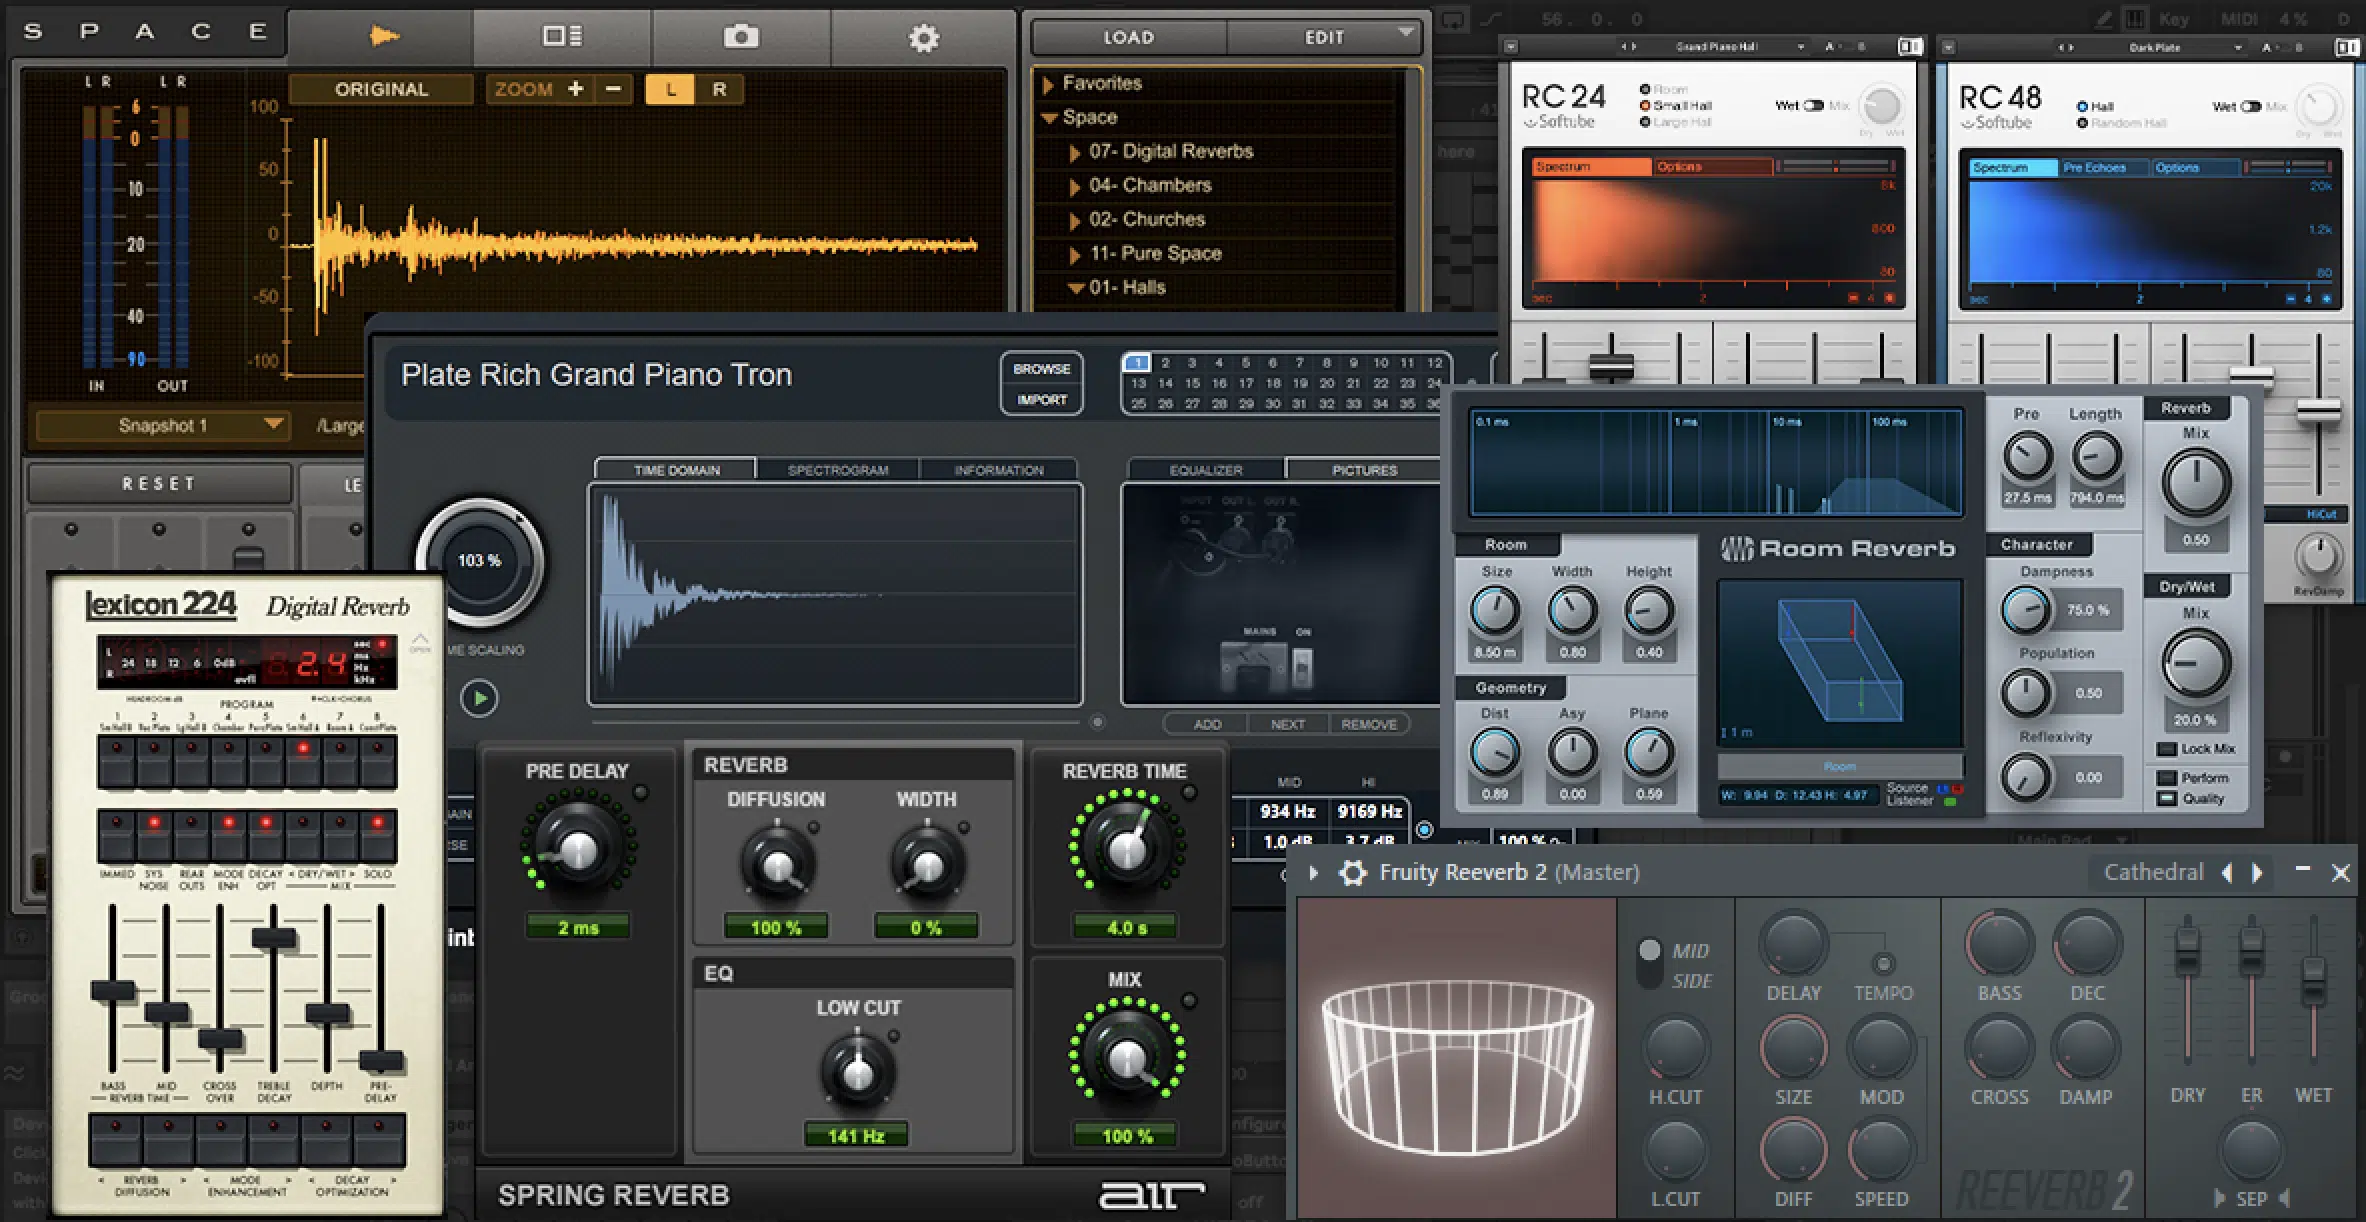
Combining different reverb types adds depth and complexity to your sound.
For example, layering a short room reverb with a longer hall reverb on a vocal can create a sick, immersive effect.
Balance the wet/dry mix of each layer carefully, for example use 10-20% wet mix for the room reverb and 30-40% for the hall reverb to maintain clarity.
This works well for creating a unique soundstage in overly dense mixes.
To take it further, try using a plate reverb as a third layer, set to a decay time of 1-1.5 seconds with a wet mix around 15-20% for added brightness and texture.
Also, experiment with panning the reverb returns slightly…
Place the room reverb closer to the center and pan the hall reverb subtly left and right for a wider stereo image.
If you’re working with vocals in a crowded mix, apply EQ to each reverb layer:
- Roll off lows below 200 Hz on the room reverb to avoid muddiness.
- Add a gentle boost around 6 kHz on the hall reverb for airy clarity.
Additionally, you can apply modulation to the hall reverb to give it movement, while keeping the room reverb static for contrast.
This layering technique adds dimension and makes sure that each and every element complements the mix without competing for space which gets super messy.
#4. Mono Reverb on Bass Elements
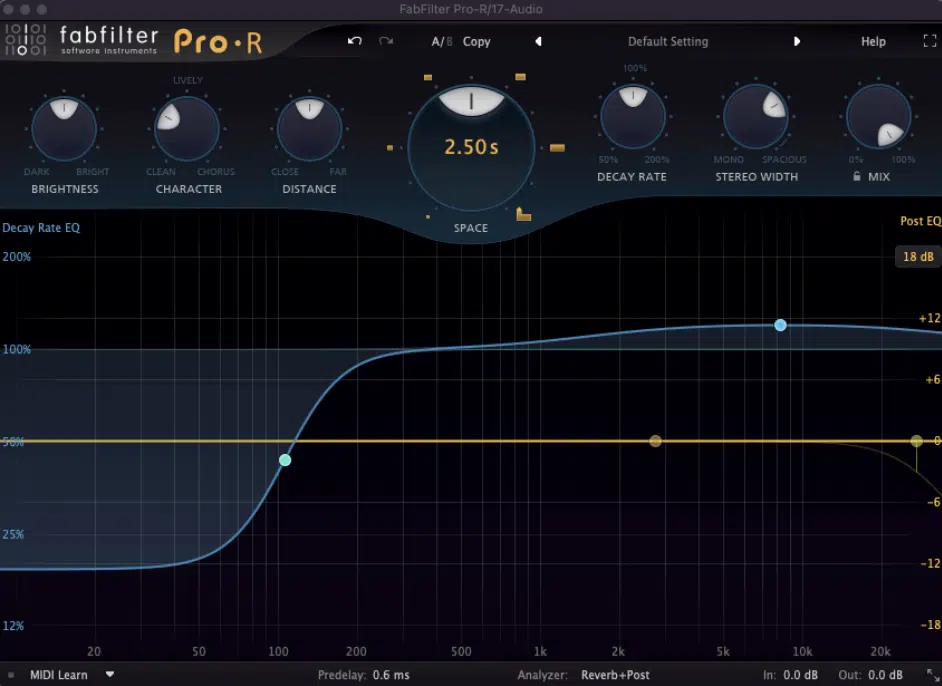
Using mono reverb on bass sounds avoids phase issues and keeps the low end focused, which is a huge benefit.
For instance, applying a 0.5-second decay mono reverb to a sub-bass hit can add a subtle sense of space without muddying the mix.
My advice is to keep the wet mix very low, around 5-10%, and ensure the reverb is high-passed above 200 Hz to avoid low-frequency buildup.
Also, try sidechaining the reverb to the bass signal itself, so the reverb tail ducks slightly during louder bass hits, maintaining punch while adding subtle ambience.
Experiment with adding a small boost around 500 Hz in the reverb EQ to emphasize warmth and make the reverb feel more musical rather than purely atmospheric.
For a creative twist, try automating the decay time during breakdowns or intros, extending it to 1 second can make the bass feel larger and more atmospheric.
Revert to 0.5 seconds during denser parts to keep it extra tight.
Using a touch of saturation or harmonic distortion on the reverb return can also add character 一 making the low-end space feel textured.
#5. Sidechain the Reverb
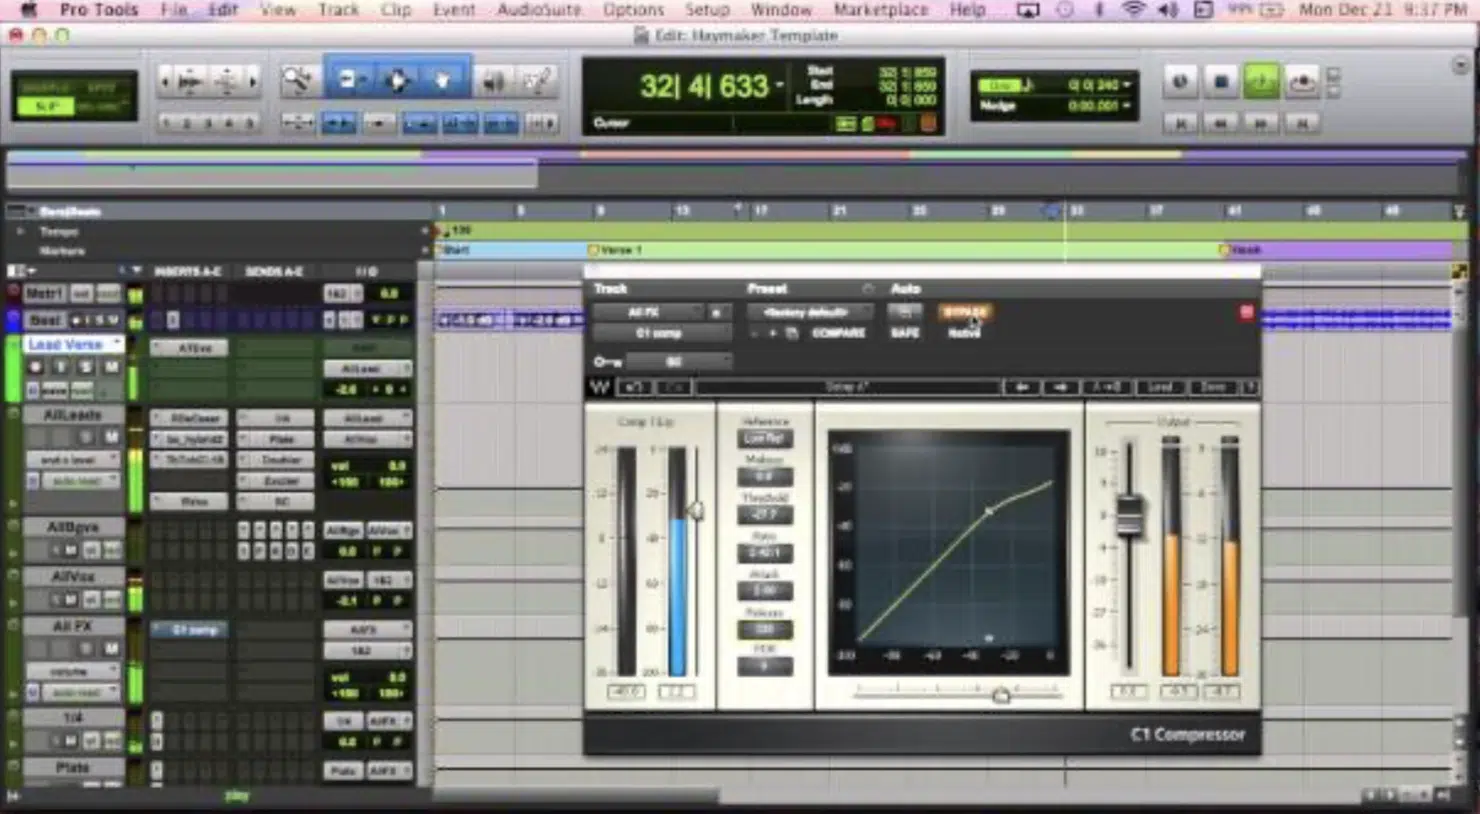
Sidechaining reverb to the dry signal prevents it from overpowering the source sound.
For example, ducking the reverb when a lead vocal plays ensures clarity while still maintaining an atmospheric tail.
Make sure to set the compressor threshold so that the reverb reduces by 3-6 dB during the vocal so things don’t sound ridiculous.
Also, play around with different release times 一 faster releases emphasize the reverb tail, while slower ones keep it subtle.
To get even more on point, use an attack time of 5-10 ms to ensure the sidechain kicks in quickly and doesn’t let the reverb muddy the vocal’s onset.
If you’re really froggy, try automating the sidechain ratio during transitions…
Use a lower ratio (e.g., 2:1) in verses for a natural blend, and increase it to 4:1 or higher during choruses for a more in-your-face ducking effect.
NOTE: Another trick is to sidechain only certain frequency ranges of the reverb using a multi-band compressor…
Make sure to focus the ducking on 200-500 Hz, where muddiness tends to occur, while leaving higher frequencies untouched for an airy tail that matches the vocal perfectly.
This keeps your mix clean while still adding depth and dimension.
#6. Short Decays for Tight Spaces
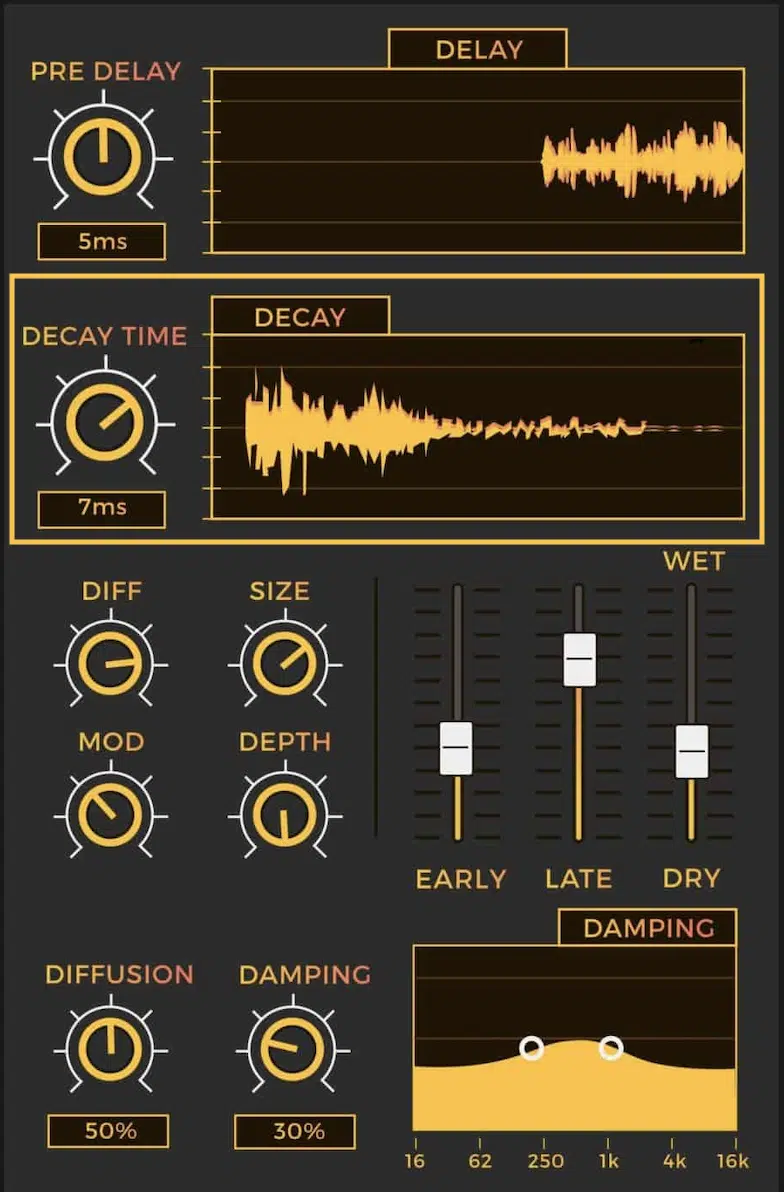
And, my last little bit of advice is to remember that short reverb decay times will keep your mix clean while adding presence.
For example, a 0.4-second decay on claps or hi-hats can create a natural room sound without crowding the mix.
My advice is to use short decays on percussive elements in fast-paced tracks, as they enhance the rhythm without losing punch.
To take it further, experiment with a wet mix of 10-15% for subtle ambiance that doesn’t overshadow the transients of your percussion.
If you’re layering multiple percussion elements, like snares and claps, use slightly varying decay times to add depth without creating overlap.
This could be like 0.3 seconds for the snare and 0.5 seconds for the clap.
NOTE: Apply a low-pass filter to the reverb tail cutting frequencies above 8 kHz, to soften any harsh reflections while keeping the sound tight and focused.
For even more control, automate the decay time during breakdowns, shortening it further to 0.2-0.3 seconds for a drier, more intimate feel.
Then, extending it in drops or builds to subtly add energy.
Final Thoughts
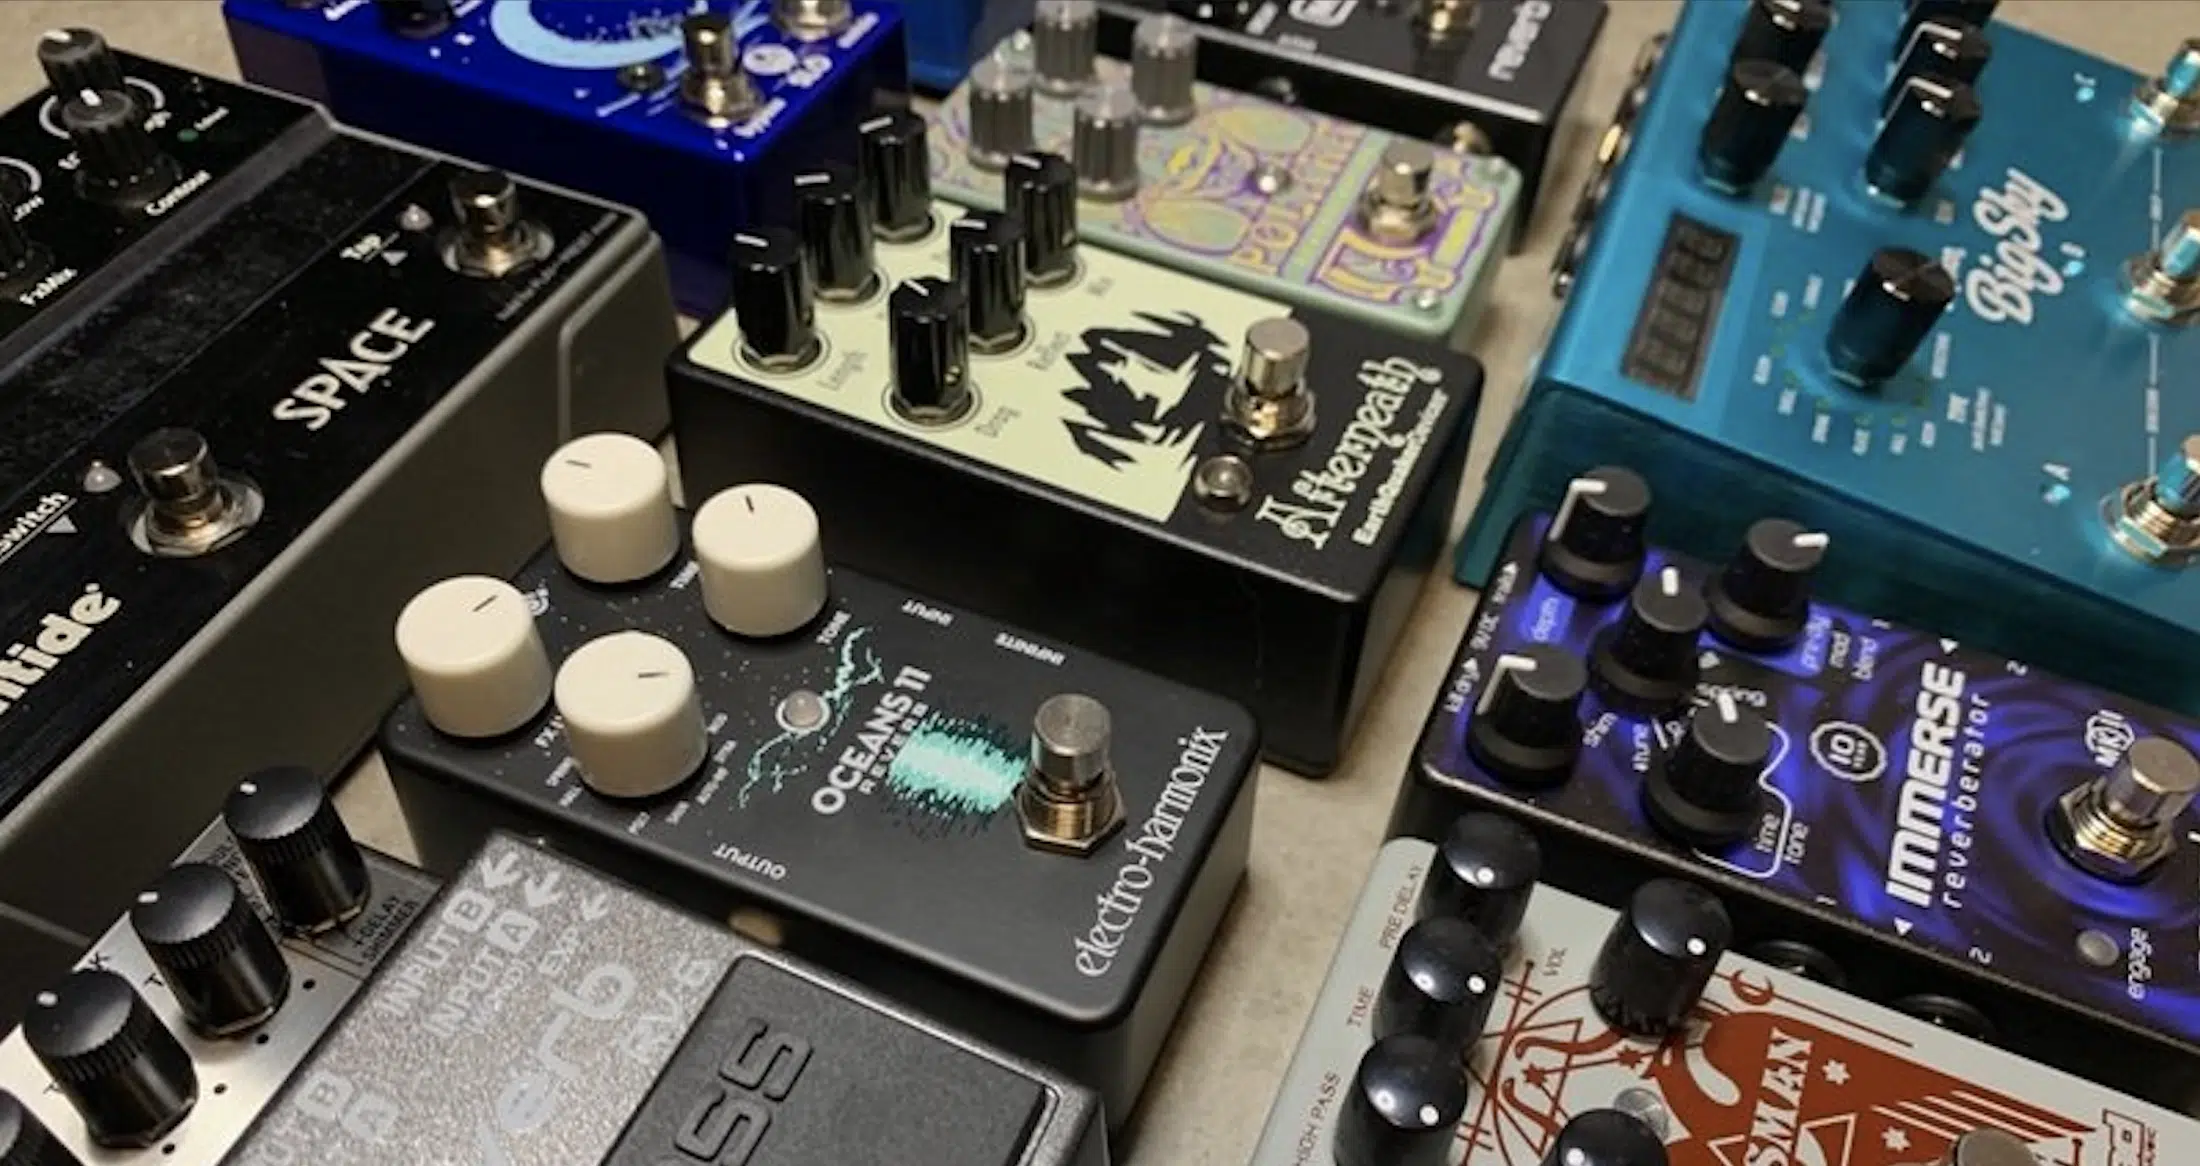
And there you have it: everything you need to know about all the different kinds of reverb effects you’ll be dealing with on the day to day.
Each and every type is unique, and brings its own flavor of depth, dimension, and character to your tracks.
So, by following the advice in today’s article, you’ll be able to create immersive soundscapes, create polished mixes, and add that professional edge.
Just make sure to experiment with the settings, stay mindful of the balance in your mix, and use reverb effects carefully to elevate your sound and not ruin it.
And, since we’ve talked all about percussive instruments, you’ve got to check out this epic Free Percussion Samples pack.
It contains 20 unique percussion samples that you won’t find anywhere else 一 they’ll seriously blow your mind.
They’re the best way to add some edge to your tracks and help you add extra variety and rhythm on top of your drum grooves to make them way catchier than the rest.
Plus, they were all created by the best in the business and are 100% royalty-free, so you’ll be able to use them however you’d like, which is always a plus.
Trust me, you do not want to miss out on this legendary free pack!
Bottom line, by mastering reverb effects, you can take your production skills to the next level and knock out mixes that resonate with emotion and impact.
Just make sure to keep exploring, stay creative, and let the power of reverb bring your music to life like never before.
Until next time…


Leave a Reply
You must belogged in to post a comment.