Audio effects can completely alter your tracks.
They can take them from basic to legendary, add depth, width, color, and movement, and provide that elusive ‘pro’ sound that sets your music apart.
In the realm of digital music production, they’re indispensable tools for crafting unique, mind-blowing tracks.
So whether you’re a seasoned producer or just starting out, understanding how to use audio effects can unlock a whole new realm of creative potential.
In today’s article, we’ll cover:
- Essential audio effects ✓
- The science of sound & it’s impact ✓
- Reverb, delay, distortion, EQ, compression, etc. ✓
- Filters (high-pass, low-pass, band, all-pass, notch)
- Dynamic effects, creative effect, time-based effects ✓
- Professional audio tips, tricks, and techniques ✓
- So much more ✓
After today, you’ll feel confident in your skills of audio effects, and be ready to create chart-topping tracks.
So, let’s dive in…
Table of Contents
- Unraveling the Complex World of Audio Signals
- Navigating Different Audio Effects
- Breaking Down the Audio Effect Types
- Delving into the Specifics of Audio Effects
- 1. The Power of EQ: Managing the Frequency Spectrum
- 2. Reverb Effects: Crafting Ambient Soundscapes
- 3. Delay Effects: Echoes, Spaces & Beyond
- 4. Distortion Effects: From Gritty Edge to Warm Saturation
- 5. Chorus Effects: Lush Layers & Harmonic Richness
- 6. Tremolo Effects: Creating Rhythmic Textures
- 7. Phaser Effects: Achieving Swirling Spectral Movement
- Mastering the Art of Audio Filters
- Manipulating Dynamics for the Perfect Mix
- Gain Reduction & Noise Gates
- Advanced Techniques for Superior Sound Design
- Audio Effects: Final Thoughts
Unraveling the Complex World of Audio Signals
Let’s kick things off by breaking down audio signals, input signals, and dynamic range.
-
Defining the Audio Signal
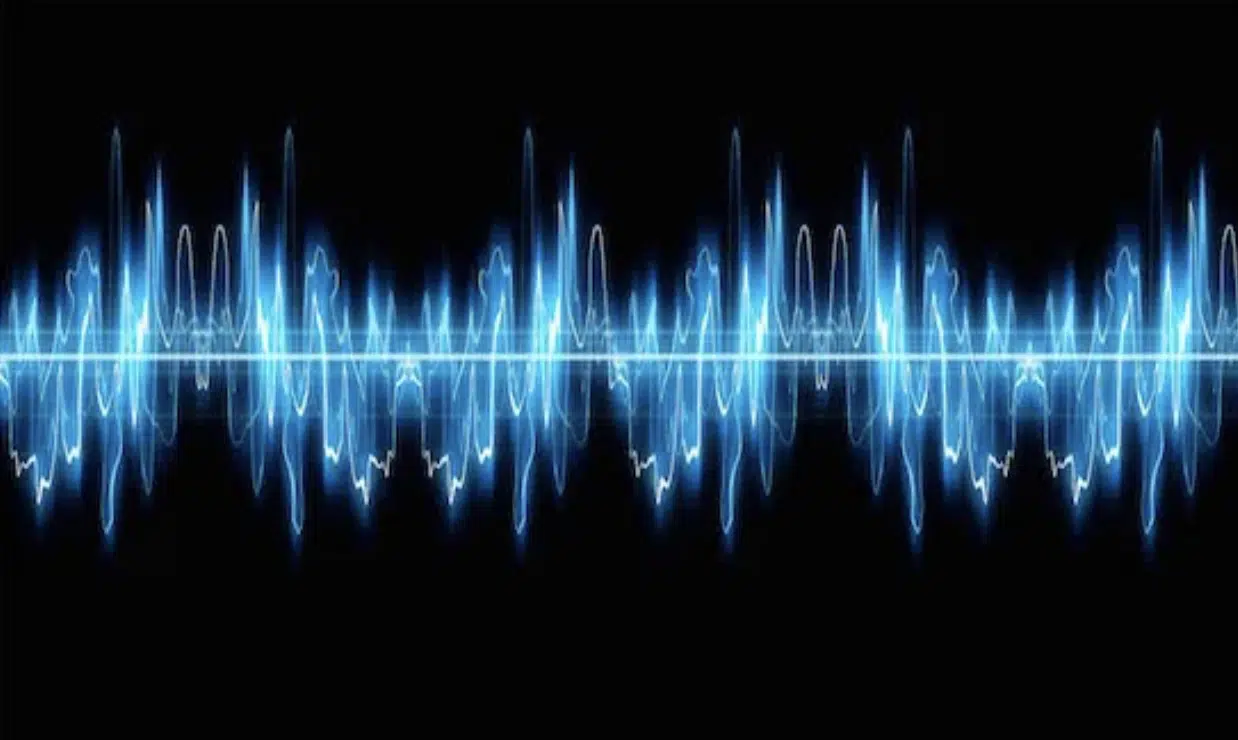
Let’s kick off with the basics: the audio signal.
Simply put, an audio signal is an electric current that represents sound waves.
Your DAW, synths, and drum machines all speak in the language of these signals.
Audio signals are the heart and soul of your tracks 一 every note, beat, and melody you create is ultimately an intricate dance of audio signals.
As producers, we manipulate these audio signals to shape our sound.
Understanding how these signals work and how to control them is crucial to producing high-quality music.
For example, boosting the amplitude of an audio signal will make it louder, but push it too far, and you might encounter distortion.
Just remember, as always, balance is key.
-
The Impact of Audio Signal Sounds
Have you ever wondered why certain tracks just seem to ‘pop’?…
Well, part of it comes down to the way the audio signal sounds.
From the warm strum of a guitar to the crisp hit of a snare 一 different instruments produce unique audio signals.
These distinctive signals lend individual character to the sounds within your mix.
Consider a piano and a violin playing the same note.
Despite the identical pitch, they sound different.
This characteristic is called timbre, resulting from the complex mix of harmonics in the audio signal.
Understanding timbre helps you shape the tonal palette of your mix, creating a richer, more compelling soundscape.
-
The Role of the Input Signal
In the world of audio effects, the input signal plays a crucial role. It’s the original, unprocessed sound that goes into an audio effect.
This could be anything, like:
- A guitar riff
- A vocal line
- A drum loop
- You name it
The input signal serves as the canvas on which you’ll be painting with your audio effects.
Let’s say you’re applying a delay effect…
The input signal (say, a vocal line) gets repeated, creating an echo effect.
The quality, timing, and character of these echoes are influenced directly by the input signal.
For instance, if your input signal has a lot of high frequencies, your echoes will be bright and airy.
NOTE: While an input signal gets fed into an audio effect, it’s the output signal that holds all the transformative changes you’ve made.
-
Understanding the Dynamic Range
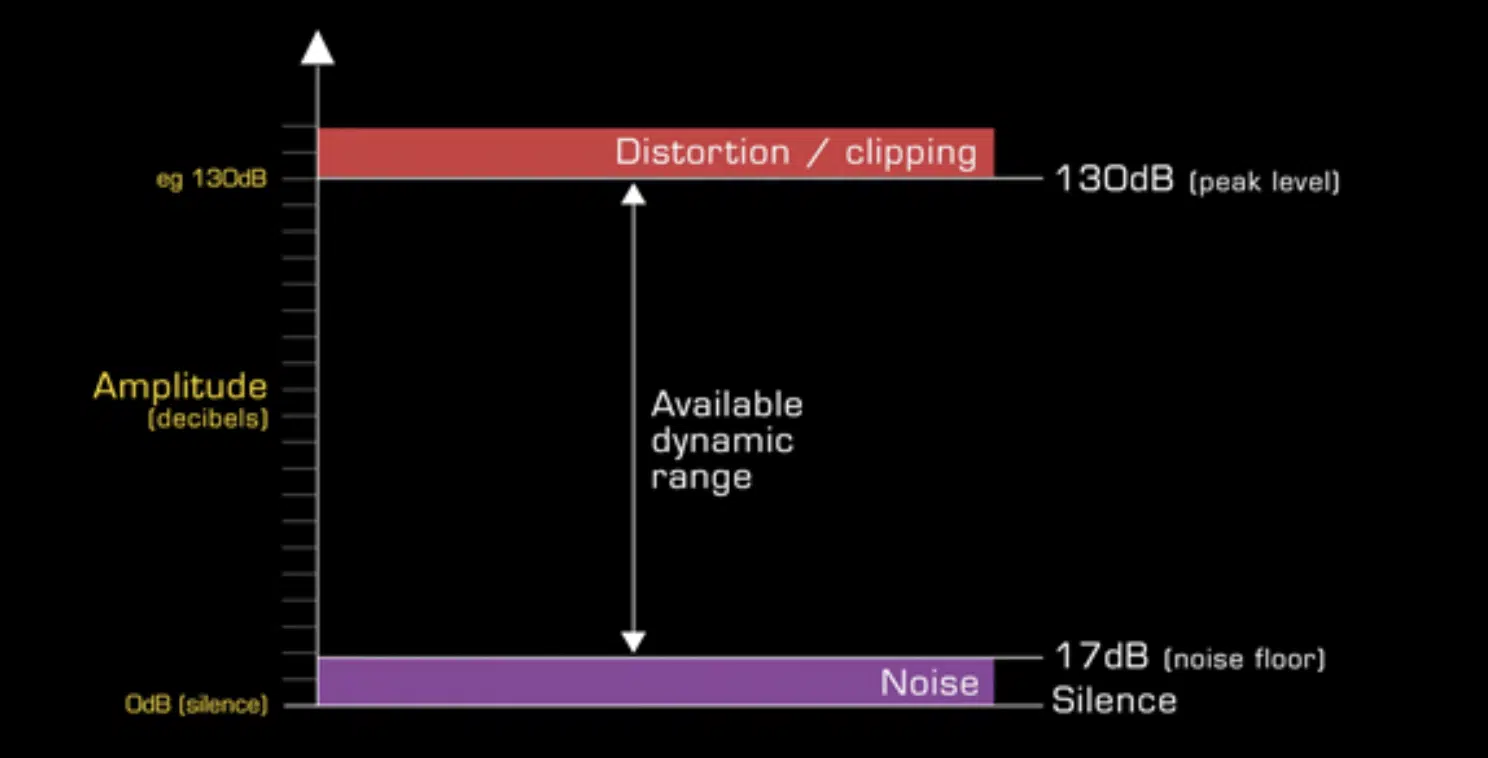
If you’ve spent any time mixing, you’ve undoubtedly come across the term ‘dynamic range.’
Simply put, it’s the difference between the loudest and softest part of an audio signal.
- A track with a large dynamic range 一 Will have quiet valleys and booming peaks.
- A track with a smaller dynamic range 一 Will sound more consistent in volume.
Mastering the use of dynamic range can significantly enhance the emotional impact of your music.
An intimate vocal passage might be kept quiet, drawing the listener in, before exploding into a loud chorus; creating a sense of release.
But beware, squashing your dynamic range too much (a common practice in the “loudness war”) can lead to a fatiguing listening experience.
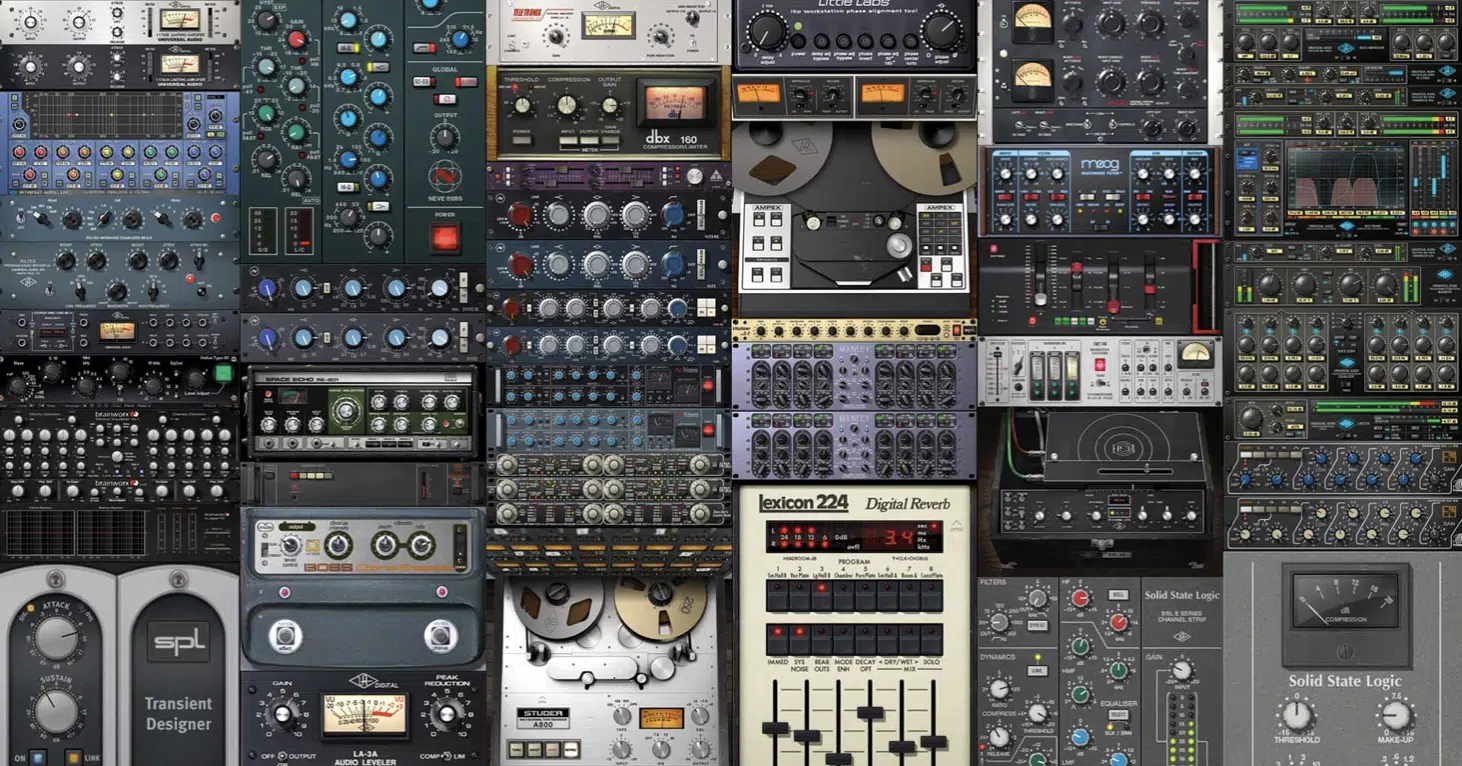
Audio effects are magical tools that let us shape, color, and manipulate audio signals.
Imagine them as different brushes in a painter’s kit 一 each one capable of creating unique textures and designs.
From distortion that adds grit to a guitar track to a reverb that places your vocals in a grand cathedral, audio effects are fundamental in defining your sound.
But they’re more than just sonic decorations…
Used wisely, audio effects can help resolve mix issues, create space, and bring your tracks to life.
It’s no exaggeration to say that understanding and applying audio effects is one of the most critical skills in music production.
Meaning, if you’re not familiar with audio effects yet, you should certainly get familiar with them asap.
Breaking Down the Audio Effect Types
Now that we’ve defined what audio effects are, let’s dive into some categories.
In the broadest sense, audio effects fall into four main categories:
- Dynamic effects
- Time-based effects
- Distortion effects
- Frequency or spectral effects
When it comes to your audio signal, each unique category affects it in different ways.
-
Dynamic Effects
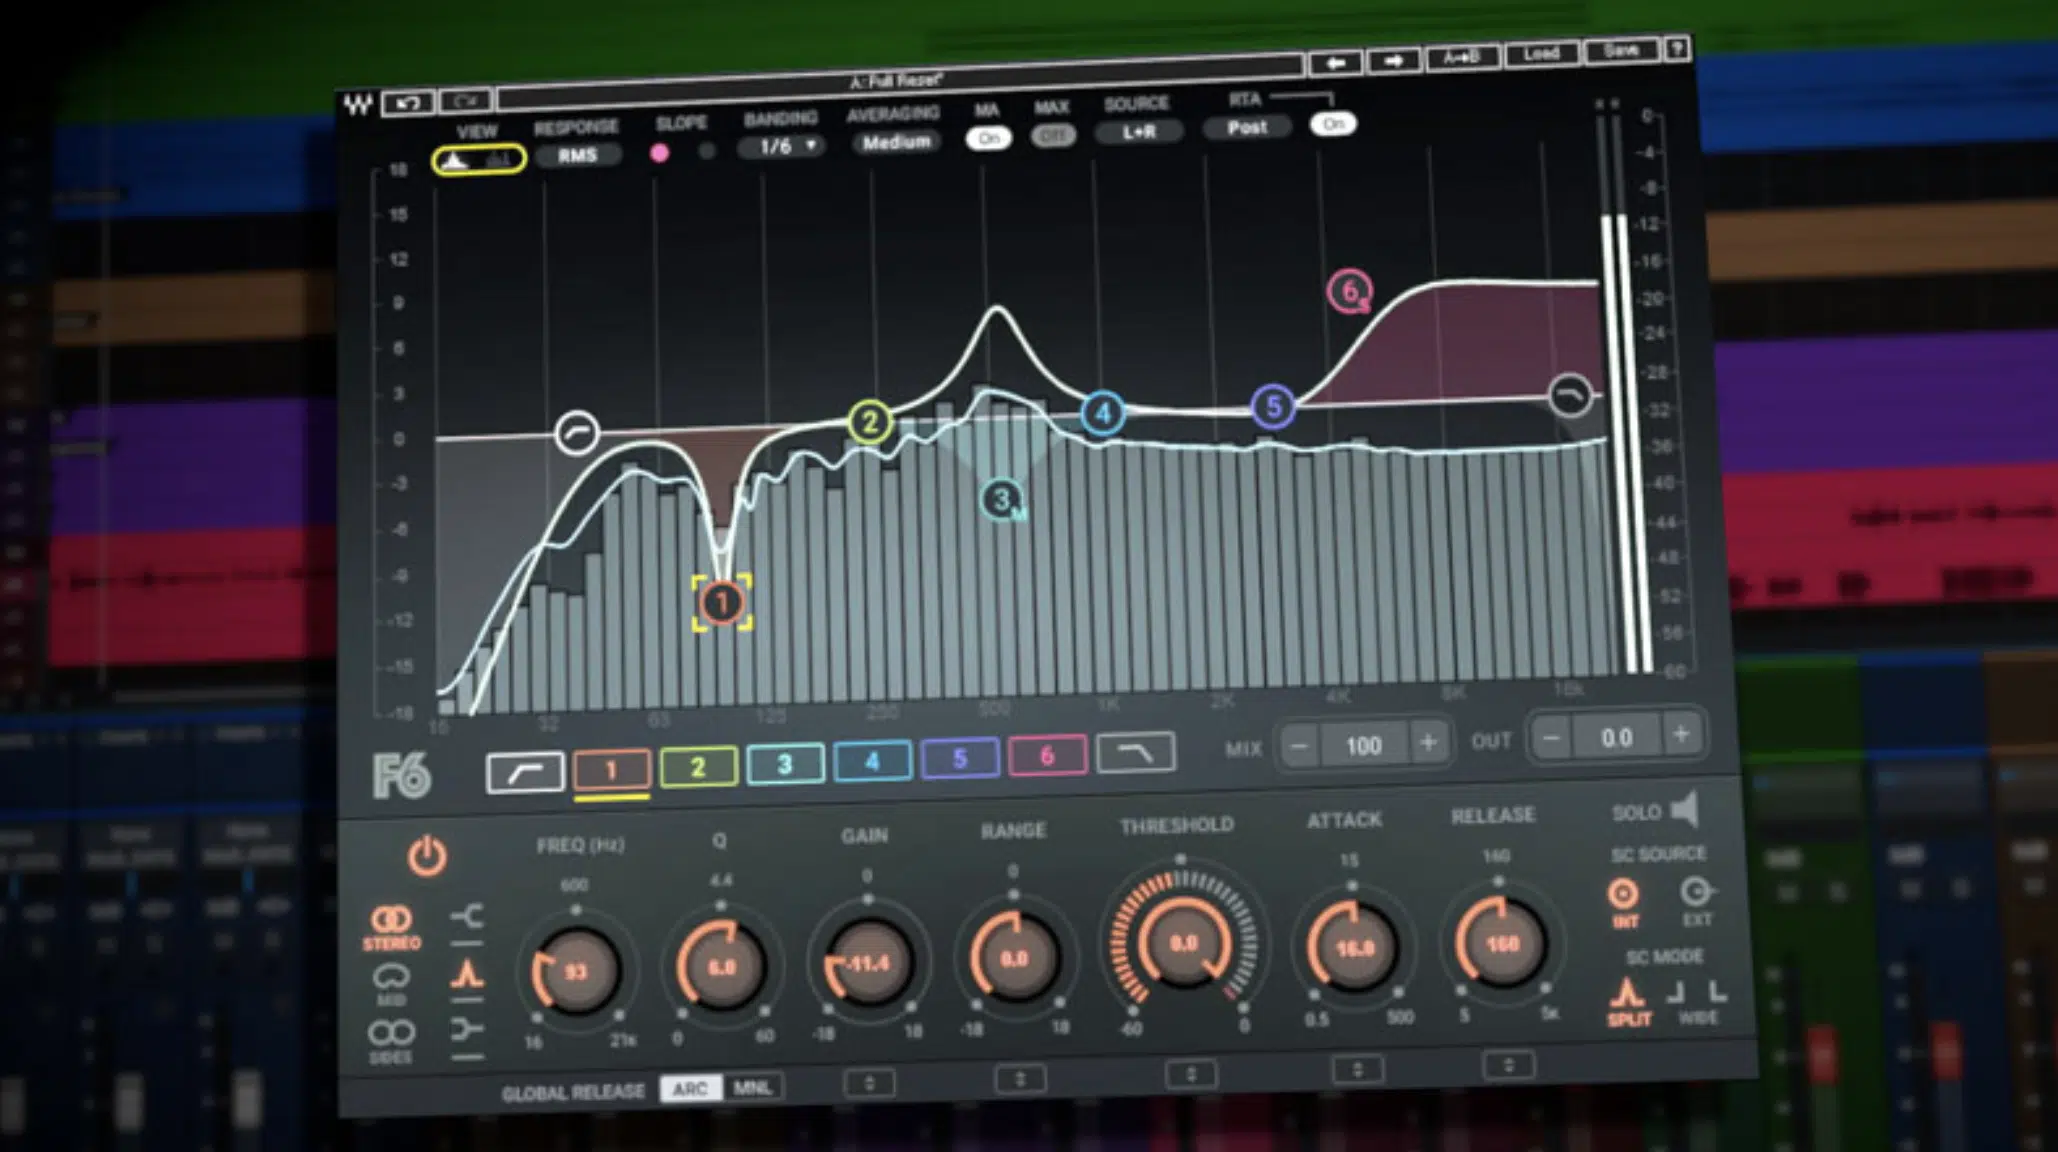
Dynamic audio effects are all about controlling volume levels, shaping the attack and sustain of sounds, and bringing consistency to your audio.
They allow you to manage the dynamic range of your tracks, from the quietest to the loudest parts, adding punch and clarity.
-
Time-based Effects
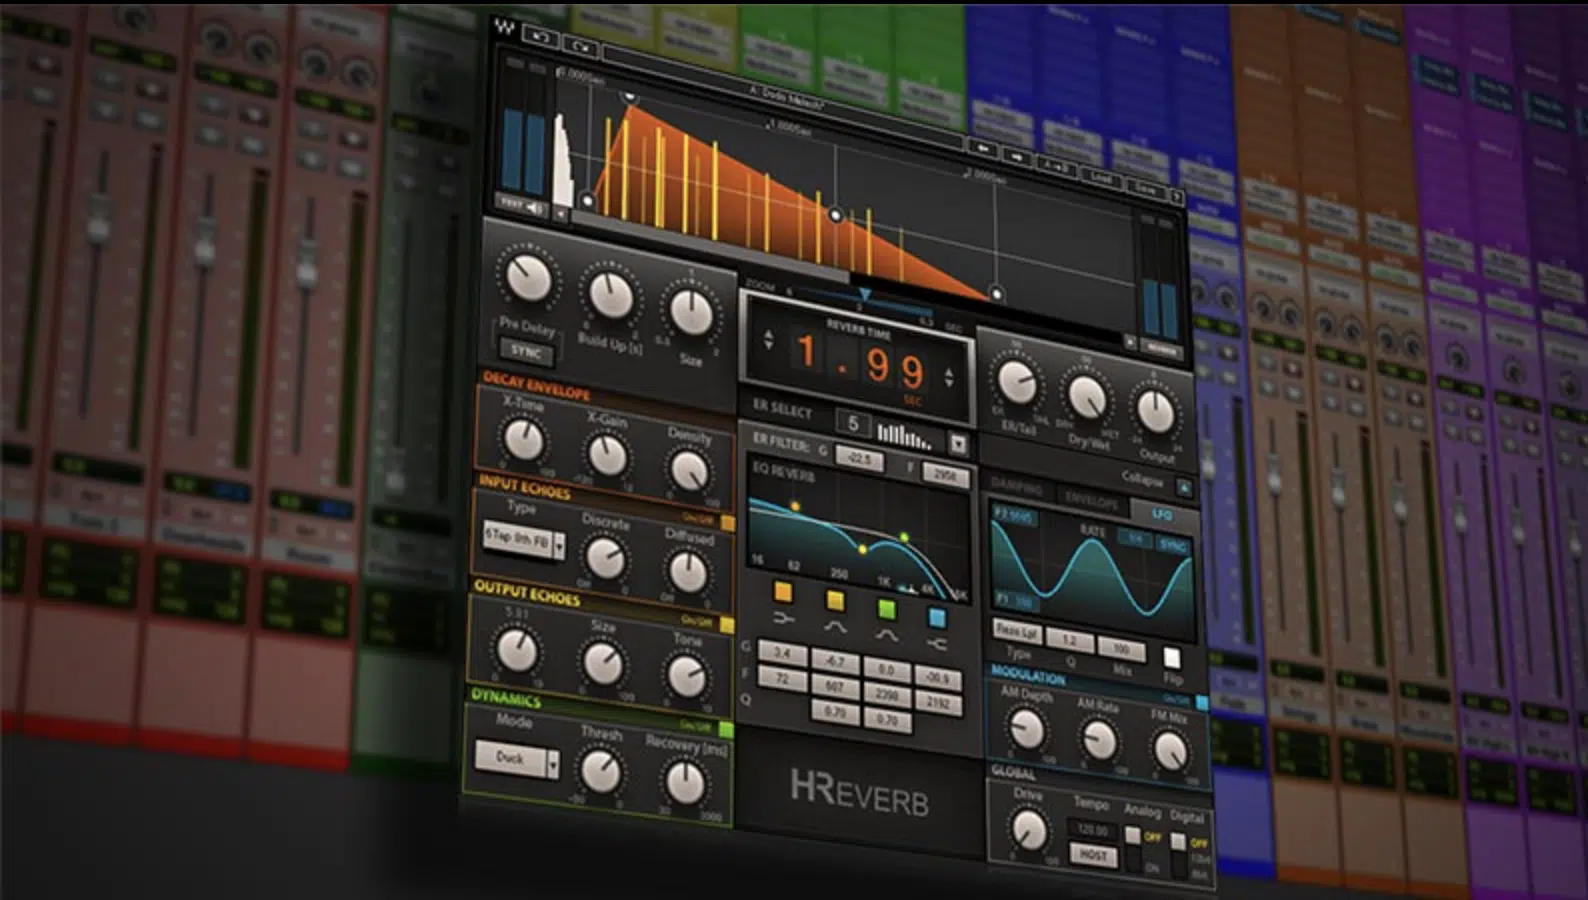
Time-based audio effects such as reverb and delay are used to create a sense of space and depth in your mix.
They can make your sounds appear as if they’re in specific acoustic environments 一 from the largest cathedral to the smallest room, or even create otherworldly sonic landscapes.
-
Distortion Effects
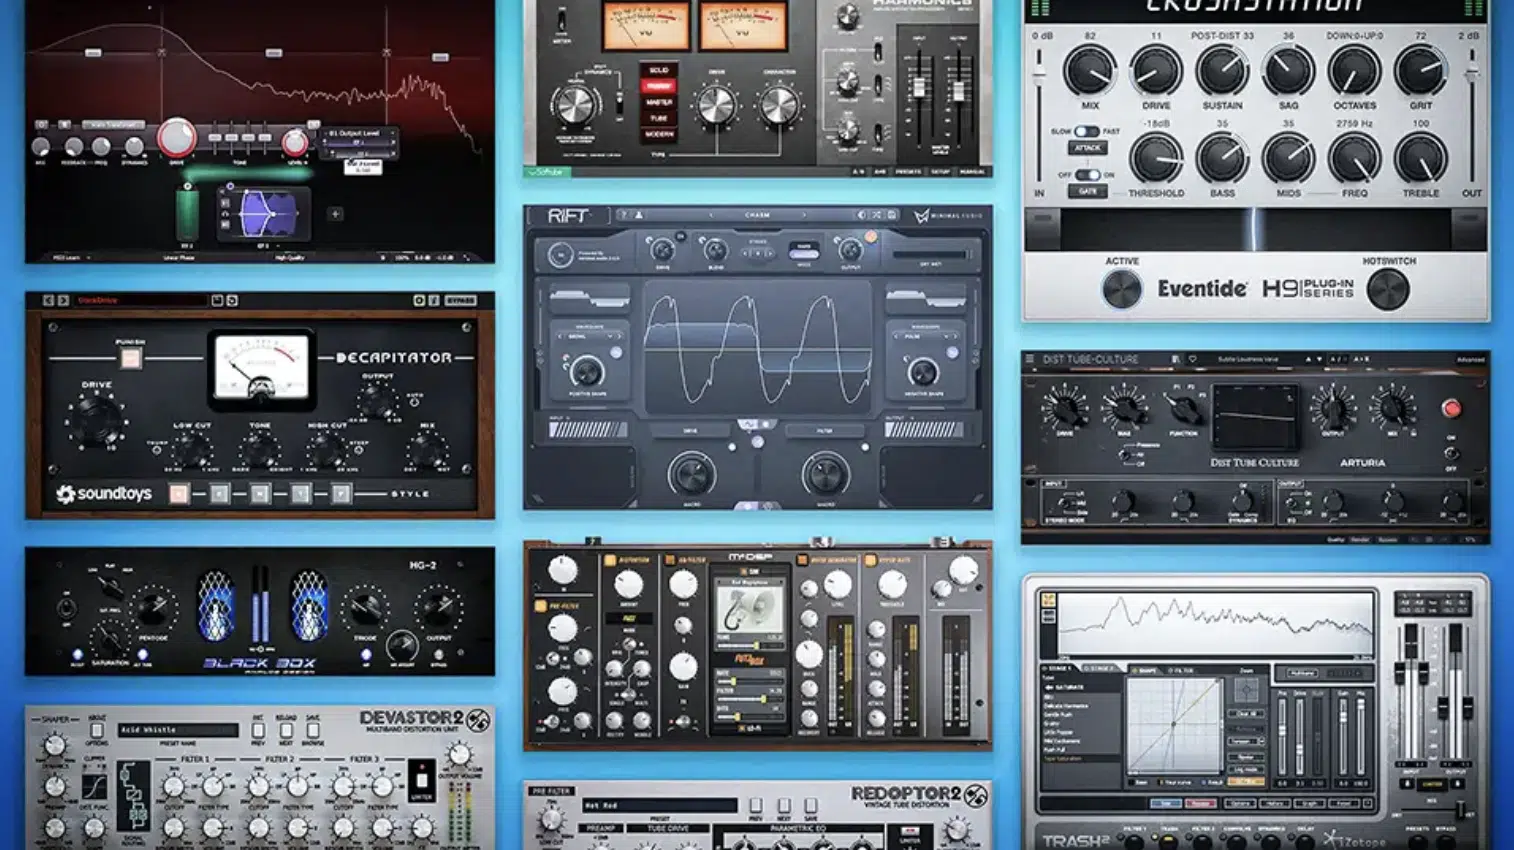
Distortion audio effects add harmonic complexity and saturation to your sounds, helping them stand out in the mix.
They can range from subtle warmth to aggressive grit and fuzz, providing character and attitude, crucial for creating those hard-hitting hip-hop beats.
-
Frequency or Spectral Effects
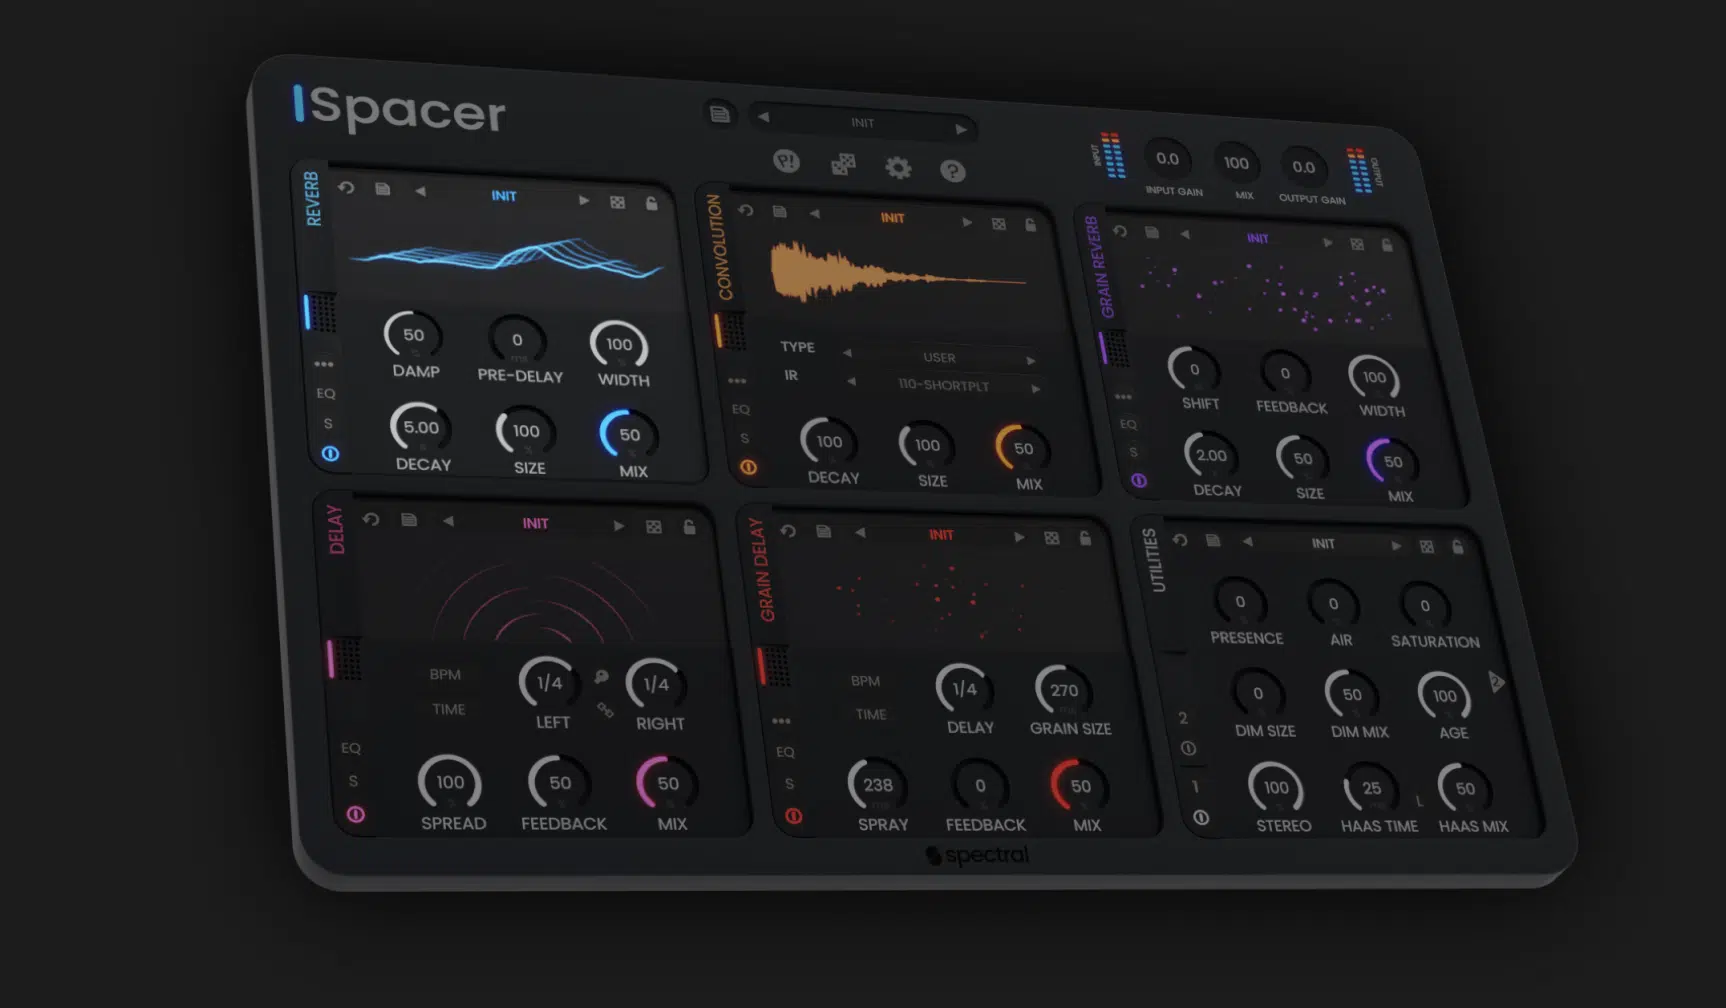
Frequency or spectral audio effects like equalization and filtering allow you to sculpt the frequency content of your audio.
They give you the ability to emphasize or reduce certain frequencies, creating balance and clarity, and can even transform the tonal character of your sounds.
Each different type of effect is beneficial to your tracks and can make them stand out in a major way (we’ll break them down in a little bit).
Delving into the Specifics of Audio Effects
Before we dive into the specifics, it’s crucial to understand that no two audio effects are alike.
Each has its unique characteristics and uses, and the magic truly lies in how you blend them together in your mix.
Let’s start with one of the most essential and widely used audio effects out there: EQ.
1. The Power of EQ: Managing the Frequency Spectrum
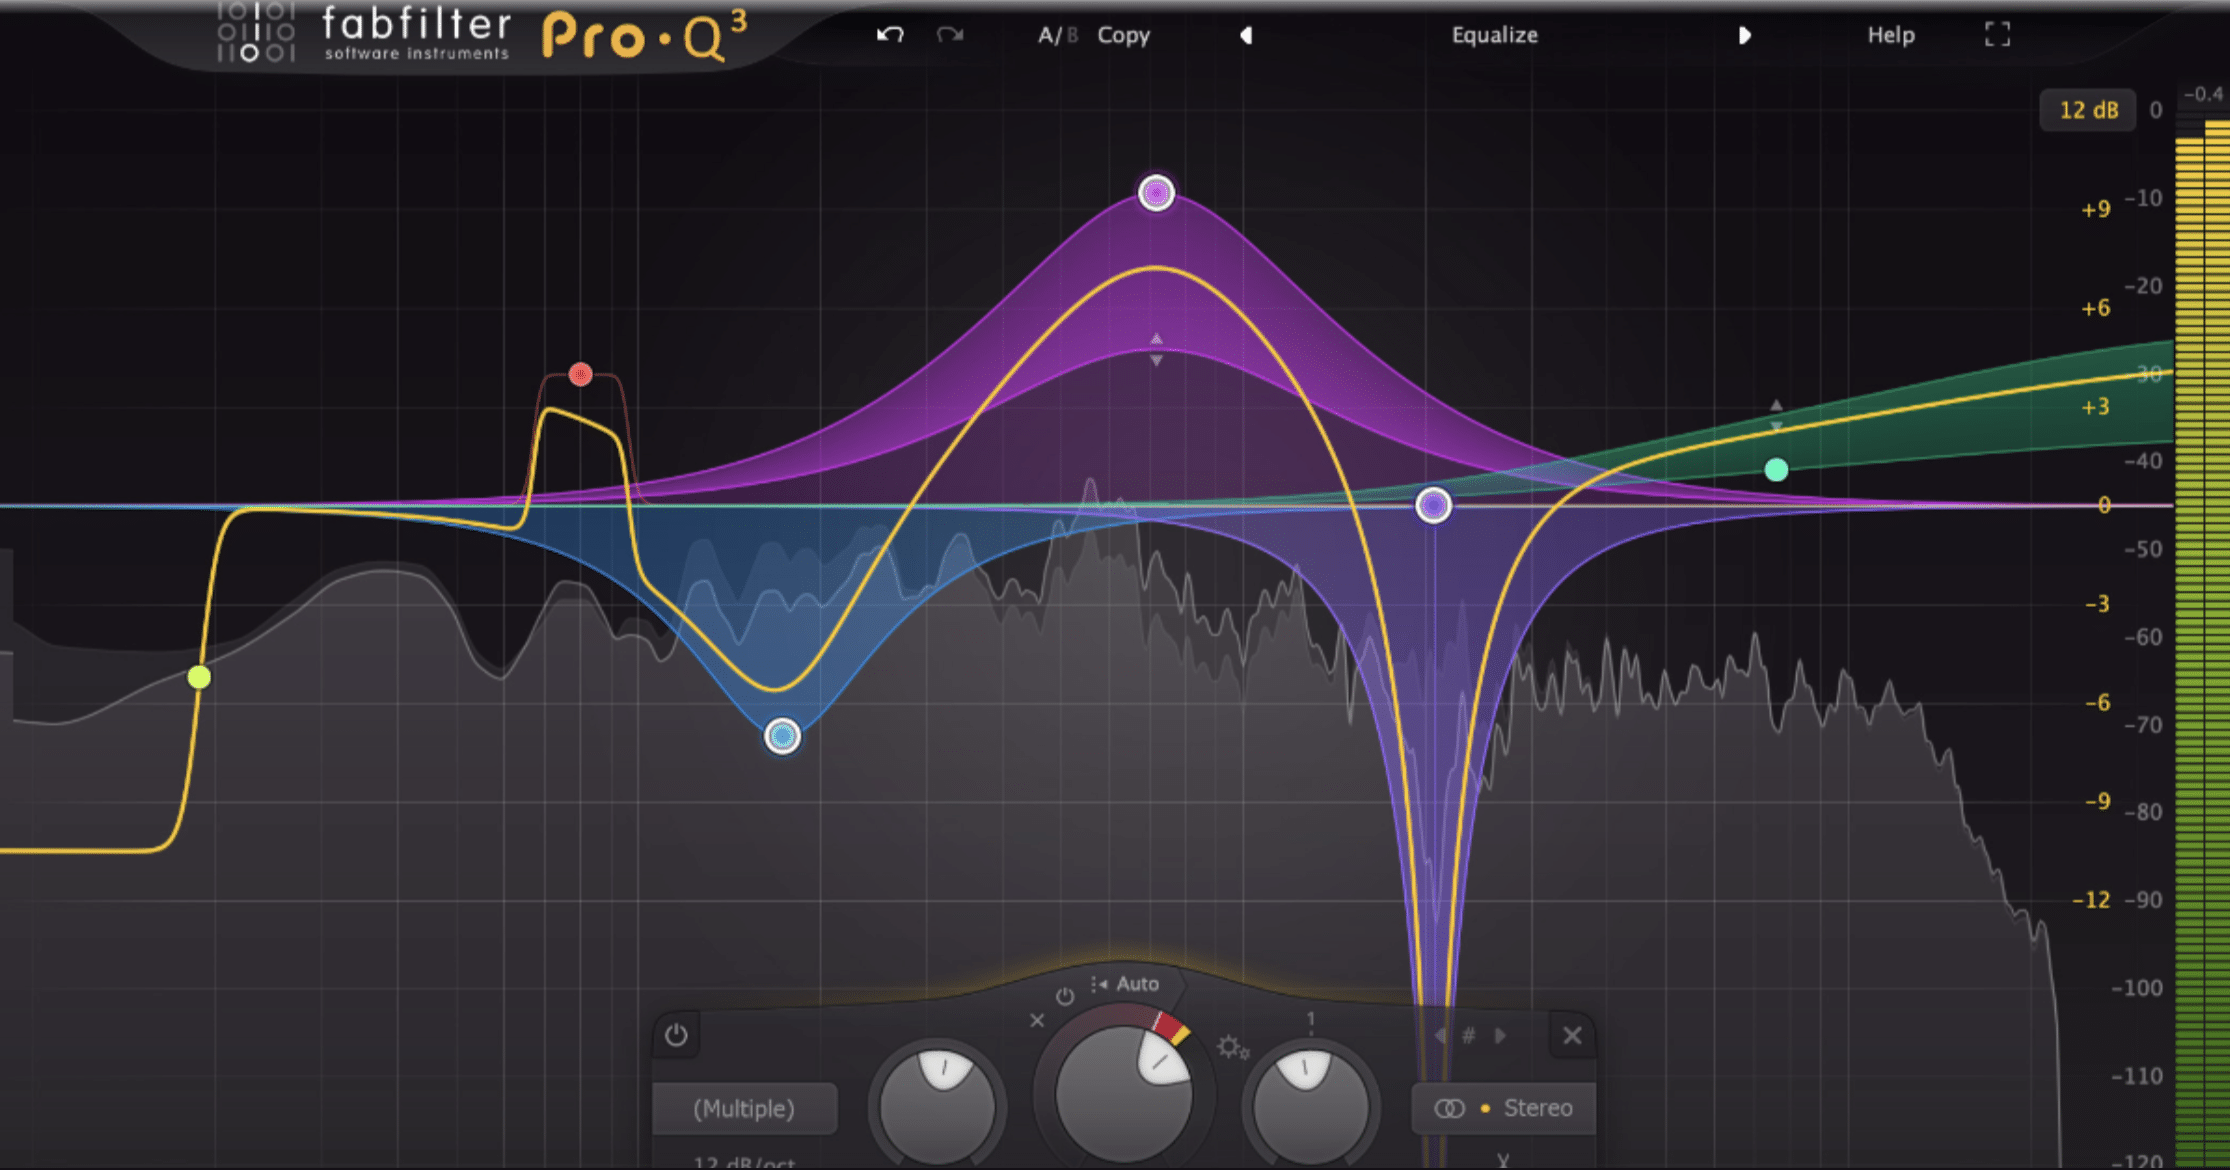
In the realm of hip-hop production, EQ reigns supreme in defining the character of your beats.
It gives you control over the frequency spectrum, allowing you to balance the elements in your mix.
For example, you might use:
- A low shelf on your kick drum to boost the low frequencies and make it hit harder
- A high-pass filter on your hi-hats to keep them crisp and prevent them from cluttering up the low end
In addition, EQ adjustments are essential for carving space in your mix for vocals.
You can do this by making small cuts in the instrumental where the vocals sit in the frequency spectrum.
This can help your vocals to stand out without having to increase their volume.
Producers like myself often use a parametric equalizer (parametric EQ), which offers maximum control.
This allows you to adjust the center frequency, bandwidth (Q), and gain (boost/cut) of each band.
This is especially handy when you want to tame harsh frequencies in a vocal recording or make precise adjustments to your mix.
NOTE: The frequency response of an audio effect describes how it affects different frequencies, allowing you to tailor your sound with precision.
2. Reverb Effects: Crafting Ambient Soundscapes
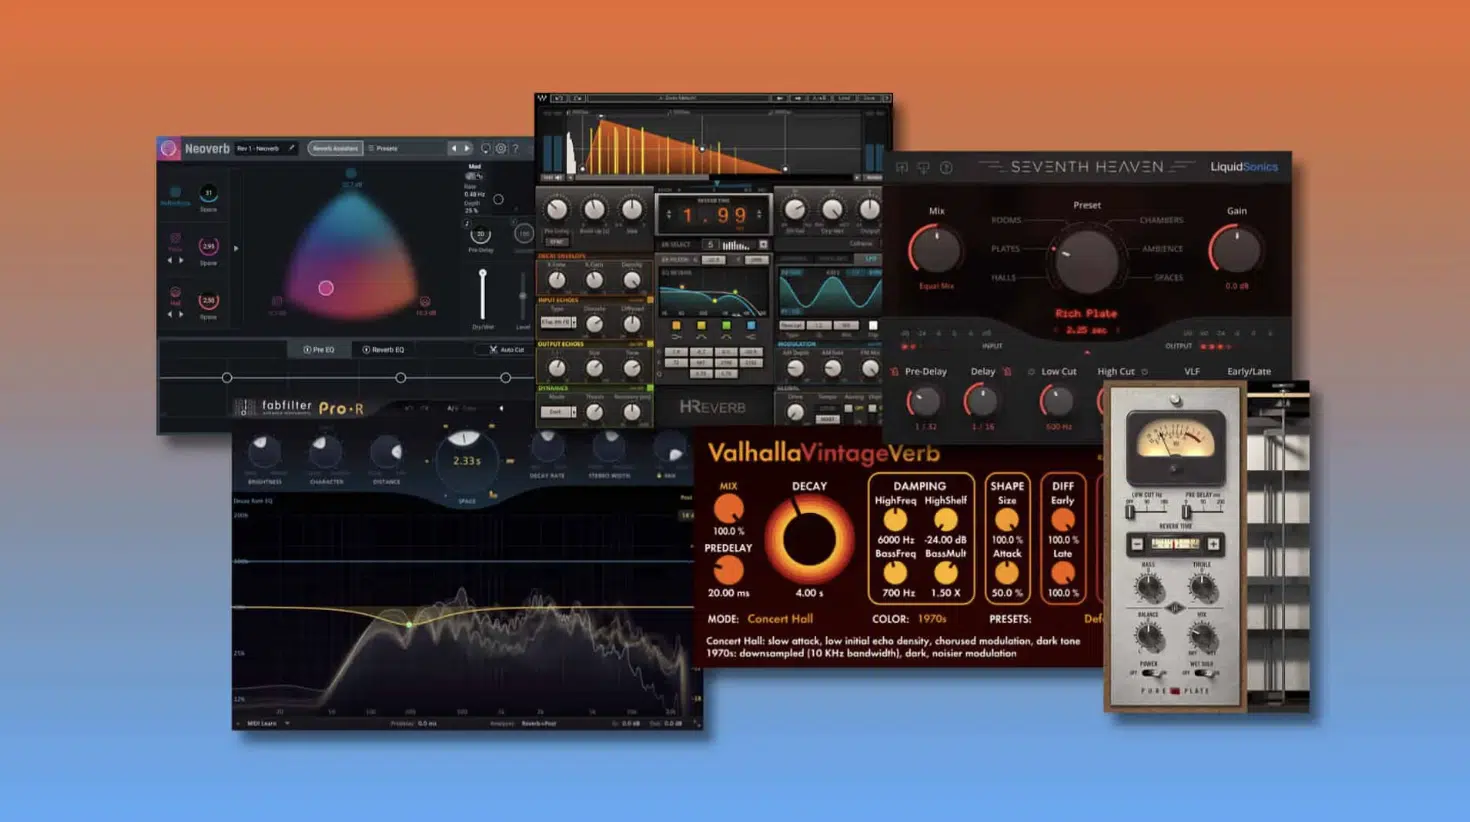
Reverb is a time-based effect that can add a sense of space and depth to your tracks.
In hip-hop, reverb can be used creatively in many ways.
For instance, you can use a short reverb on your snares to give them a bit of liveliness, or use a longer reverb on your vocal ad-libs for a dramatic, ethereal effect.
NOTE: Whatever you do, don’t overdo it. Too much reverb can make your mix sound muddy and undefined.
A good trick is to add reverb to your sounds, and then gradually reduce the amount until you just barely notice it.
This can add a subtle sense of space without overwhelming your mix.
Remember, it’s not the dramatic effects that make your tracks sound professional, it’s little tweaks.
Reverb is also a powerful tool for sound design.
You can create unique textures by:
- Applying reverb to non-traditional sources (like percussion or synths)
- Tweaking the parameters or applying other effects (like distortion or modulation)
There are so many unique and ear-catching effects you can create with reverb, so make sure to spend time experimenting.
3. Delay Effects: Echoes, Spaces & Beyond
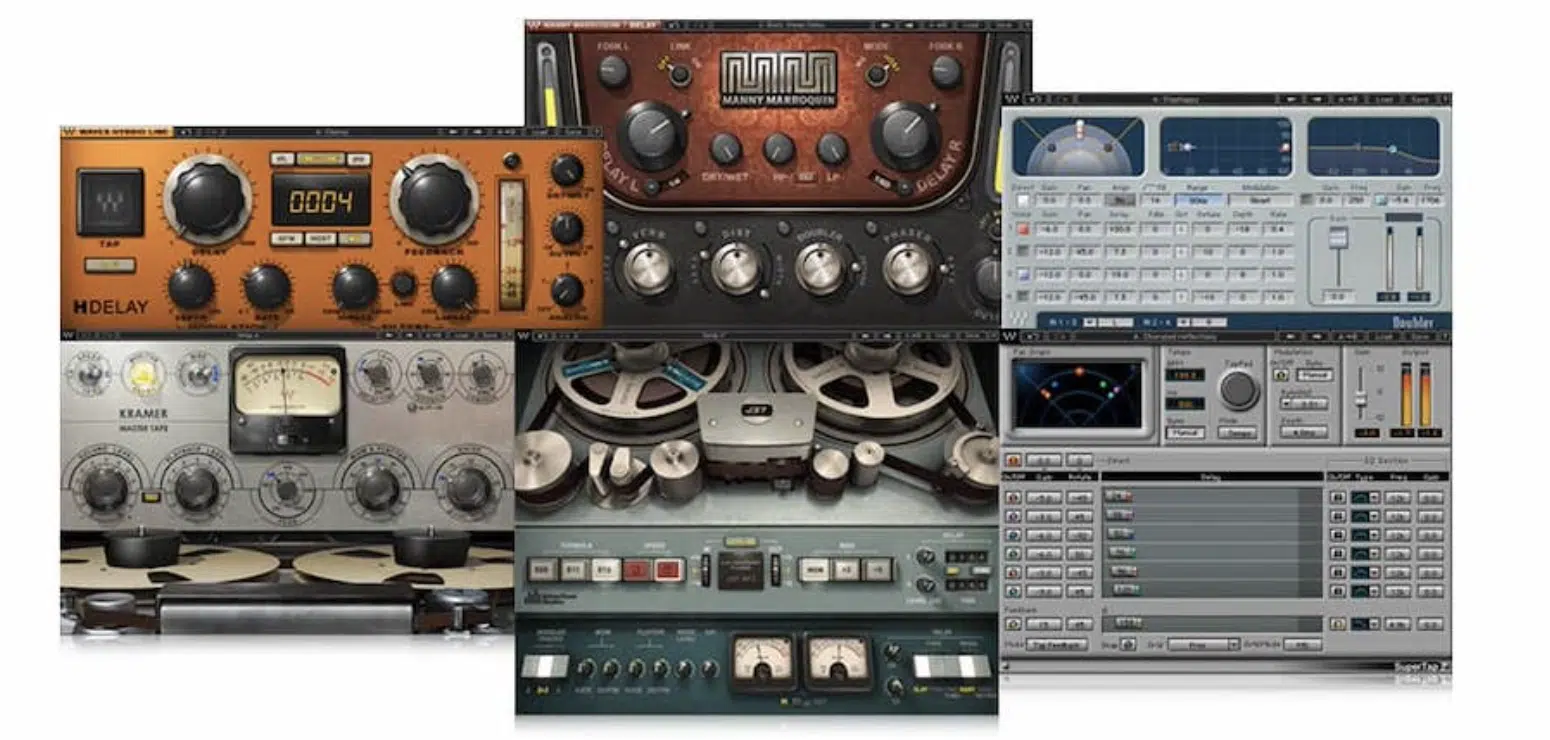
Delay is another time-based effect that can add depth and interest to your tracks.
In a hip-hop context, delay can be used to create rhythmic echoes on vocals or instruments, which adds a sense of movement and complexity.
For instance, you could use a dotted eighth-note delay on a vocal line to create a bouncing, rhythmic echo that adds a new layer of rhythm to your track.
Different types of delay offer unique creative possibilities, for example:
- A Tape Delay 一 Can add warm, analog-style echoes.
- A Ping-Pong Delay 一 Bounces the delays from left to right, creating a stereo spread.
You can even use delay as a sound design tool as well, just like reverb.
Try automating the delay time for a pitch-shifting effect, or feed the output back into the input for endless, evolving echoes.
Just be careful: too much feedback can lead to a loud, uncontrollable noise.
4. Distortion Effects: From Gritty Edge to Warm Saturation
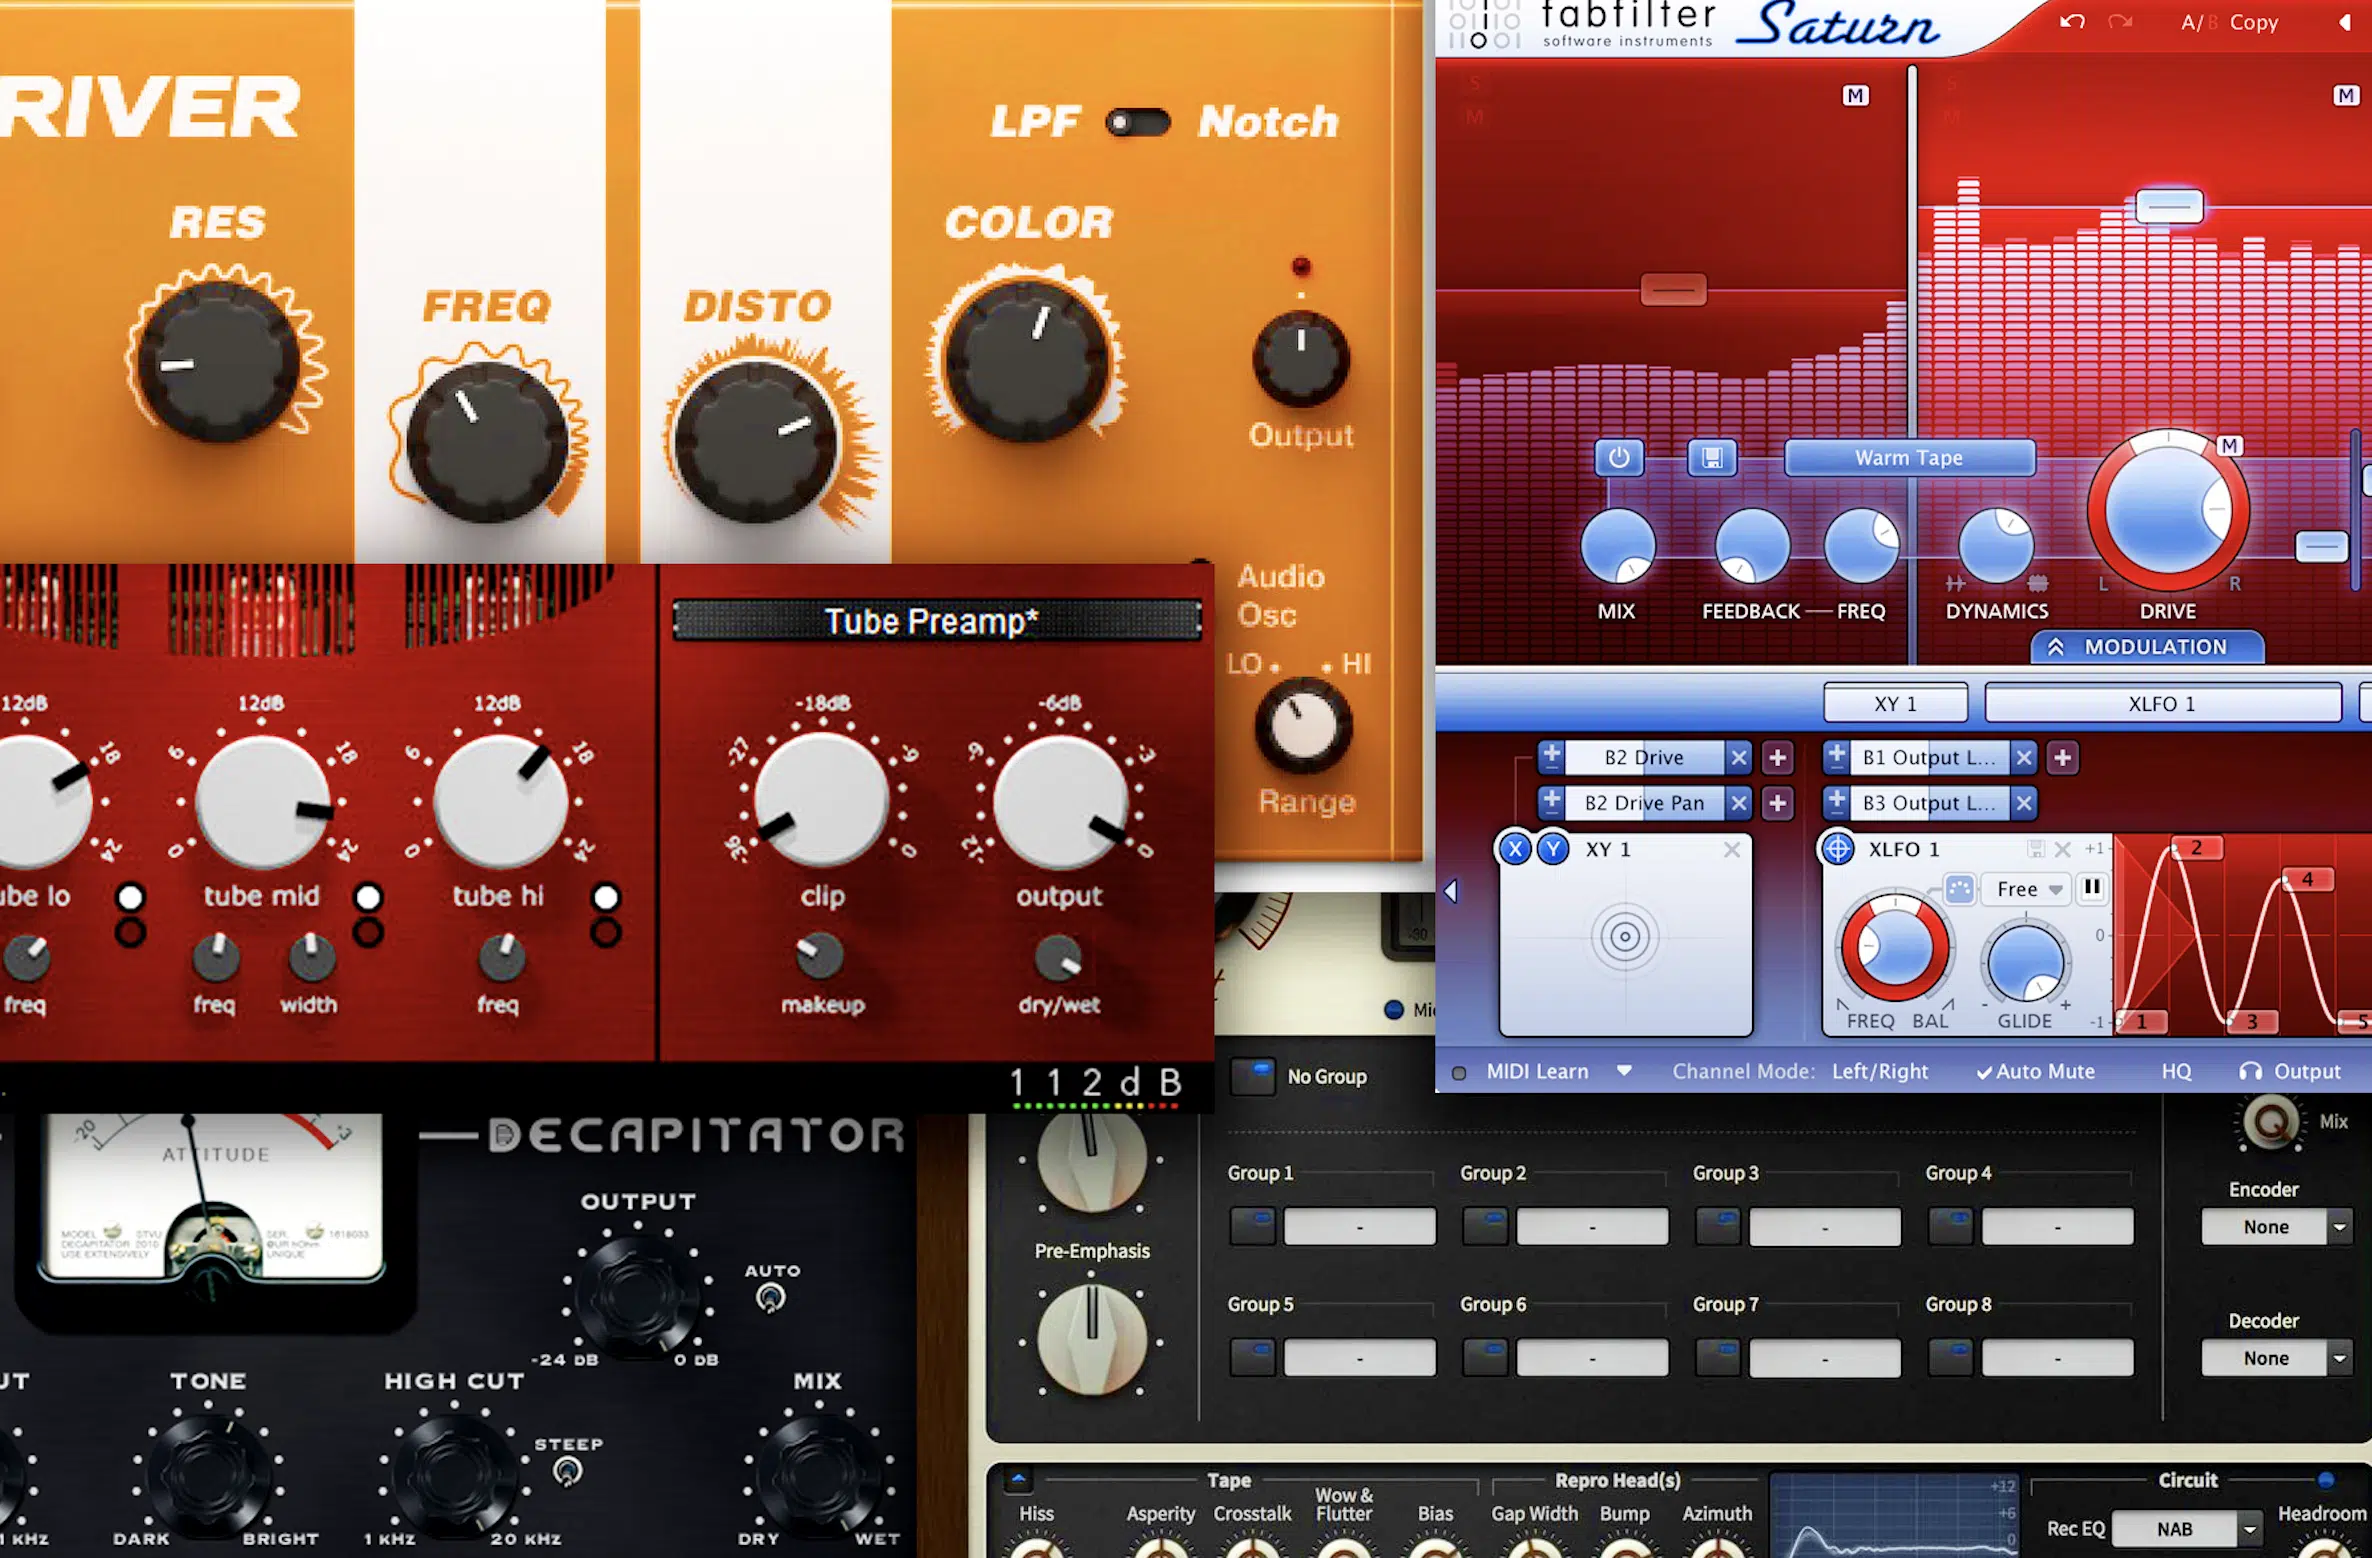
When it comes to giving your hip-hop tracks an edge, distortion effects can be your secret weapon.
From gritty, lo-fi vibes to warm, tube-like saturation, distortion can add character and make your tracks stand out.
For instance, a bit of distortion on your 808 can make it cut through the mix, even on smaller speakers.
There are many types of distortion, each with its own character.
- Overdrive 一 Gives a warm, analog-style distortion, perfect for adding a bit of warmth and character.
- Bit-crushing 一 Can reduce the bit depth or sample rate of your audio signal, creating a lo-fi, digital distortion.
Remember, subtlety is key 一 too much distortion can make your tracks sound harsh and unpleasant.
Start with a small amount and increase it until you find the sweet spot.
Distortion isn’t just for aggressive, hard-hitting sounds either…
You can use it subtly to add warmth and fullness to your tracks.
For example, try adding a touch of tape saturation to your master bus for a subtle, analog-style warmth.
NOTE: If you’re wondering what a Bitcrusher is, or need some bitcrushing plugins, we’ve got you covered.
5. Chorus Effects: Lush Layers & Harmonic Richness
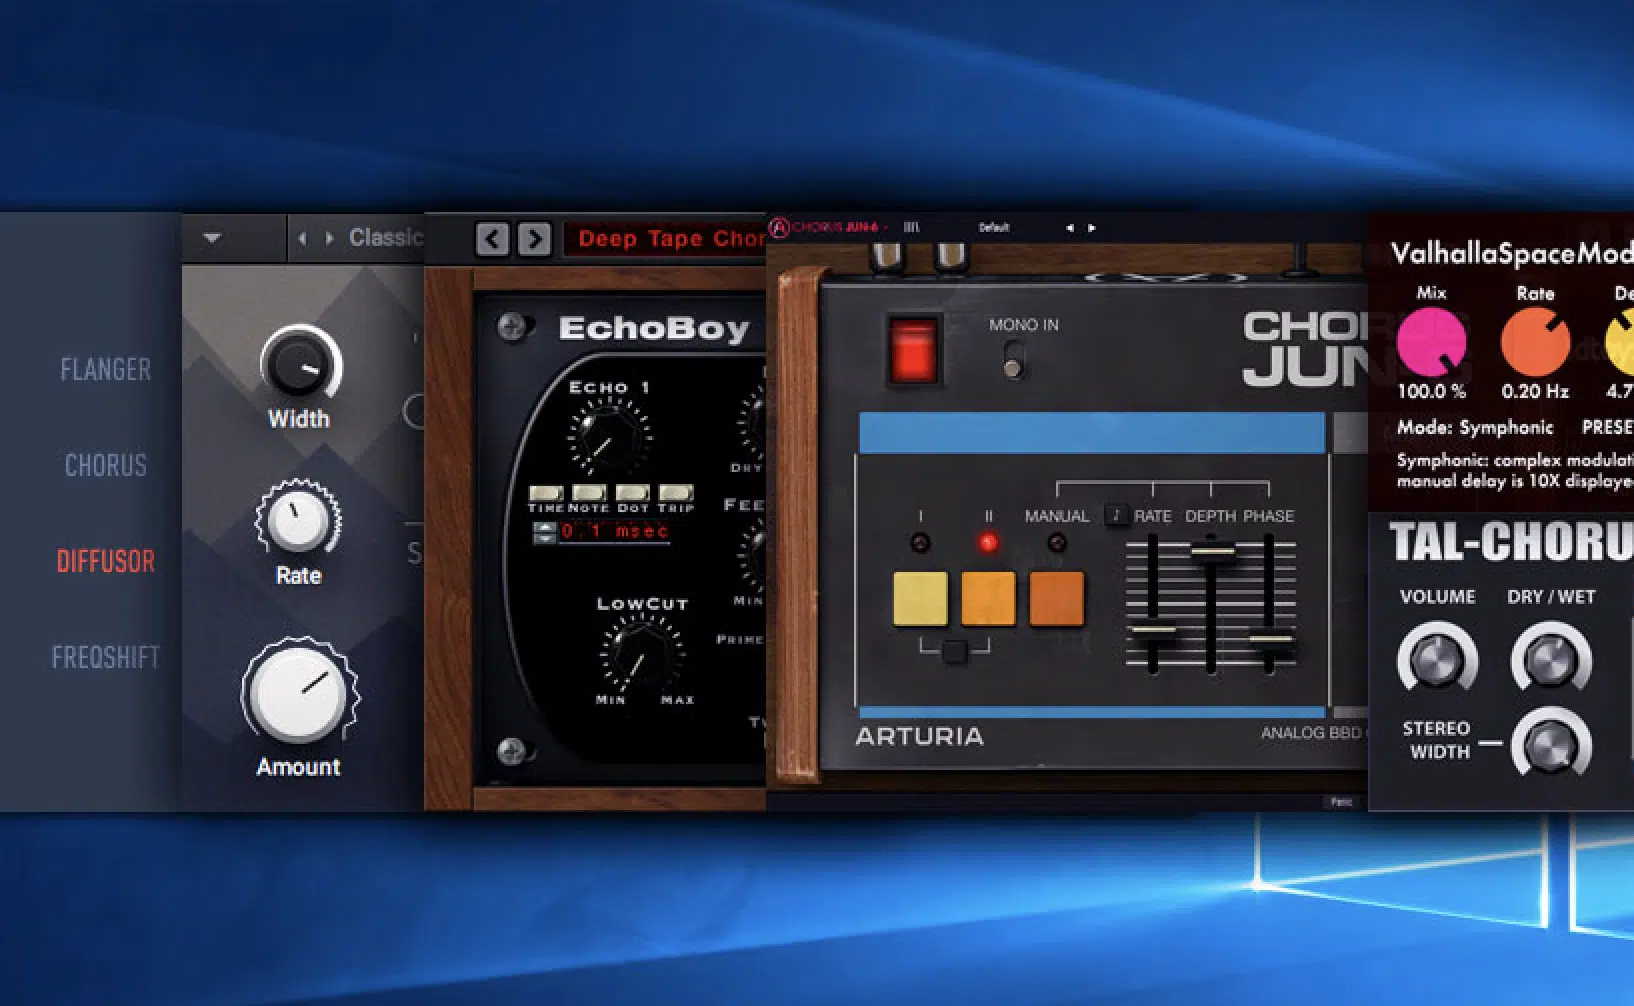
In the hip-hop production scene, chorus effects can be an ace up your sleeve to achieve a more intricate sound.
By duplicating your audio signal and slightly delaying and modulating the duplicates, you can create a sense of richness and depth.
For instance, apply a light chorus effect on your backing vocals to give them a wider, fuller sound 一 making them blend better with the lead vocals.
Or add some chorus to your synths to create lush, immersive soundscapes.
A chorus effect can also be used to add thickness to thin sounds.
It’s a great trick to apply a subtle chorus on a bassline to add some stereo width without muddying the mix.
Or, if your beat lacks a certain richness, a gentle application of the chorus effect might just do the trick.
6. Tremolo Effects: Creating Rhythmic Textures
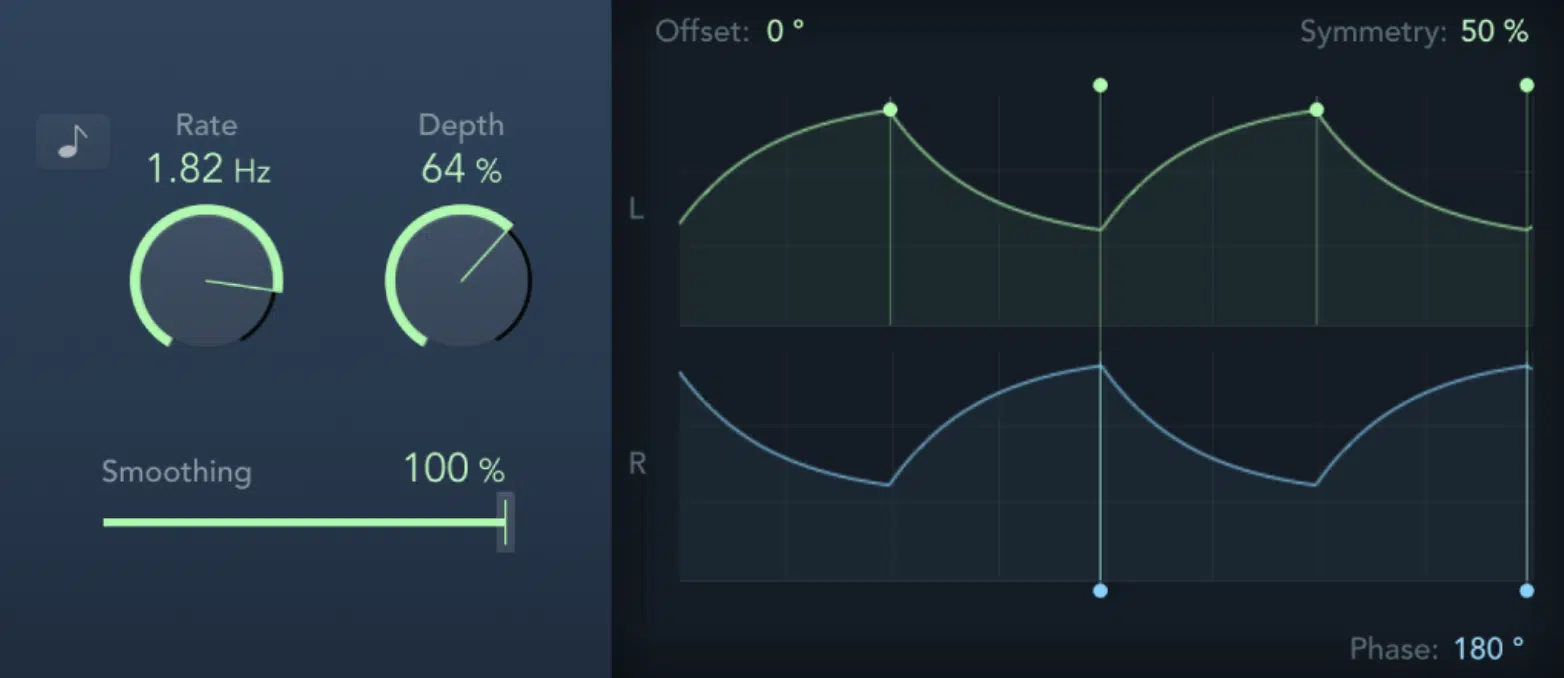
The tremolo effect, which modulates the volume of your audio signal, is another creative tool you can use in your tracks.
By adjusting the speed and depth of the tremolo, you can create rhythmic pulsations that add movement to your tracks.
Try applying a slow, deep tremolo to a synth pad to create a rhythmic, pulsating texture.
Or use a fast, shallow tremolo on a lead synth to add a subtle, shimmery vibrato.
You can even sync the tremolo rate to the tempo of your track to create rhythmic effects that groove with your beat.
This can add an extra layer of rhythm to your tracks, making them more engaging and dynamic.
7. Phaser Effects: Achieving Swirling Spectral Movement

Phaser effects, which create swooshing, spectral movement by applying phase shifts to your audio signal, can bring a dynamic, psychedelic feel to your hip-hop tracks.
They work by creating a series of peaks and troughs in the frequency spectrum, which are then modulated over time.
Apply a phaser effect to a simple pad to transform it into a swirling, evolving texture.
Or use it on a fire guitar or synth part to create movement and interest.
You can even use a phaser to add a unique spin to your vocals.
Remember, phaser effects can be quite pronounced, so use them sparingly.
But when used correctly, they can add a captivating, other-worldly dimension to your tracks.
Once you’ve mastered the use of audio effects, even a basic audio file, or audio files, can be transformed into a captivating sonic masterpiece.
Mastering the Art of Audio Filters
Now that we’ve explored a broad spectrum of audio effects, let’s hone in on a crucial tool for sound shaping: audio filters.
They’re the unsung heroes of every mix, subtly working behind the scenes to clean up your tracks and enhance the overall mix.
-
The Role of the Low-Pass Filter
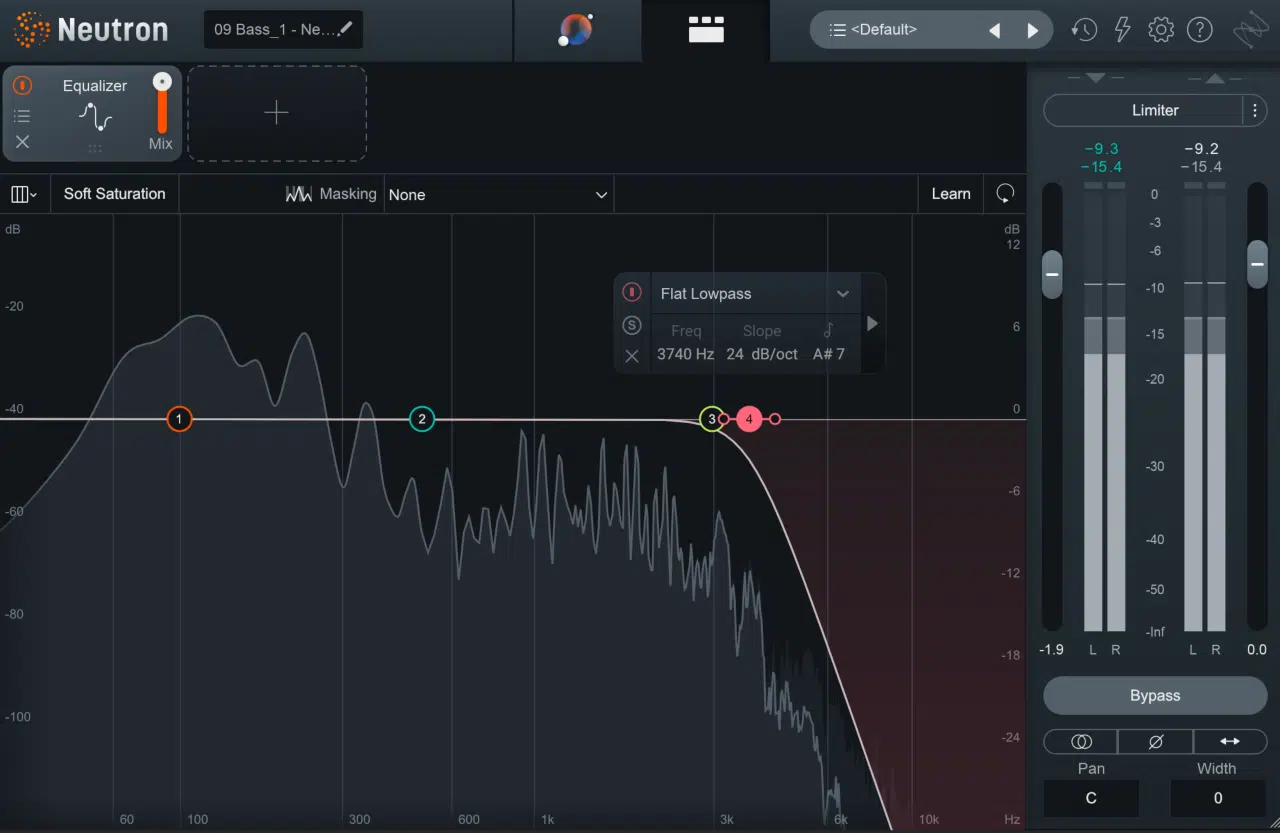
Low-pass filters play a crucial role in shaping the frequency content of your mix.
As the name suggests, a low-pass filter allows low frequencies to pass while reducing the level of high frequencies.
This is useful for removing unwanted high-frequency content, like hiss or harshness, from your tracks.
In hip-hop production, low-pass filters are often used to shape the sound of drums and bass.
For instance, you could use a low-pass filter to roll off the high frequencies on a kick drum to make it sound deeper and more focused.
Or use it on a sample to make it sound more lo-fi and vintage.
You can also use a low-pass filter creatively.
For example, try automating the cutoff frequency of a low-pass filter on a synth to create a sweeping effect 一 or use it on a high-hat loop to create a sense of depth and distance.
-
The High-Pass Filter: Keeping it Crisp & Clear
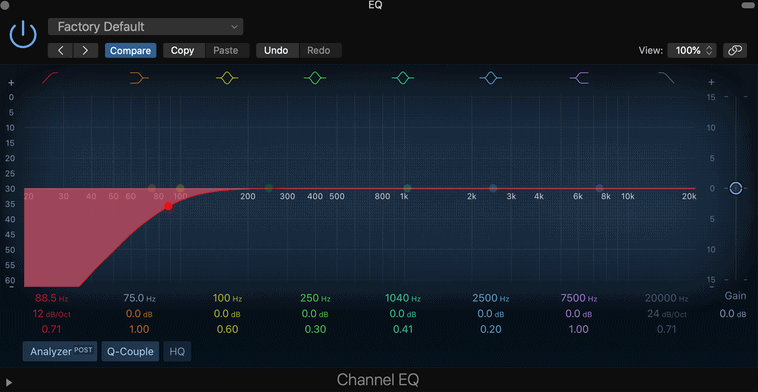
High-pass filters are an invaluable tool for cleaning up your mix and keeping it clear.
These filters allow the high frequencies to pass through while attenuating the low frequencies, which effectively eliminates low-frequency rumble or muddiness.
High-pass filters can be used to clean up the low end of your mix.
For example, you can apply a high-pass filter to your hi-hats or other high-frequency elements to remove unnecessary low-frequency content.
As well as prevent frequency clashes with your bass and kick.
High-pass filters are also useful for creating ideal contrast in your mix.
NOTE: Try applying a high-pass filter to a sample to create a ‘radio’ effect, or use it on an aux track for a filtered reverb effect.
Remember, subtlety is key with high-pass filters 一 too much filtering can make your mix sound thin and lackluster.
-
Band-Pass & All-Pass Filters: Flexibility in Sound Shaping
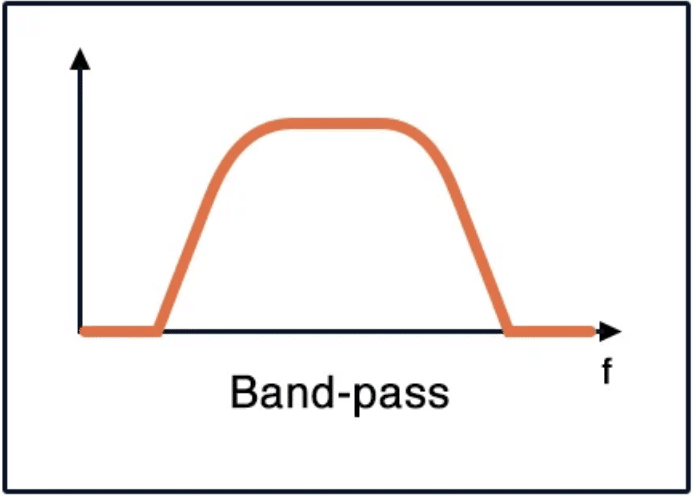
Band-pass and all-pass filters offer further flexibility in sound shaping.
Band-pass filters allow only a specific band of frequencies to pass through, effectively cutting off both the high and low frequencies.
This can be used to focus on a particular frequency range, giving you precise control over your sound.
In hip-hop production, a band-pass filter can be used to create telephone-like effects or to isolate a particular element in a sample.
For instance, you might use a band-pass filter to focus on the snare drum in a breakbeat sample, effectively removing the bass and hi-hats.
All-pass filters, on the other hand, allow all frequencies to pass but alter the phase relationship between them.
While not as commonly used as other types of filters, an all-pass filter can be used for creative effects like phasing and spatial enhancement.
-
Taming Frequencies with the Notch Filter
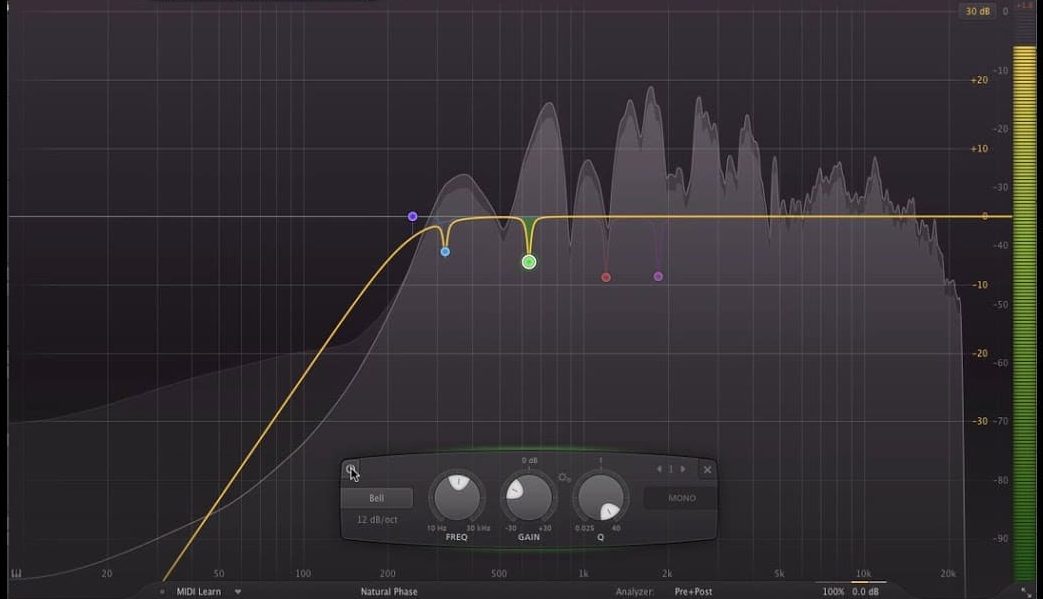
A notch filter, also known as a band-reject or band-stop filter, is a powerful tool for removing unwanted frequencies from your mix.
This type of filter cuts out a narrow band of frequencies, allowing all others to pass.
In a hip-hop context, notch filters can be used to remove problematic frequencies from your mix.
For instance, if your mix has a harsh resonance or an annoying whistle, you can use a notch filter to precisely remove the offending frequency.
Notch filters are also great for creative purposes and special effects.
Try using a notch filter on a synth or bassline and automate the center frequency to create a sweeping, resonant effect.
-
Playing with the Cutoff Frequency for Precise Control
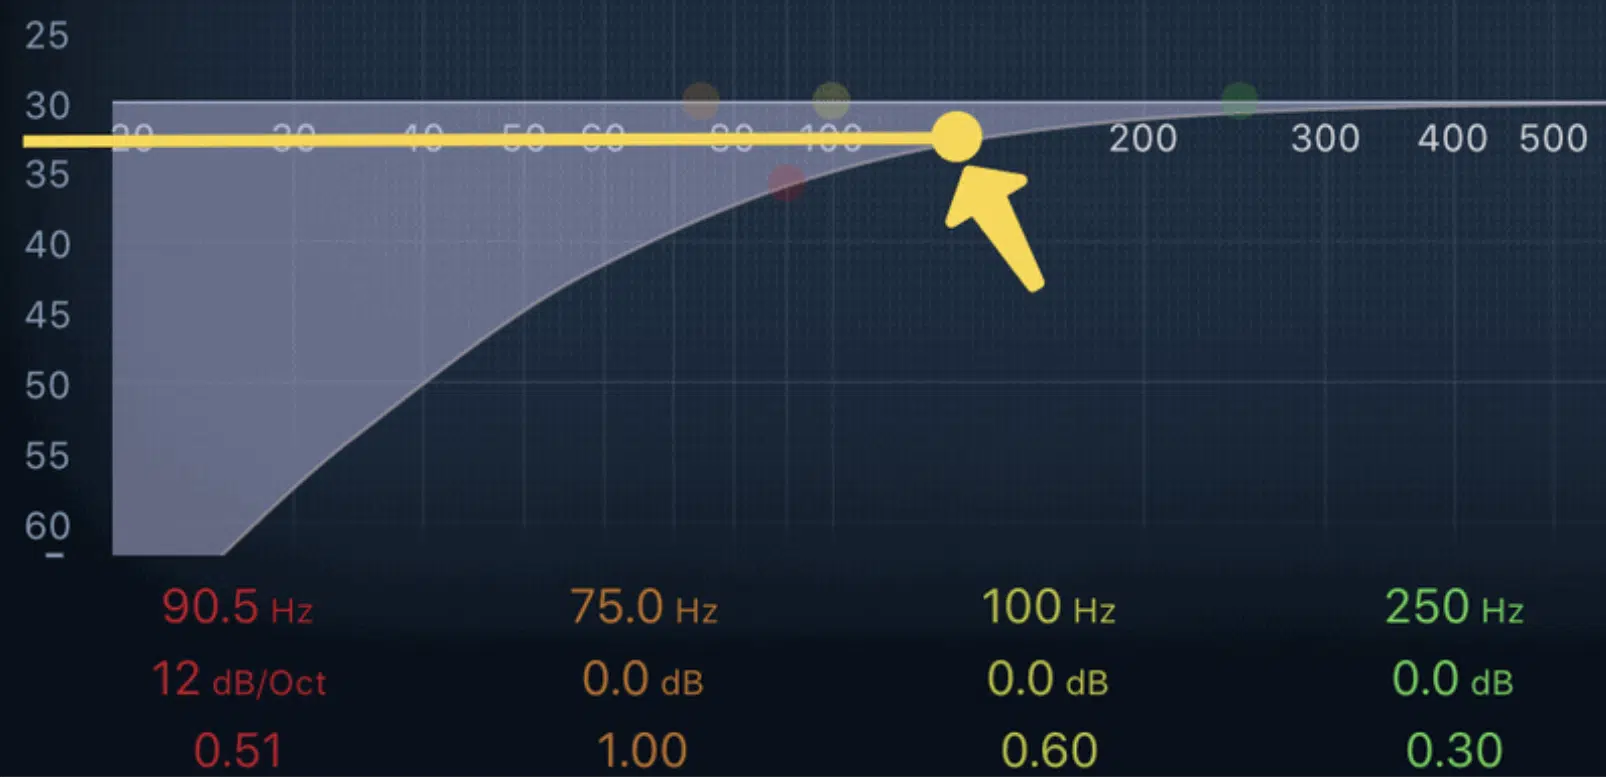
The cutoff frequency of an audio filter is the point at which the filter starts to affect the audio signal.
By adjusting the cutoff frequency, you can precisely control which frequencies are affected by the filter.
In the world of hip-hop production, playing with the cutoff frequency can have a profound impact on your sound.
For instance, you could use a low-pass filter with a low cutoff frequency to make a high-energy drum loop sound distant and muffle.
This is perfect for creating a “beat switch” or a breakdown.
On the flip side, you can use a high-pass filter with a high cutoff frequency to make a bassline sound thin and tinny 一 great for creating a contrast before the full bass drops back in.
Remember, playing with the cutoff frequency isn’t just about removing frequencies; it’s also about adding emphasis to the frequencies that remain.
For example, using a high-pass filter with a high cutoff frequency on a vocal track could help to emphasize the clarity and articulation in the singer’s voice.
In turn, making the lyrics more intelligible in the mix.
Also, automating the cutoff frequency can create some amazing results.
Imagine a synth lead starting off muffled and distant, and then slowly becoming more vibrant and present as the cutoff frequency rises.
That’s the kind of precise control and dynamic changes that playing with the cutoff frequency can offer.
Manipulating Dynamics for the Perfect Mix
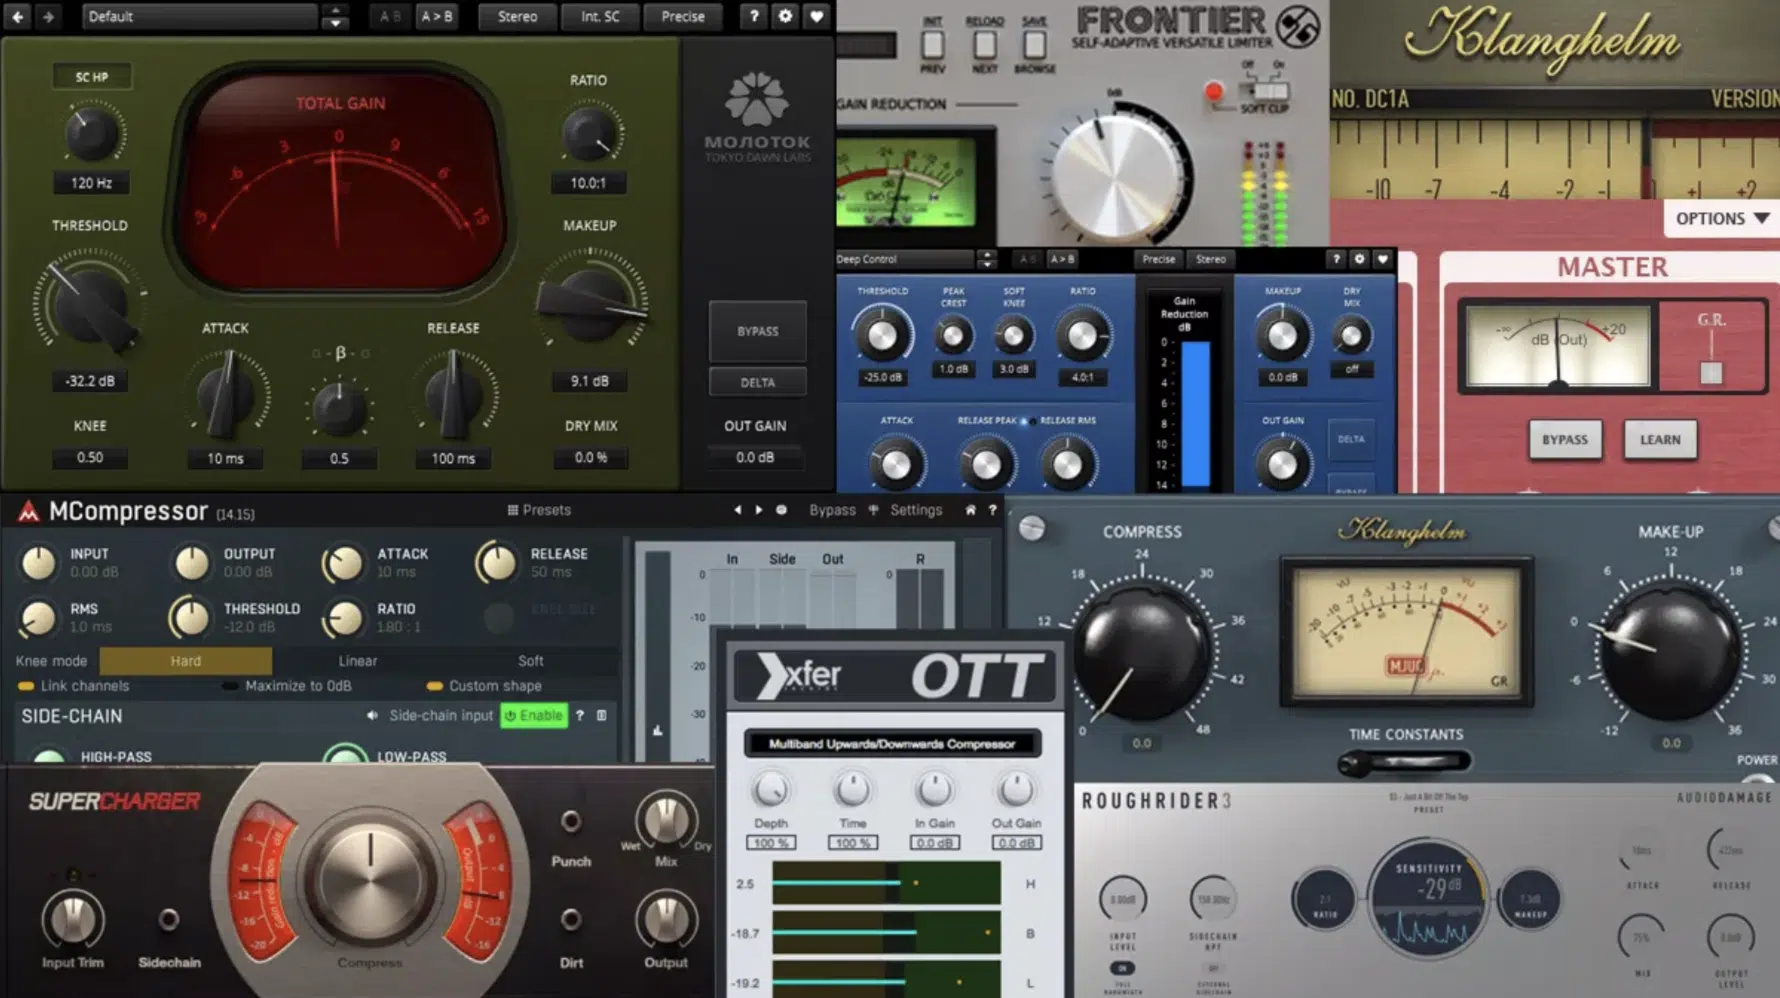
Dynamic effects like compression and limiting play a crucial role in the world of hip-hop production.
They can control the dynamics of your tracks, add punch and thickness, and ensure your tracks are loud and clear.
Compression can tighten up your drums, make your vocals more consistent, and add sustain to your synths or 808s.
For example:
- A fast attack & release on a compressor 一 Can make your kick drum punchier.
- A slower attack 一 Can add thickness to a vocal or a snare.
Limiters, on the other hand, are used to control the peak levels of your tracks and prevent distortion.
A limiter on your master track can ensure your track is loud enough to compete with professional releases without clipping or distorting.
NOTE: when it comes to dynamic effects, subtlety is key.
Too much compression or limiting can make your tracks sound squashed and lifeless.
Always trust your ears and aim for a balanced, dynamic sound.
Gain Reduction & Noise Gates
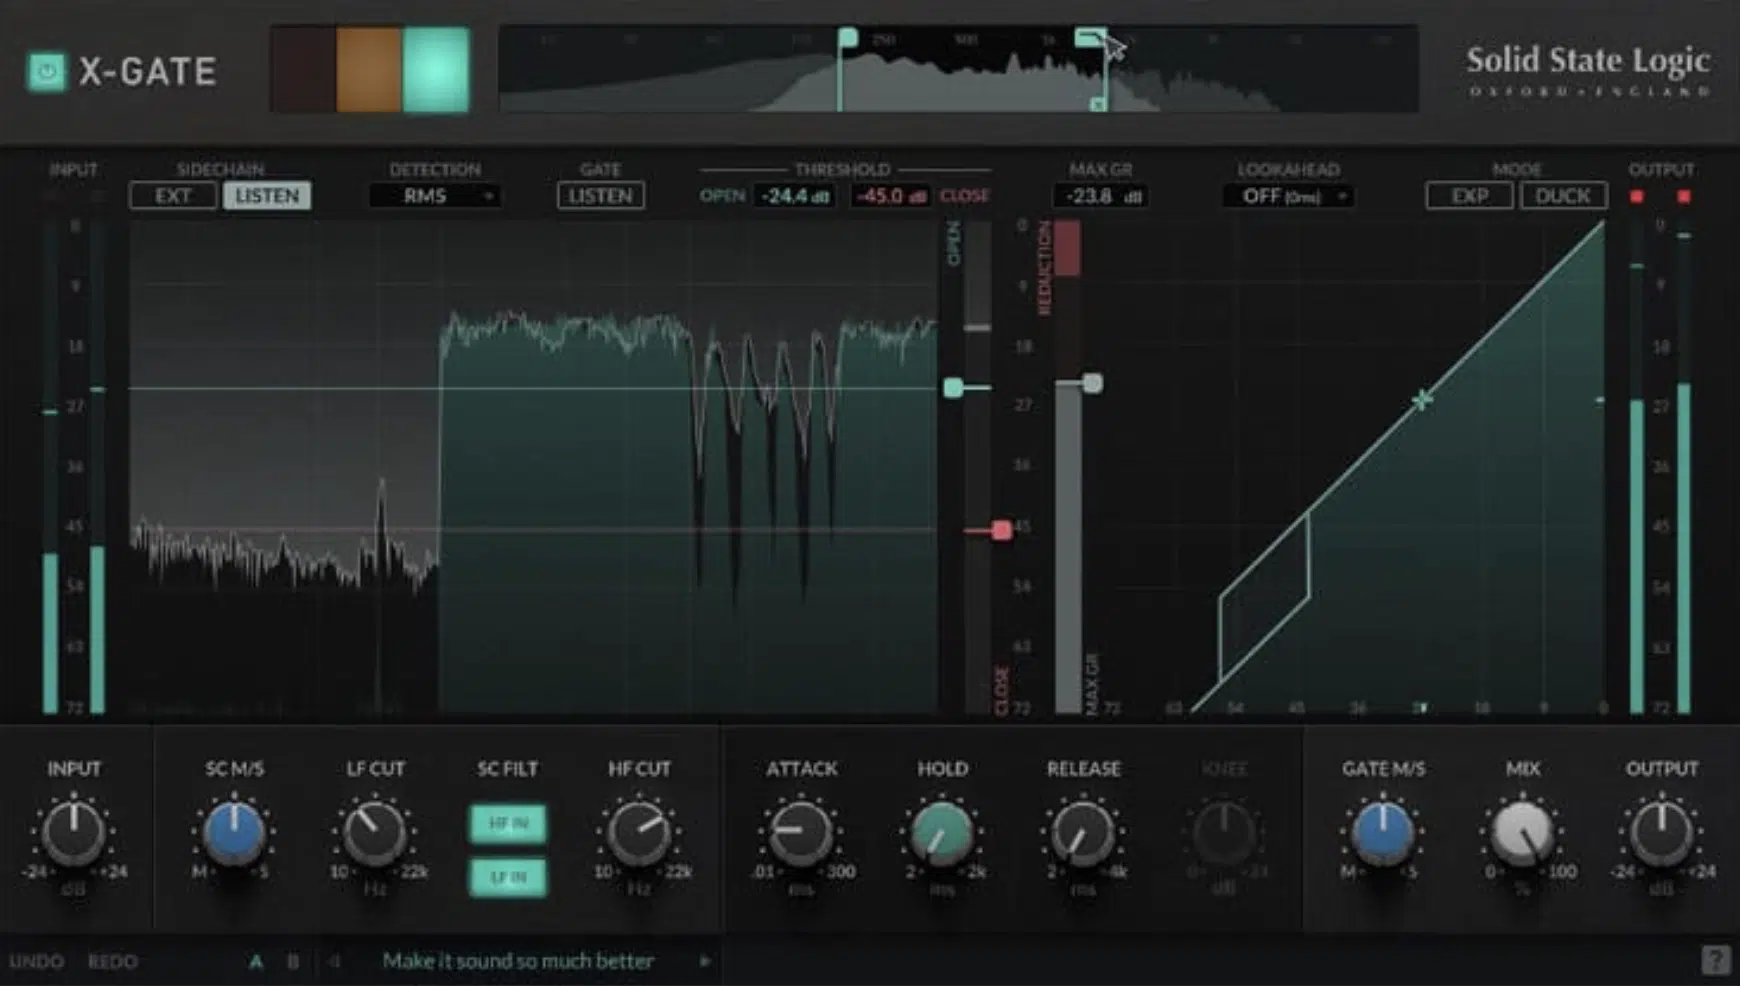
Gain reduction is a fundamental concept in understanding how dynamic effects work.
It refers to the amount of volume reduction applied by a dynamic effect (like a compressor or limiter).
The higher the gain reduction, the more the loud peaks are squashed.
But remember, while it might be tempting to squash your mix to make it as loud as possible, over-compression can lead to a lack of dynamic contrast and a lifeless sound.
Aim for a transparent compression that controls the dynamics without sucking the life out of your mix.
Noise gates are a type of dynamic effect that can be a real lifesaver when dealing with noisy recordings.
A noise gate works by silencing the audio signal when it falls below a certain threshold.
This can be useful for reducing unwanted noise between phrases in a vocal recording or eliminating the hum from a guitar amp.
Just be careful with the settings 一 too aggressive gating can cut off the ends of words or notes, leading to an unnatural sound.
Advanced Techniques for Superior Sound Design
As we step into the realm of advanced techniques, we start to play with subtle manipulations and intricate tweaks that can greatly enhance our sound design.
One such technique involves using distortion, not for aggressive crunch, but for delicate warmth and character.
Let’s break it down…
-
Subtle Distortion: Adding Warmth & Character
While a distortion effect is often associated with aggressive tones, used subtly, it can add warmth and character to your tracks.
A touch of saturation can emulate the desirable characteristics of analog recording, like tape hiss or tube warmth.
For instance, you can use a tape emulation plugin on your master bus to add a bit of analog warmth to your entire mix.
Or try using a subtle tube distortion on your bass track to make it sound fuller and richer.
Just remember, the key is subtlety!
-
Creative Use of Modulation Effects
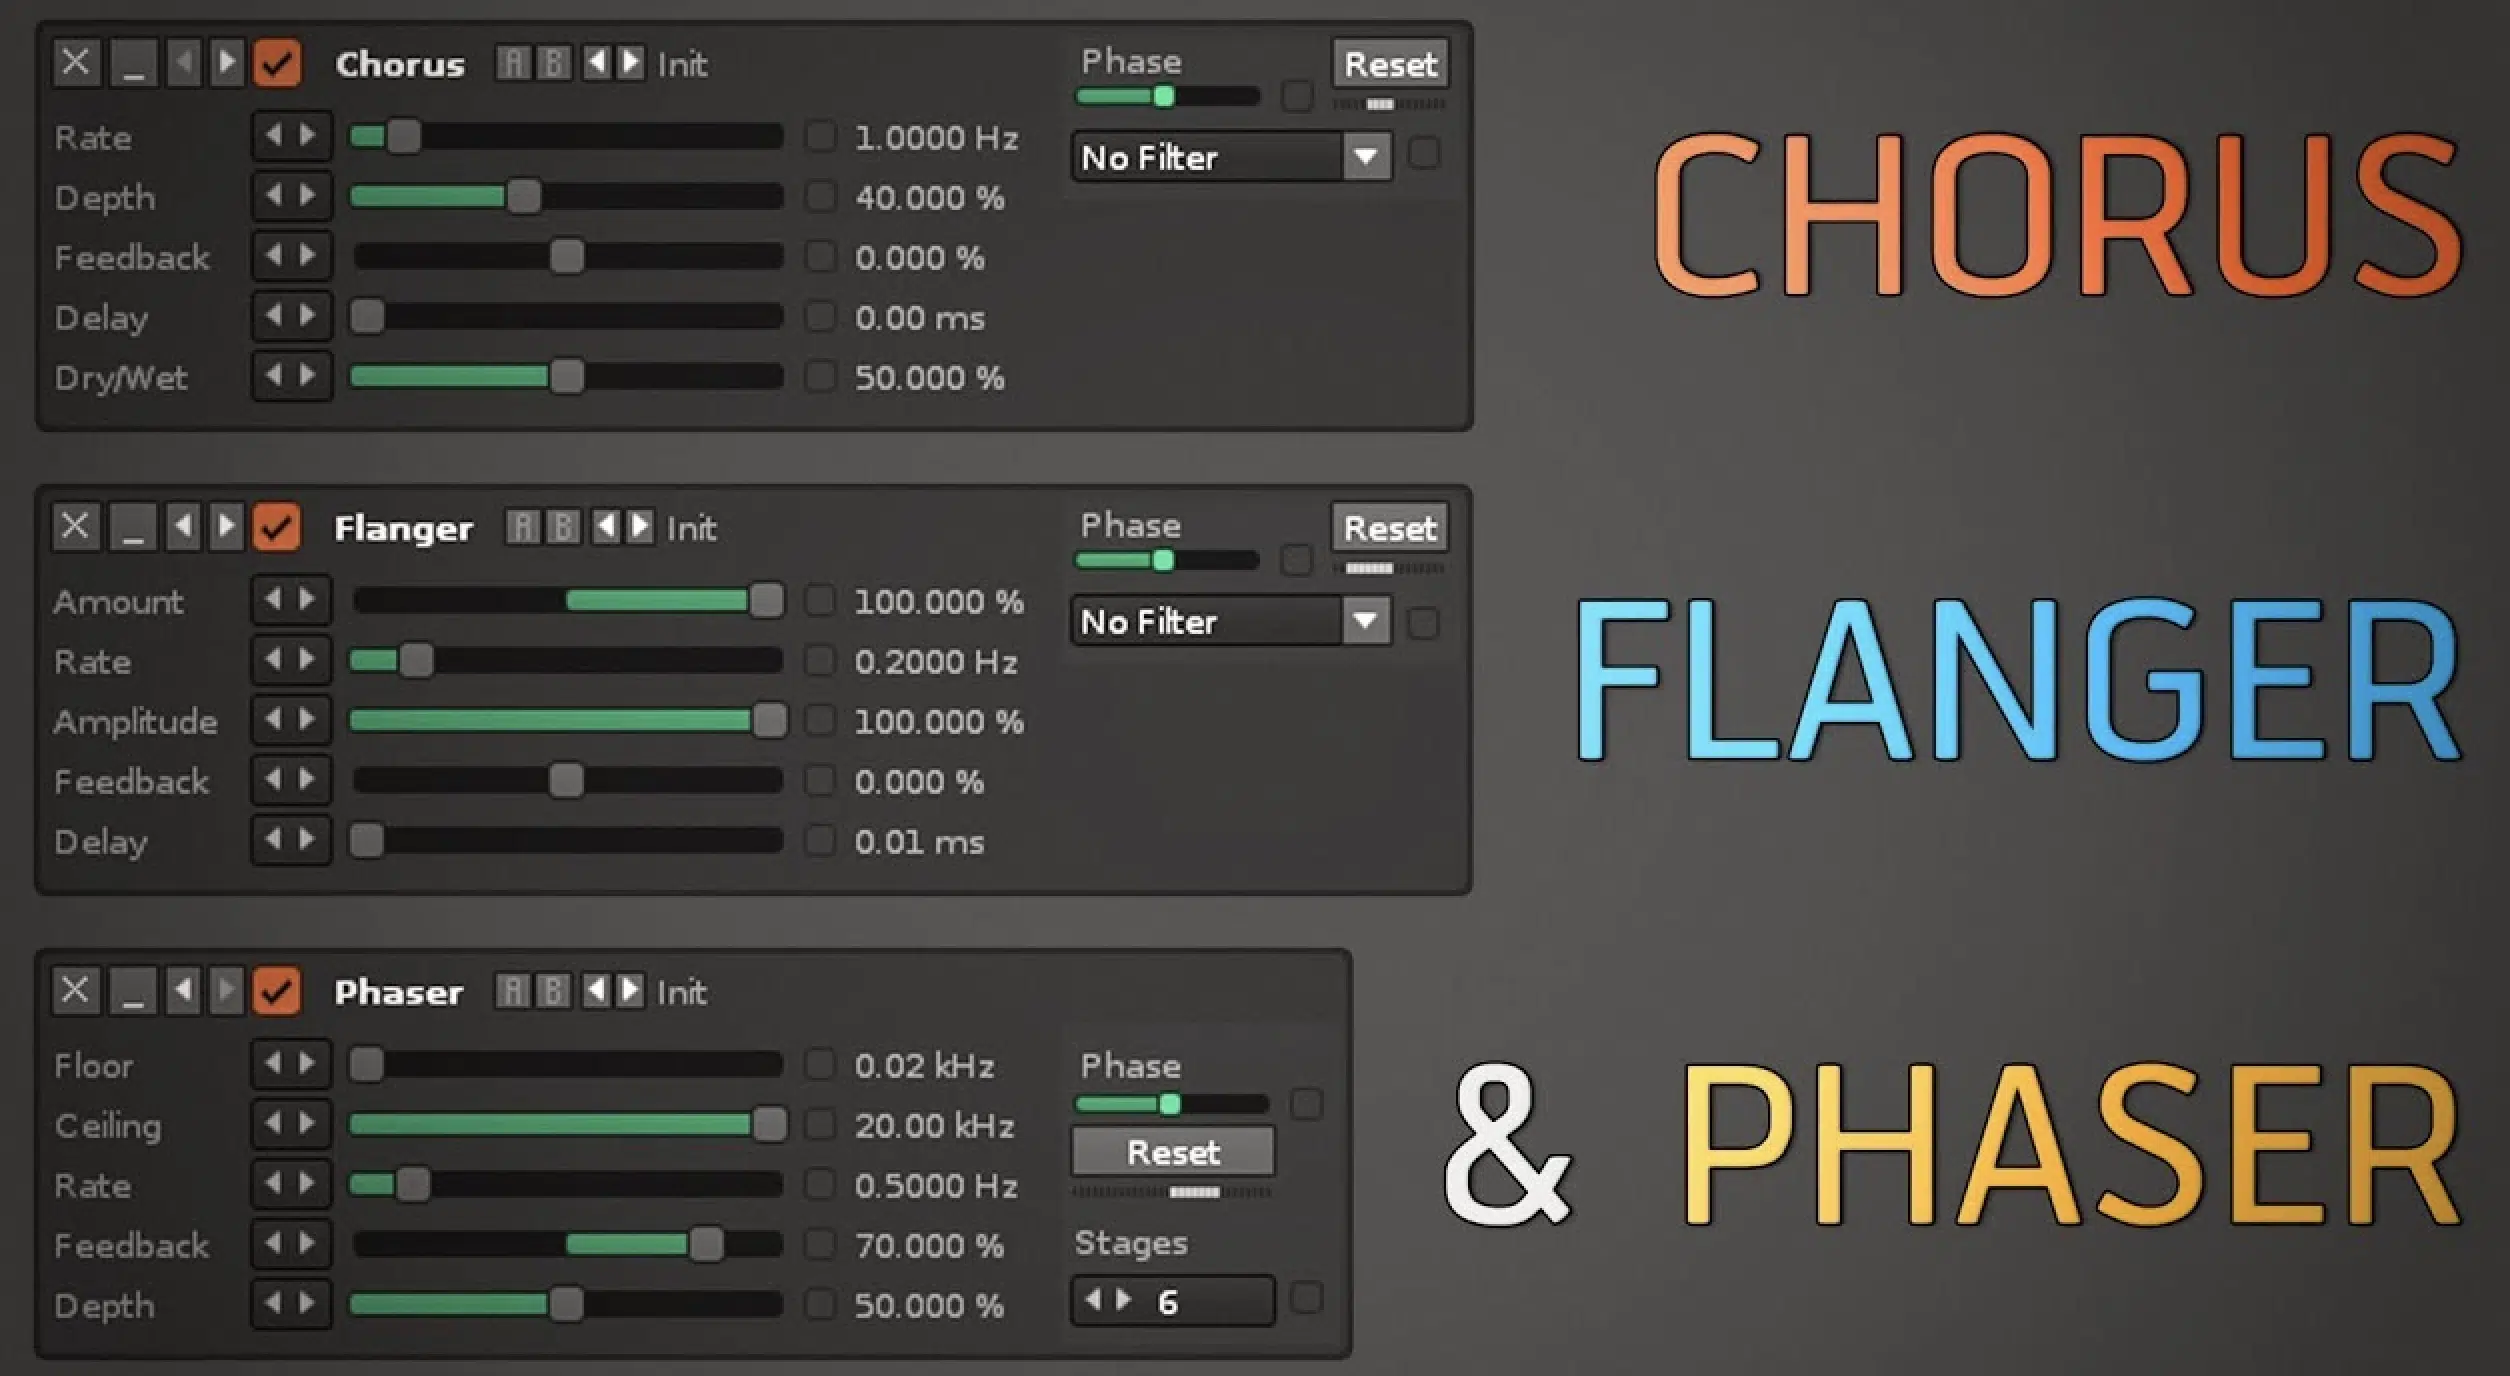
Modulation effects like chorus, flanger, and phaser can be used creatively to add thickness, movement, and interest to your tracks.
A chorus effect, for example, can make a single vocal sound like a choir, or a mono synth sound like a massive stereo spread.
In a hip-hop context, modulation effects can be used in a variety of creative ways.
NOTE: Try using a flanger on your hi-hats to add a swirling, psychedelic quality, or use a chorus effect on your synth leads to make them sound larger and more impactful.
Don’t be afraid to experiment with modulation effects.
For instance, try using a phaser on your 808s to create a unique, moving bassline, or add a subtle chorus to your vocals to add thickness and depth.
-
Convolution Reverb: Capturing the Essence of Real Spaces

Convolution reverb, different from plate reverb and other reverb types, is a powerful audio effect that uses a sample, or “impulse response,” of a real acoustic space to simulate reverb.
It’s like taking the echo from a cathedral or a bathroom and applying it to your own tracks.
In essence, it allows you to place our audio in spaces that would be impossible or impractical to access otherwise.
In the realm of hip-hop production, convolution reverb can be a potent tool.
Imagine applying the acoustics of an echoey subway station to your drum track, or the resonant frequencies of a grand cathedral to your vocals, adding an air of grandiosity to your mix, like a mixing engineer.
But it’s not just about large, lush reverbs…
Convolution reverb can also use impulse responses from smaller, more unique spaces, or even non-acoustic samples, to create unusual and creative reverb effects.
You could use the response from a metal can to add a unique color to your snare.
Or, the response from a guitar body to your synth lead to make it sound like it’s being played on an acoustic instrument.
It’s all about getting creative and thinking outside the box.
-
Phase Shifts: Adding Depth & Movement
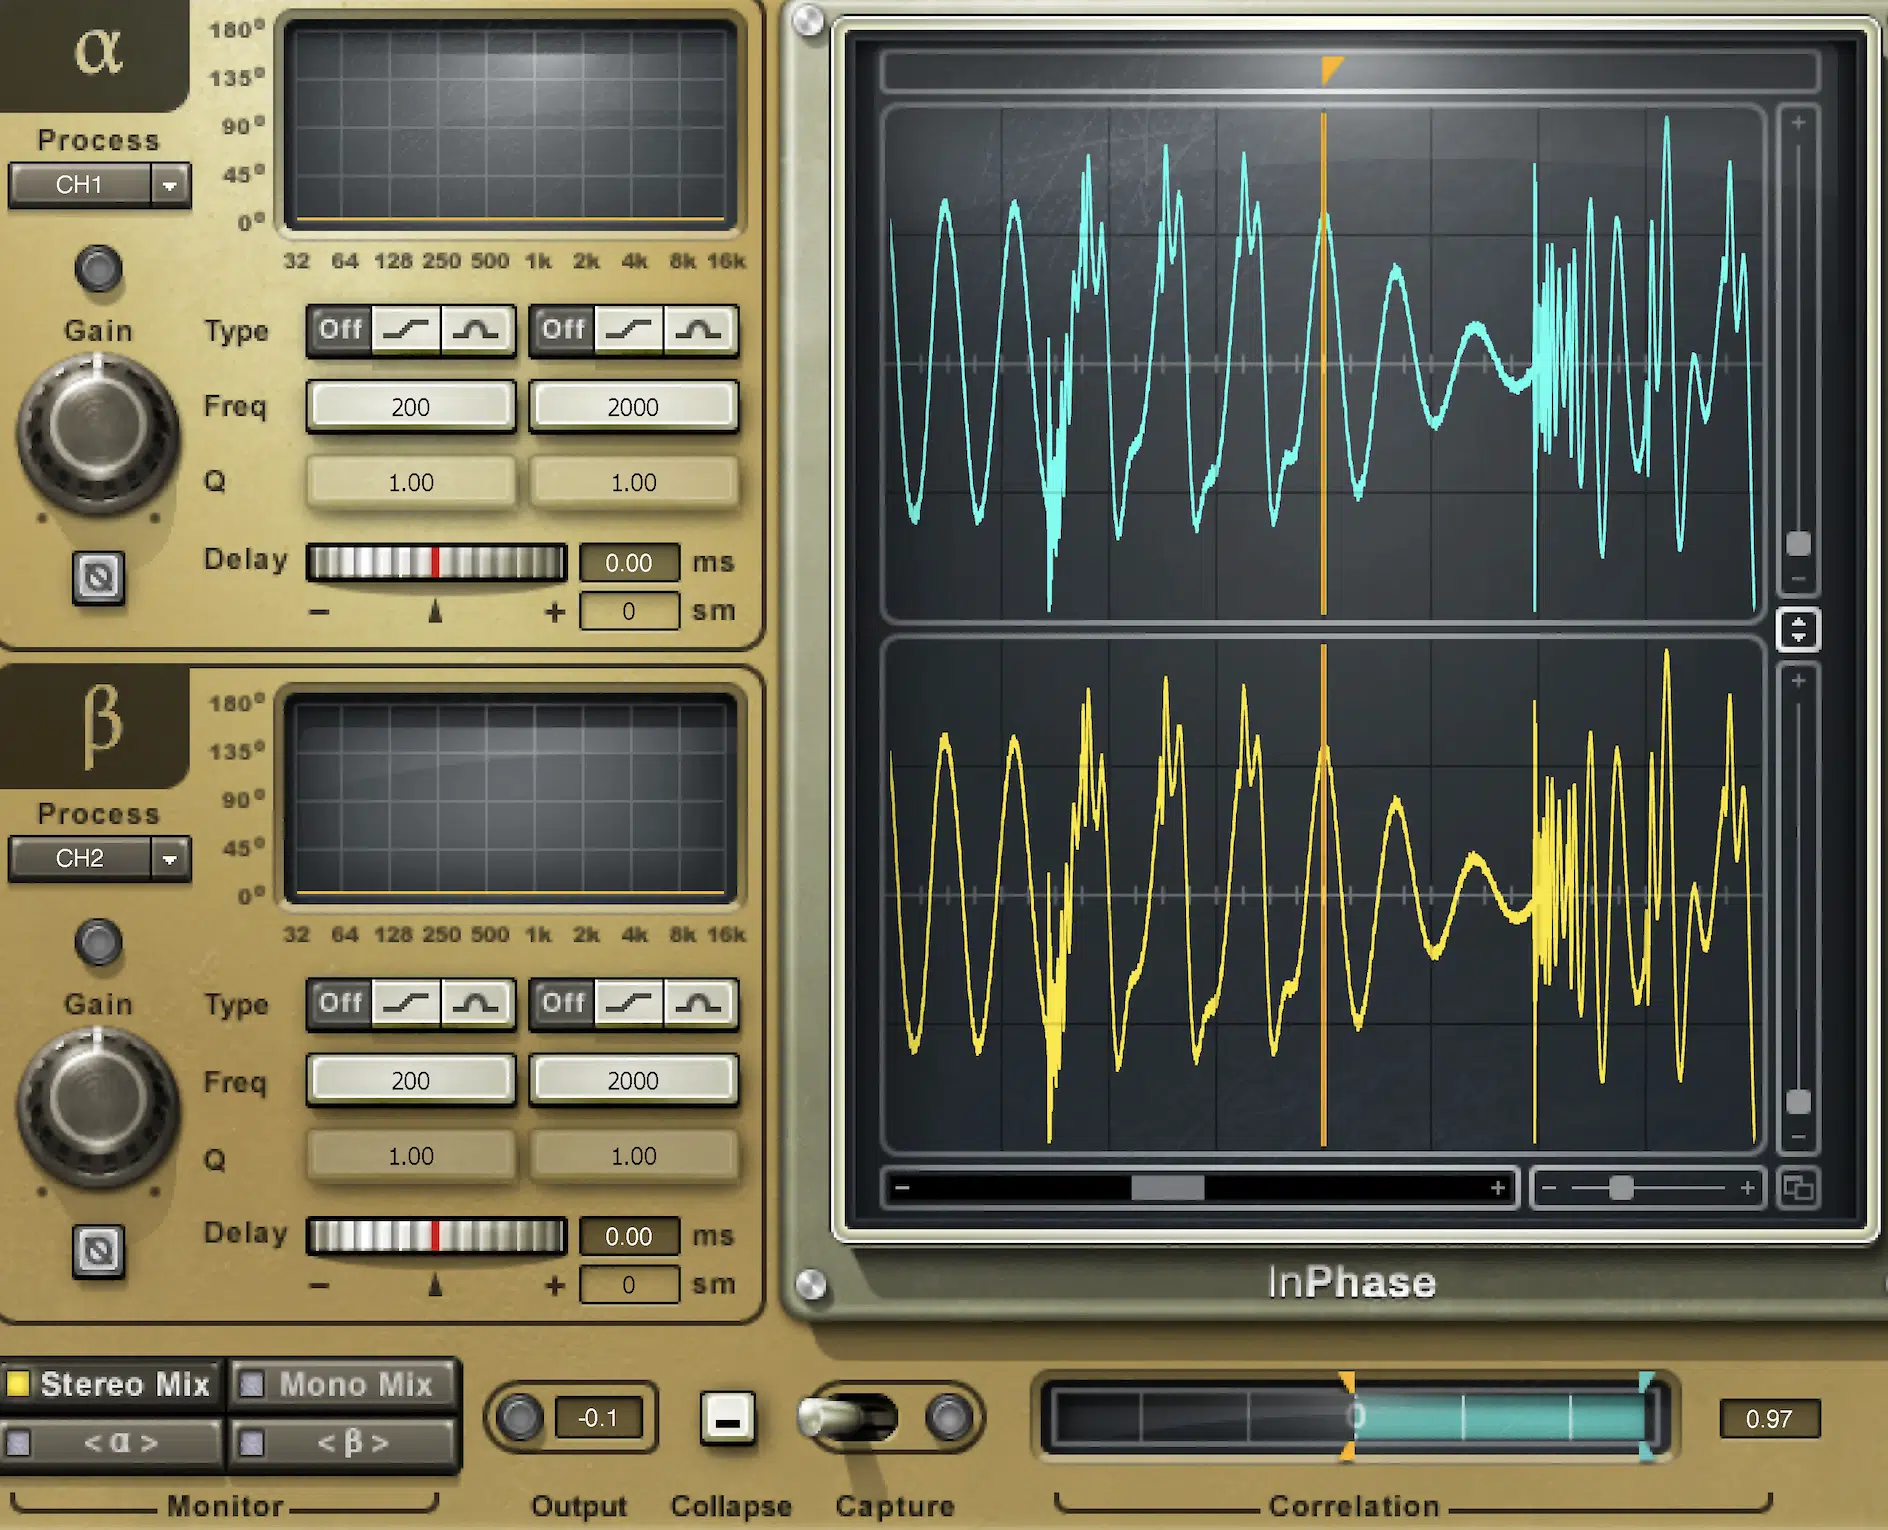
Phase shifts are a unique type of audio effect that can add depth and movement to your tracks.
By adjusting the phase of your audio signal, you can create interesting comb-filtering effects, add stereo width, or create lush, swirling phaser effects.
In hip-hop, phase shifts can be used in a variety of ways… one common use is to add stereo width to your tracks.
By duplicating a track, panning each copy left and right, and then shifting the phase of one copy, you can create a sense of width and space.
You could also use a phaser effect on your synths or pads to add movement and interest.
By automating the phase shift over time, you can create a swirling effect that can add depth and richness to otherwise static sounds.
Audio Effects: Final Thoughts
As we wrap up this in-depth exploration of audio effects, remember that all these techniques and tips are not just theory.
They’re tools to help you create captivating and mind-blowing tracks.
Mastery of audio effects empowers you to take control of your audio files, manipulating sounds to create rich, immersive, and unique sonic landscapes.
Now, to truly take your productions to new heights, you need these enchanting, game-changing free MIDI melodies.
It’s an incredible resource packed with a diverse collection of melodies that are just waiting to be transformed with your newfound skills in audio effects.
These melodies act as the perfect canvas for you to paint with your broad palette of effects.
From the subtleties of EQ and the rhythm of tremolo to the rich depth of reverb and the crunch of distortion.
So, don’t wait: dive, explore, and experiment like a professional.
With these tools and techniques at your disposal, you’re equipped to shape your sounds and produce music that not only resonates with your audience but also truly expresses your musical vision.
Until next time…


Leave a Reply
You must belogged in to post a comment.